I built this printer last year and have been getting some great results from it. My aim was to make a machine that I could then use to upgrade my workshop as well as prototype designs. This is not a build tutorial, but I will run through the steps I took while making this.
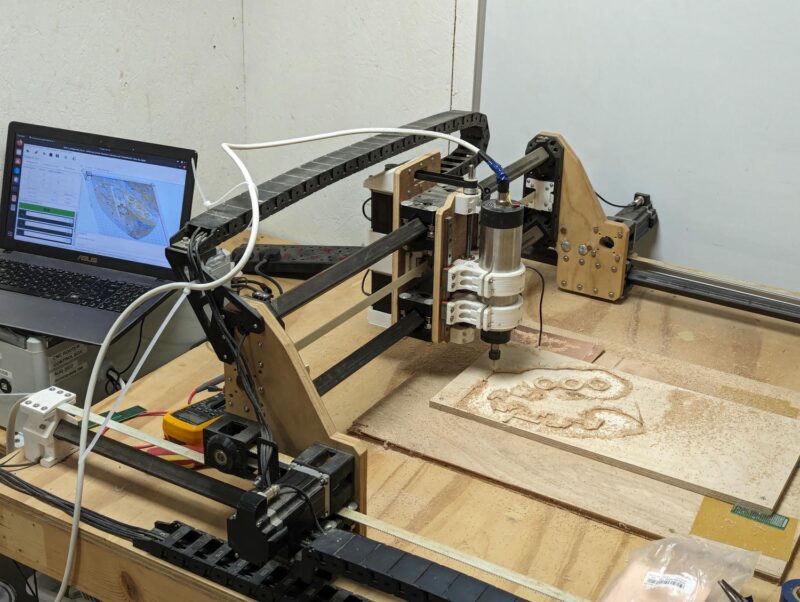
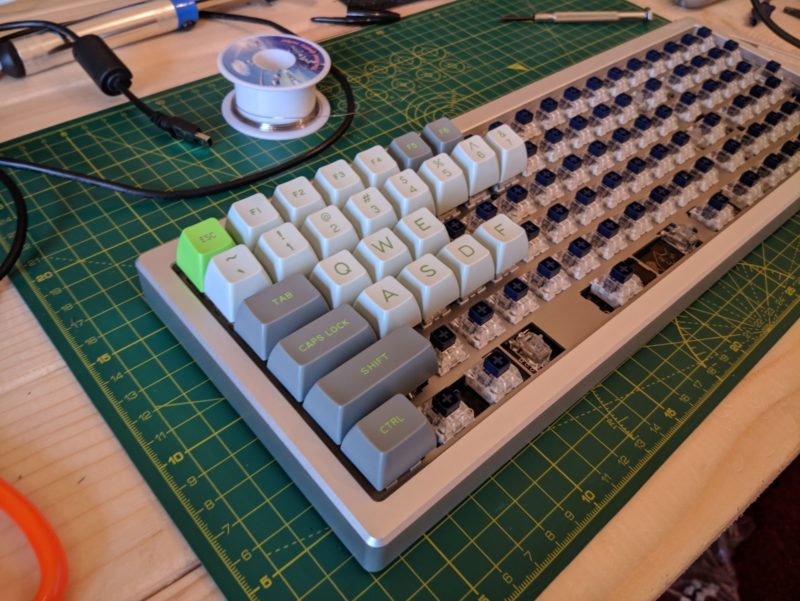
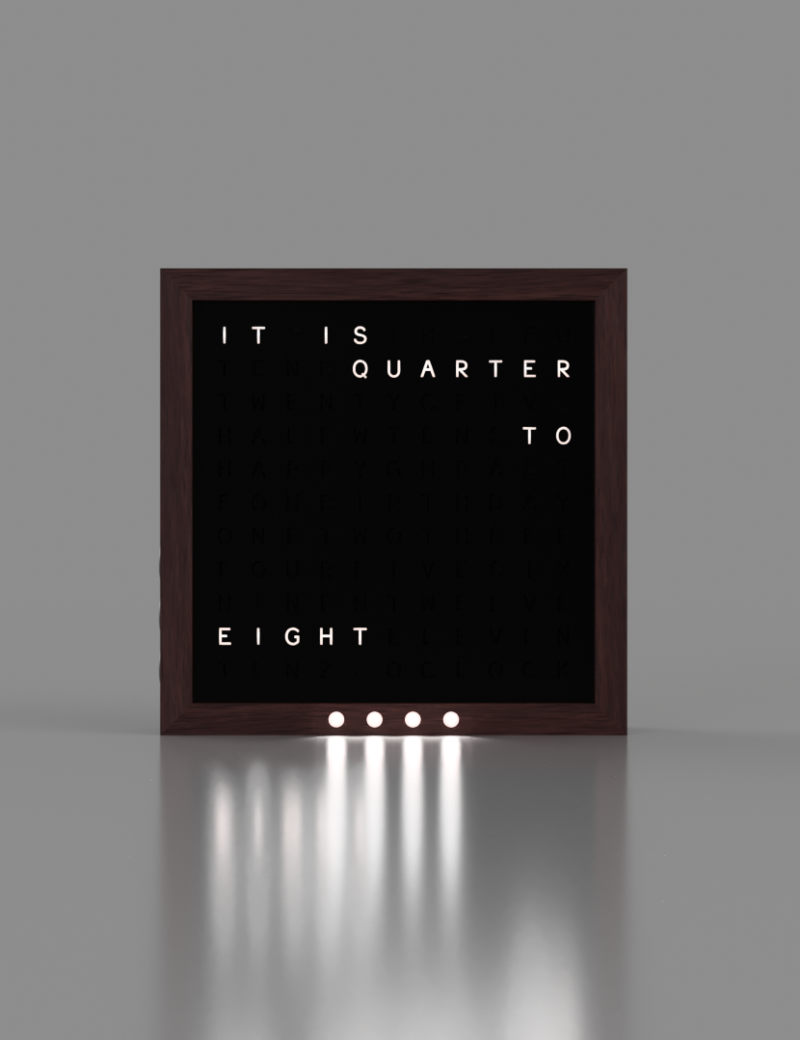
Final Images
Bill of Materials
The BOM can be found here.
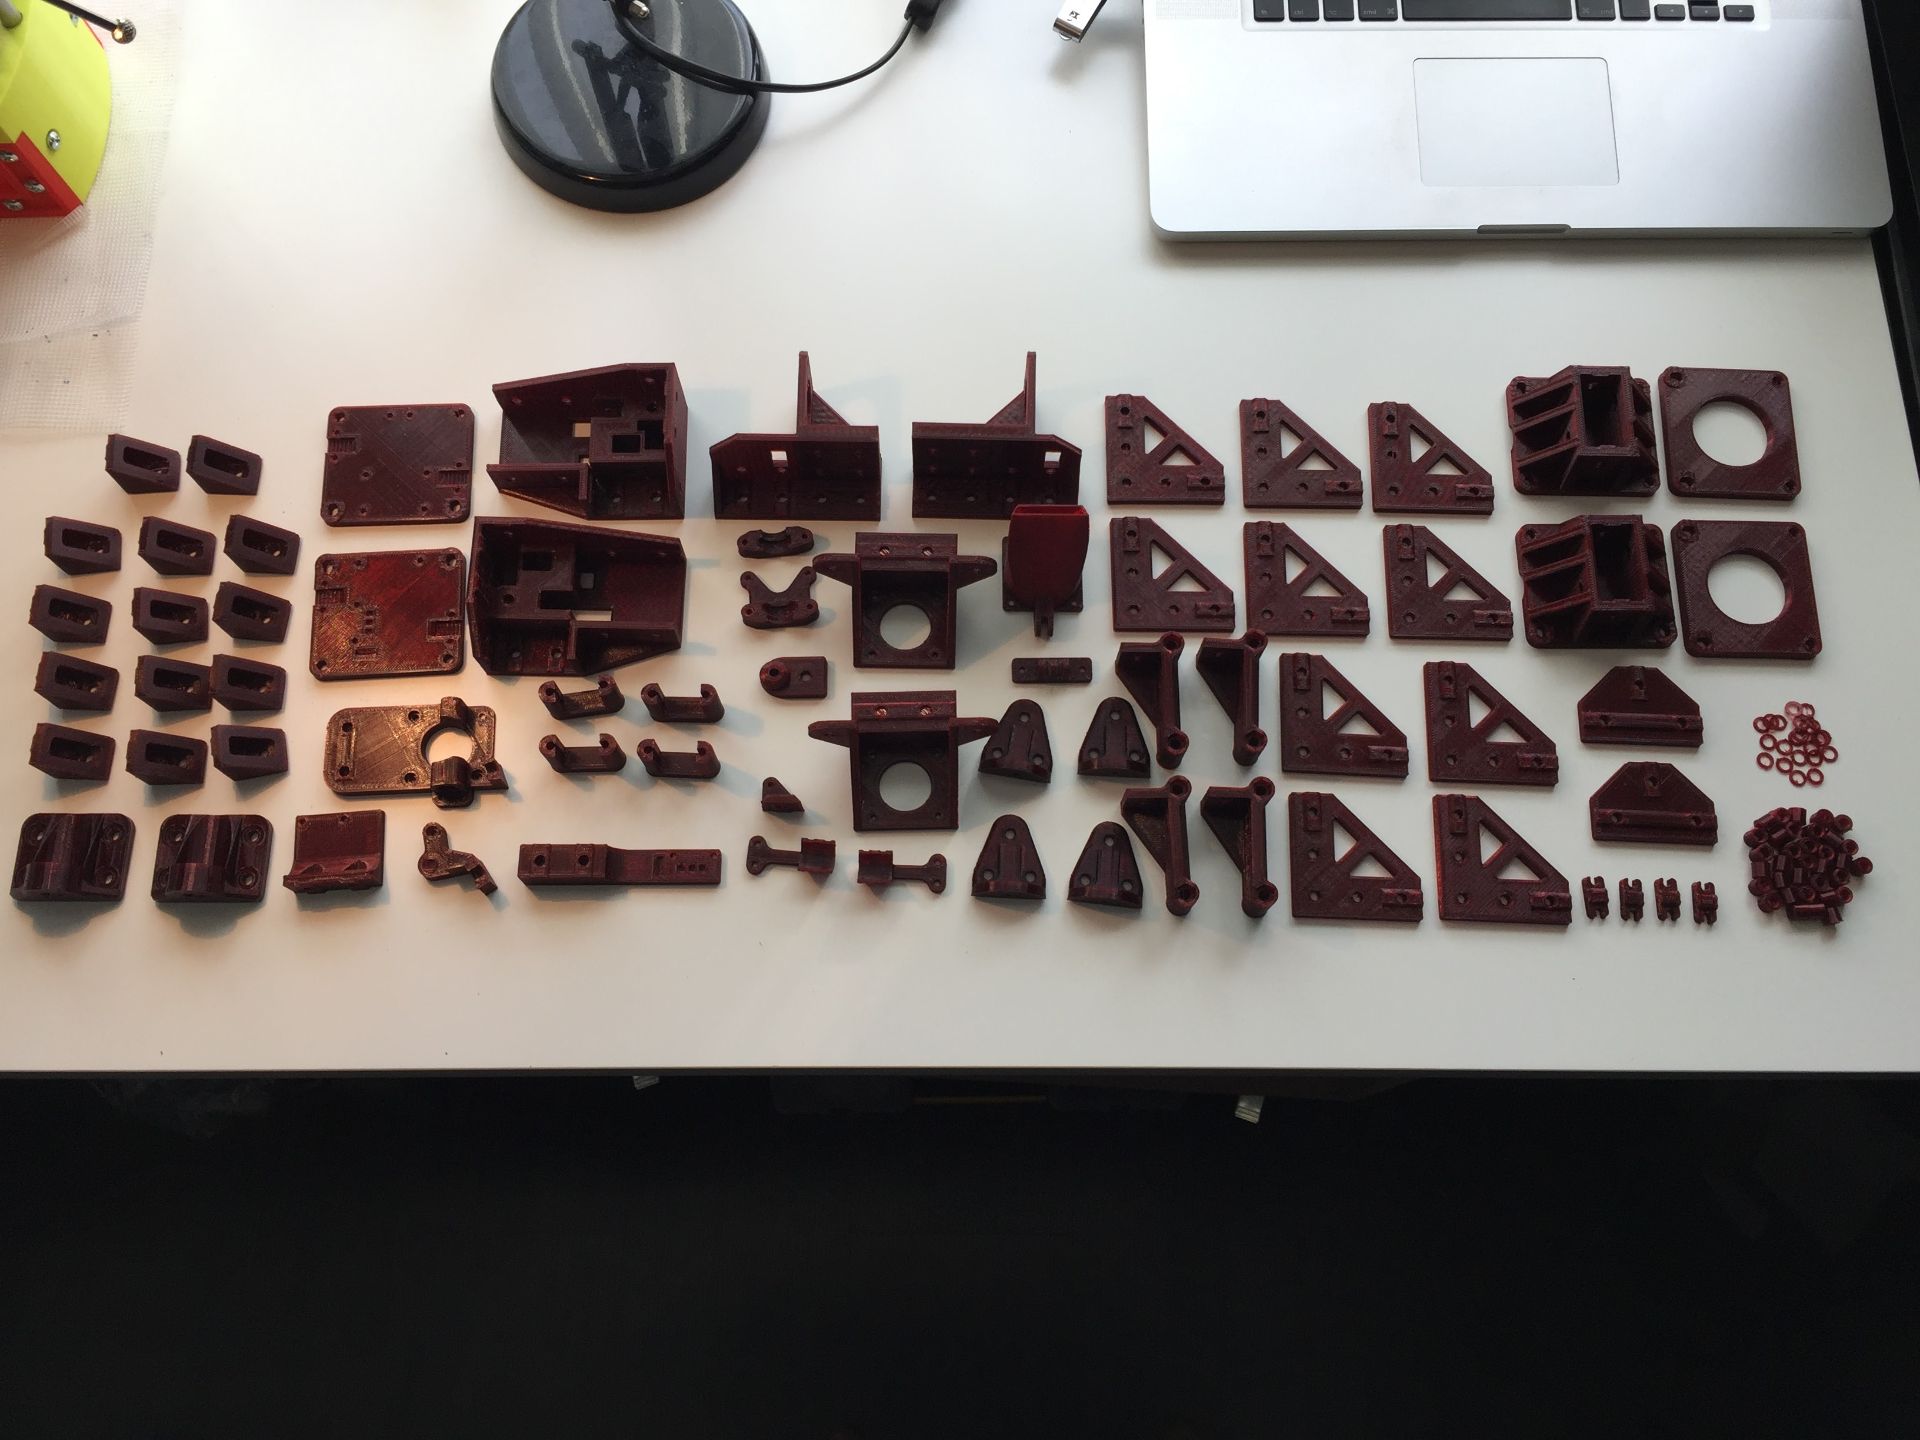
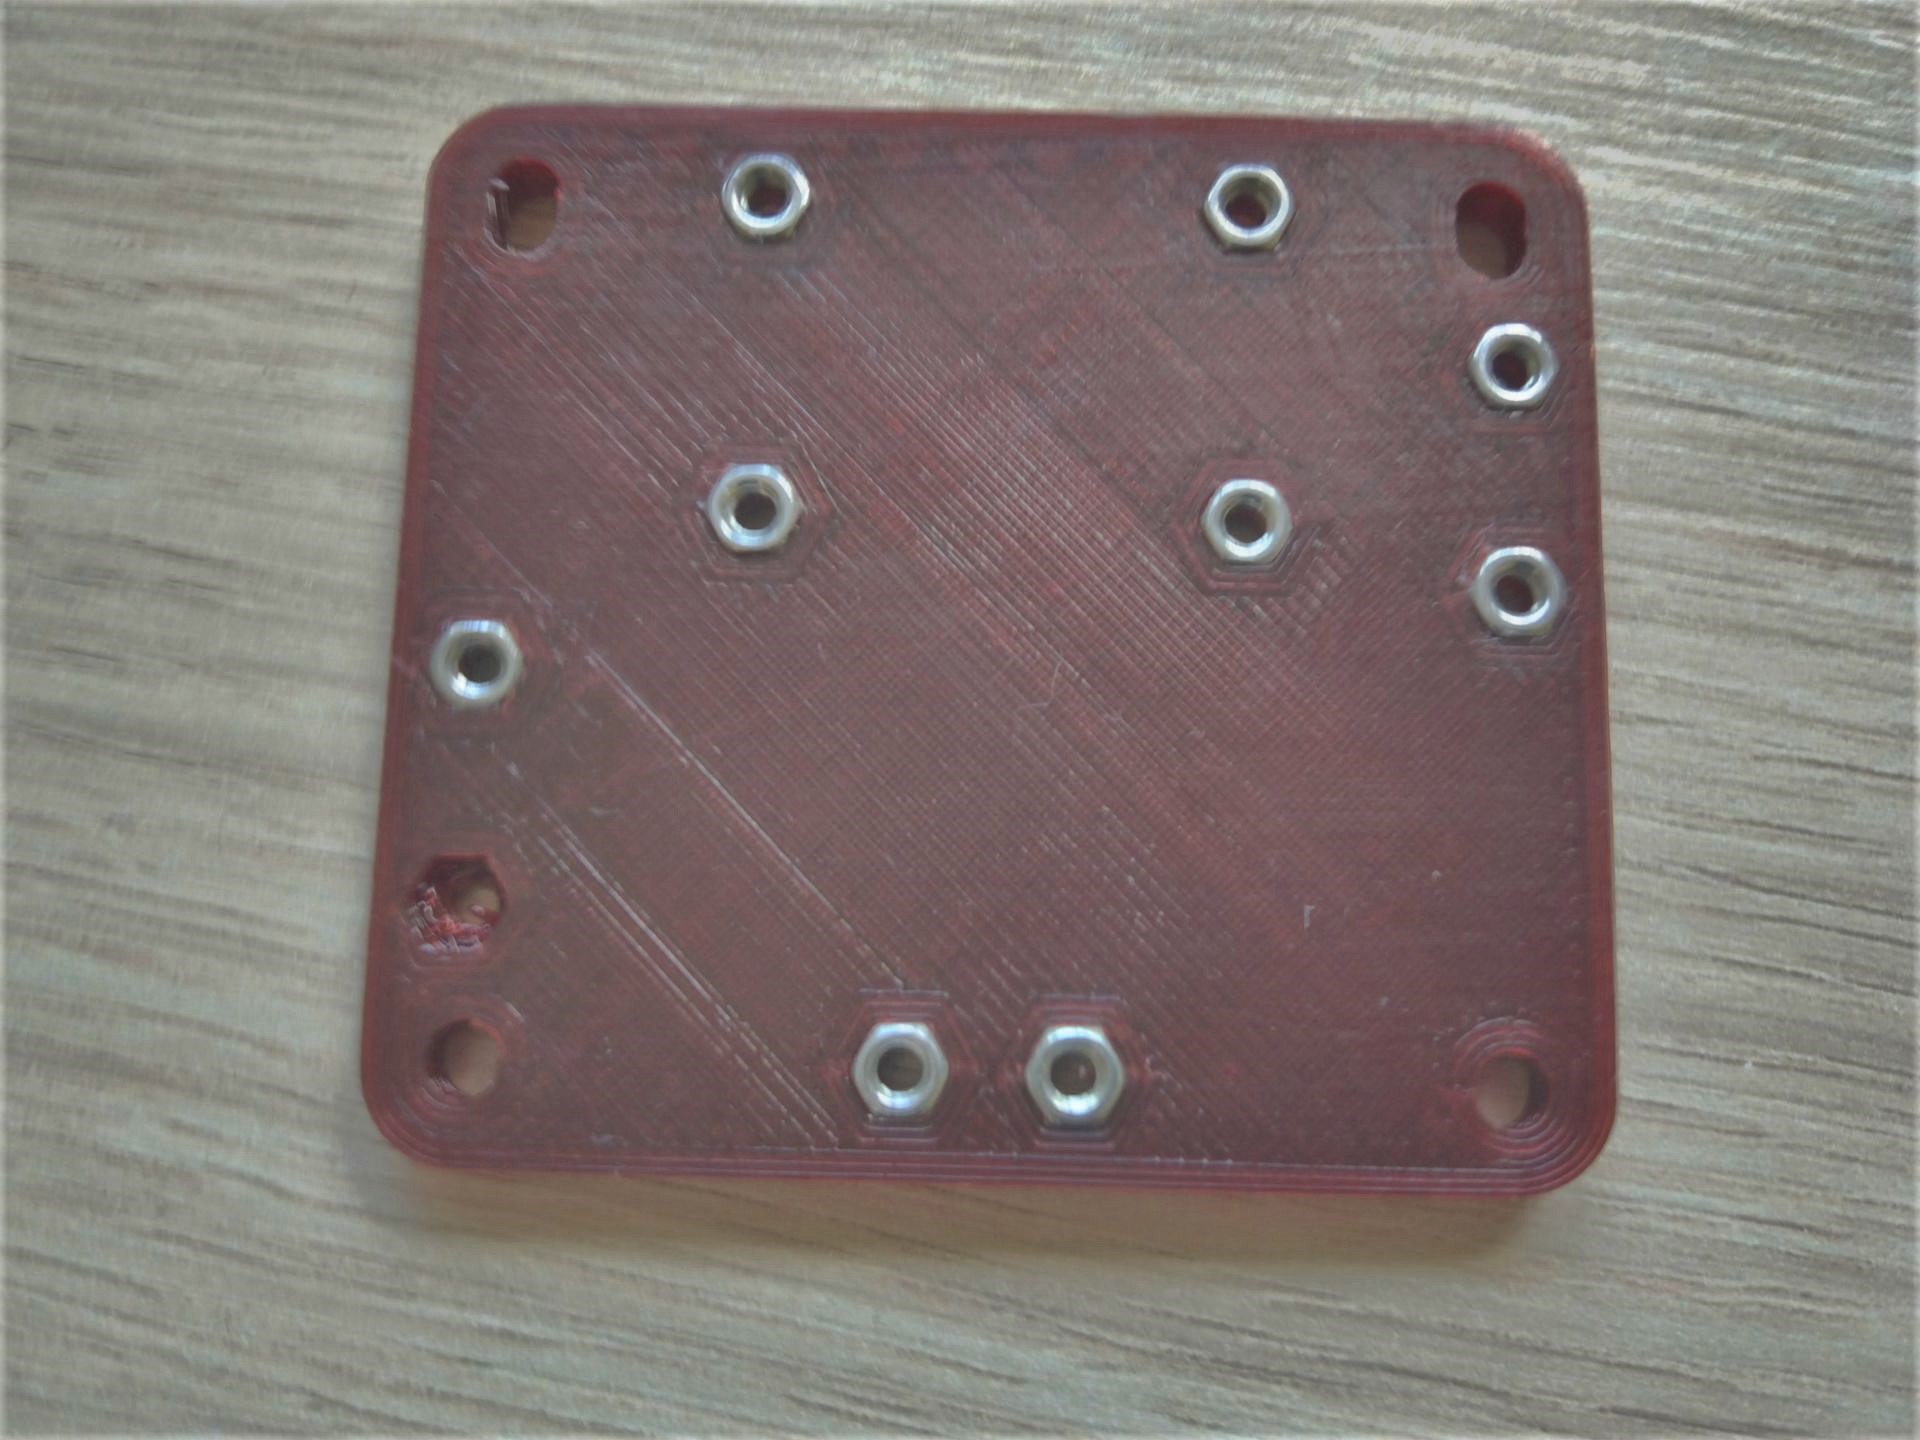
I was able to source hardware from a friend and the printed parts online, so they are not included in the BOM. The parts were printed in Rigid.ink red PETG.
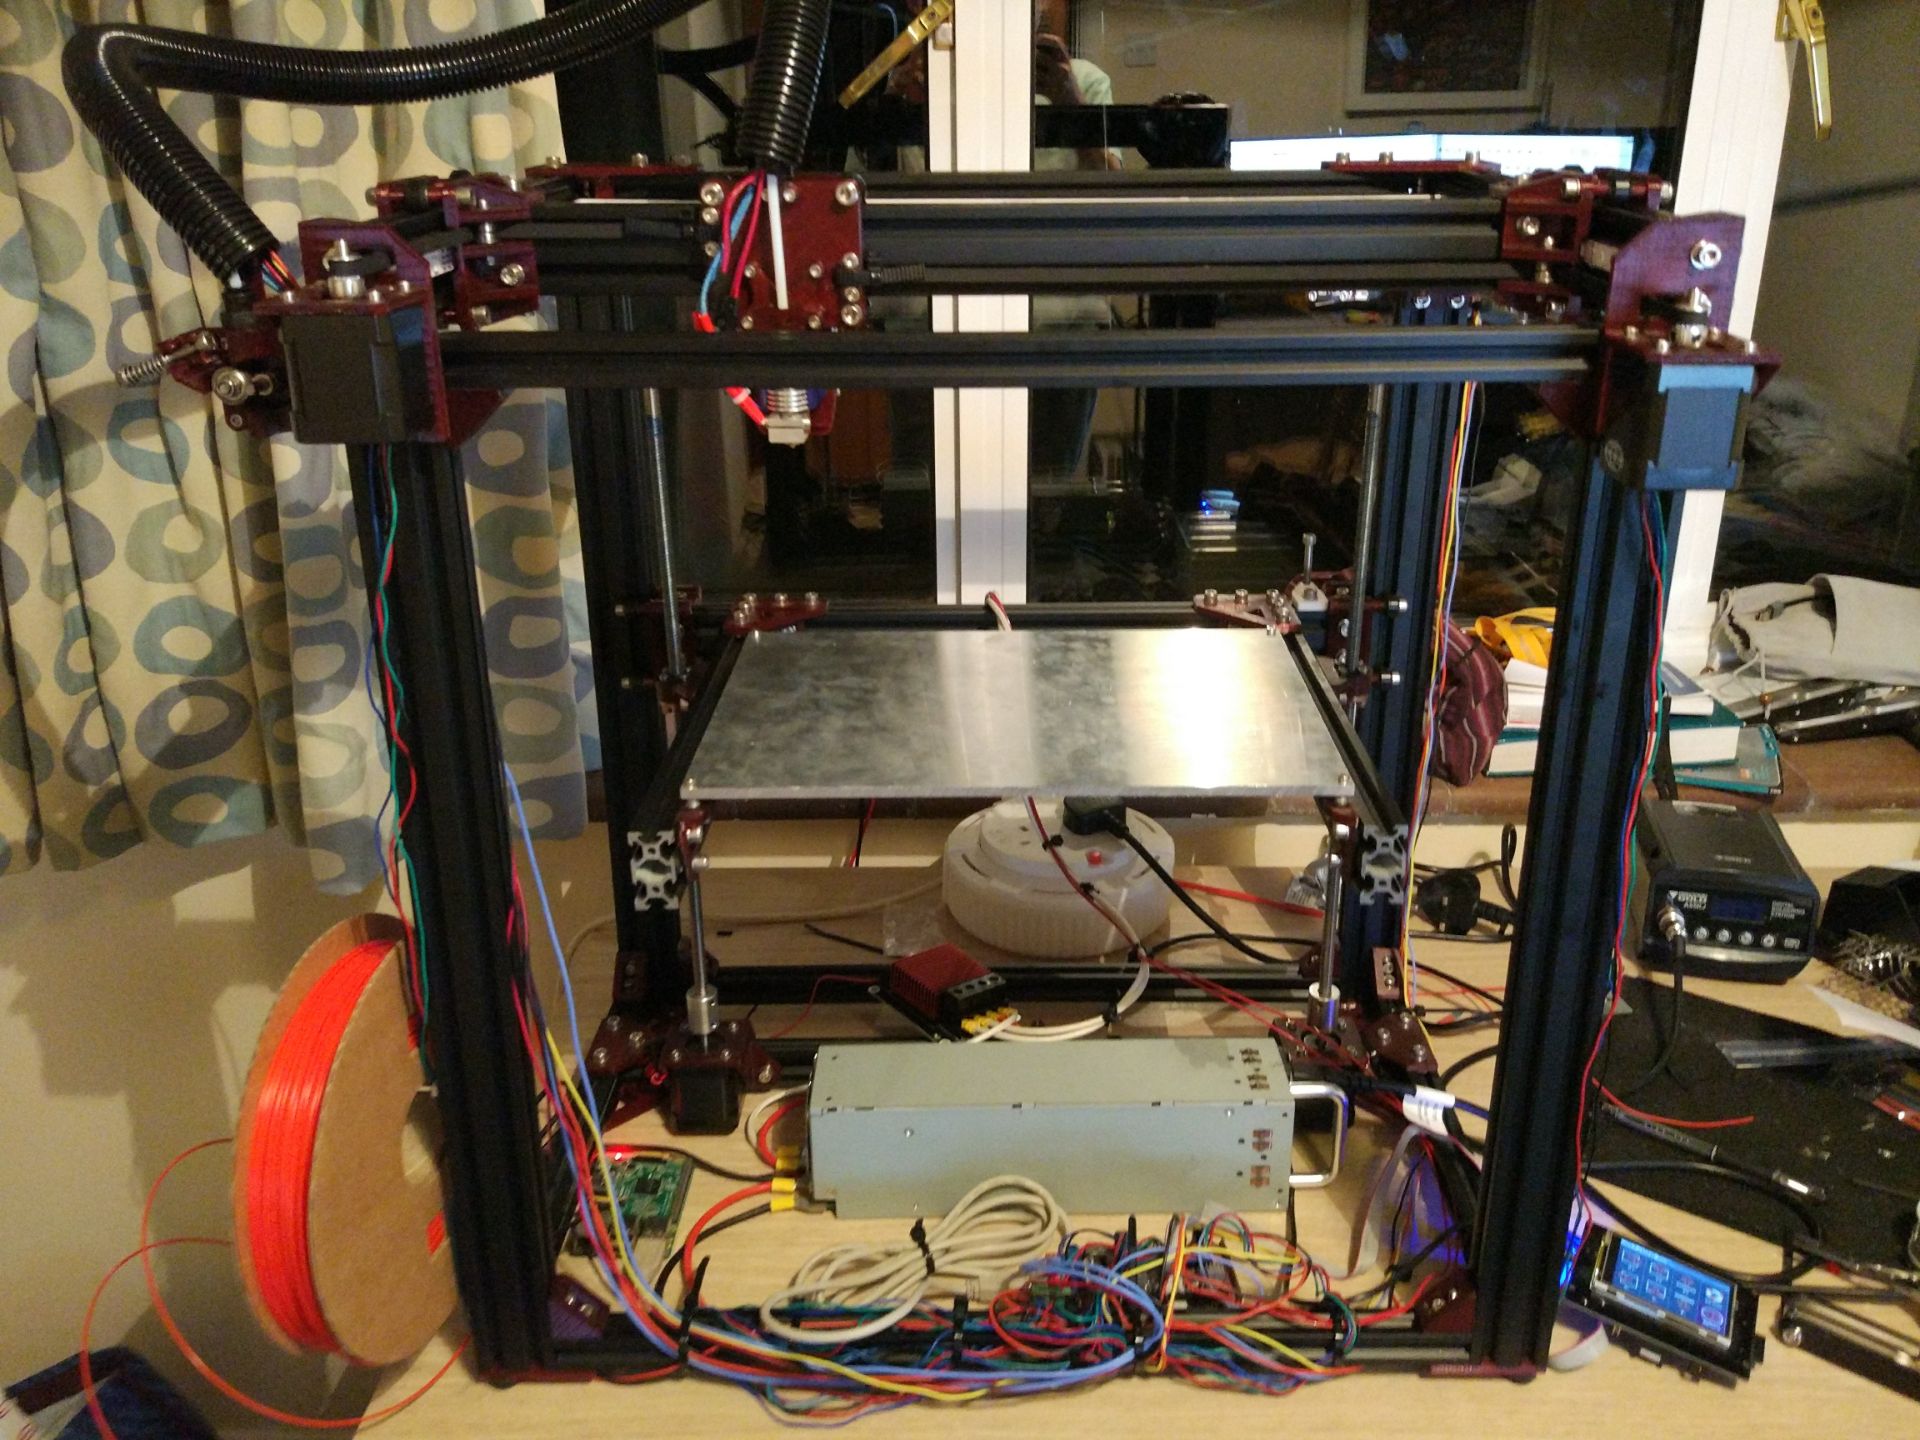
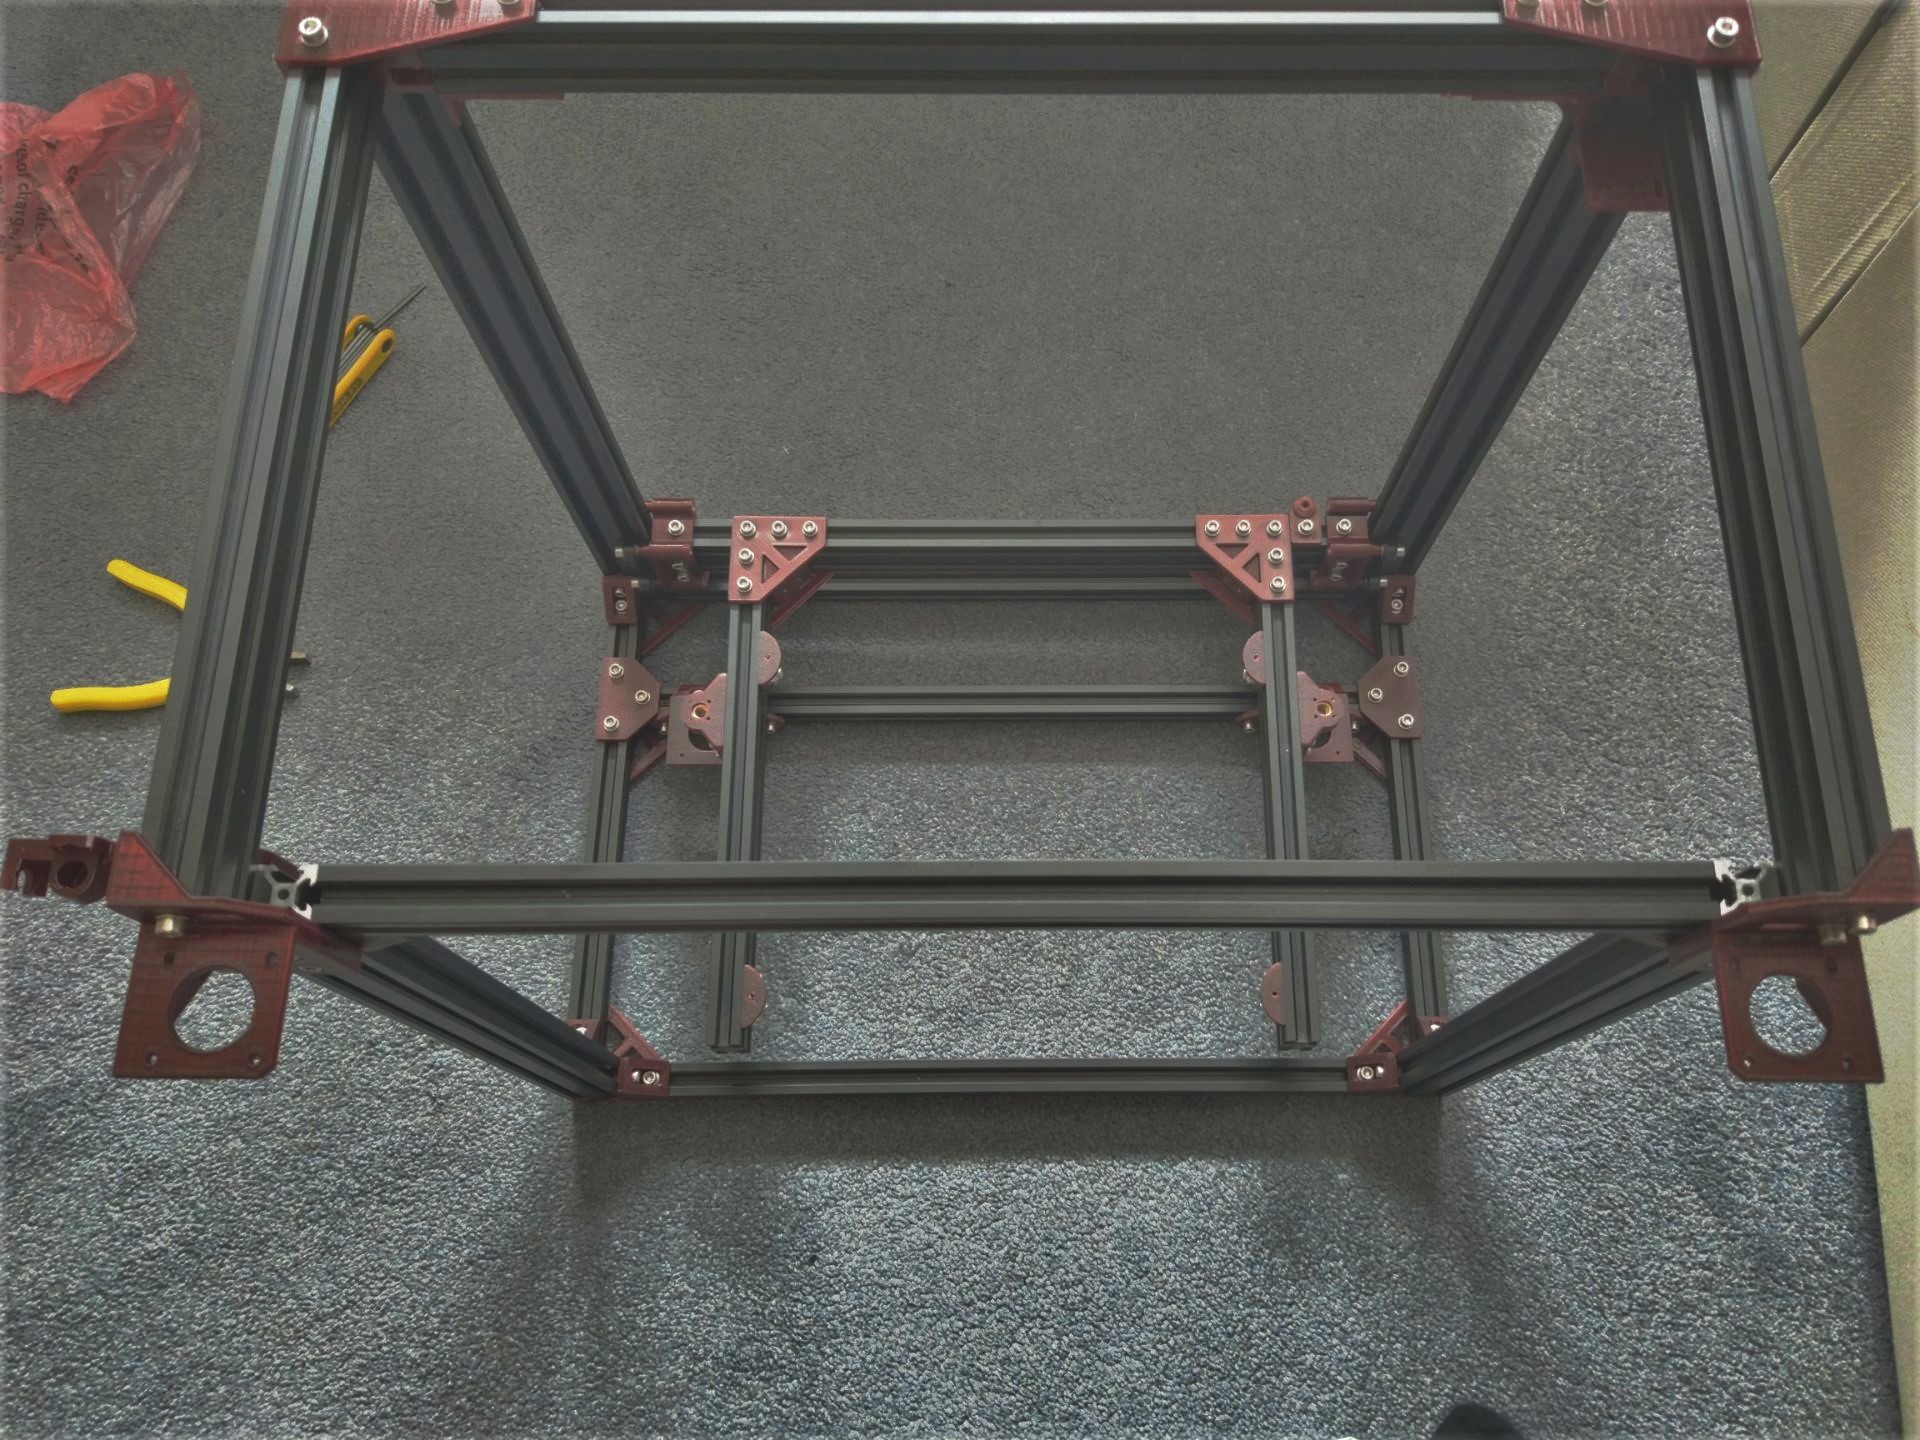
Frame Construction
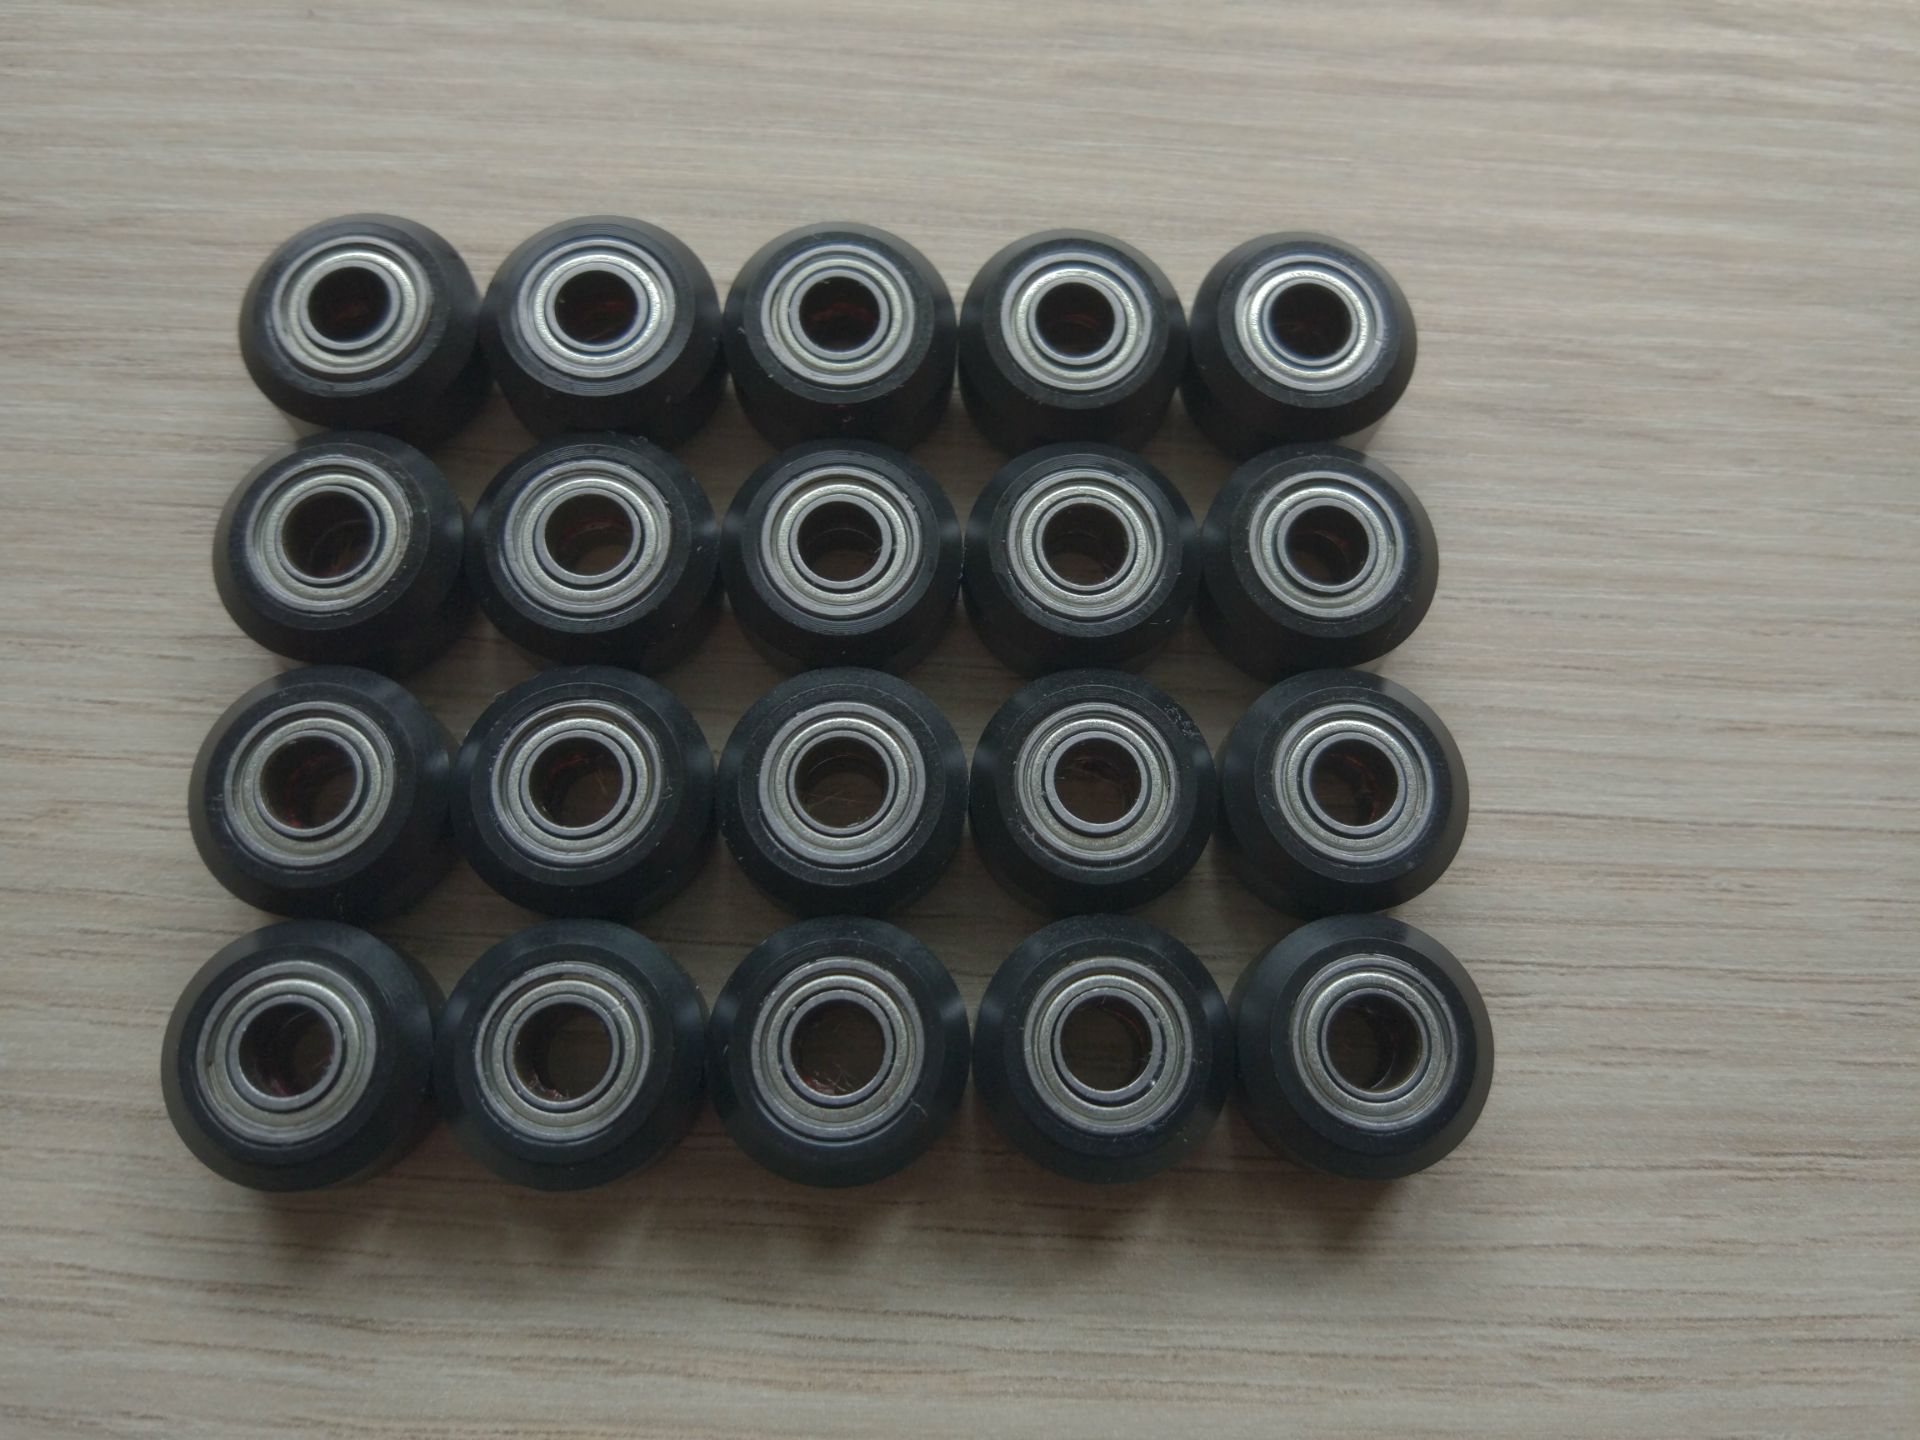

Part preparation was first on the to-do list. I pushed all of the Mini V-Wheels together, with the 3D printed washers inside using a book, careful to apply pressure evenly. For each of the parts that guide belts, I screwed the bearings in and tightened them down. Finally, I pushed in all necessary screws and washers and then partially fastened a square nut to each, leaving it loose so it could slide into the V-Rails.
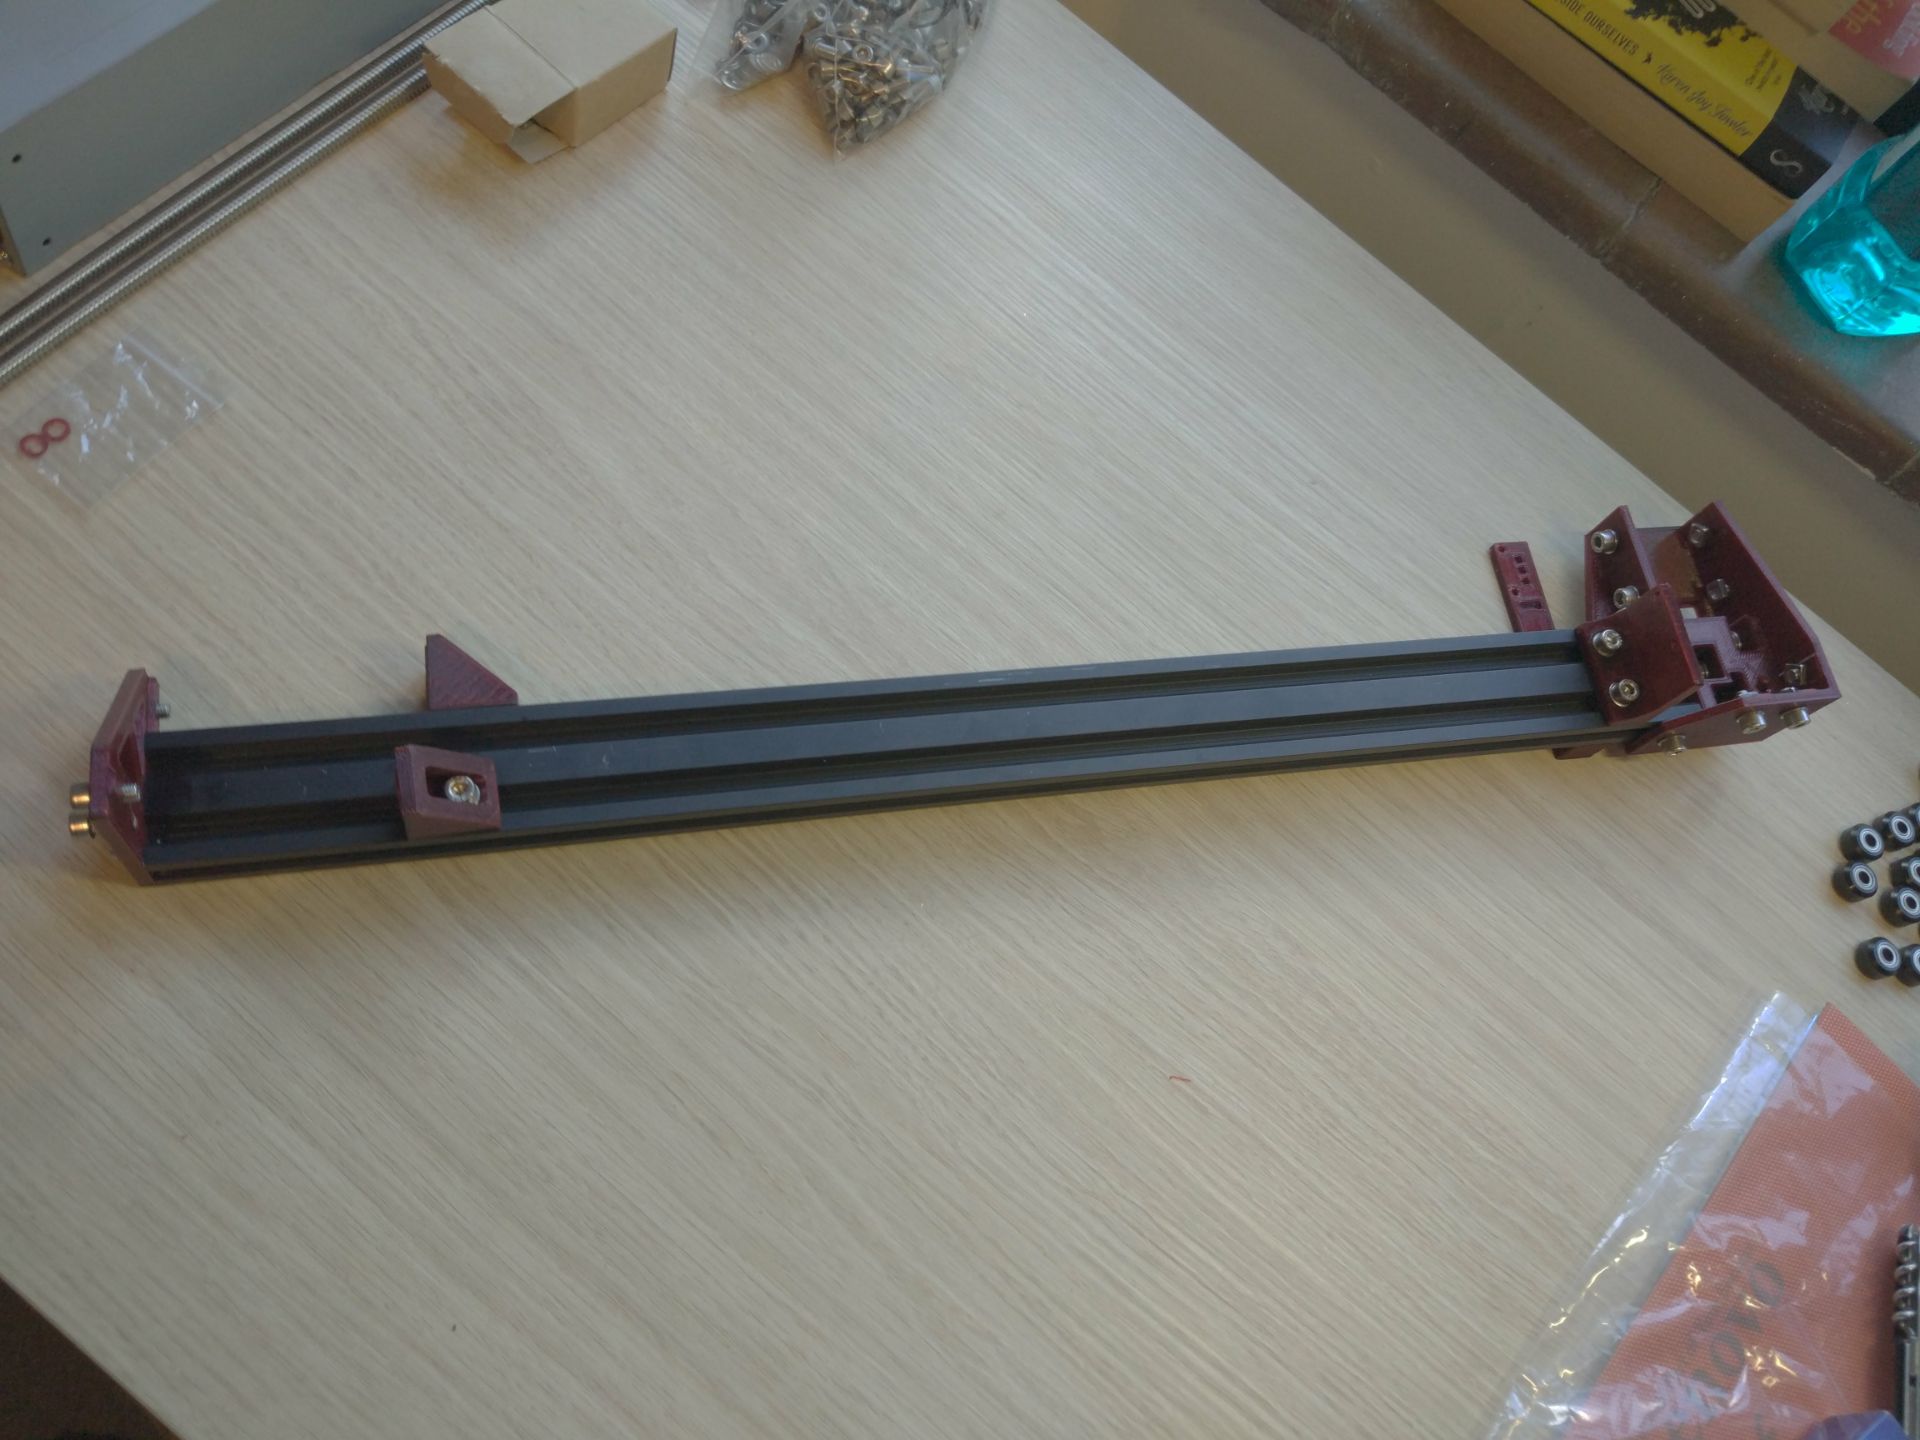
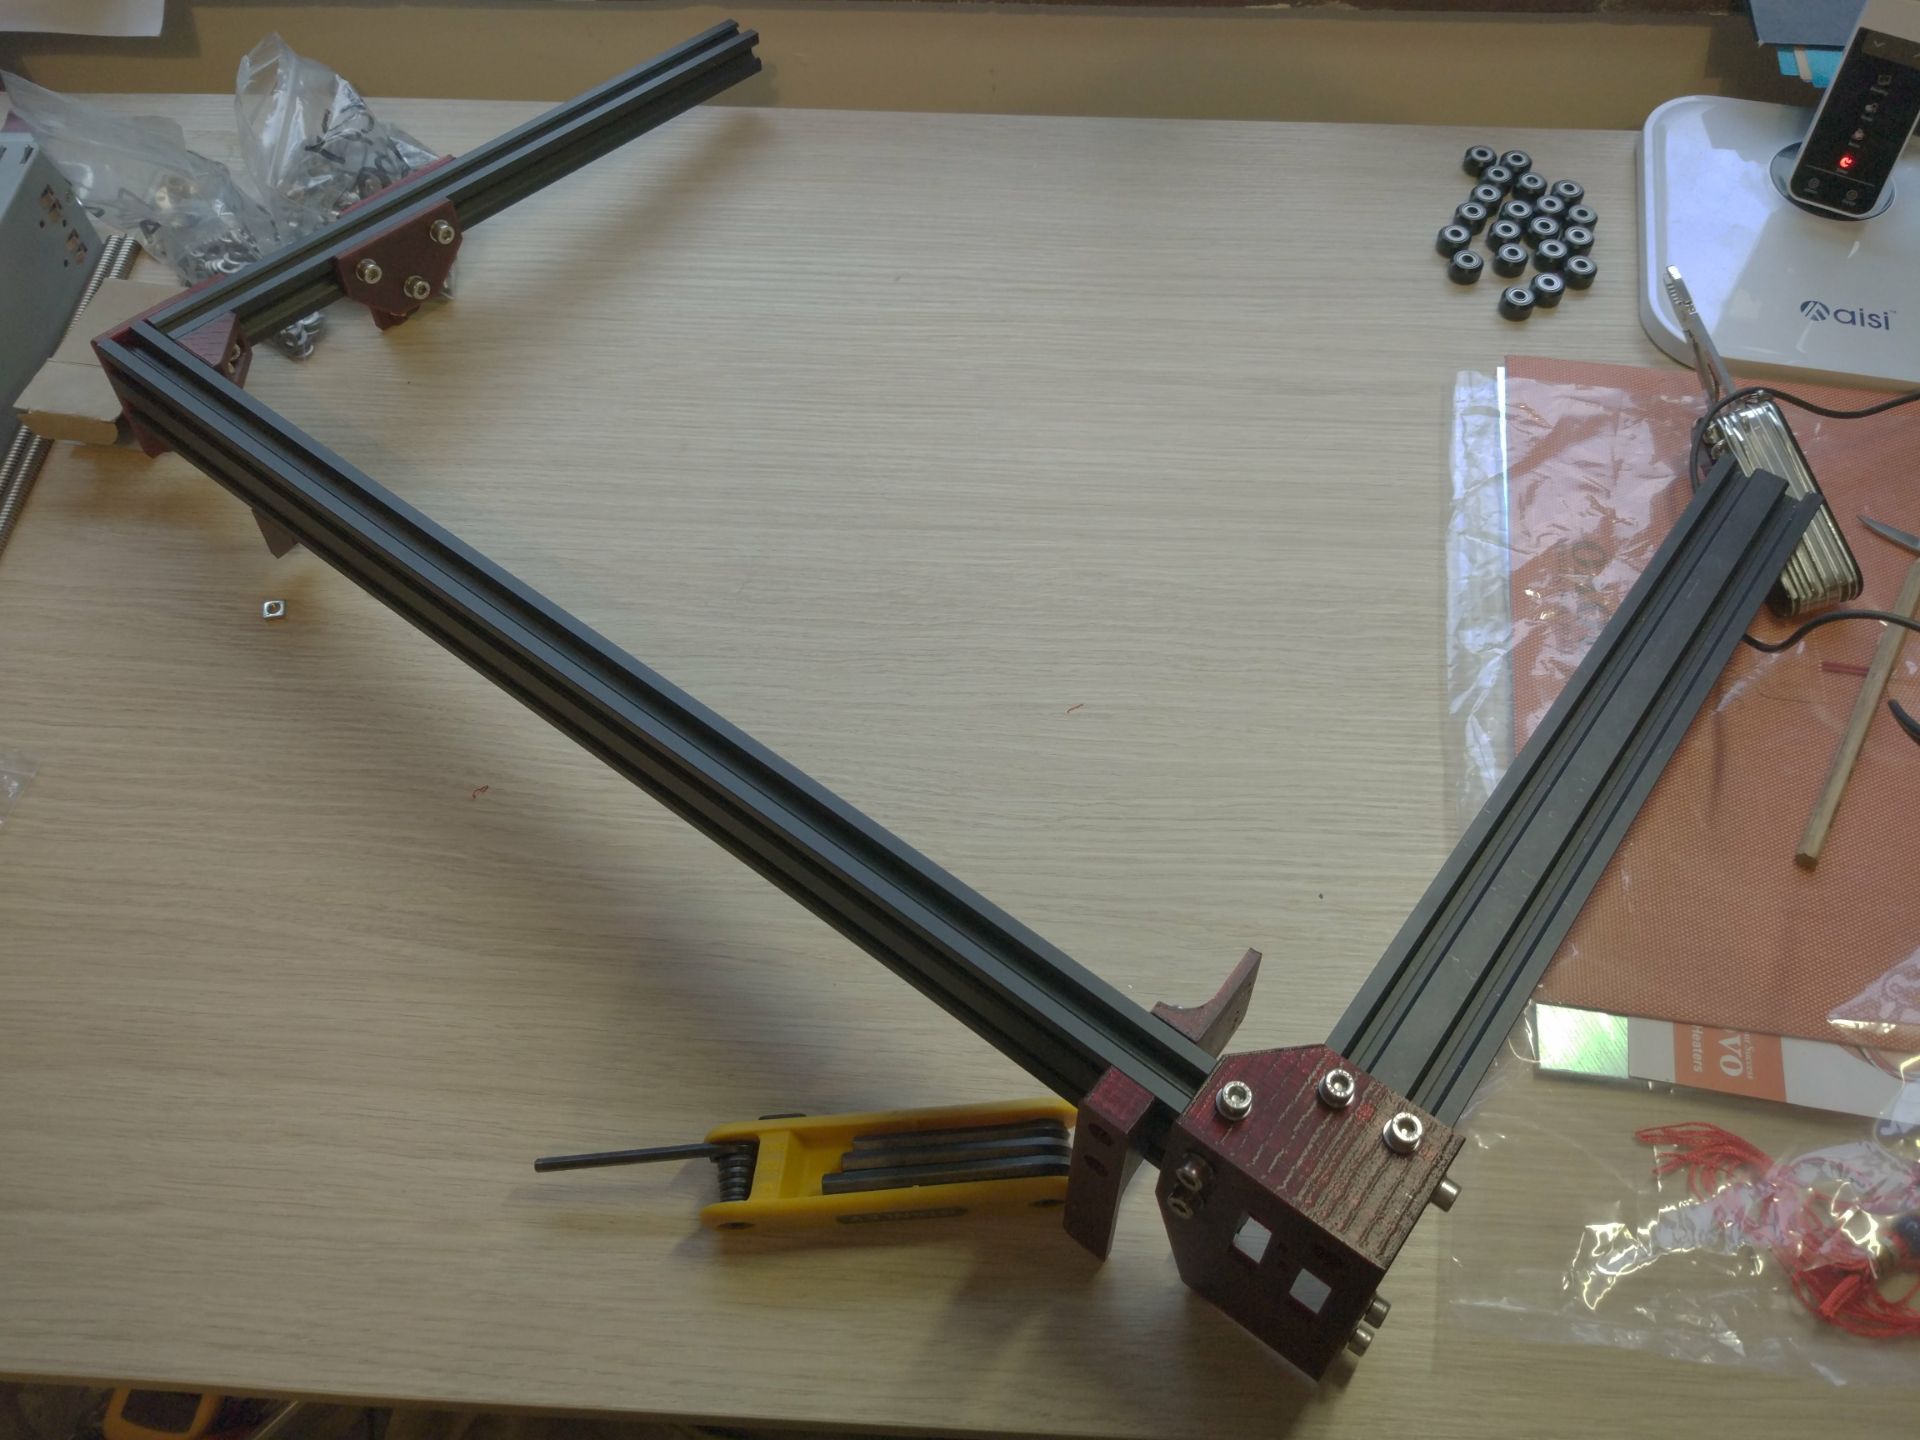
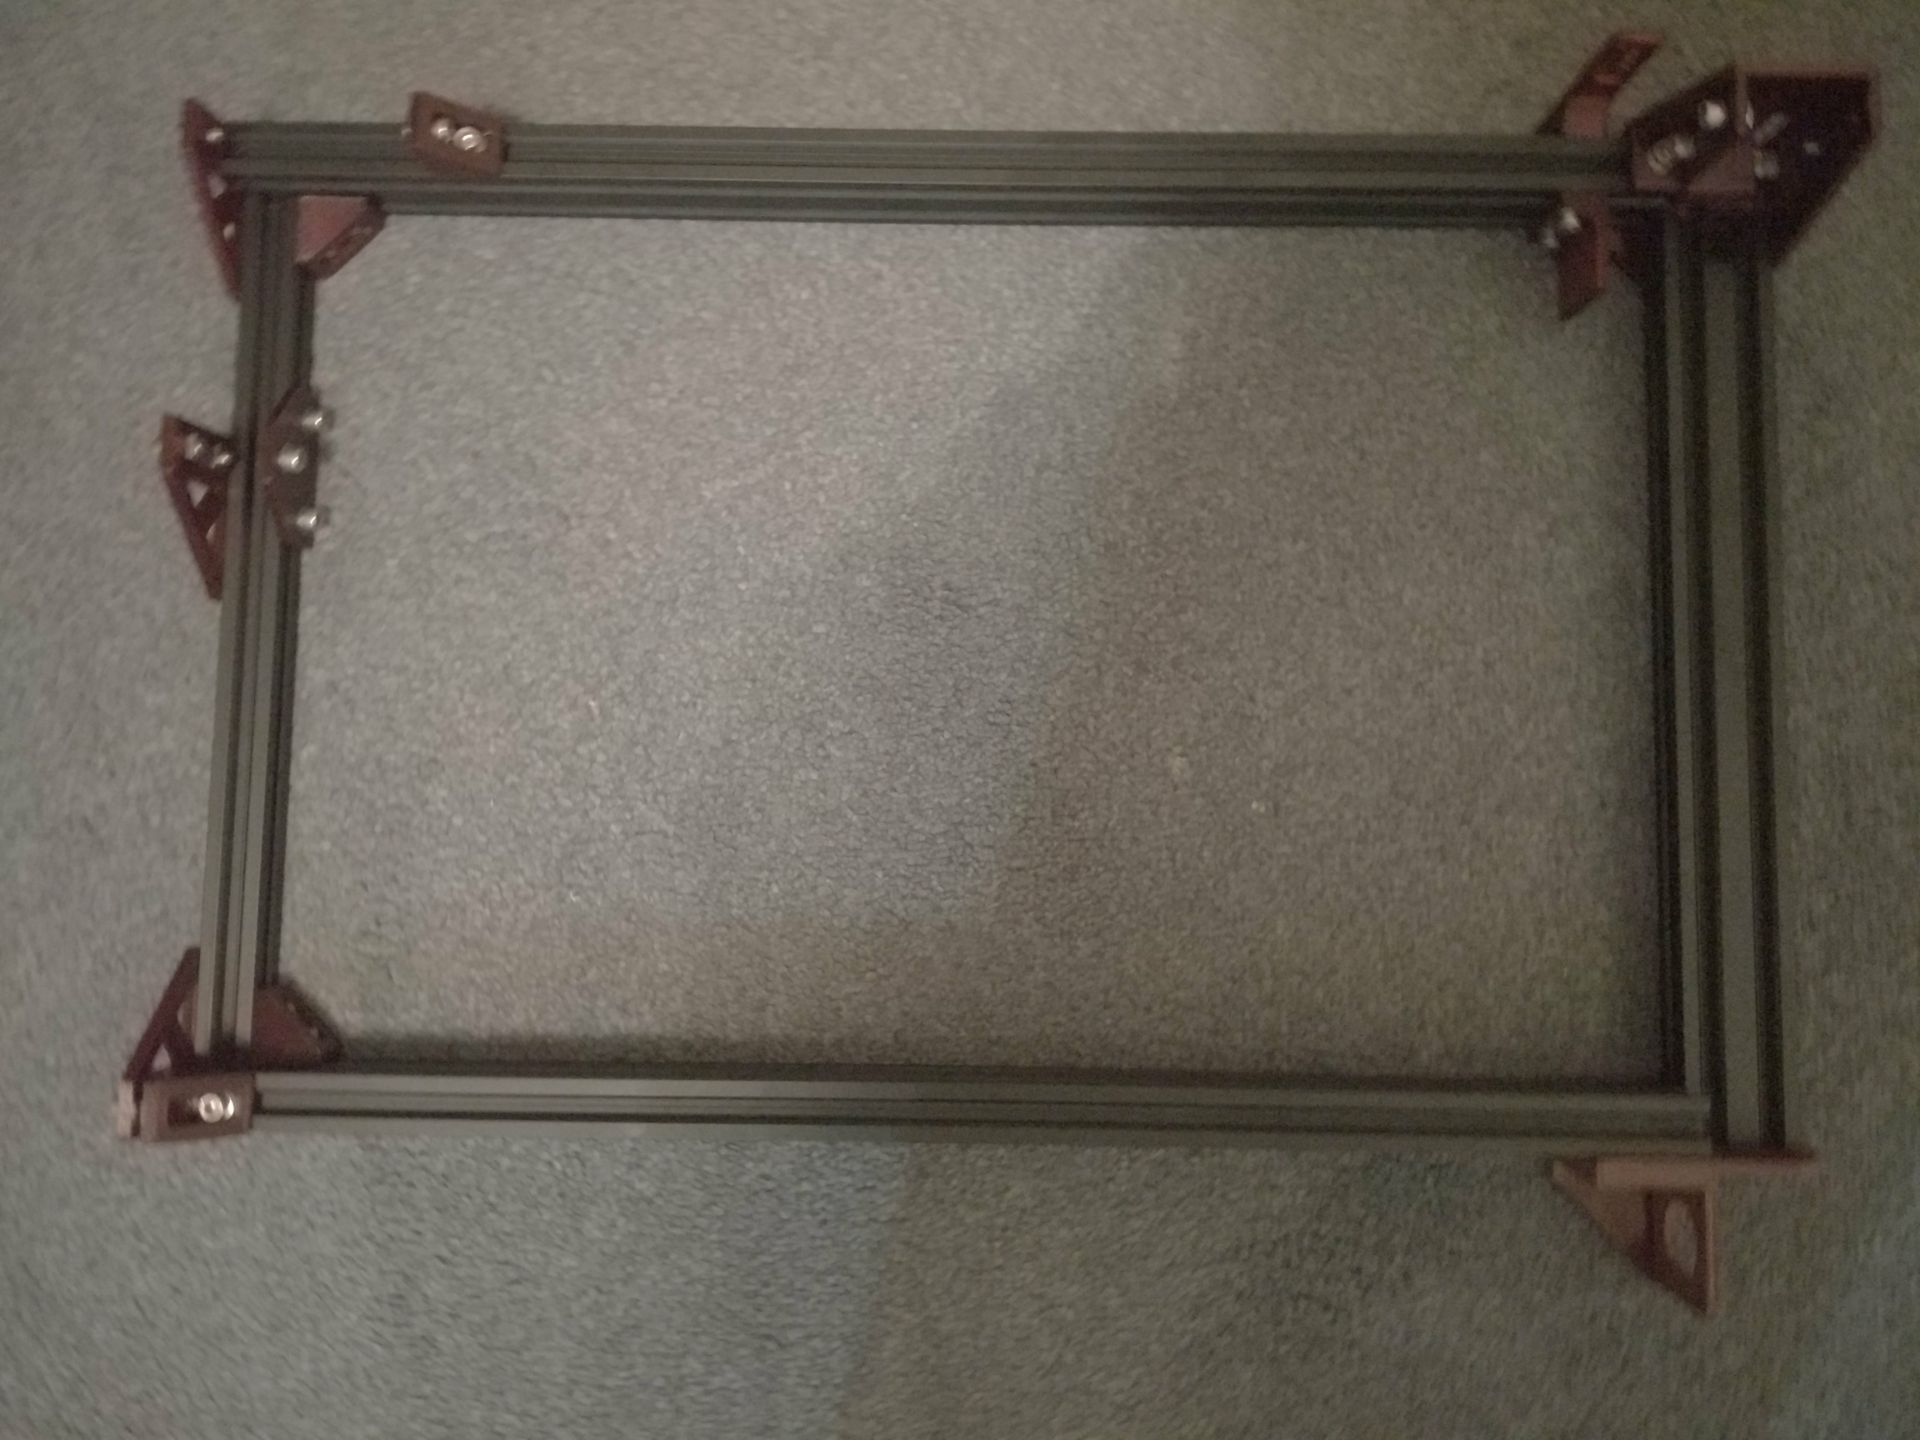
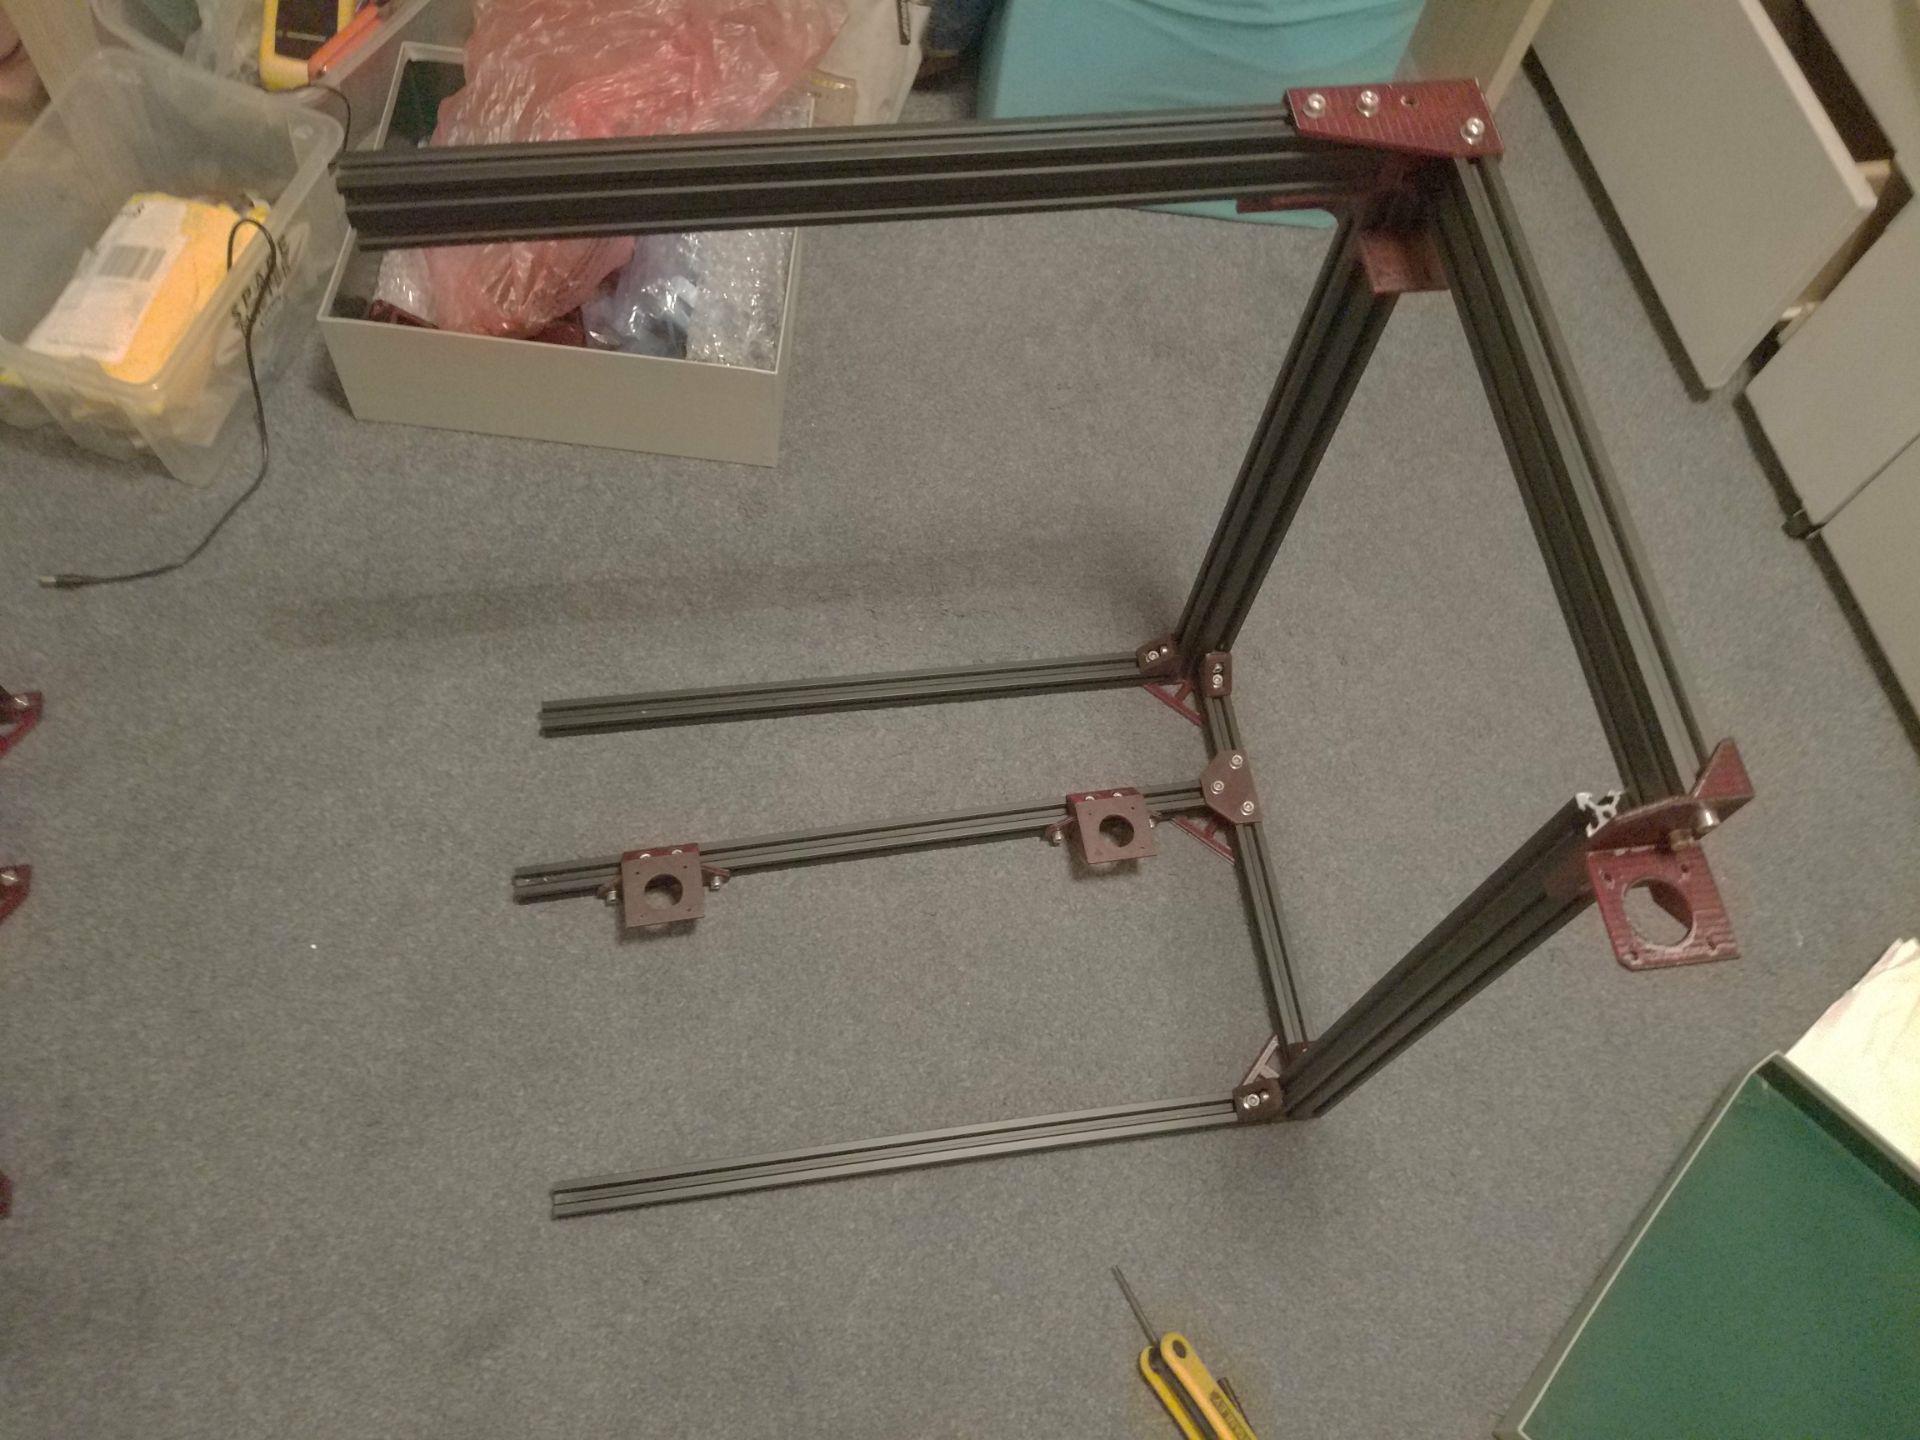
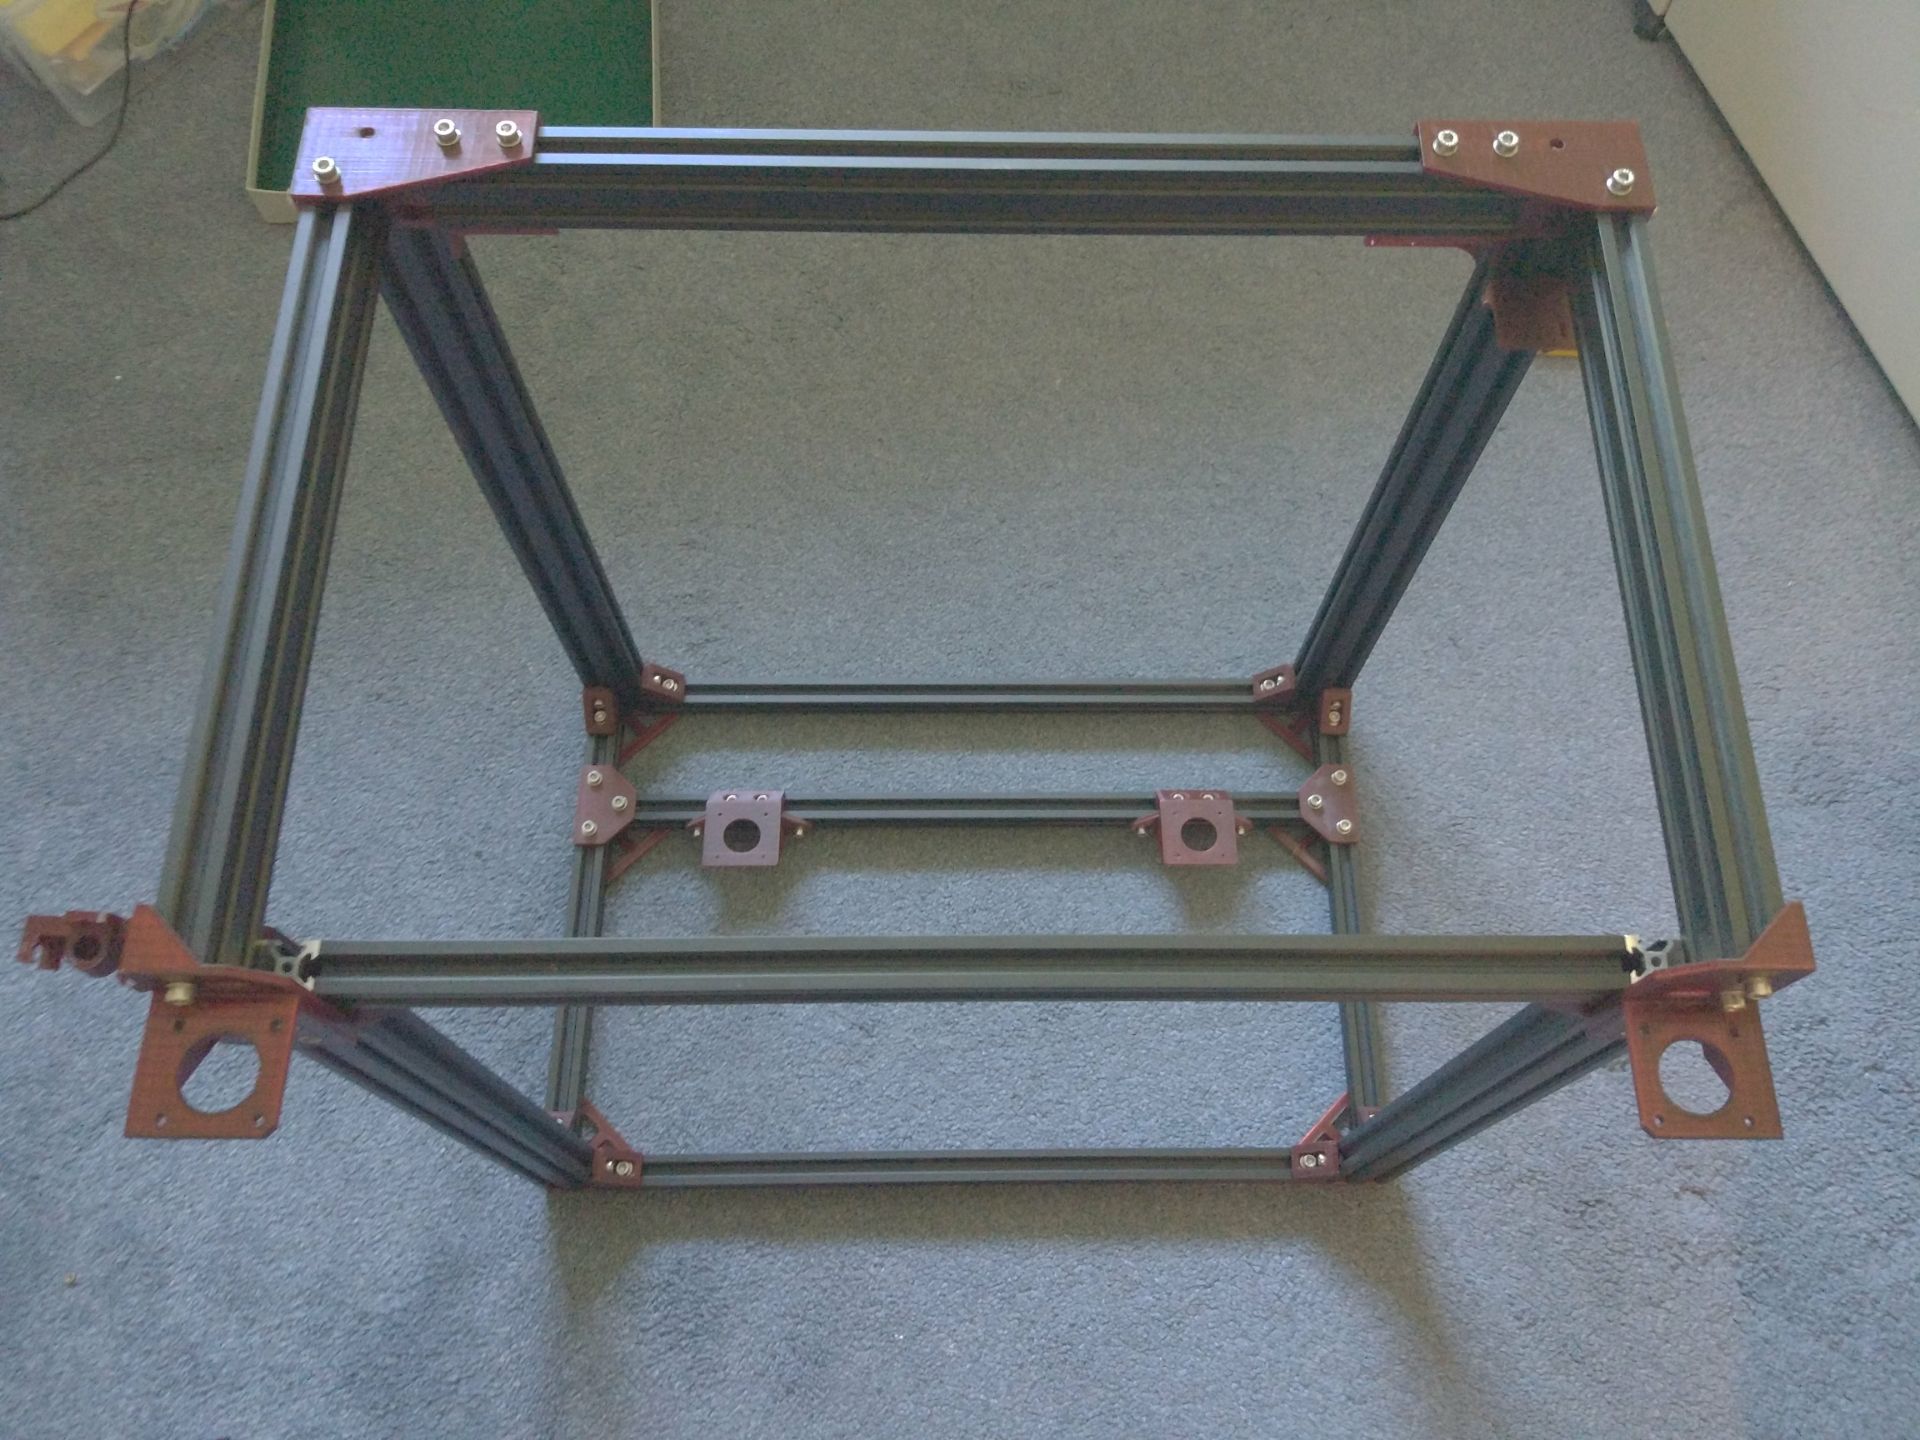
Next came the frame construction itself. I started by sliding on and securing independent pieces and then slowly started joining rails together. The Ooznest kit is great as each rail is labelled according to the tutorial diagram, all threads are also pre-tapped. After assembling one side of the printer I started securing central sections, I did not tighten down the leadscrew motor mounts fully as I needed to adjust them later. After lots of fiddling I finally managed to complete it, the frame is extremely strong and definitely suited to the job.
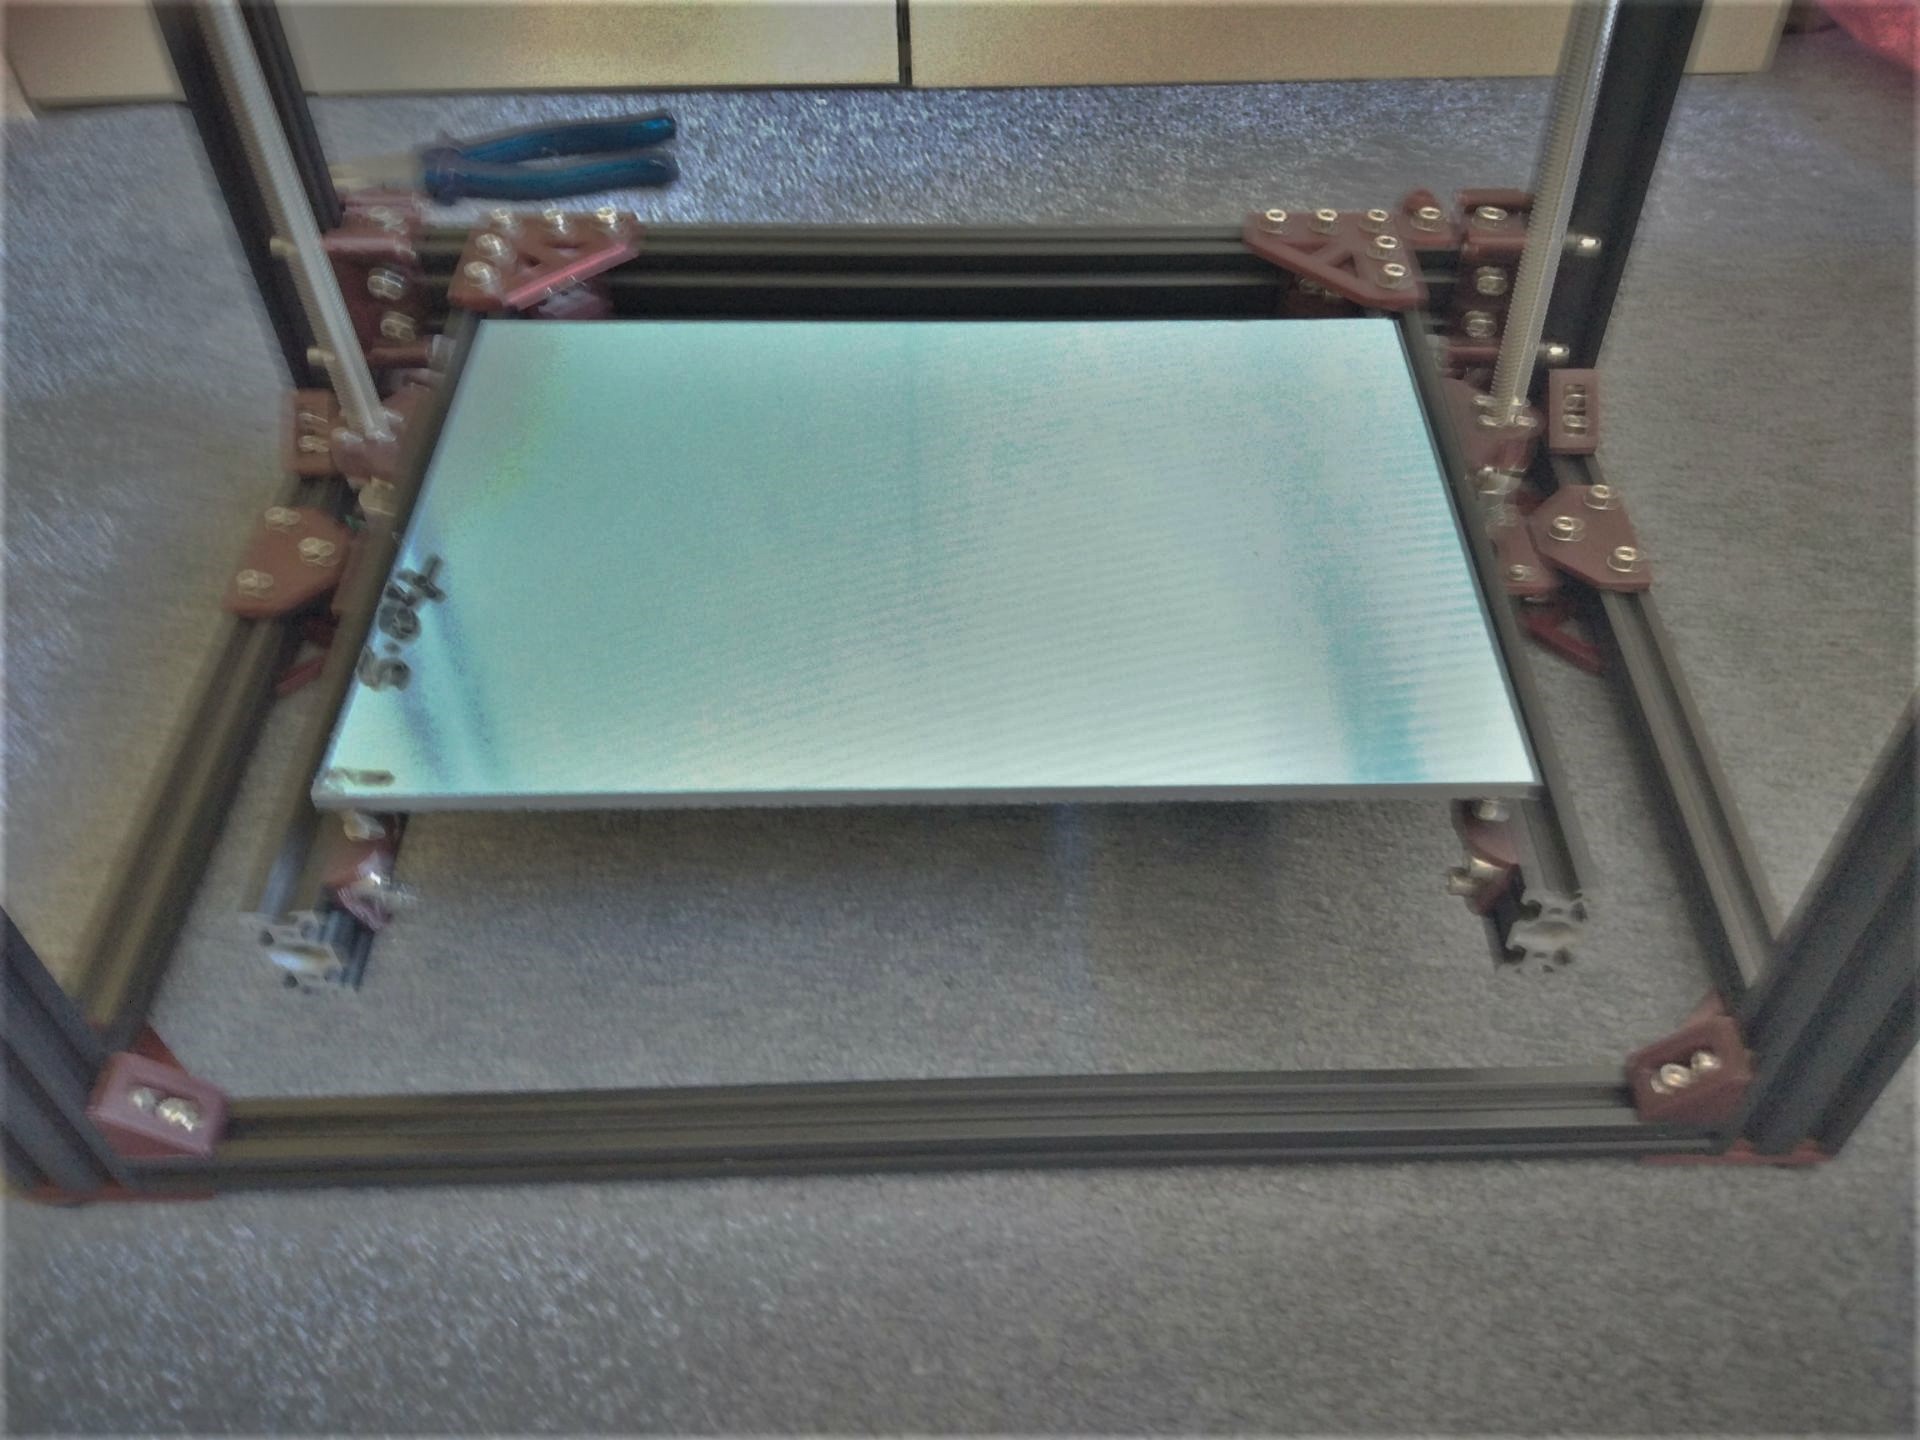
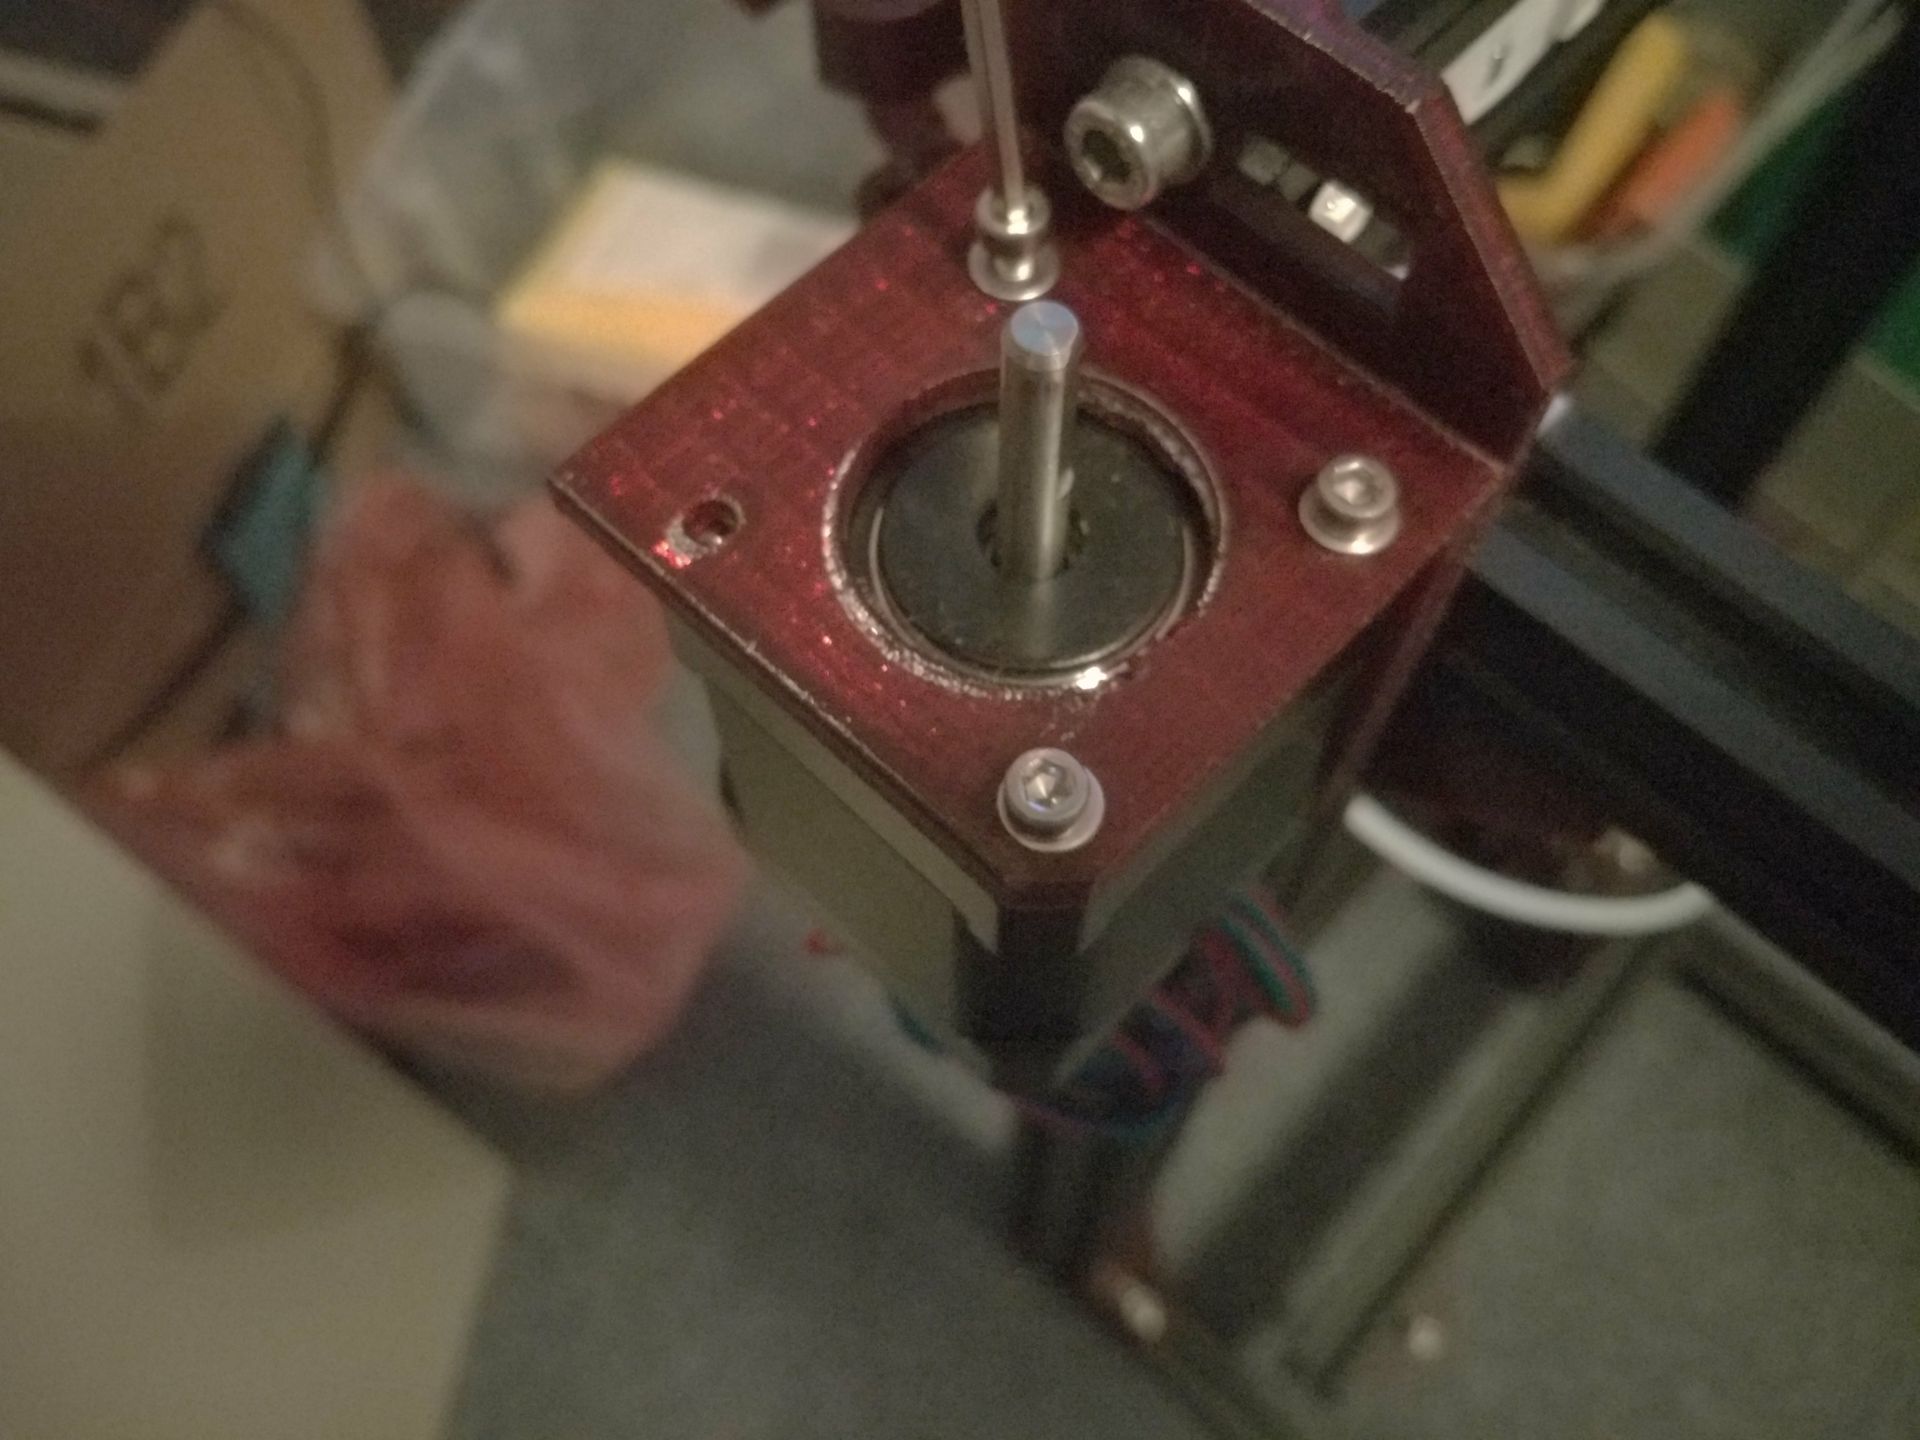
After finishing the main frame, I started Z axis construction. First I added the gantry, then screwed on all motors for both the Z axis and the CoreXY kinematics. I took my cast aluminium sheet and mounted it on the bed after sticking my heated mat to the bottom (note: I later removed this to add a PEI sheet).


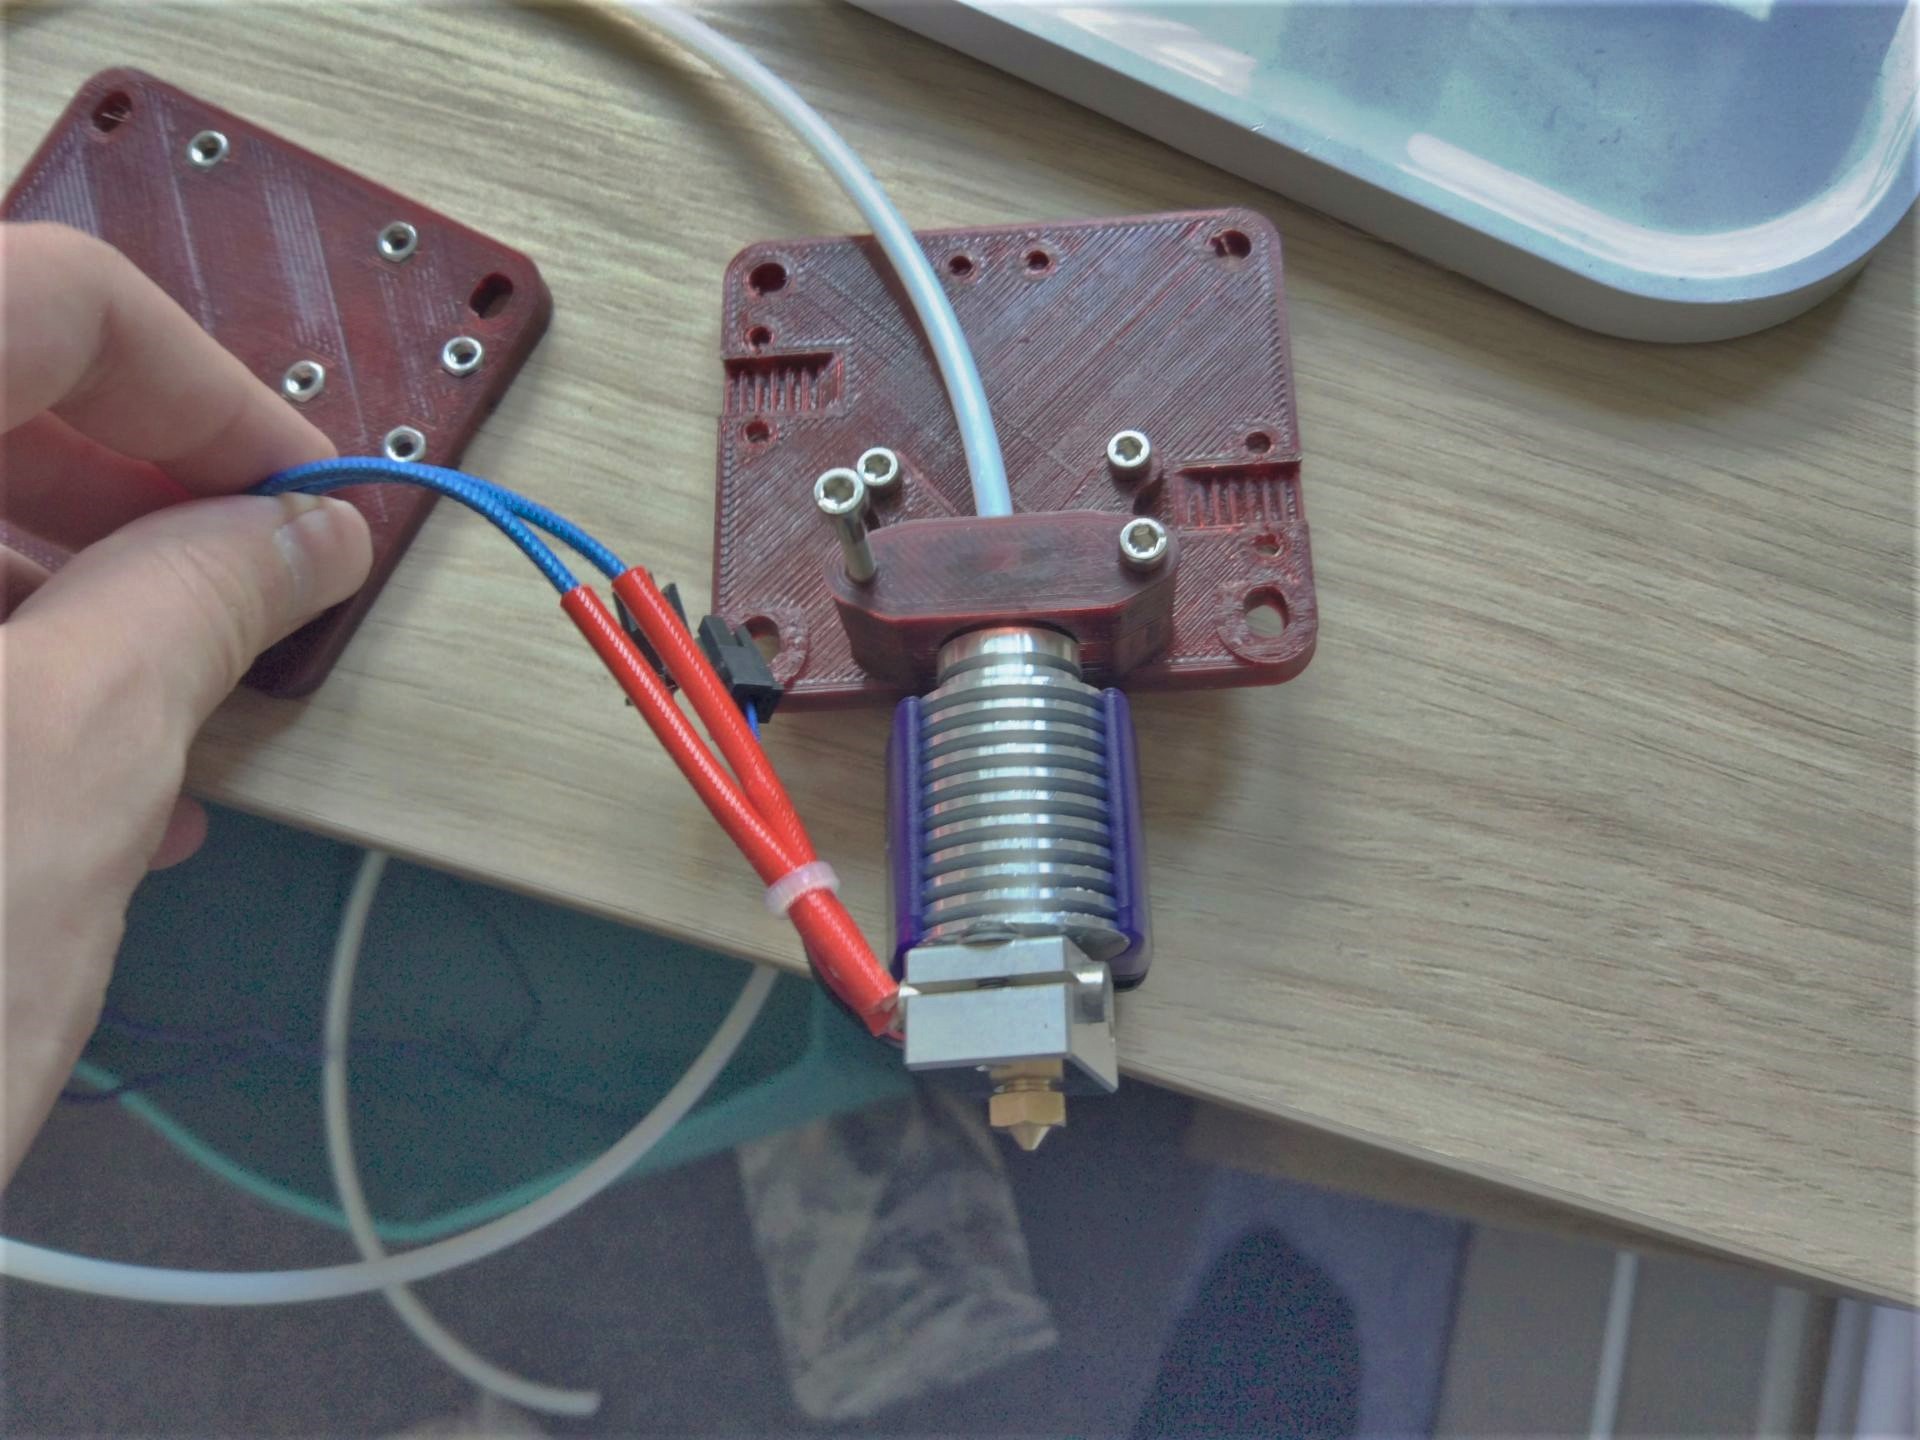
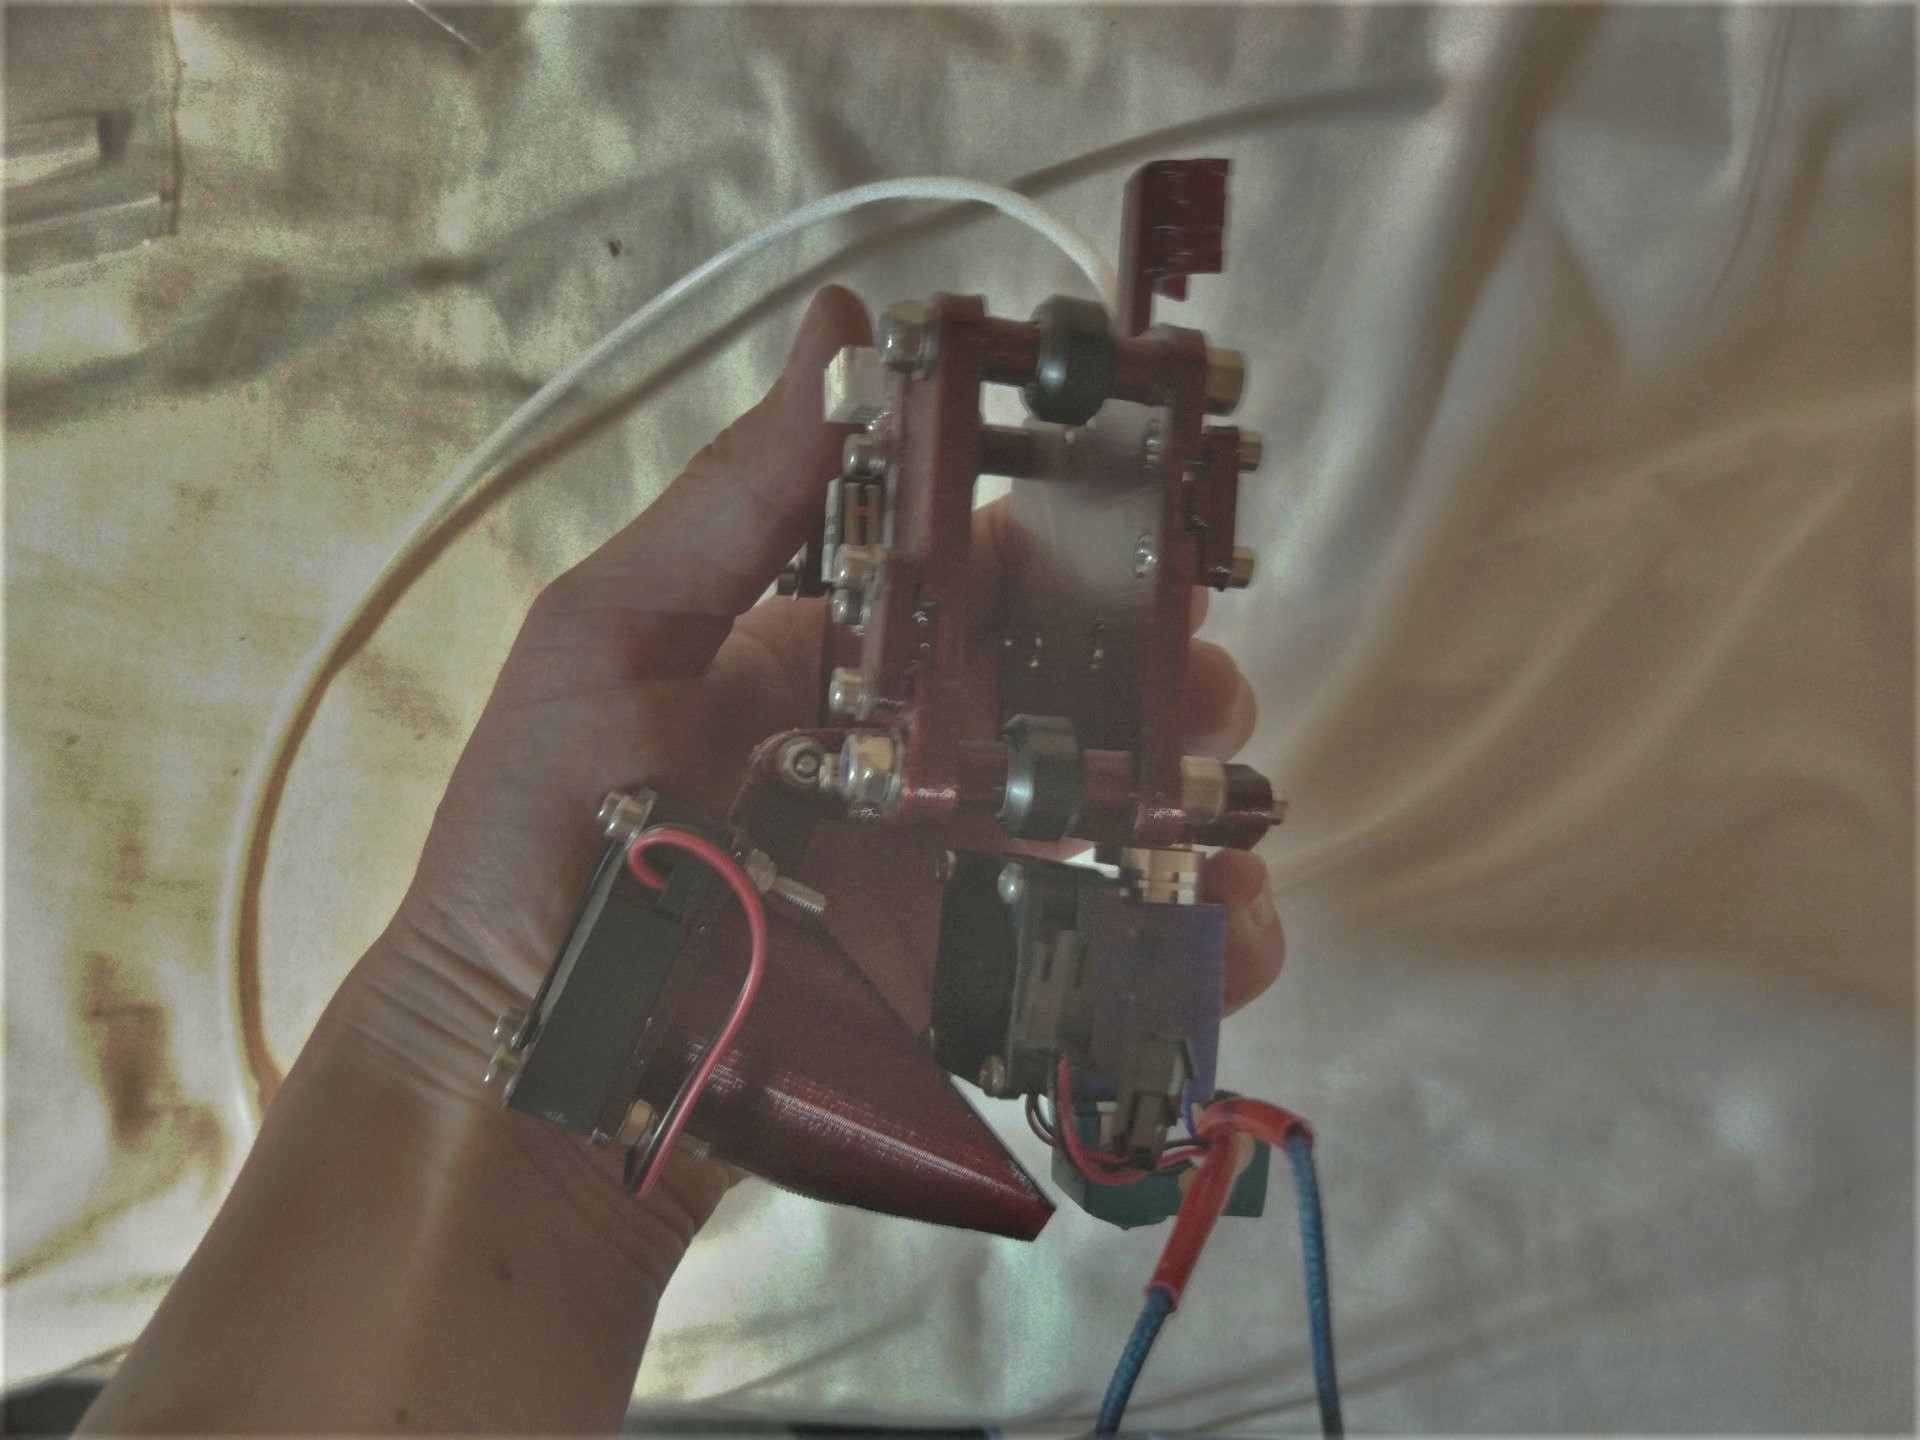
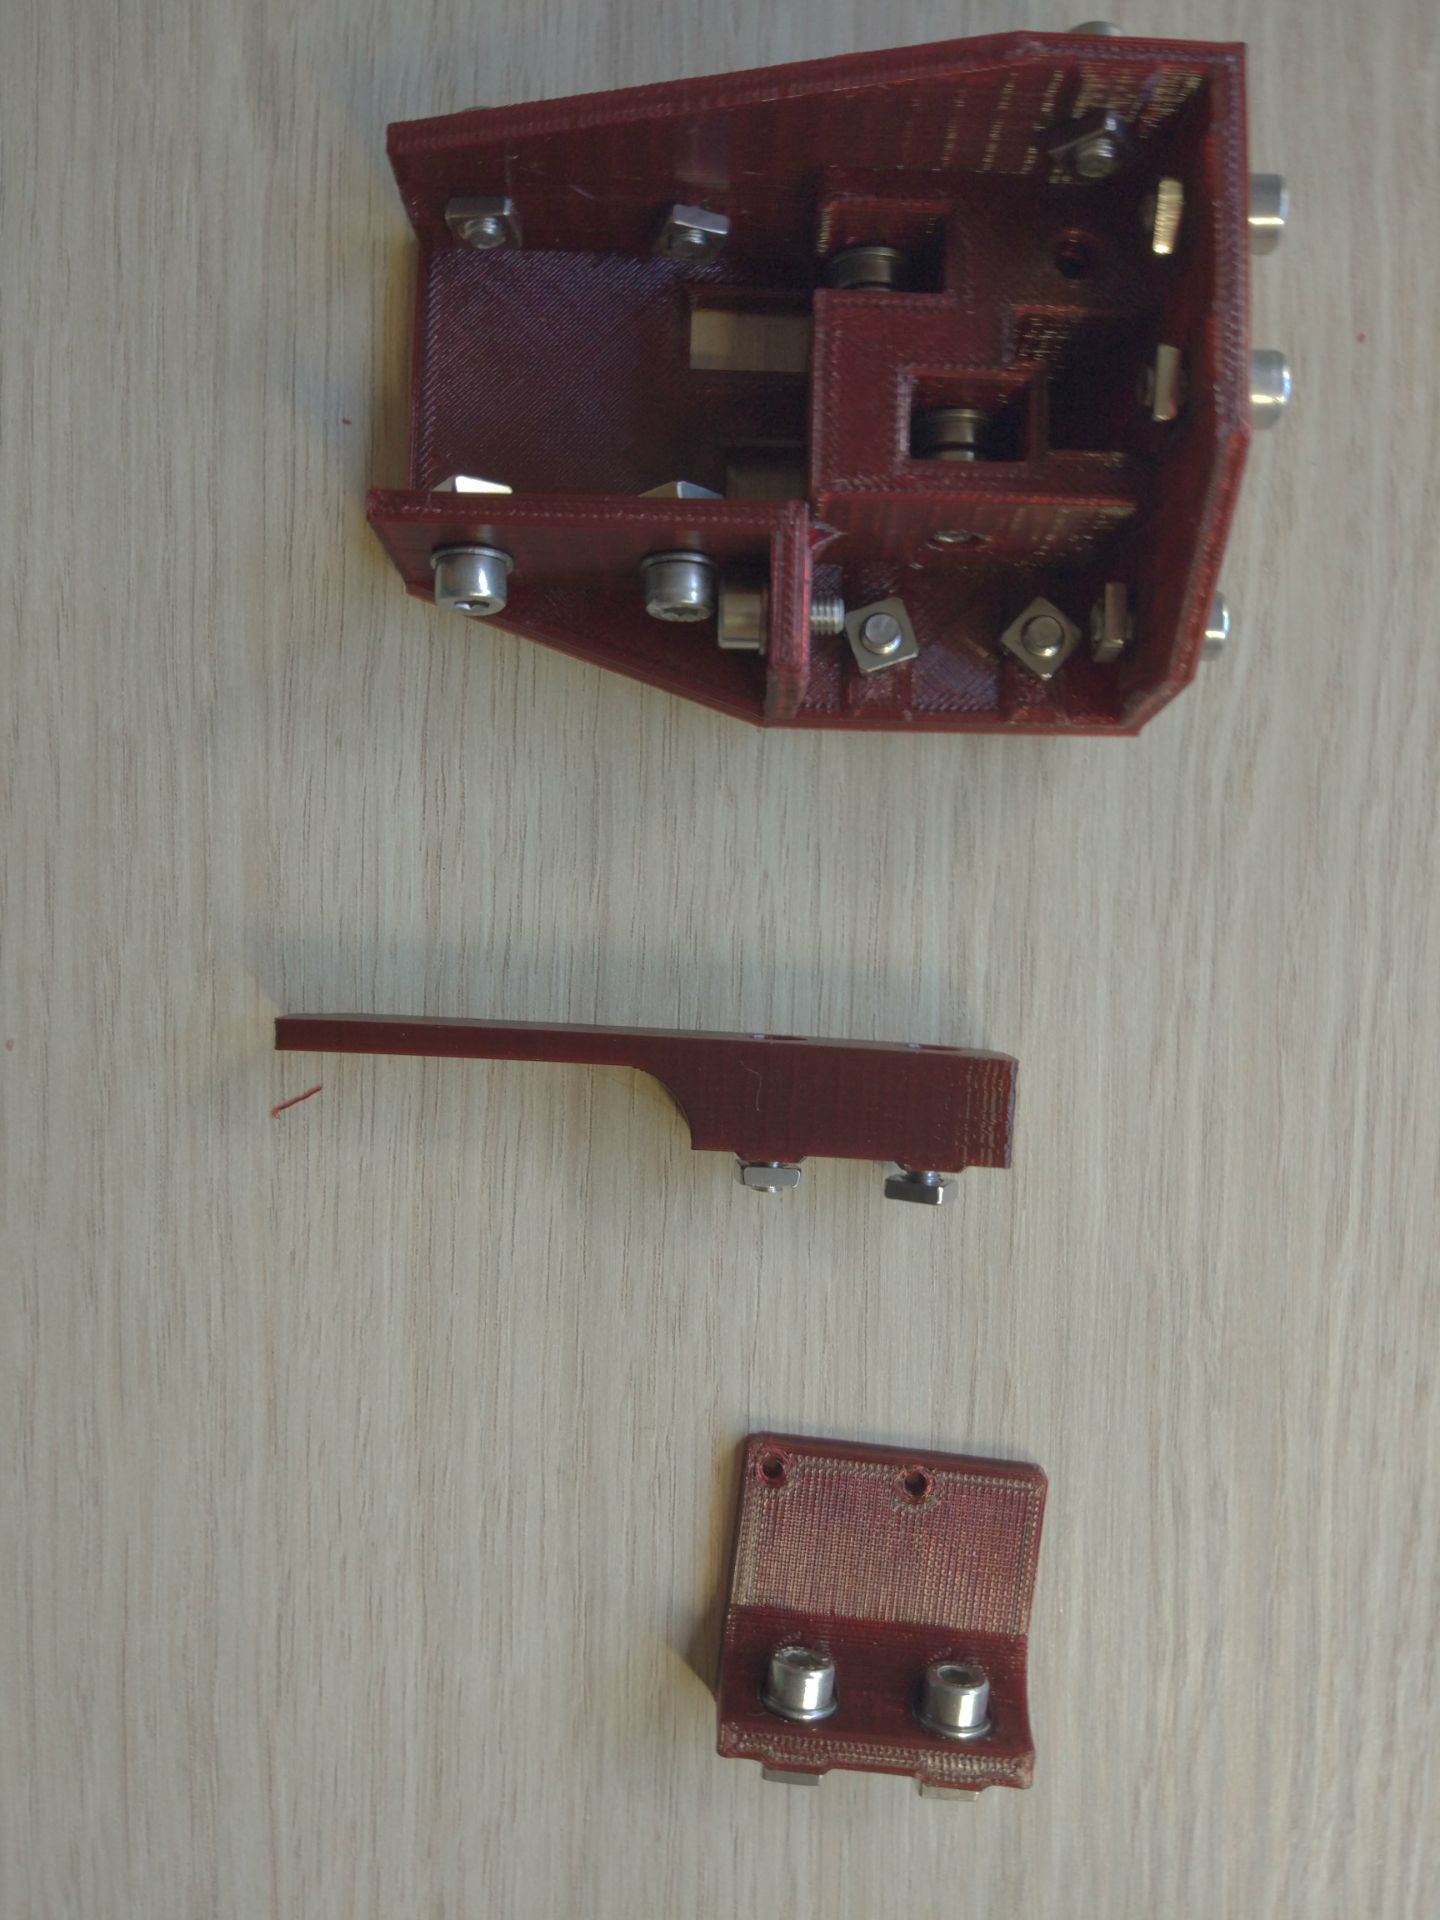
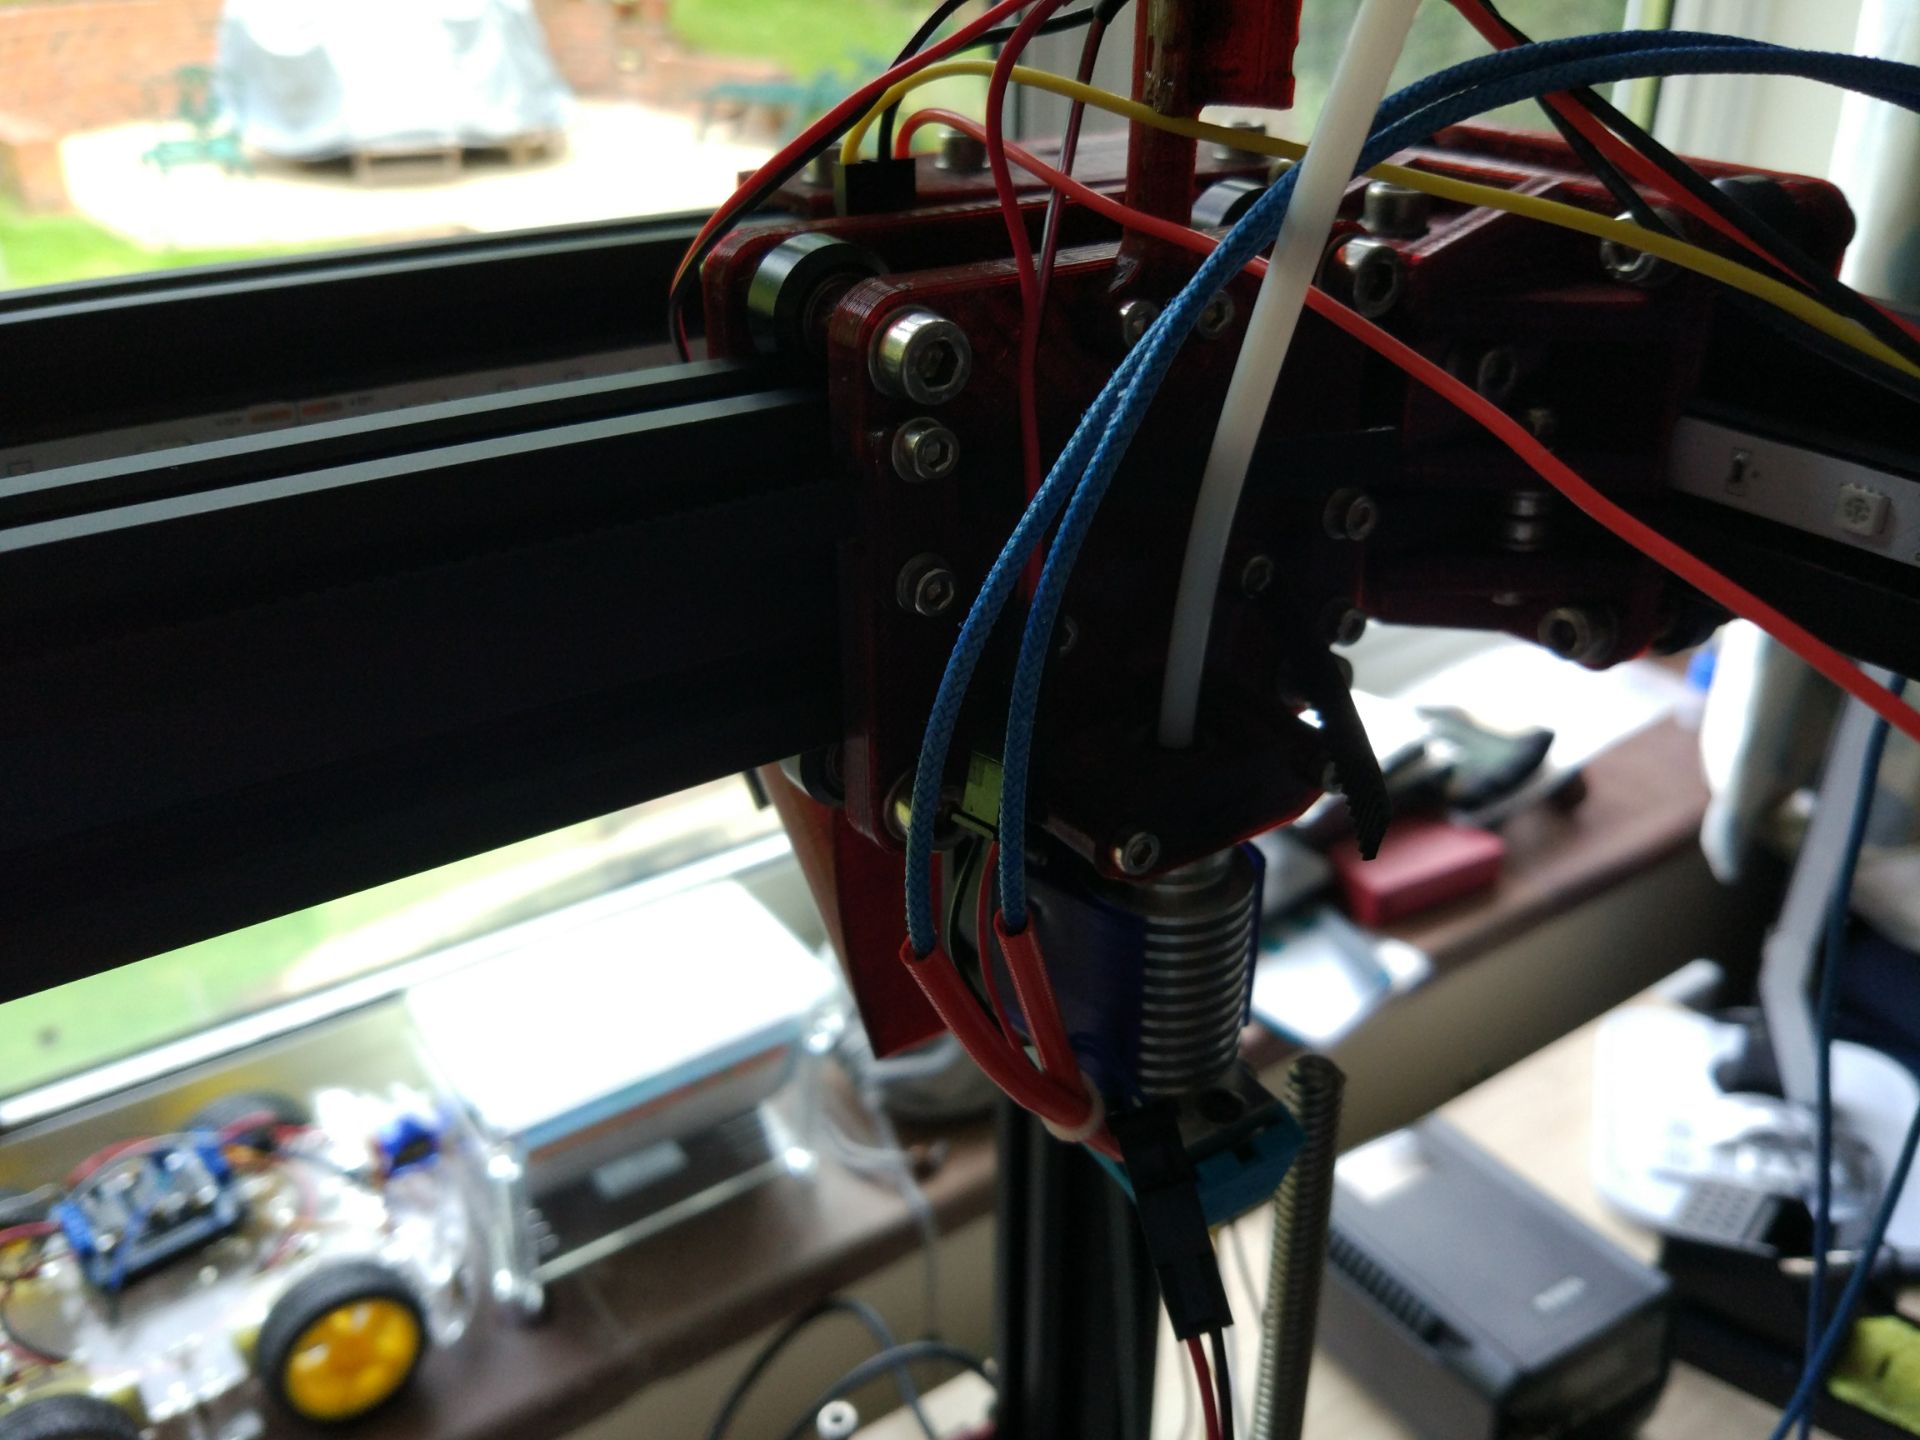
The next step was to construct the print carriage. First, I pushed all the necessary nuts into their corresponding holes and then clamped down the E3Dv6 hotend (assembled according to manual). I took the belt clamps and partially tightened them down, making sure a belt could be pushed beneath; then I secured the endstop. All that was left to do was to slide it onto the v-rail and tighten it all up.
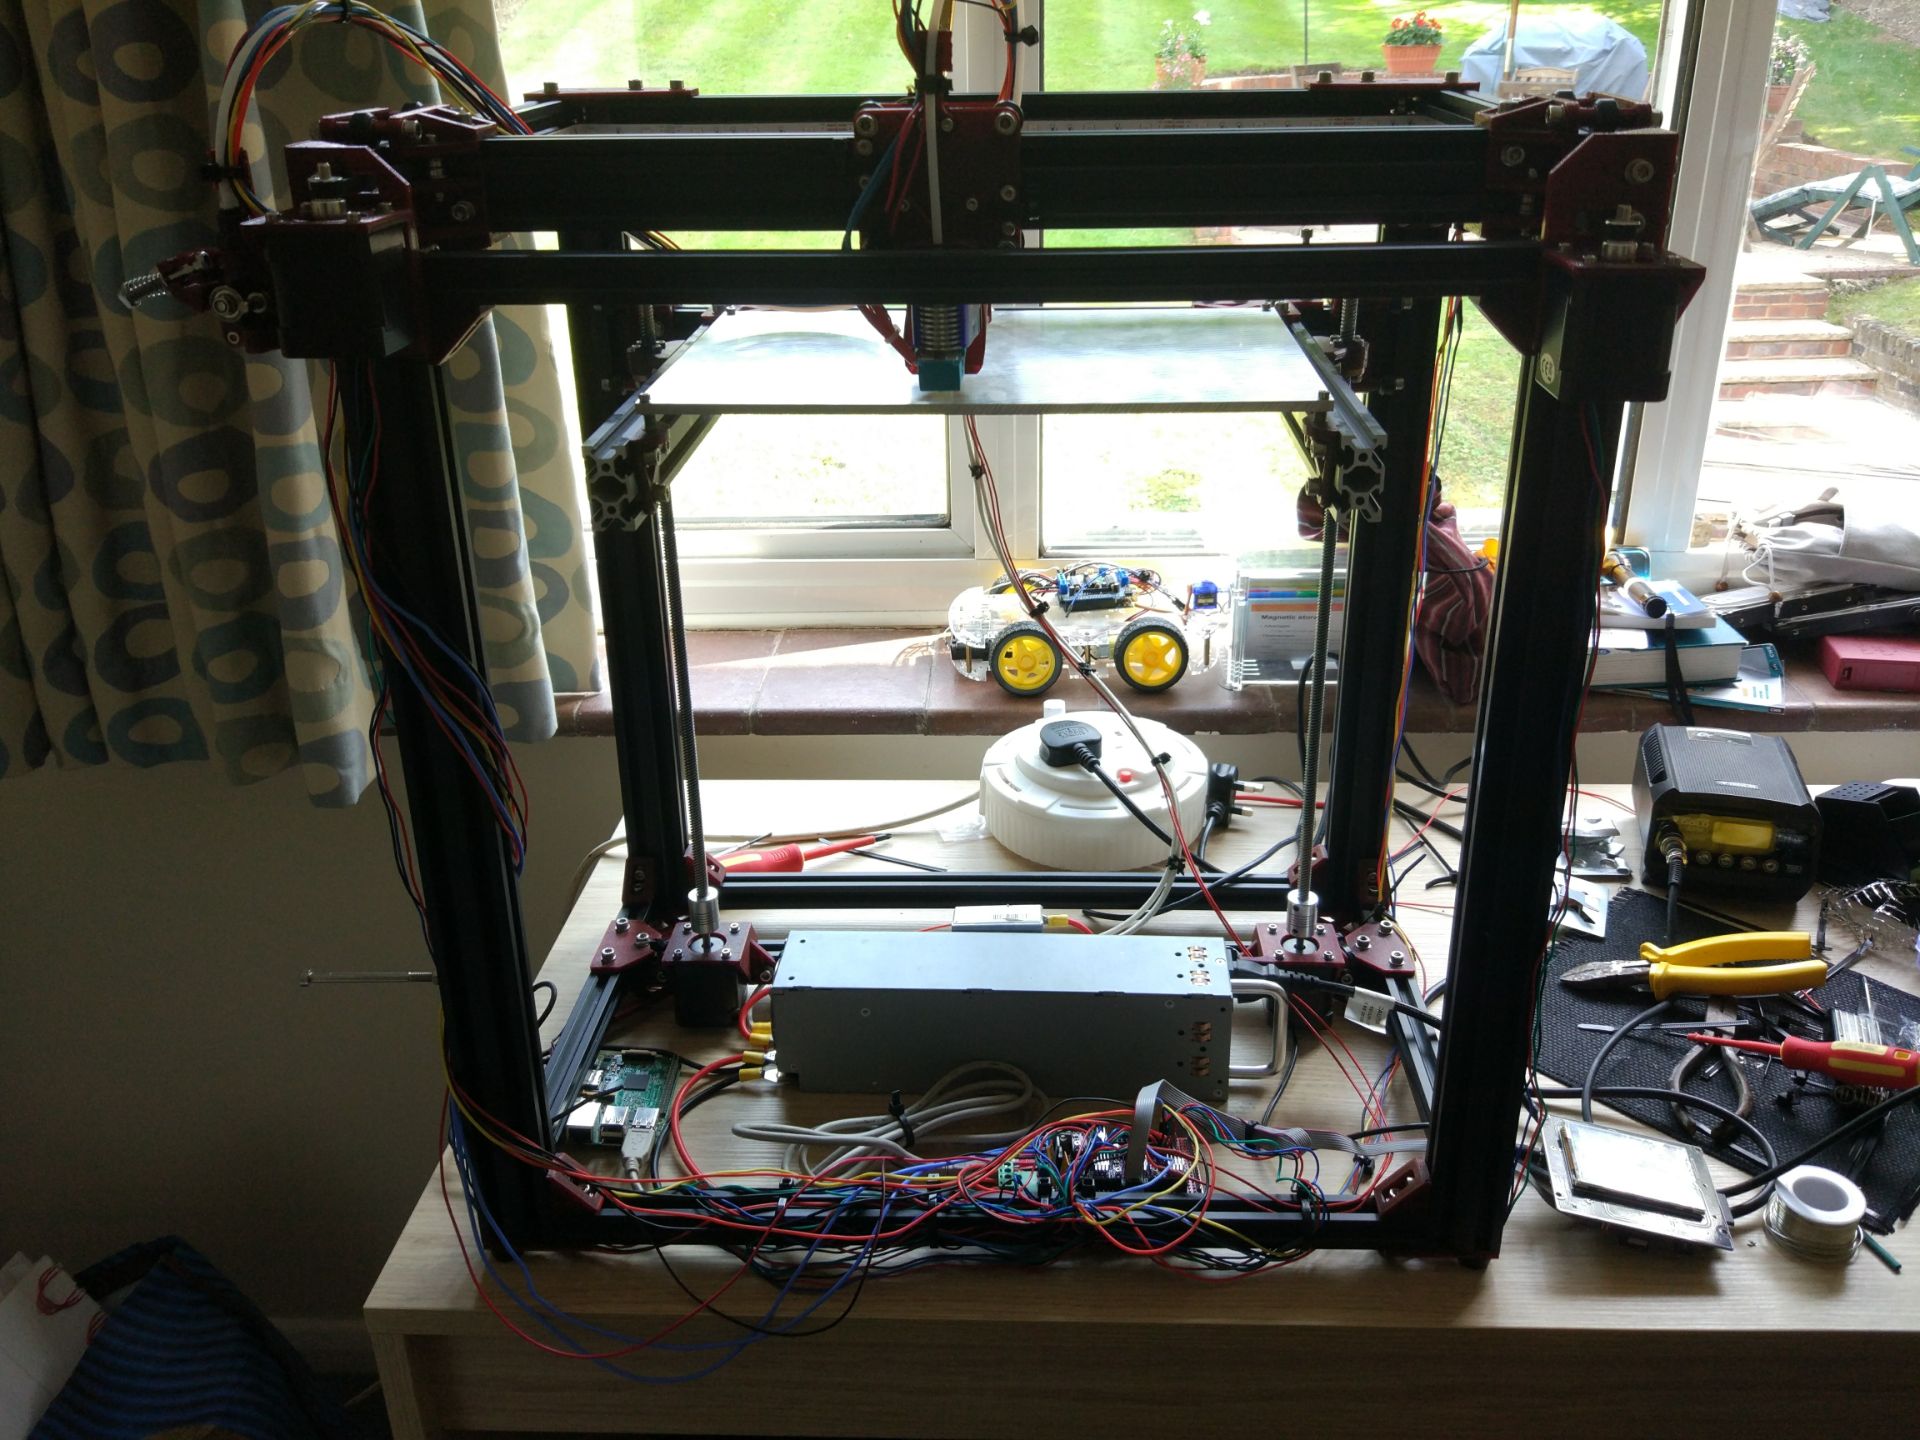
Electronics
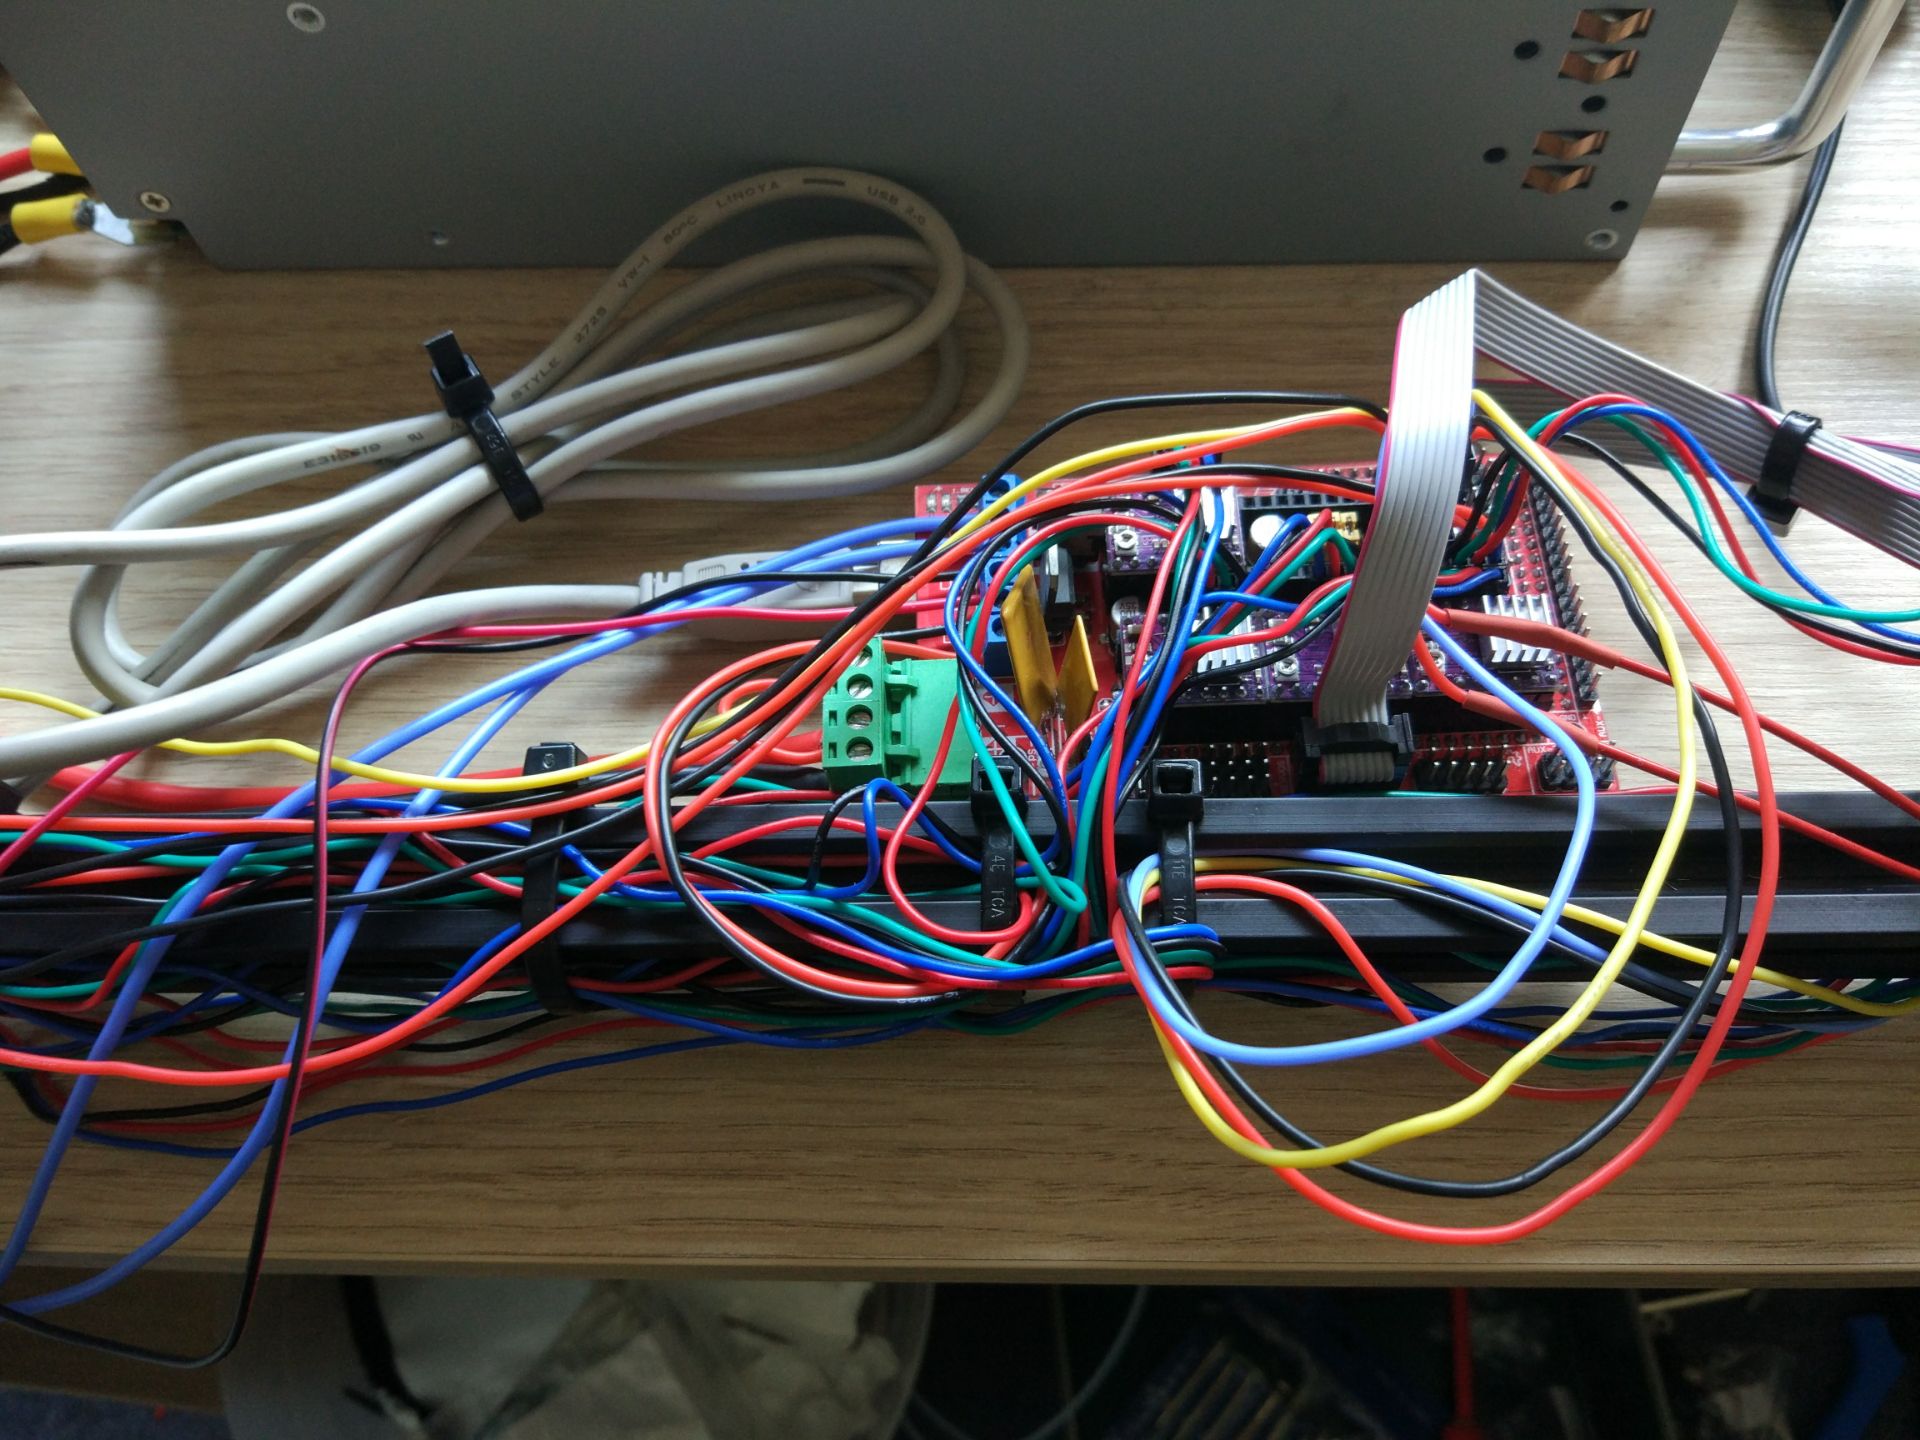
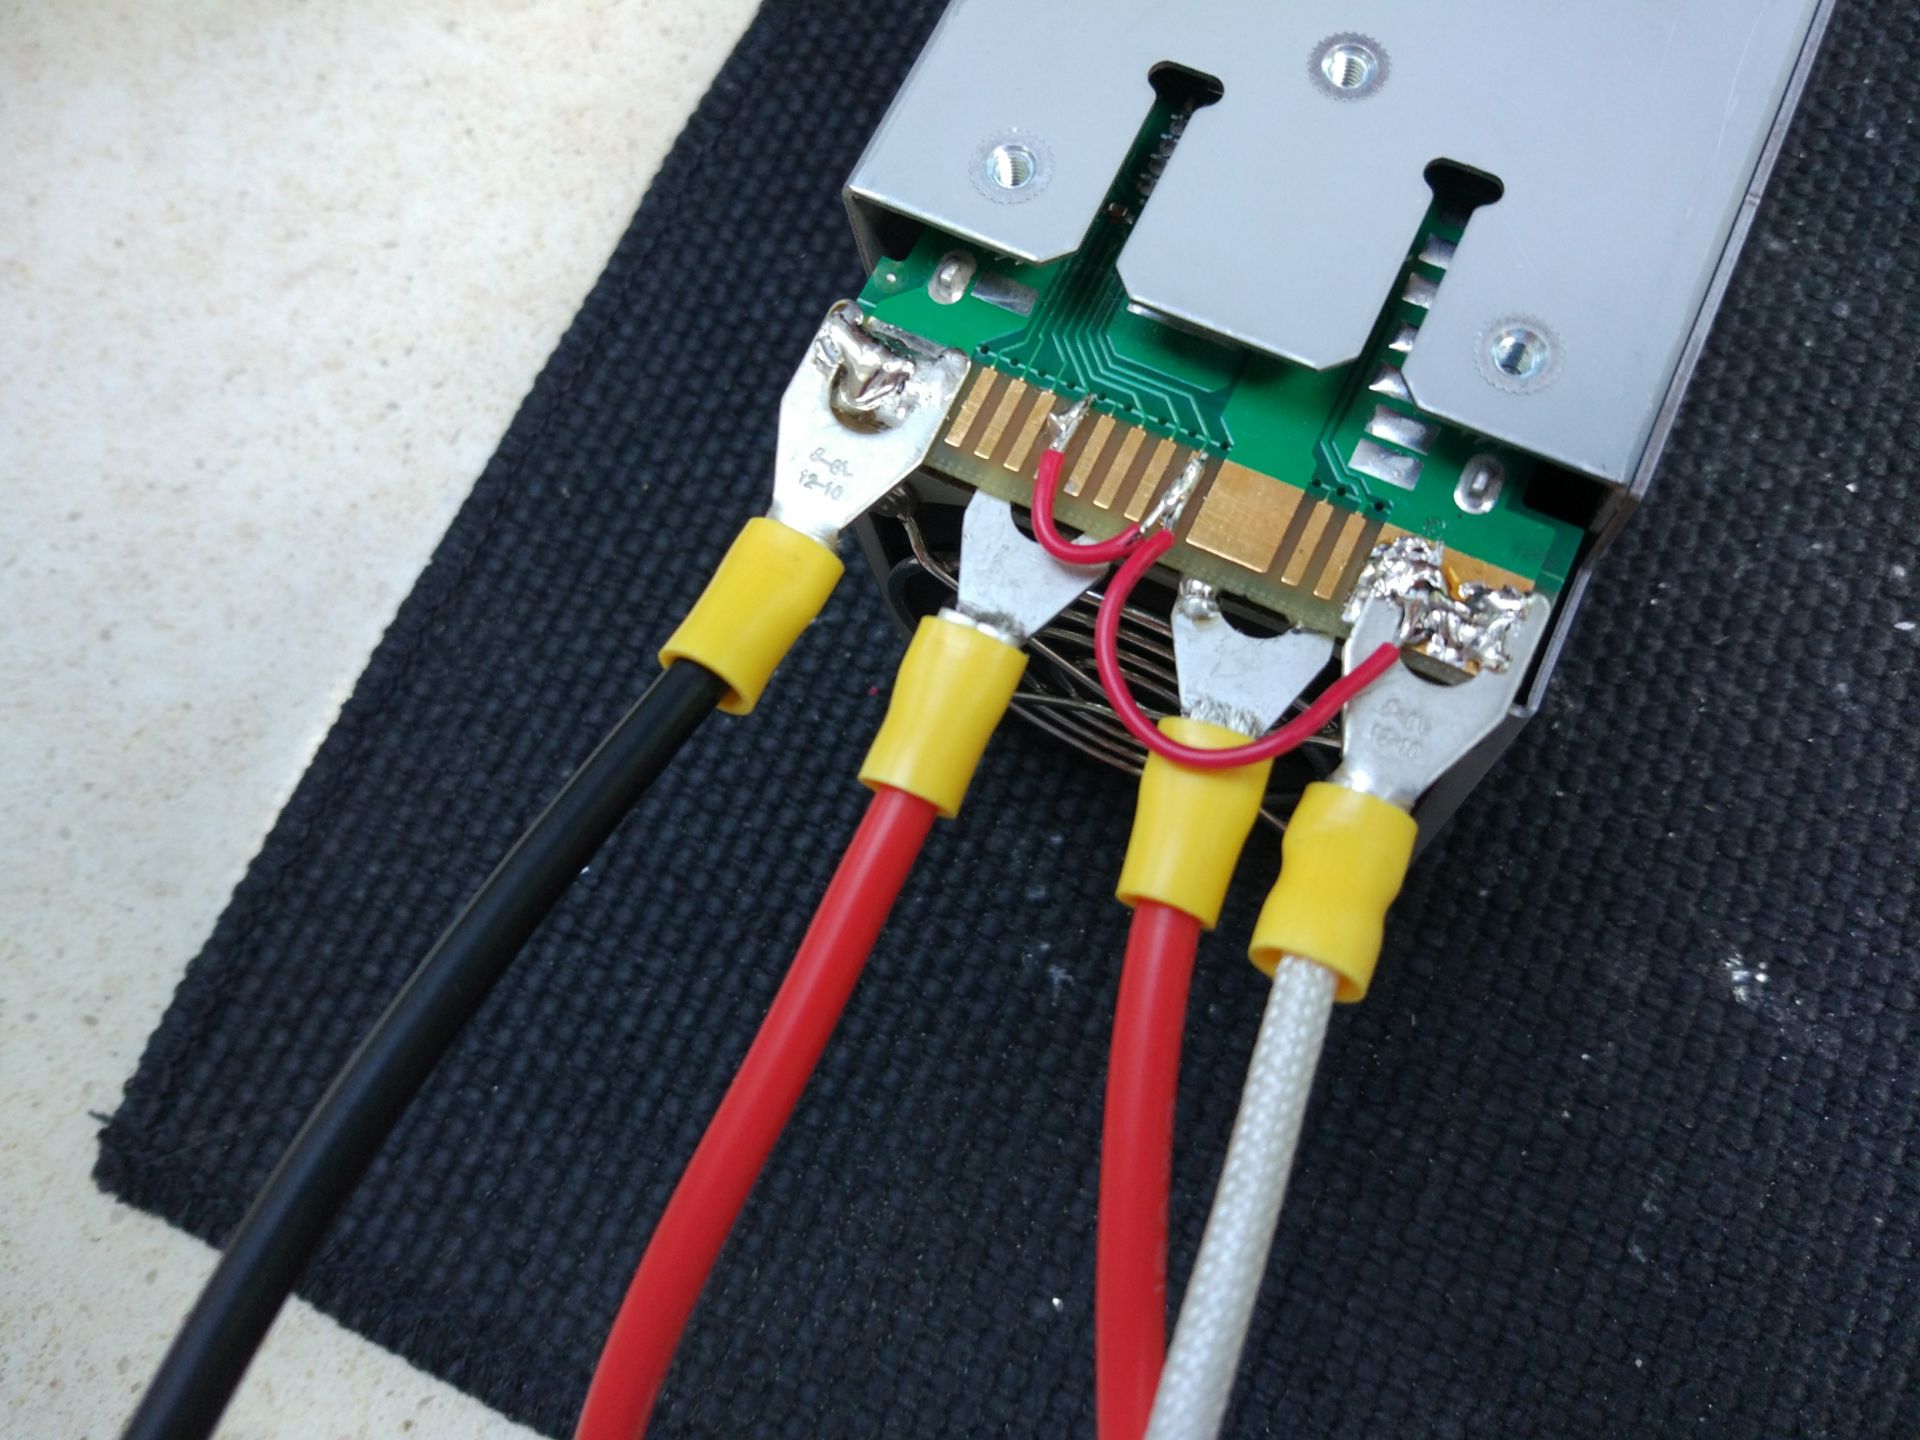
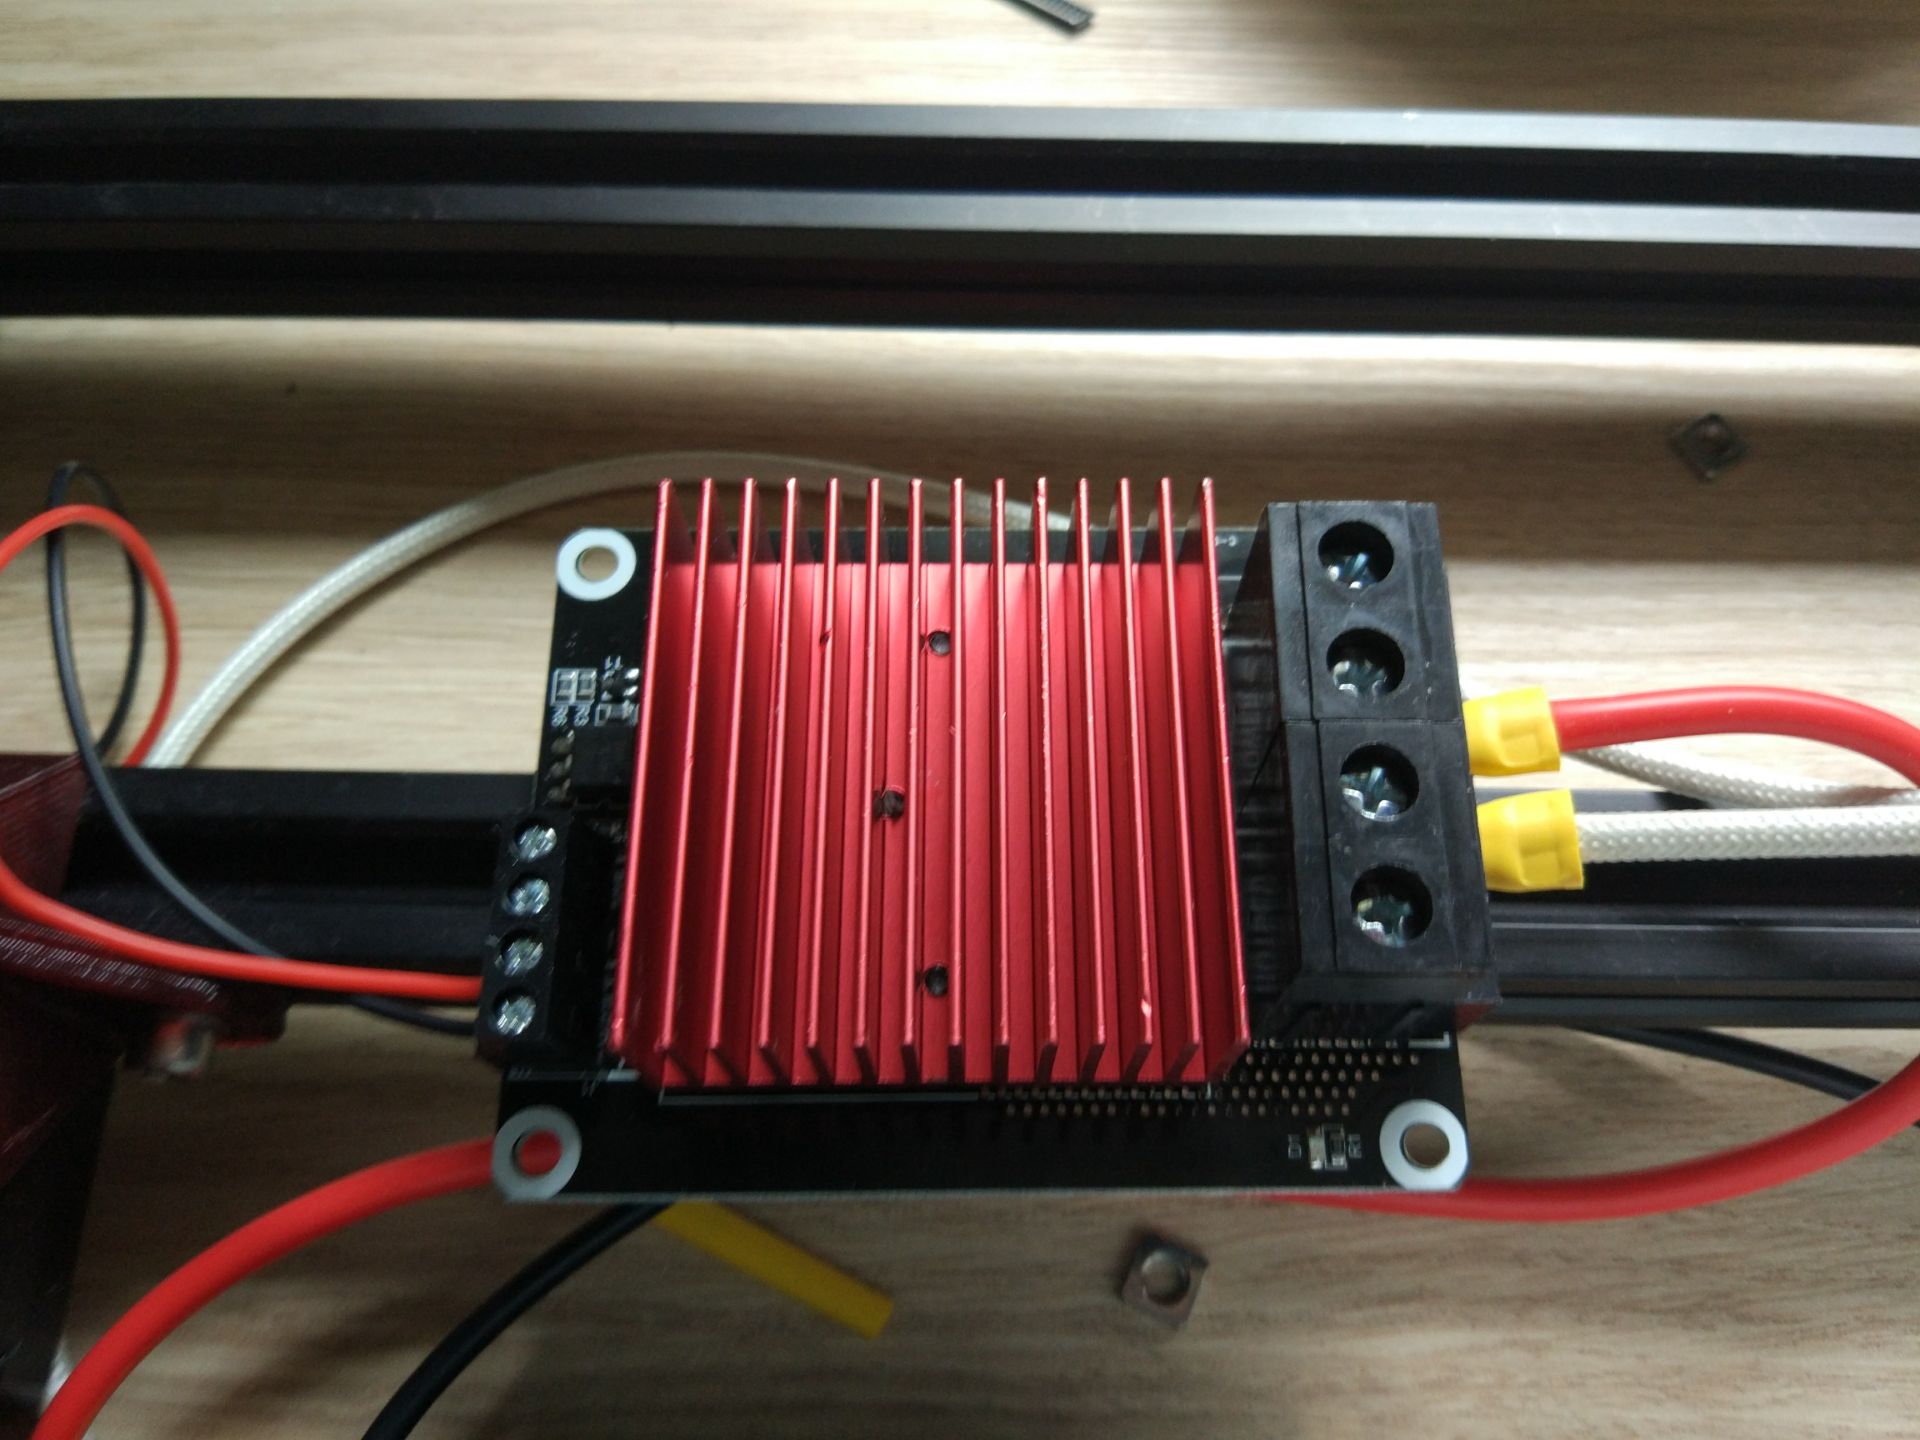
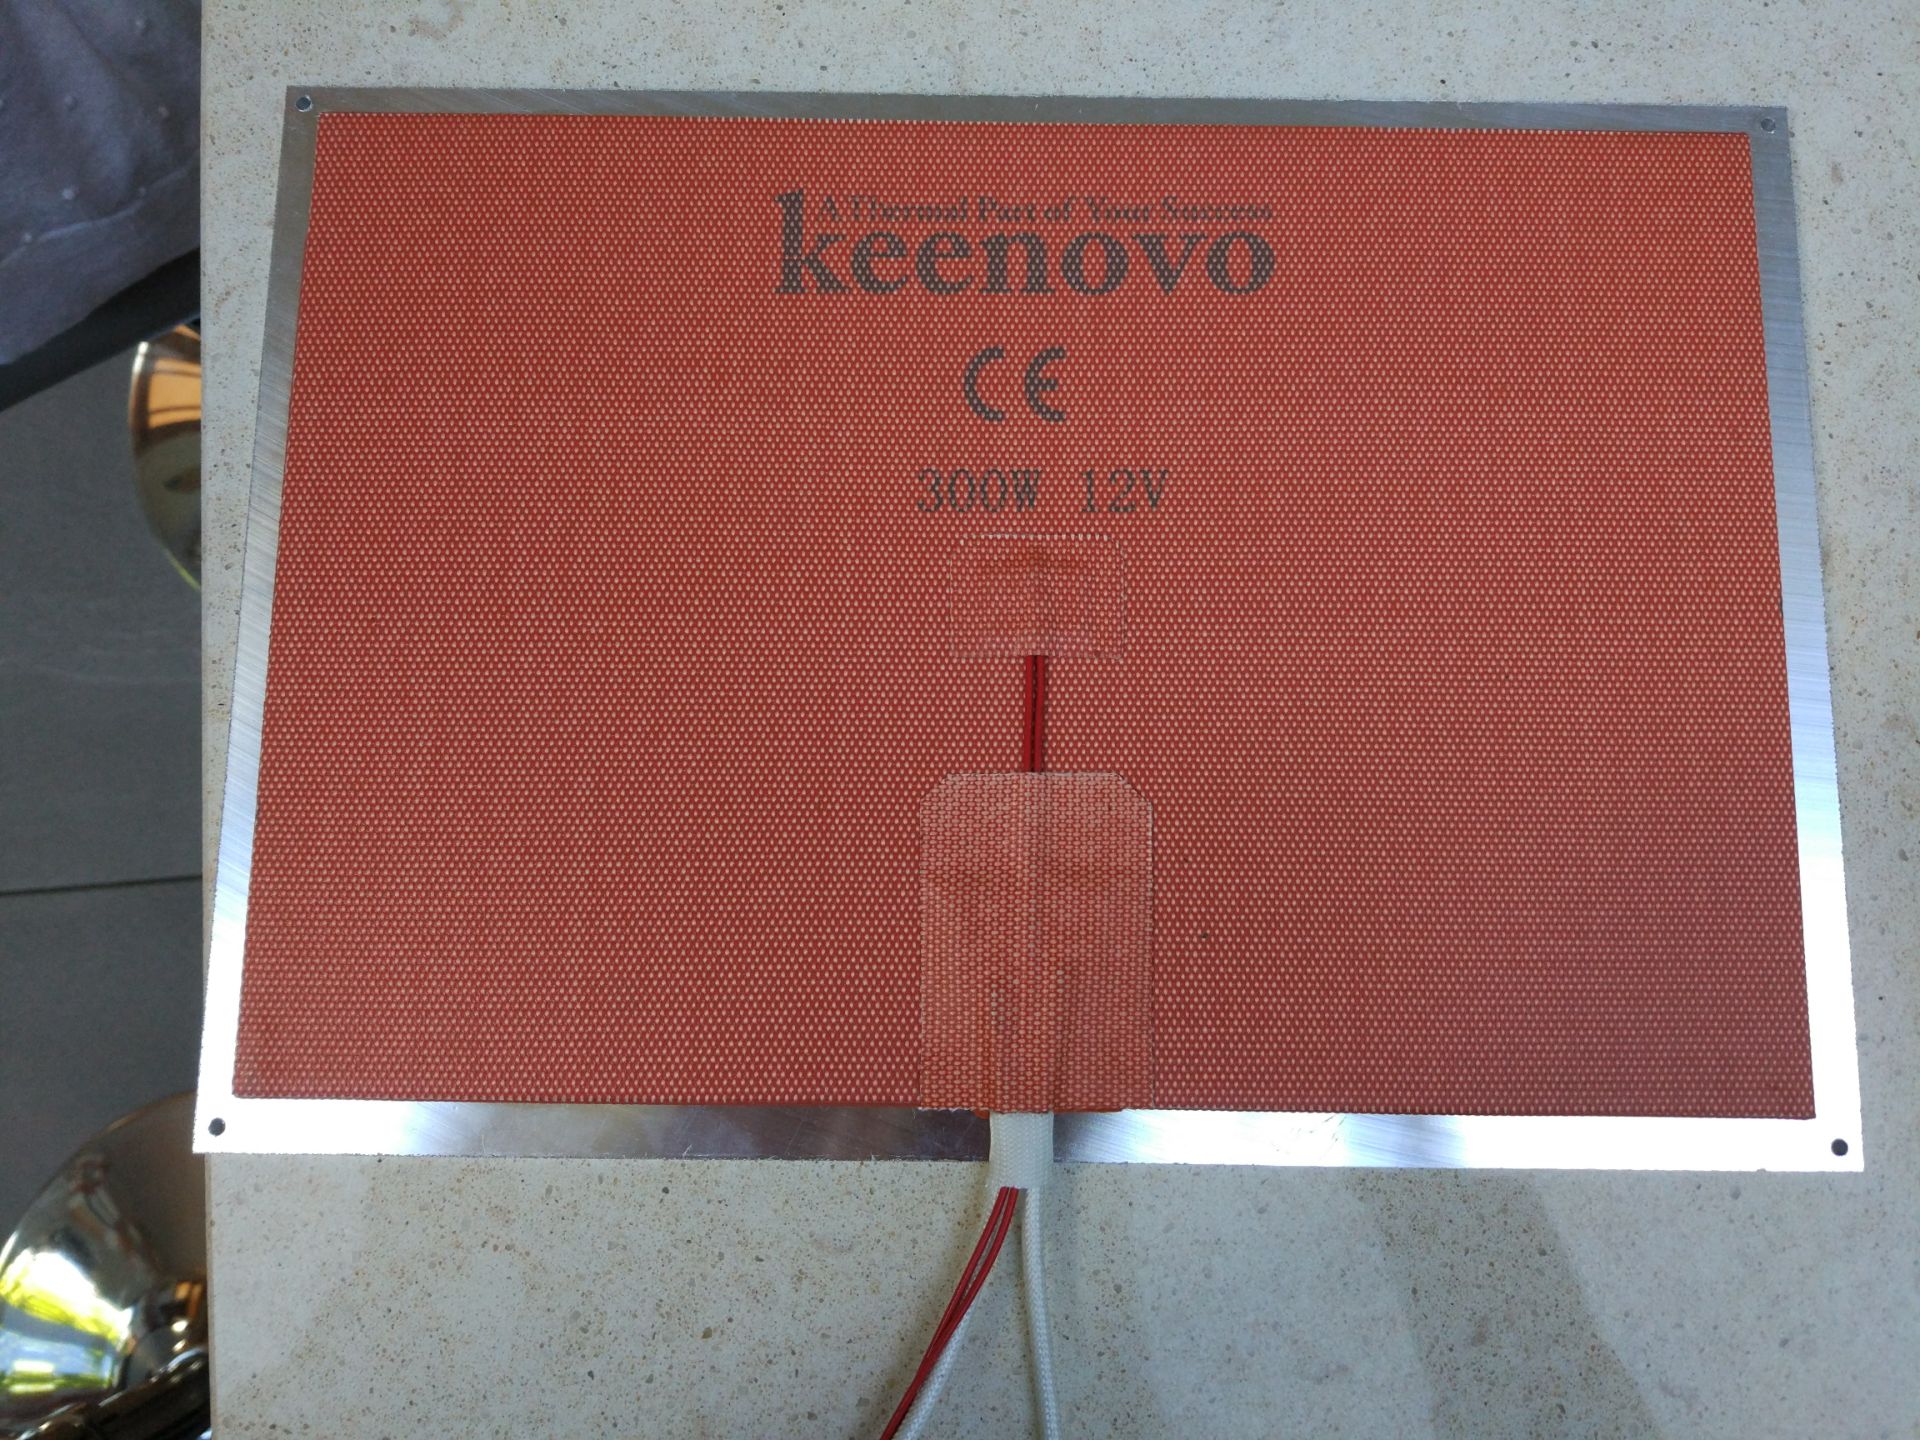
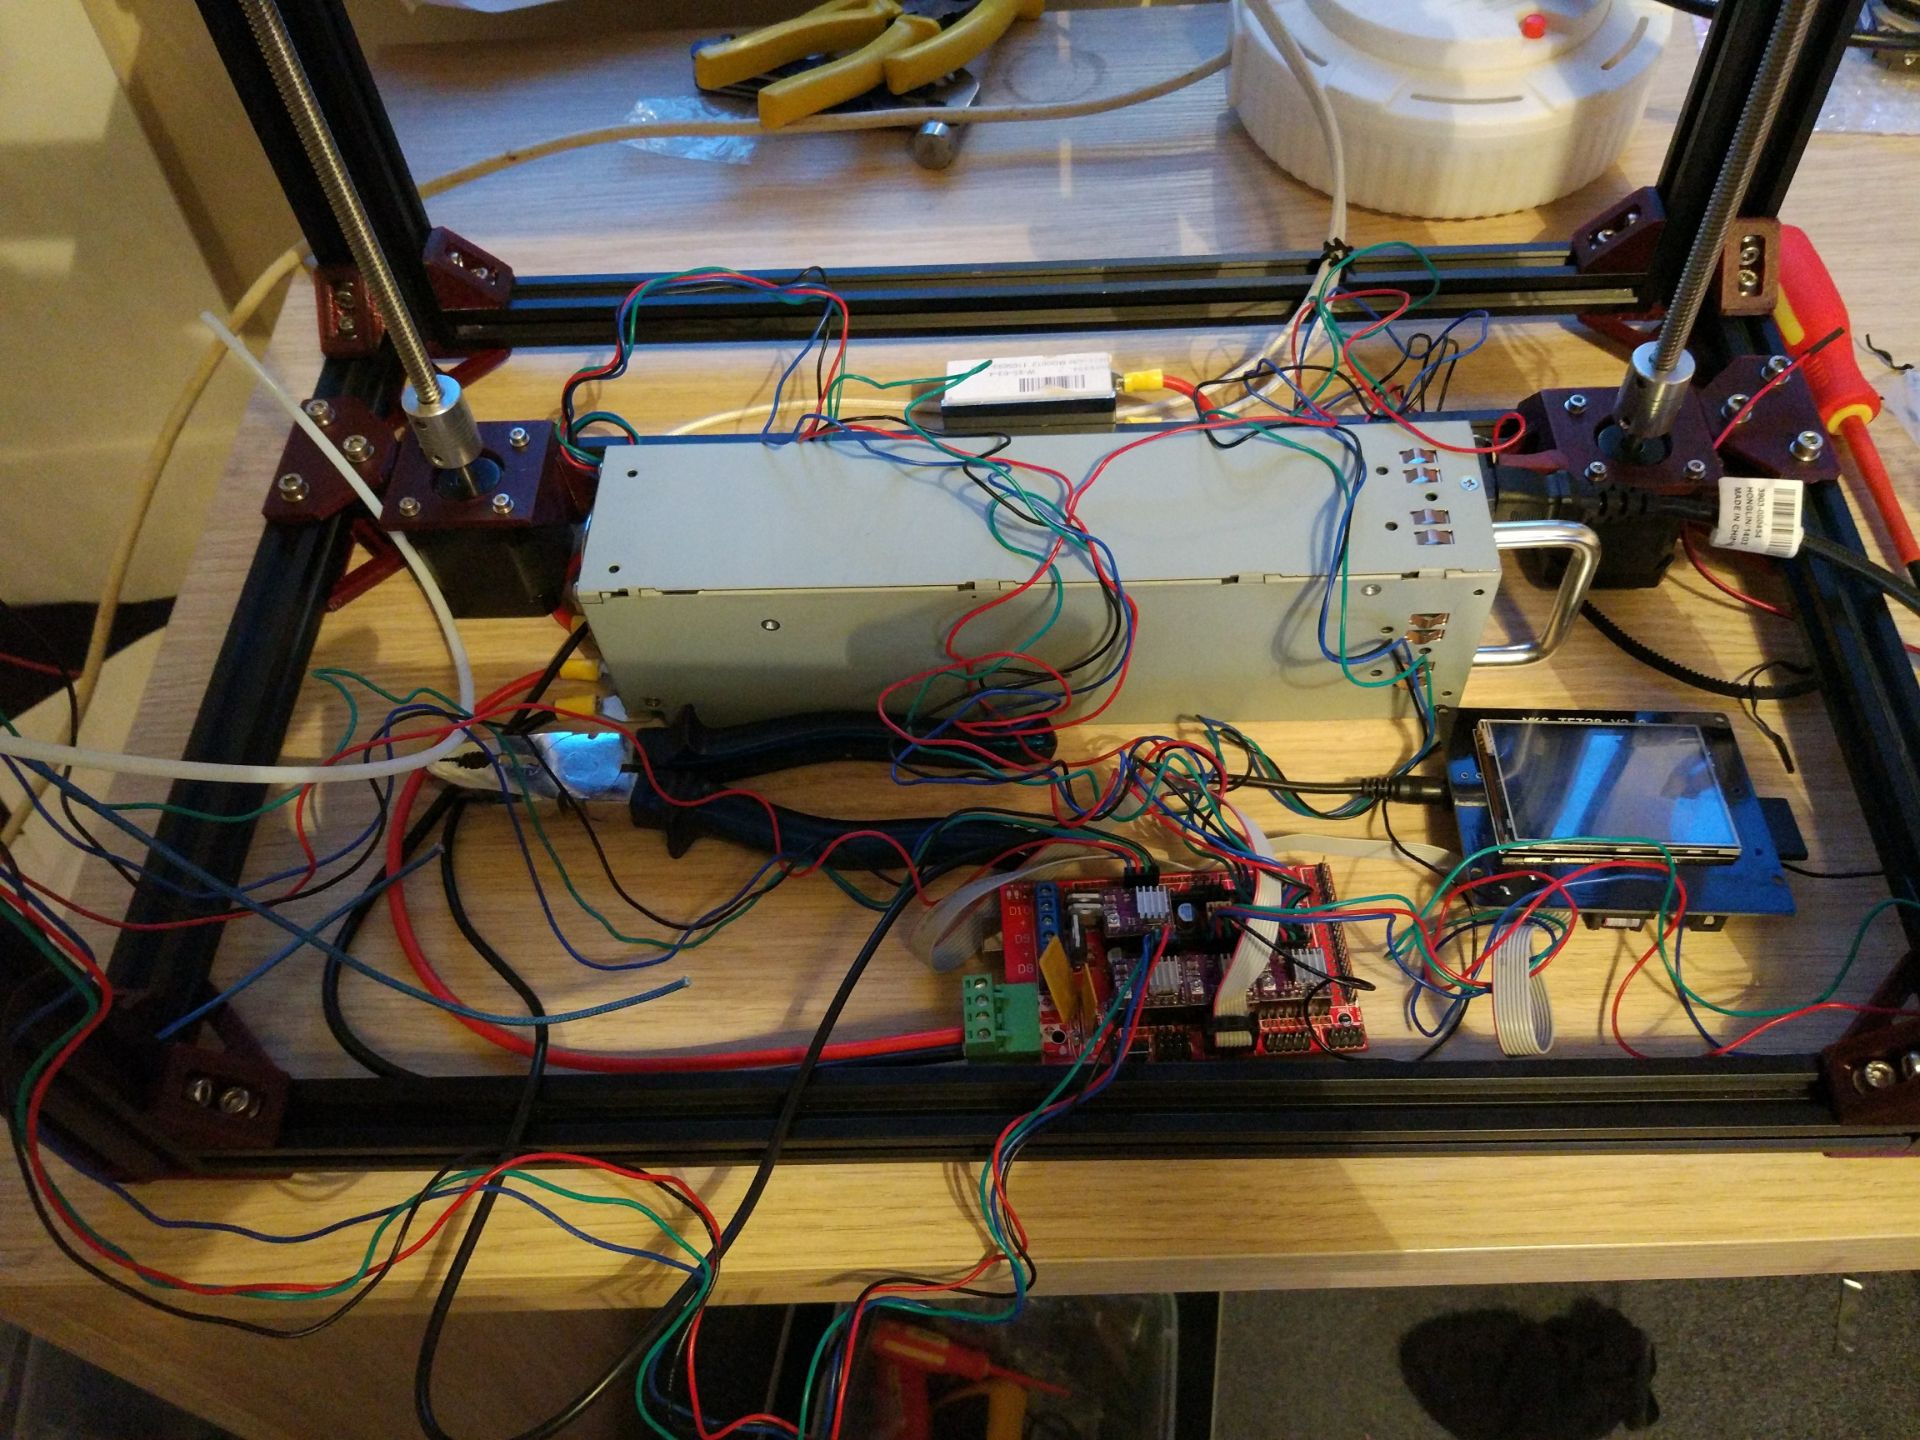
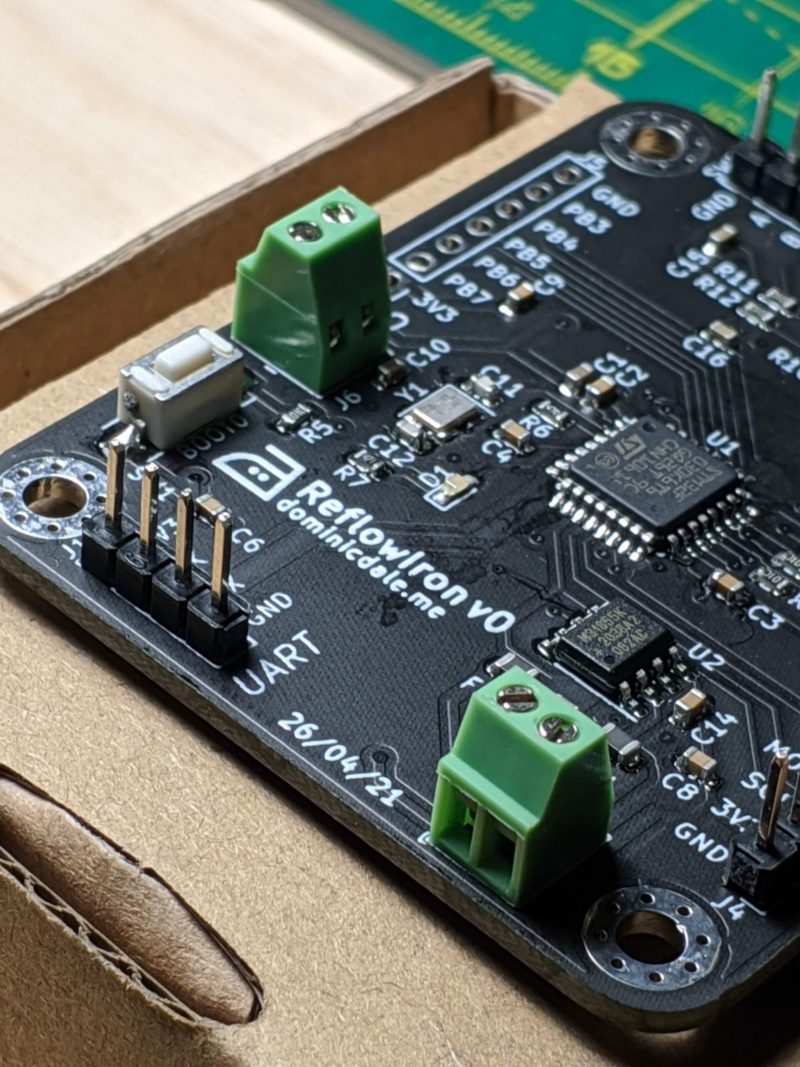
After the mechanical construction had been completed, I moved on to the electronics. To power the 300w 12v Keenovo heated mat as well as the RAMPS board and motors, I opted to use an old server power supply off eBay. These PSUs are often much more reliable than regular ‘LED power supplies’ and have 12v, 5v and 3.3v rails so you can also power an OctoPi off it; the main disadvantage is the fan noise, however, this was not an issue for me. Initially I used a cheap DC-DC solid state relay to supply current to the heated bed however upon first use it failed; since then I have been using a MOSFET (pictured) designed for 3D printers which has been working smoothly. Crimping was one of the main challenges I had when wiring the printer; no matter how many tutorials I watched and times I crimped, I could never seem to get a successful joint. After hours of practice, I was able to produce an acceptable crimp. Some of the wires coming from the print carriage were too short so I extended them with some spare silicone wire I had; after a dash of cable management the wires were more manageable.
Test Prints
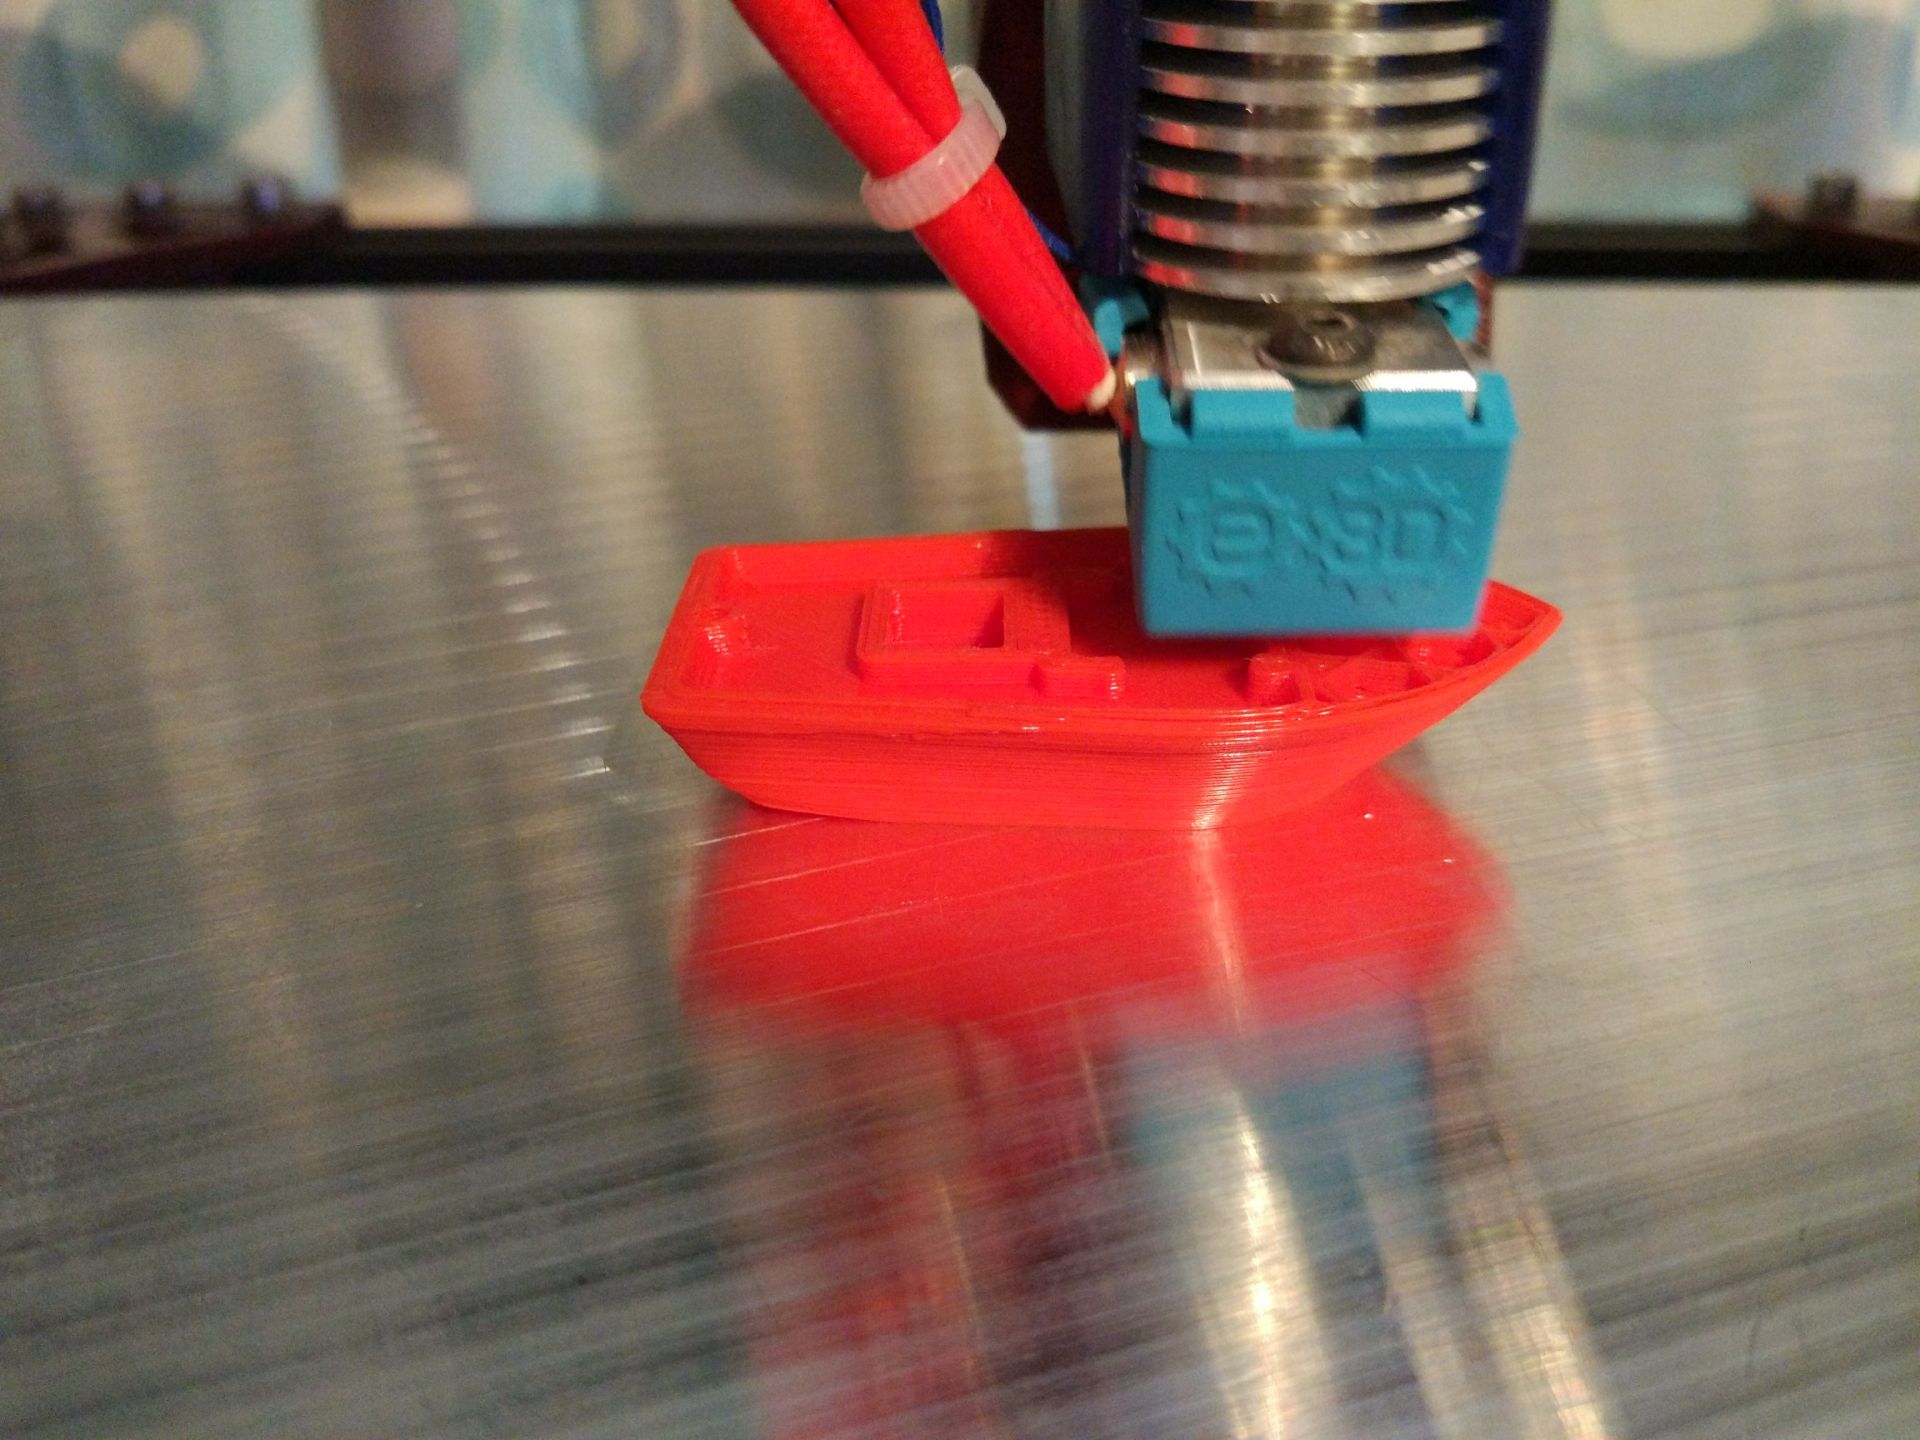
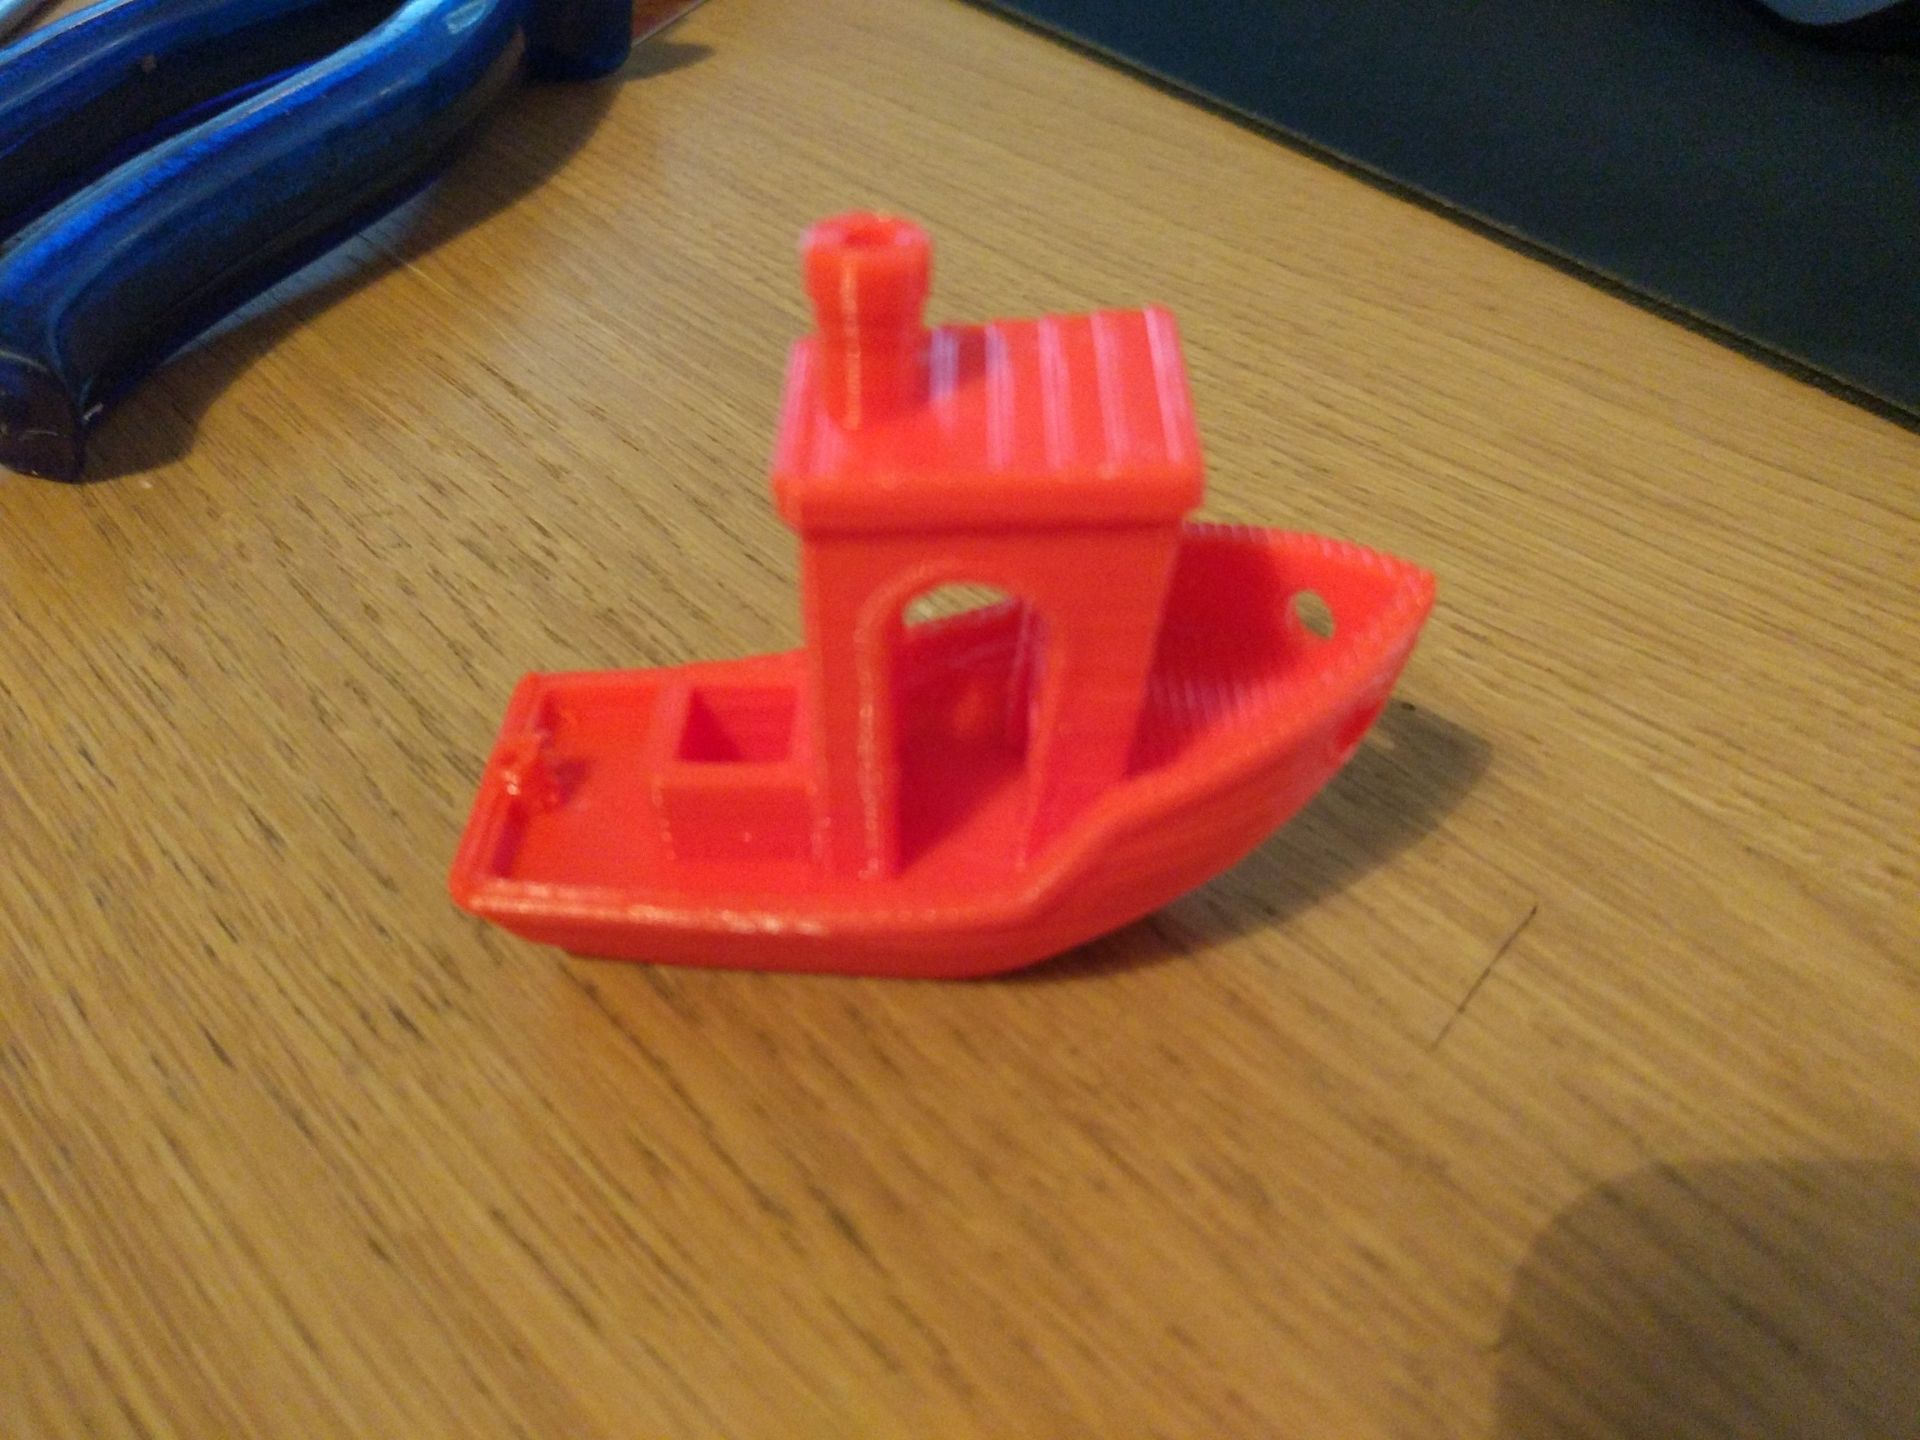
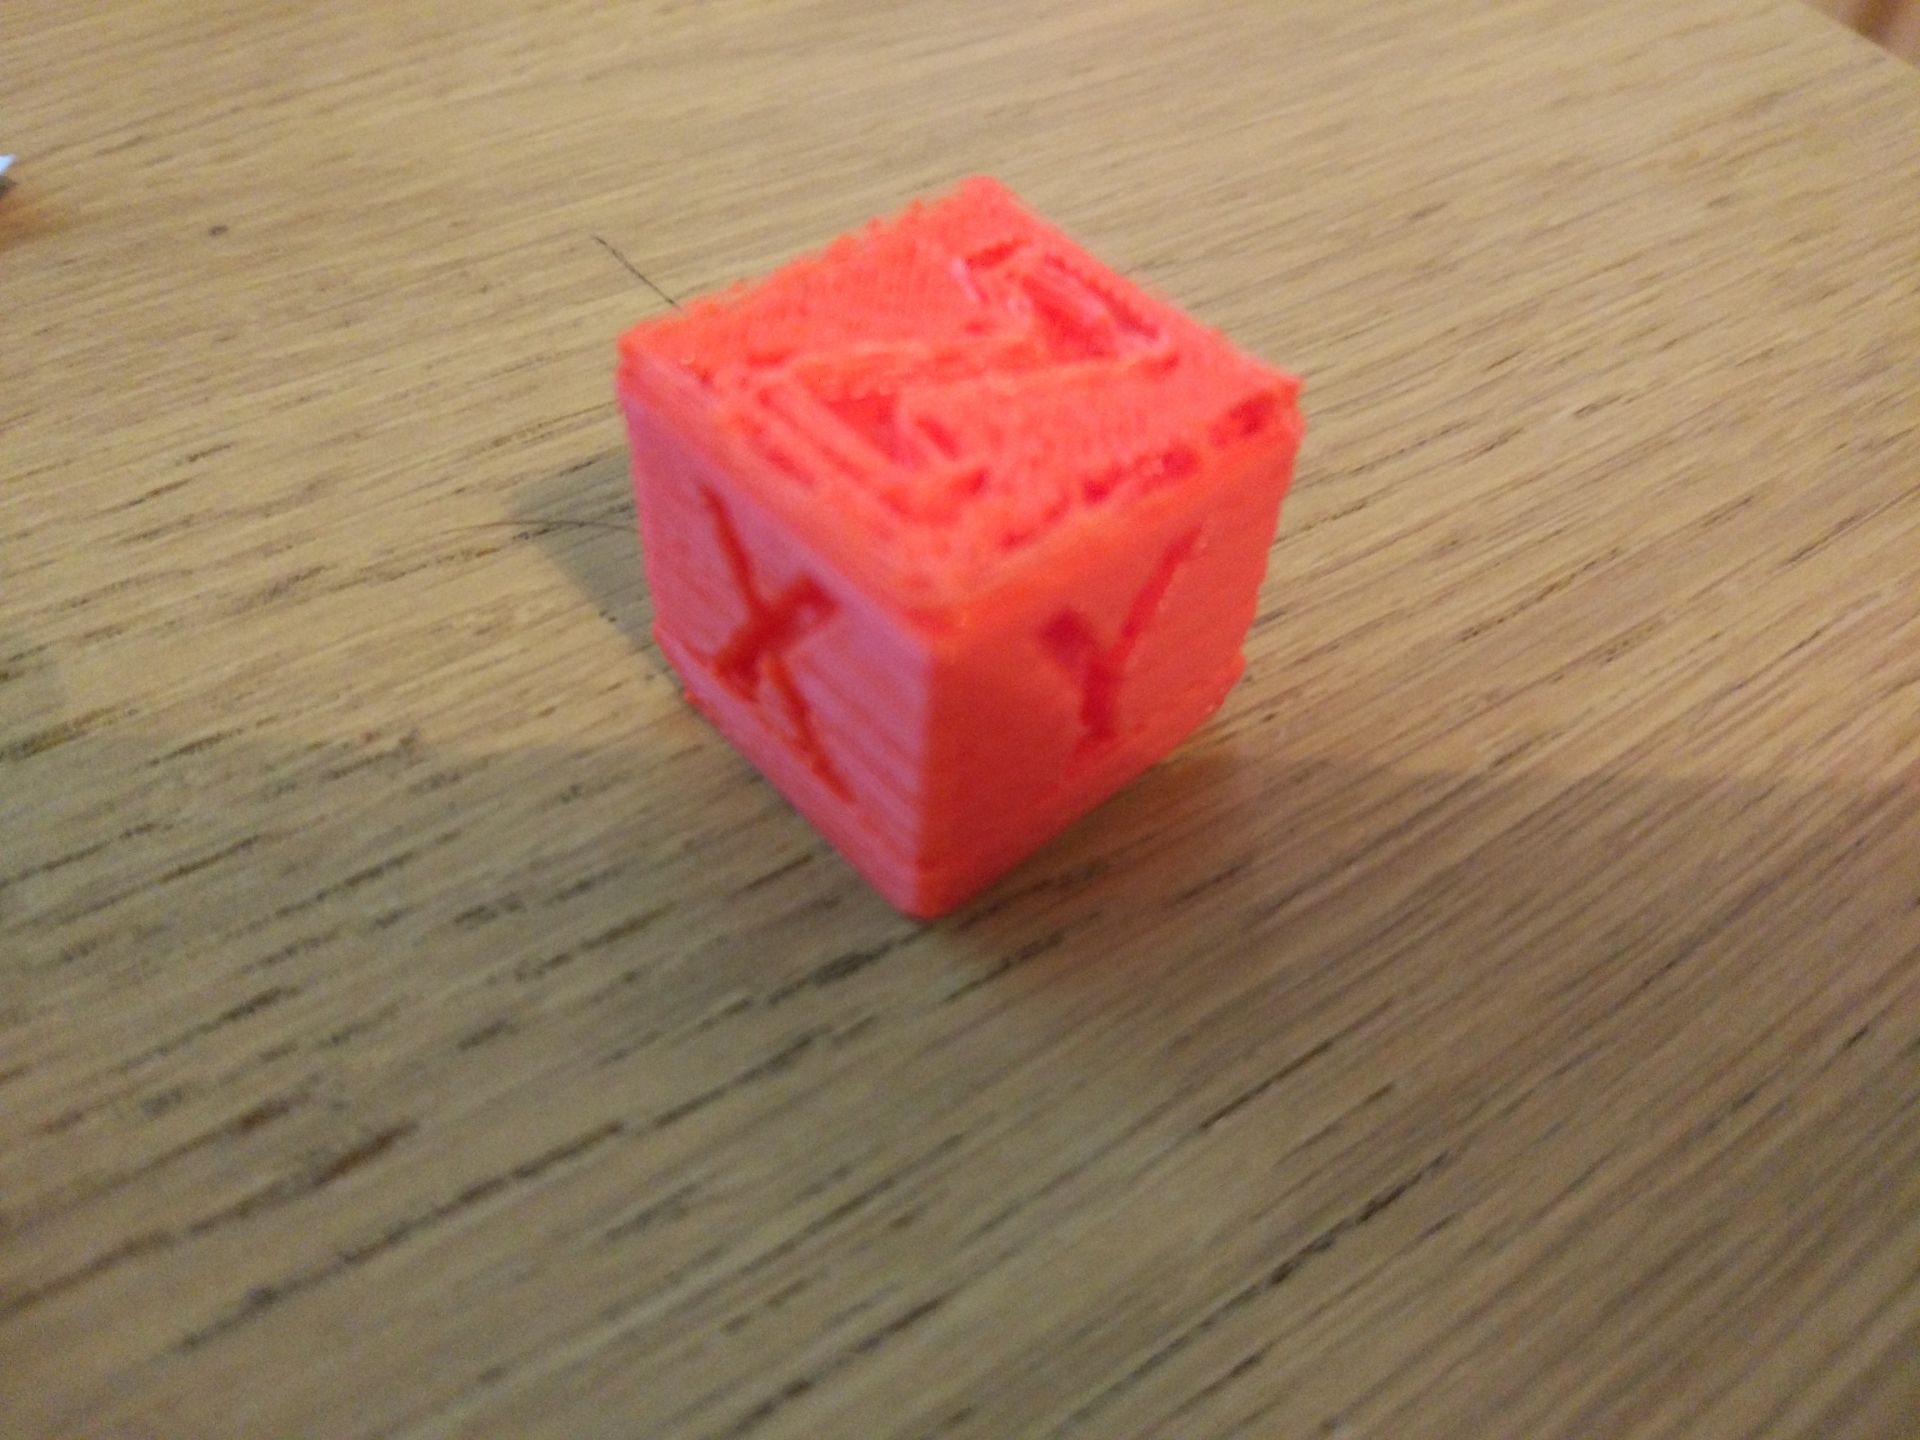
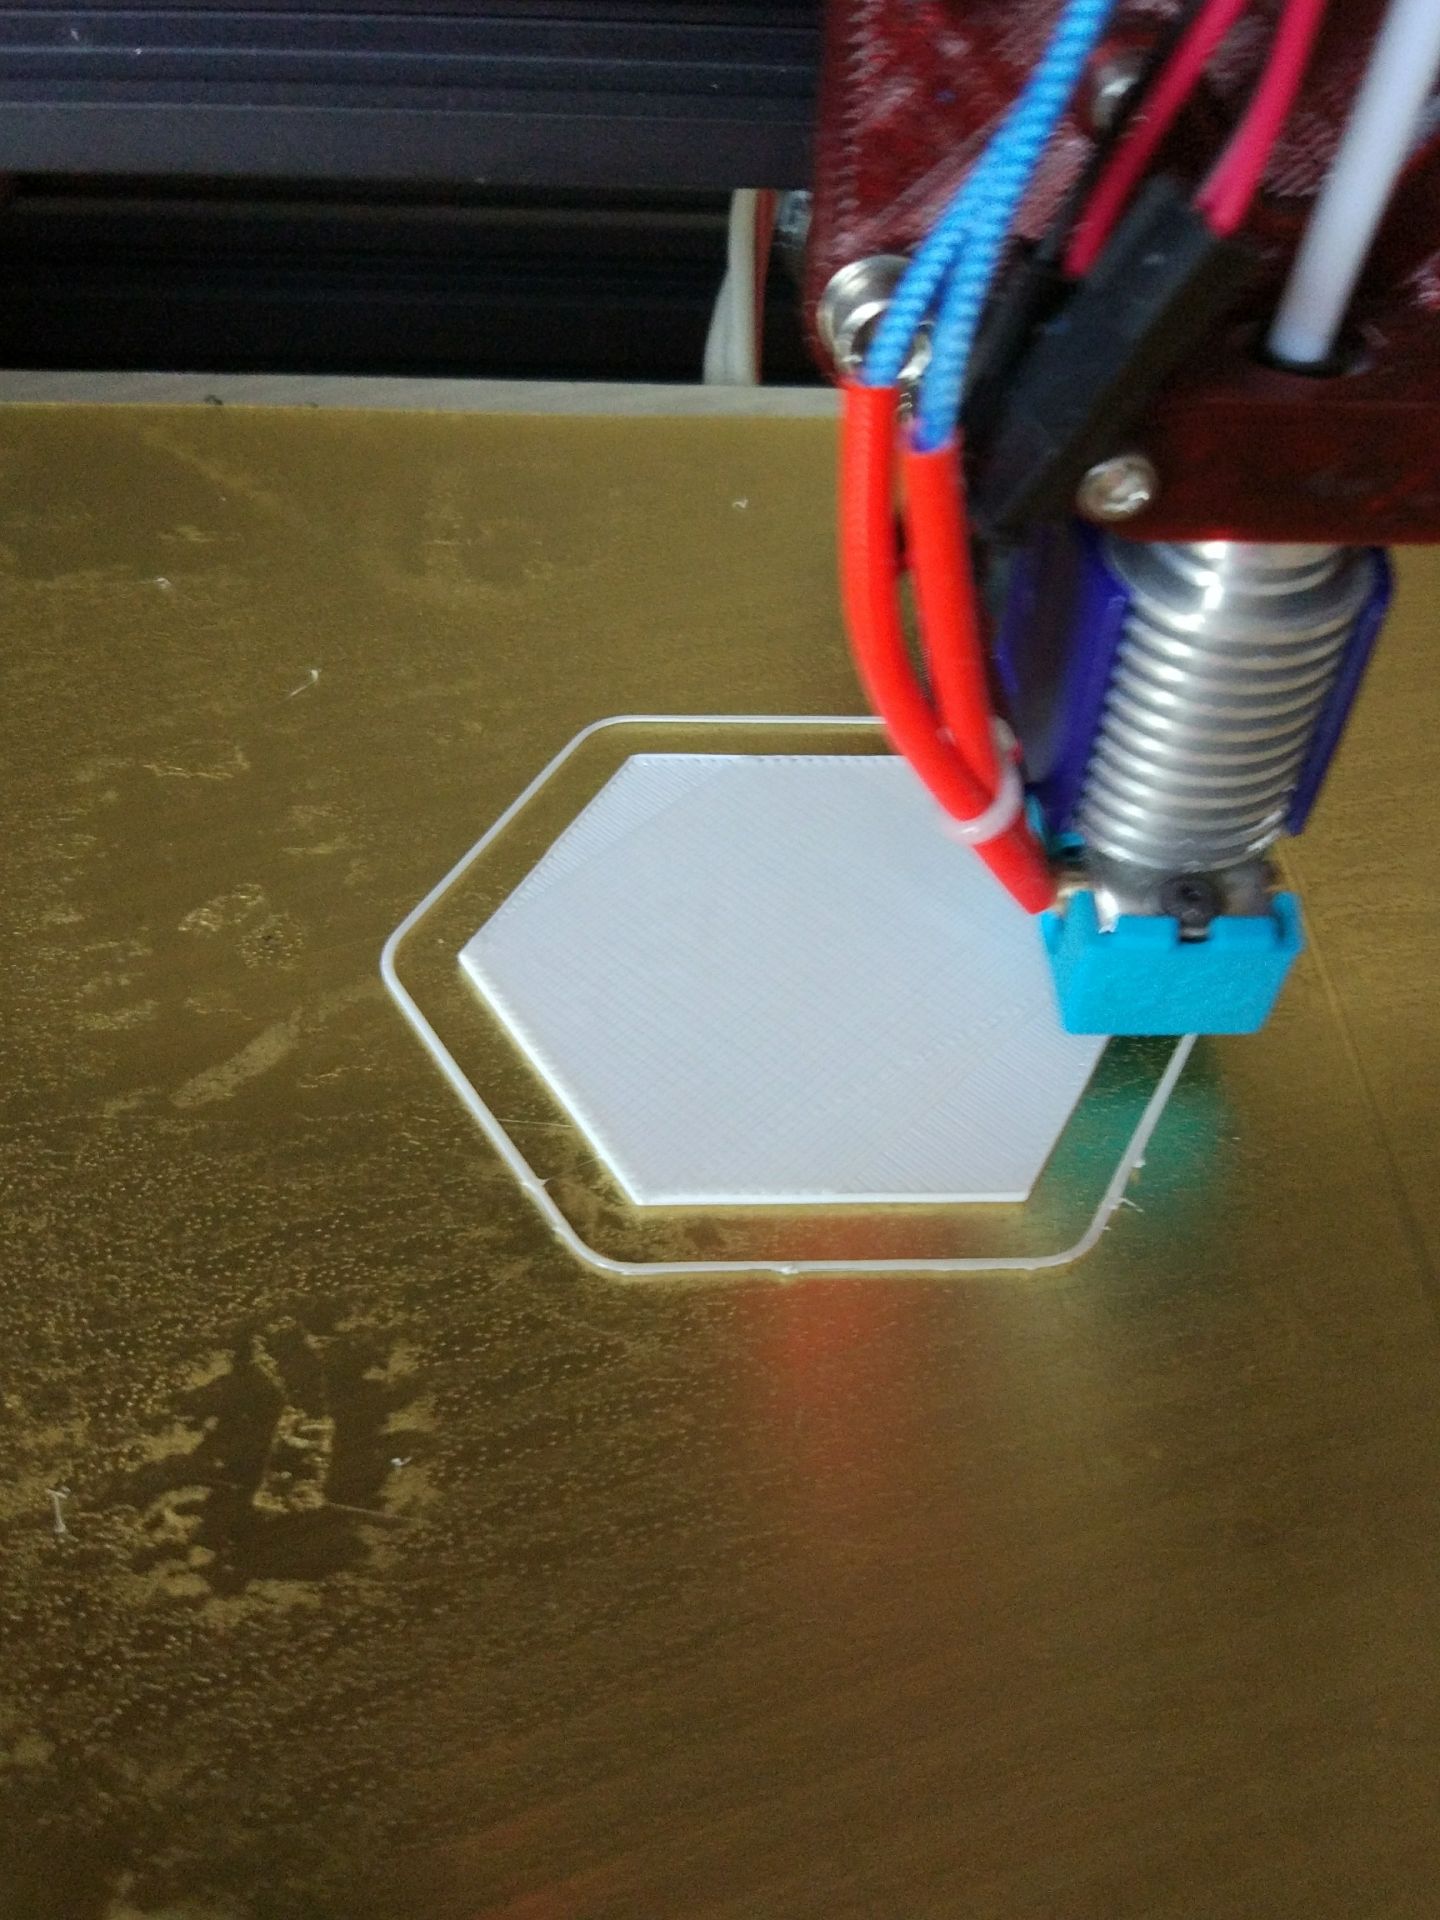
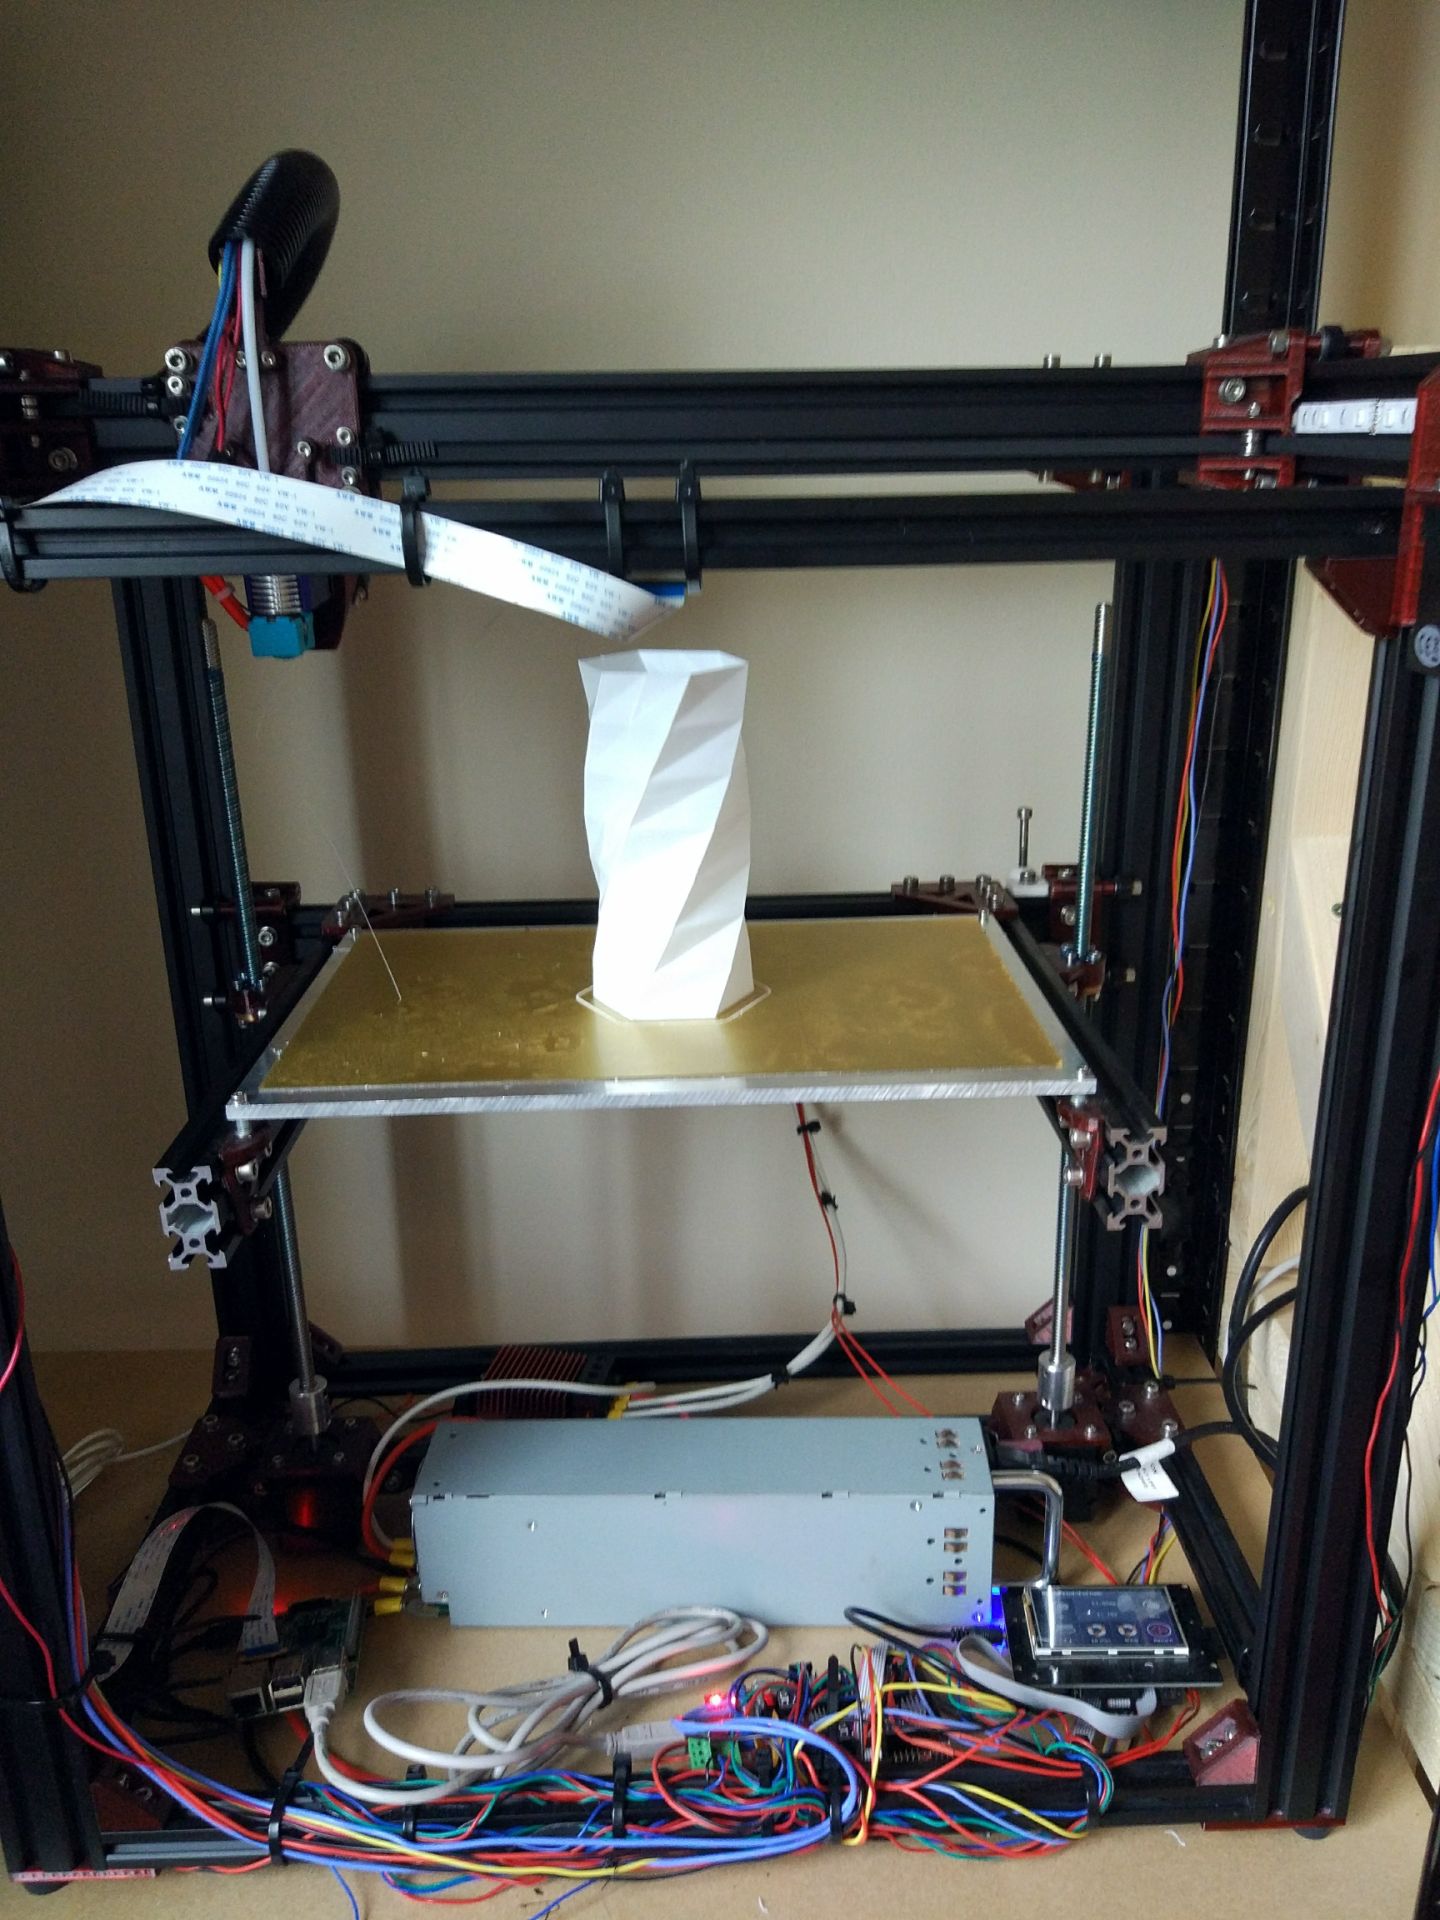
I downloaded Slic3r (Prusa Edition) and loaded up a calibration cube (pictured above) which was my first print. After some more settings updates and changes, I was able to get very acceptable outcomes from the Red PLA I was using at the time. As I continued with my test prints I noticed larger prints were not sticking very well and there were some issues with warping, so I decided to install a PEI bed (you can see this below the vase print). Next, I bought some Hatchbox PETG for some structural prints I planned on making and tested it out with a geometric vase and I was extremely impressed with the results: despite not being waterproof due to levelling issues; the result was accurate and strong.
I hope to upload more prints from this printer in the future, including projects with 3D printed parts.
Thanks for reading!