I’ve been using my Pok3r (MX clears) keyboard for about a year and a half, thought a small upgrade would be nice and also wanted to build my own keyboard. After looking around layouts (some smaller and some larger than my 60%) I decided a 96% would be nice to try out due to its compact layout with maximum functionality; I also wanted it to be fully-programmable with different layers and so on.
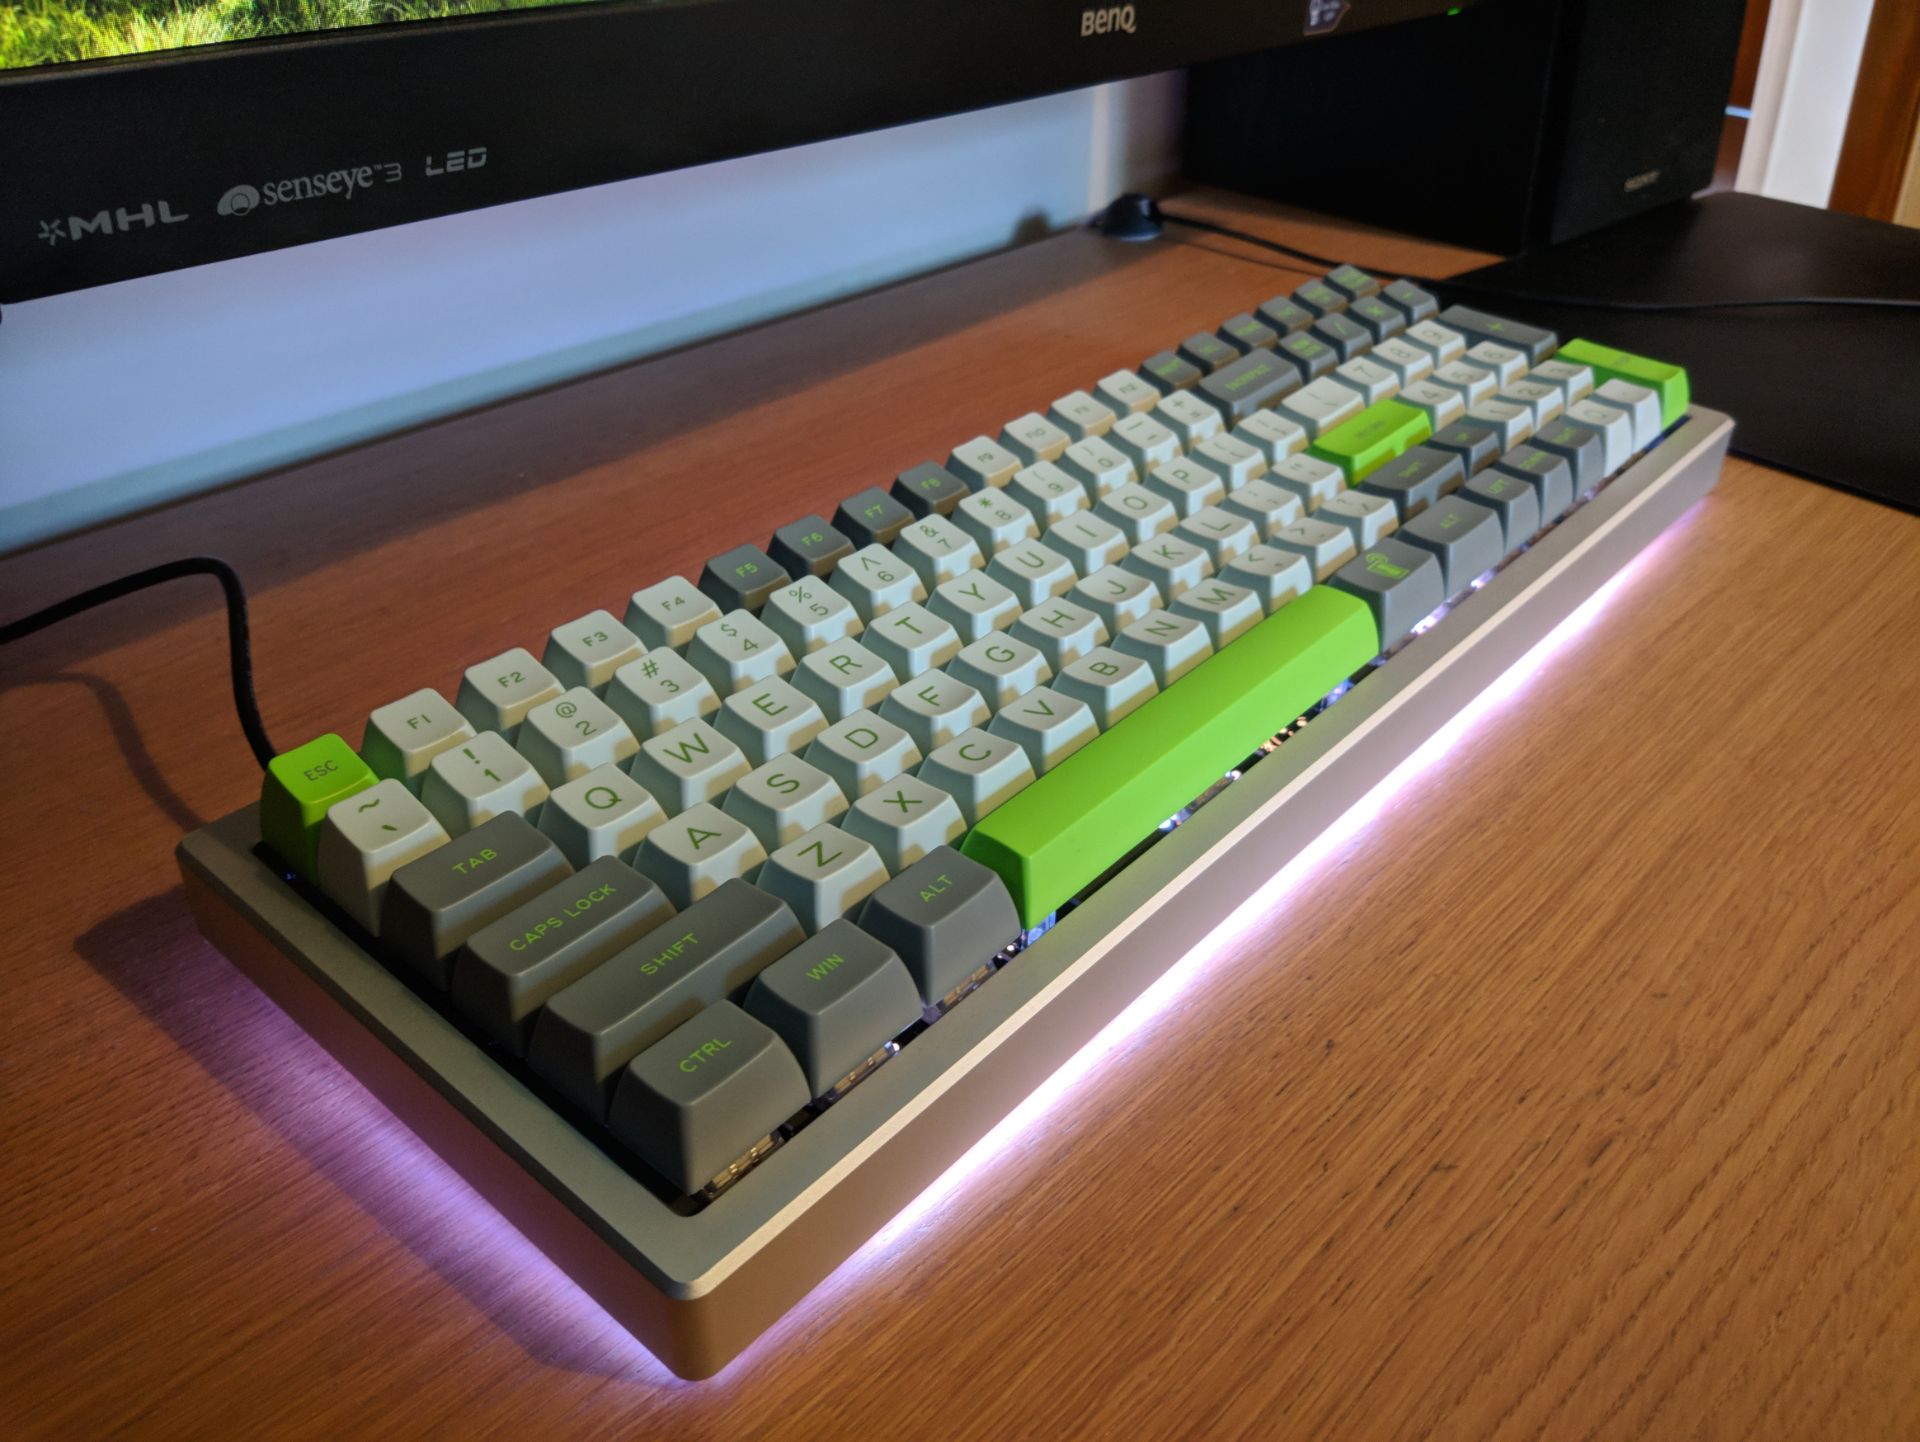
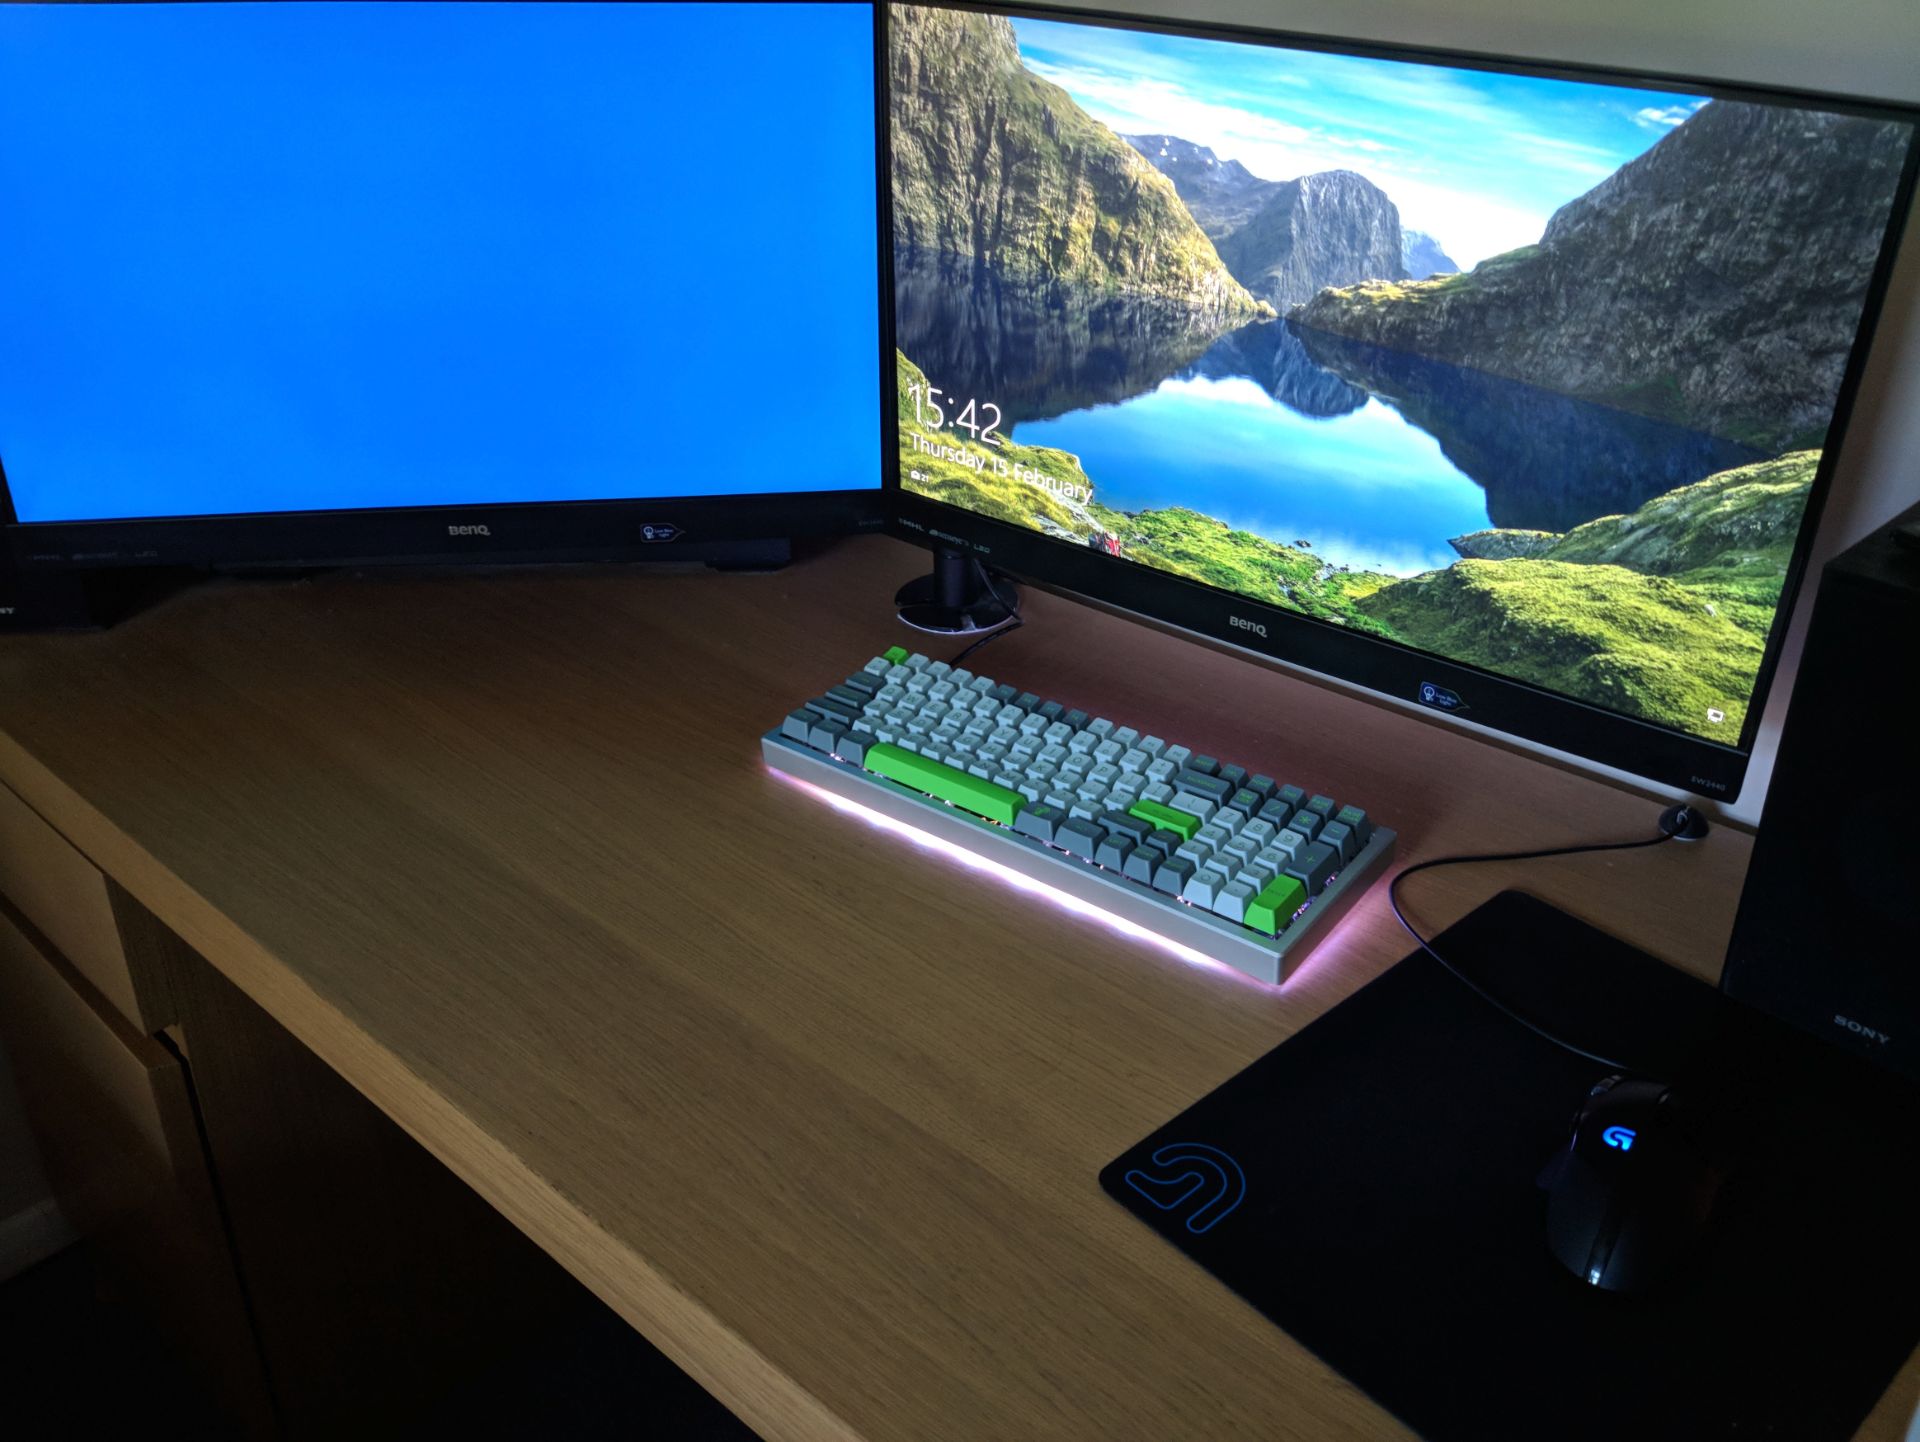
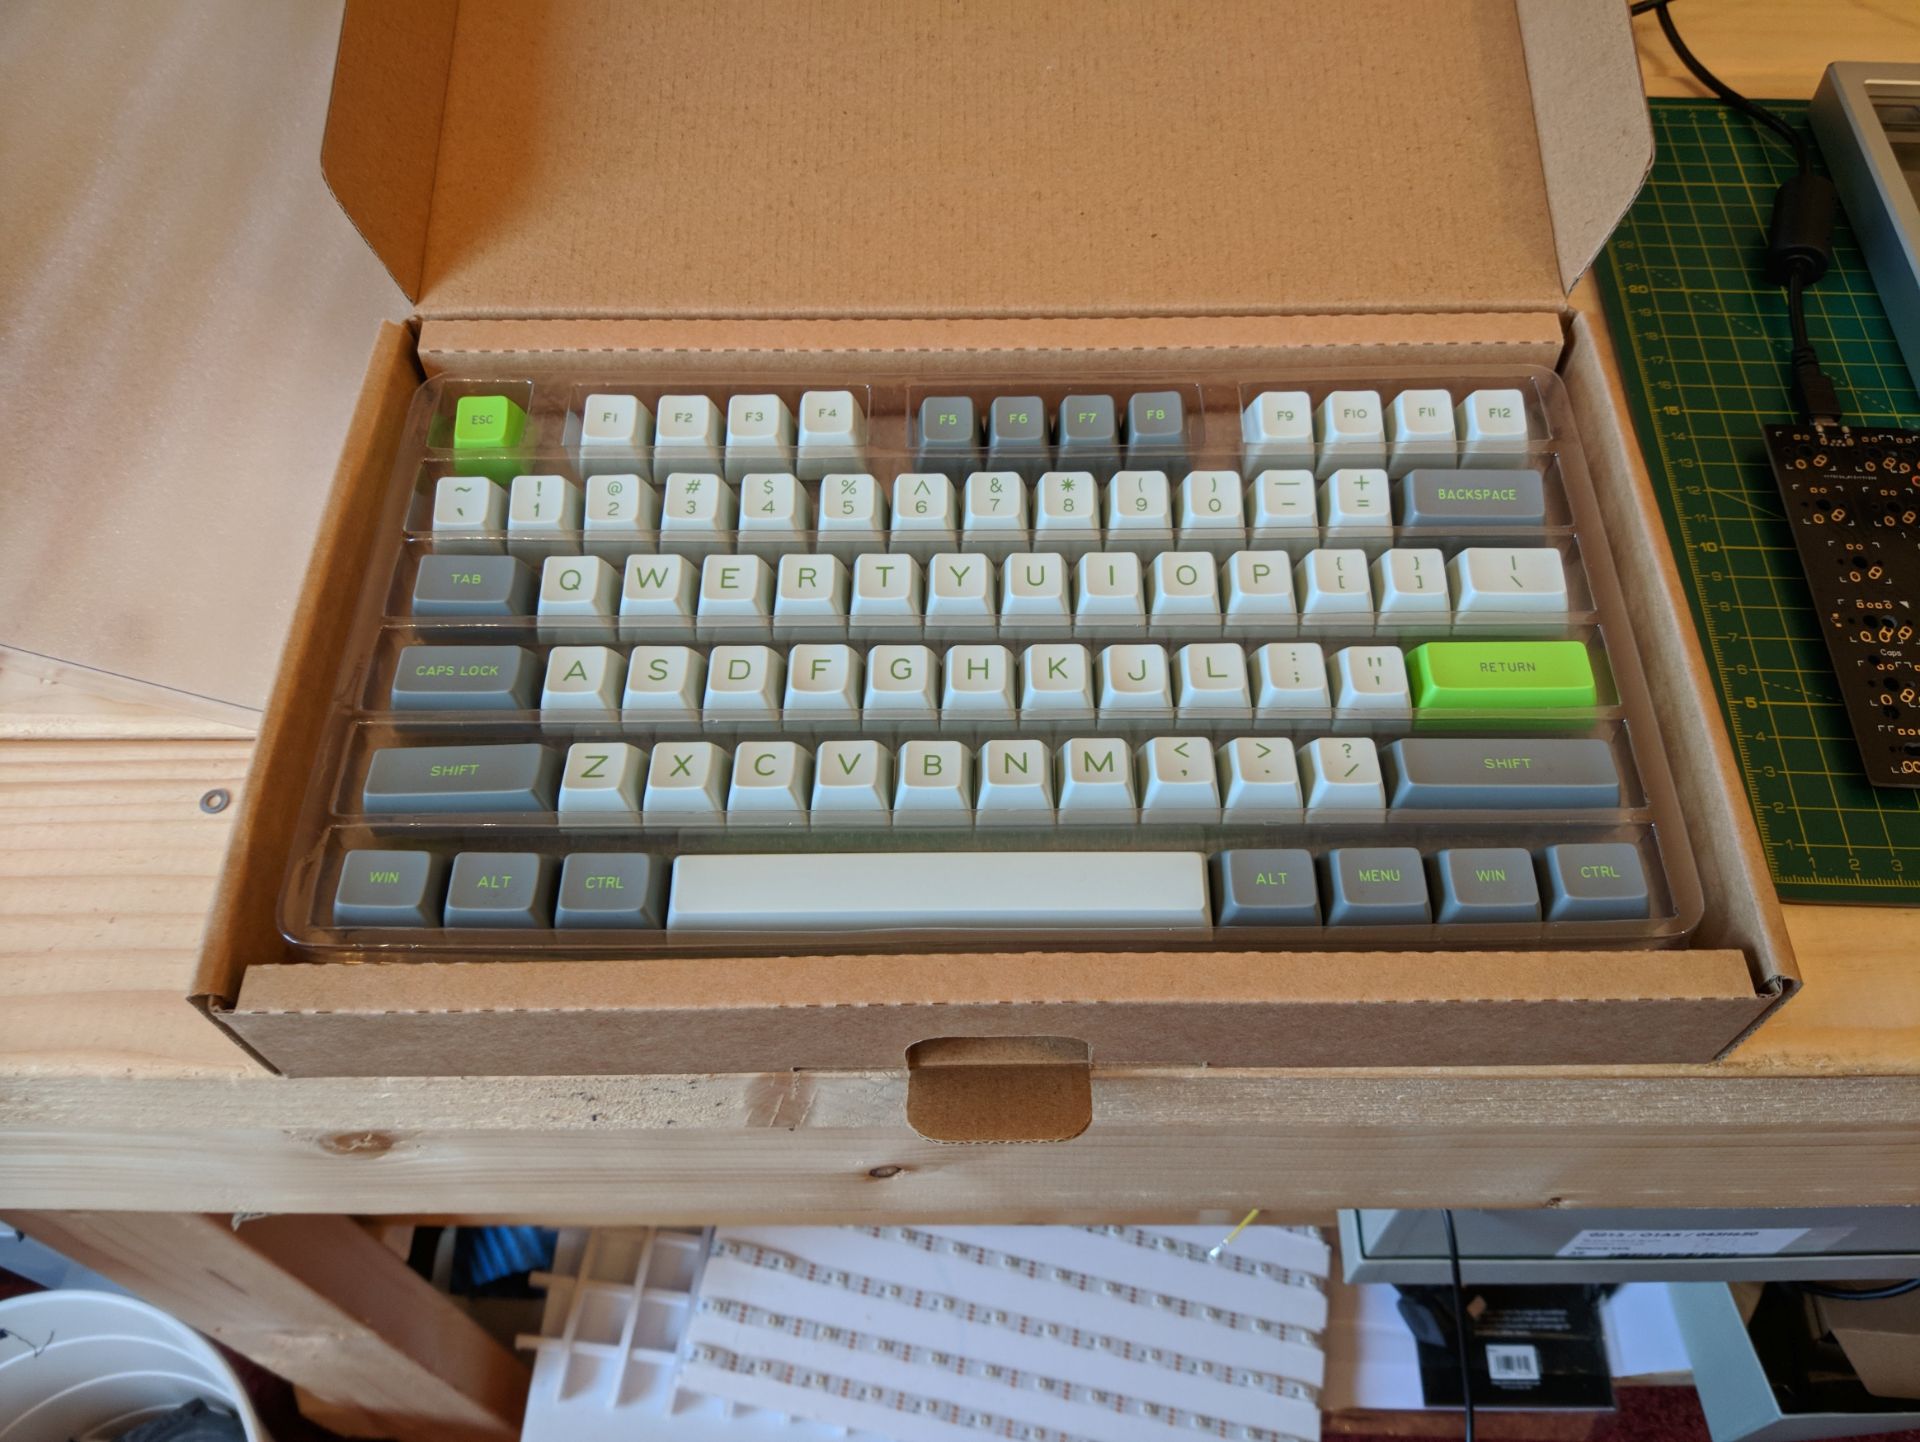
Final Images
Components and Tools
Tools
- Soldering station
- Precision screwdrivers
- Keycap puller
- Tweezers
Components
- XD96 PCB – Aliexpress
- XD96 Case – Aliexpress; plate bends when pressing far left & right keys, 3D printed fix shown below.
- Stabilizers – Aliexpress; I wouldn’t recommend these ones, pretty rattly even after lubrication.
- BOX Navy Switches – KBDFans
- SA Lime Keyset – Taobao; bought this through SuperBuy.
- PTFEGrease – Amazon
Construction

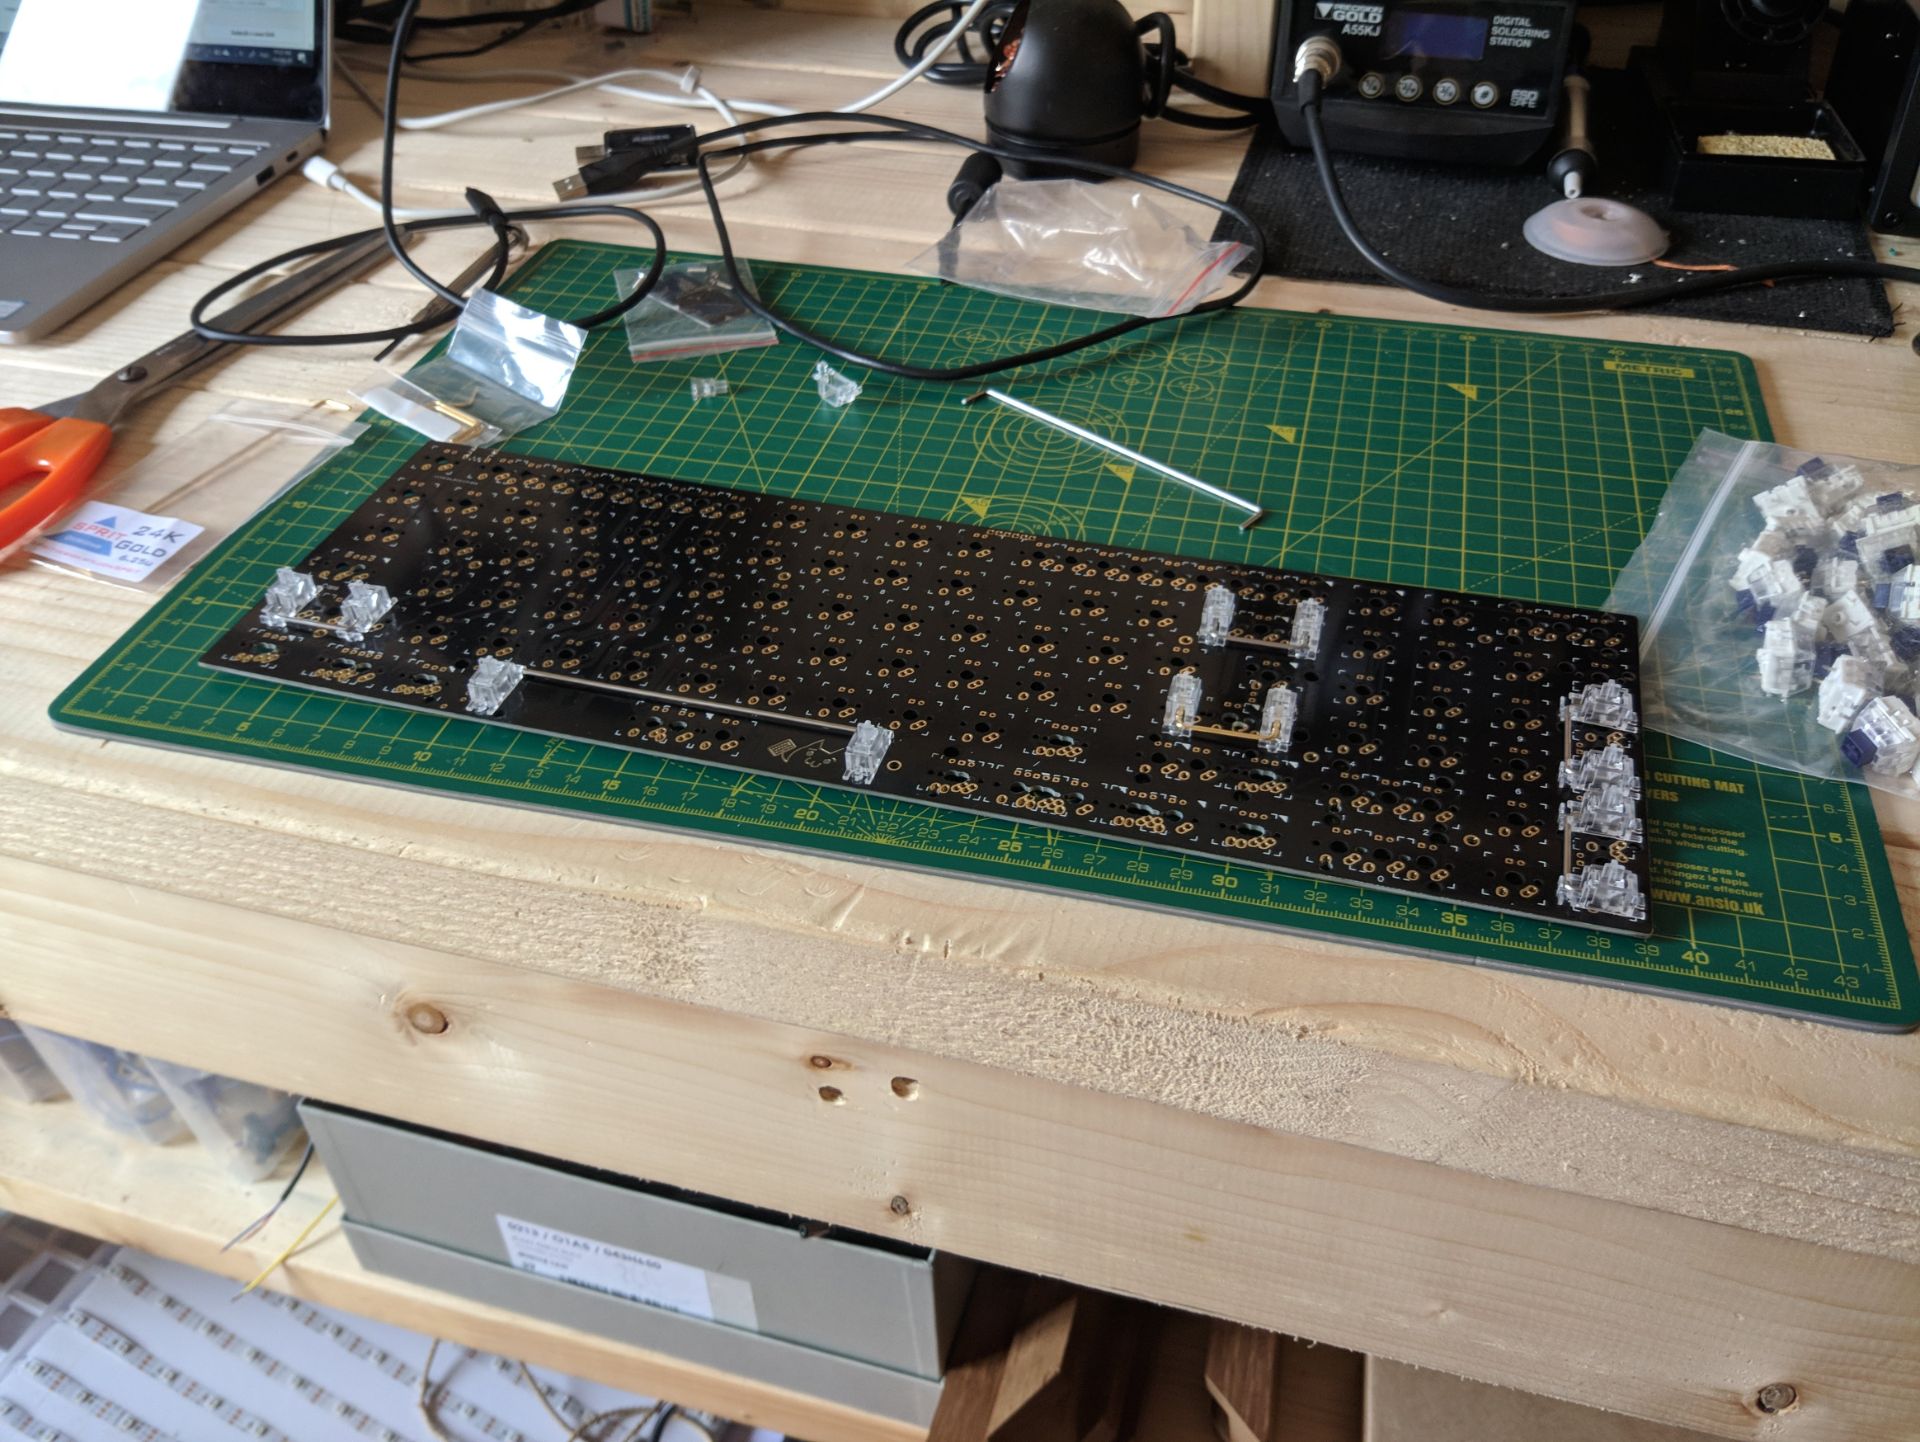
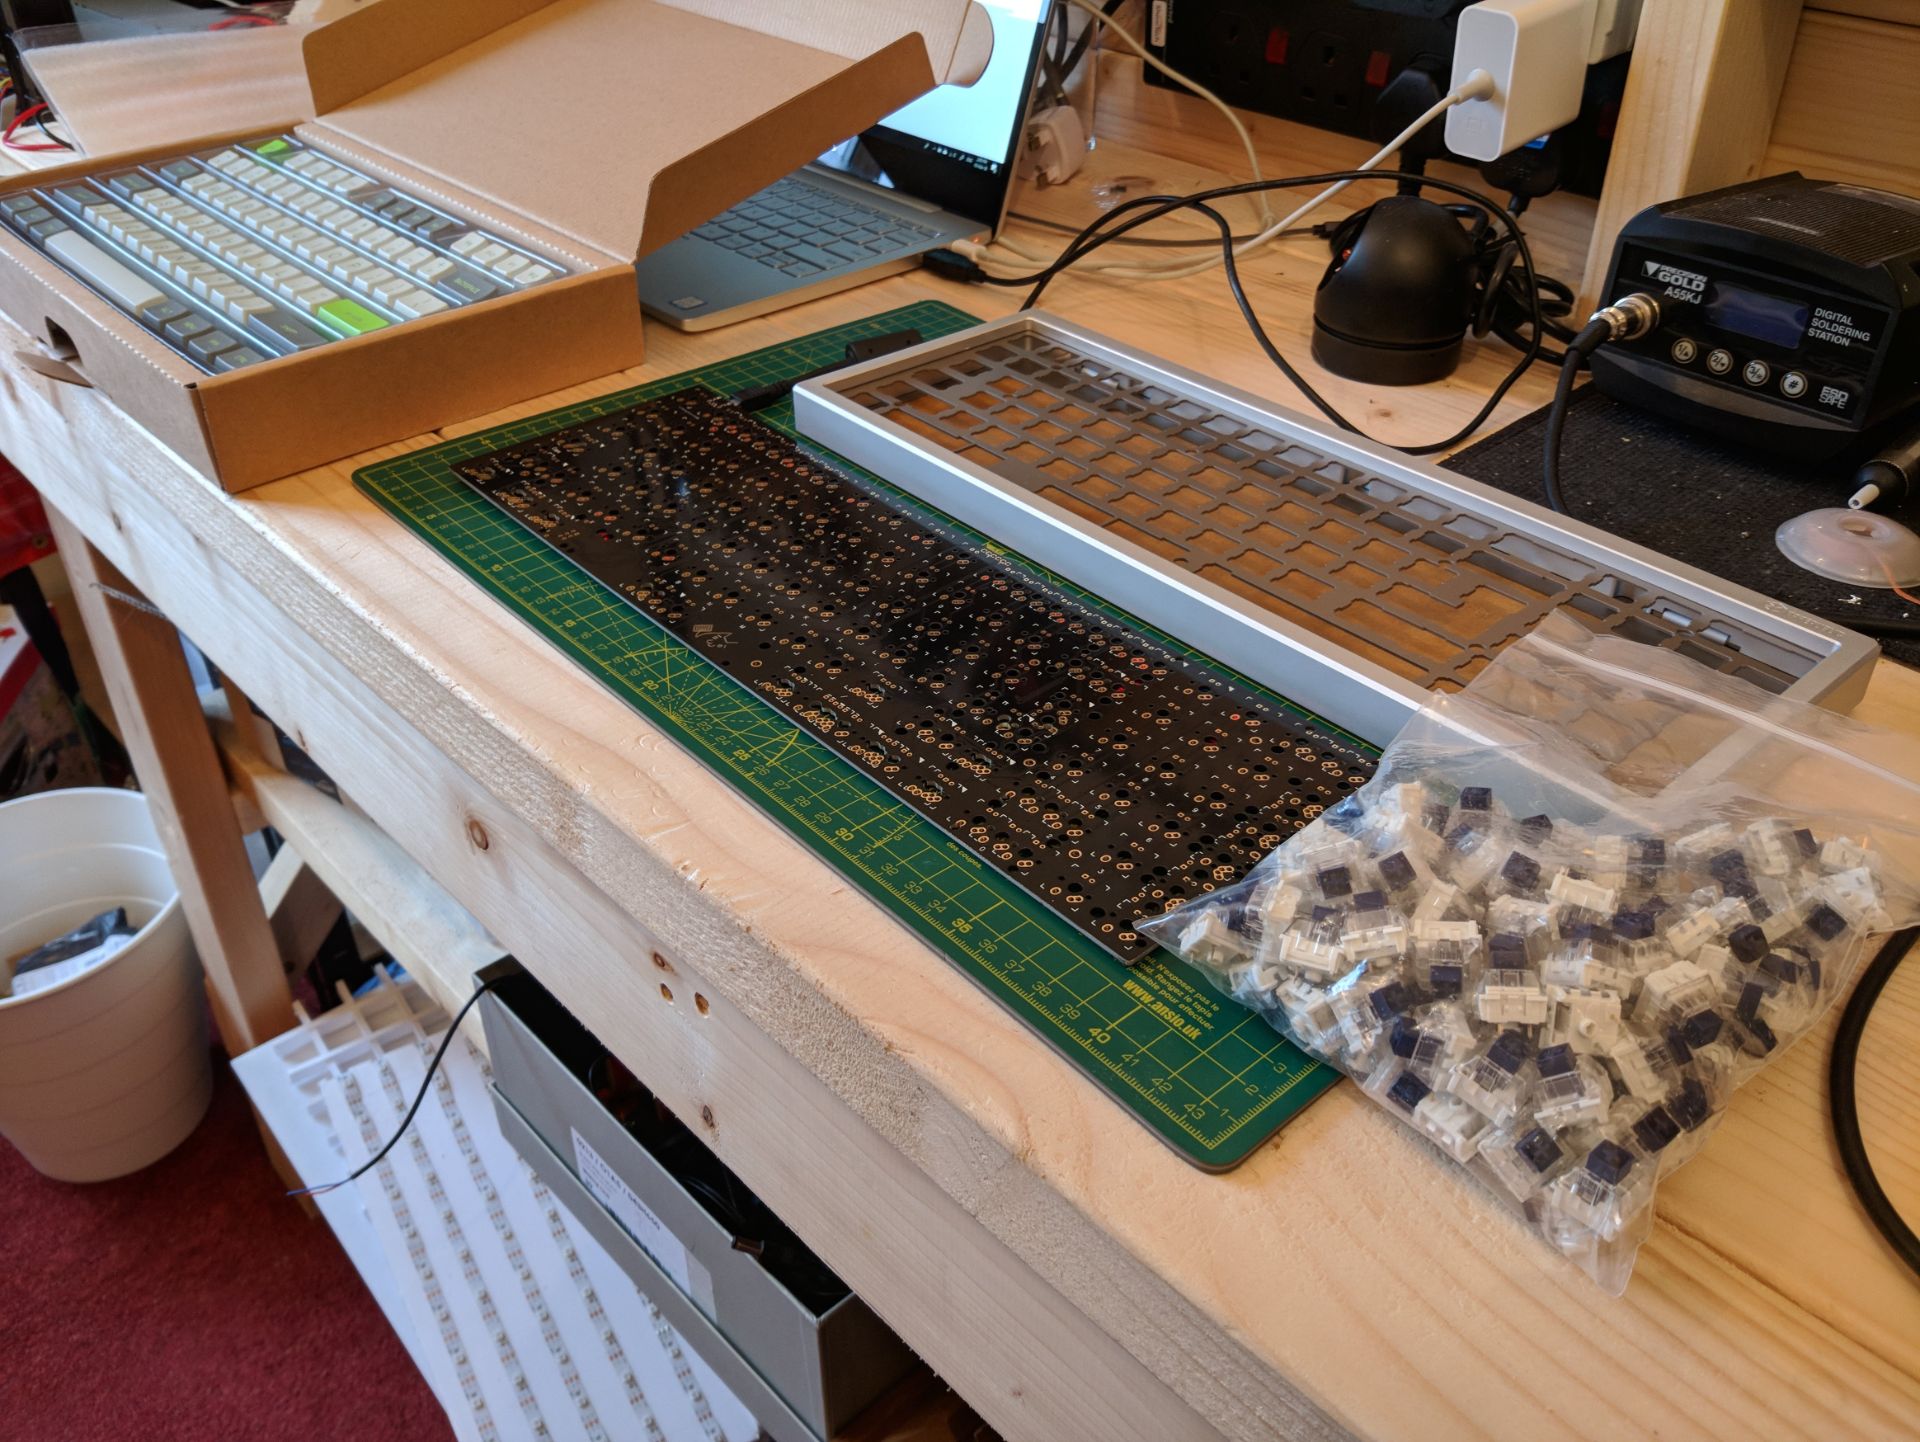
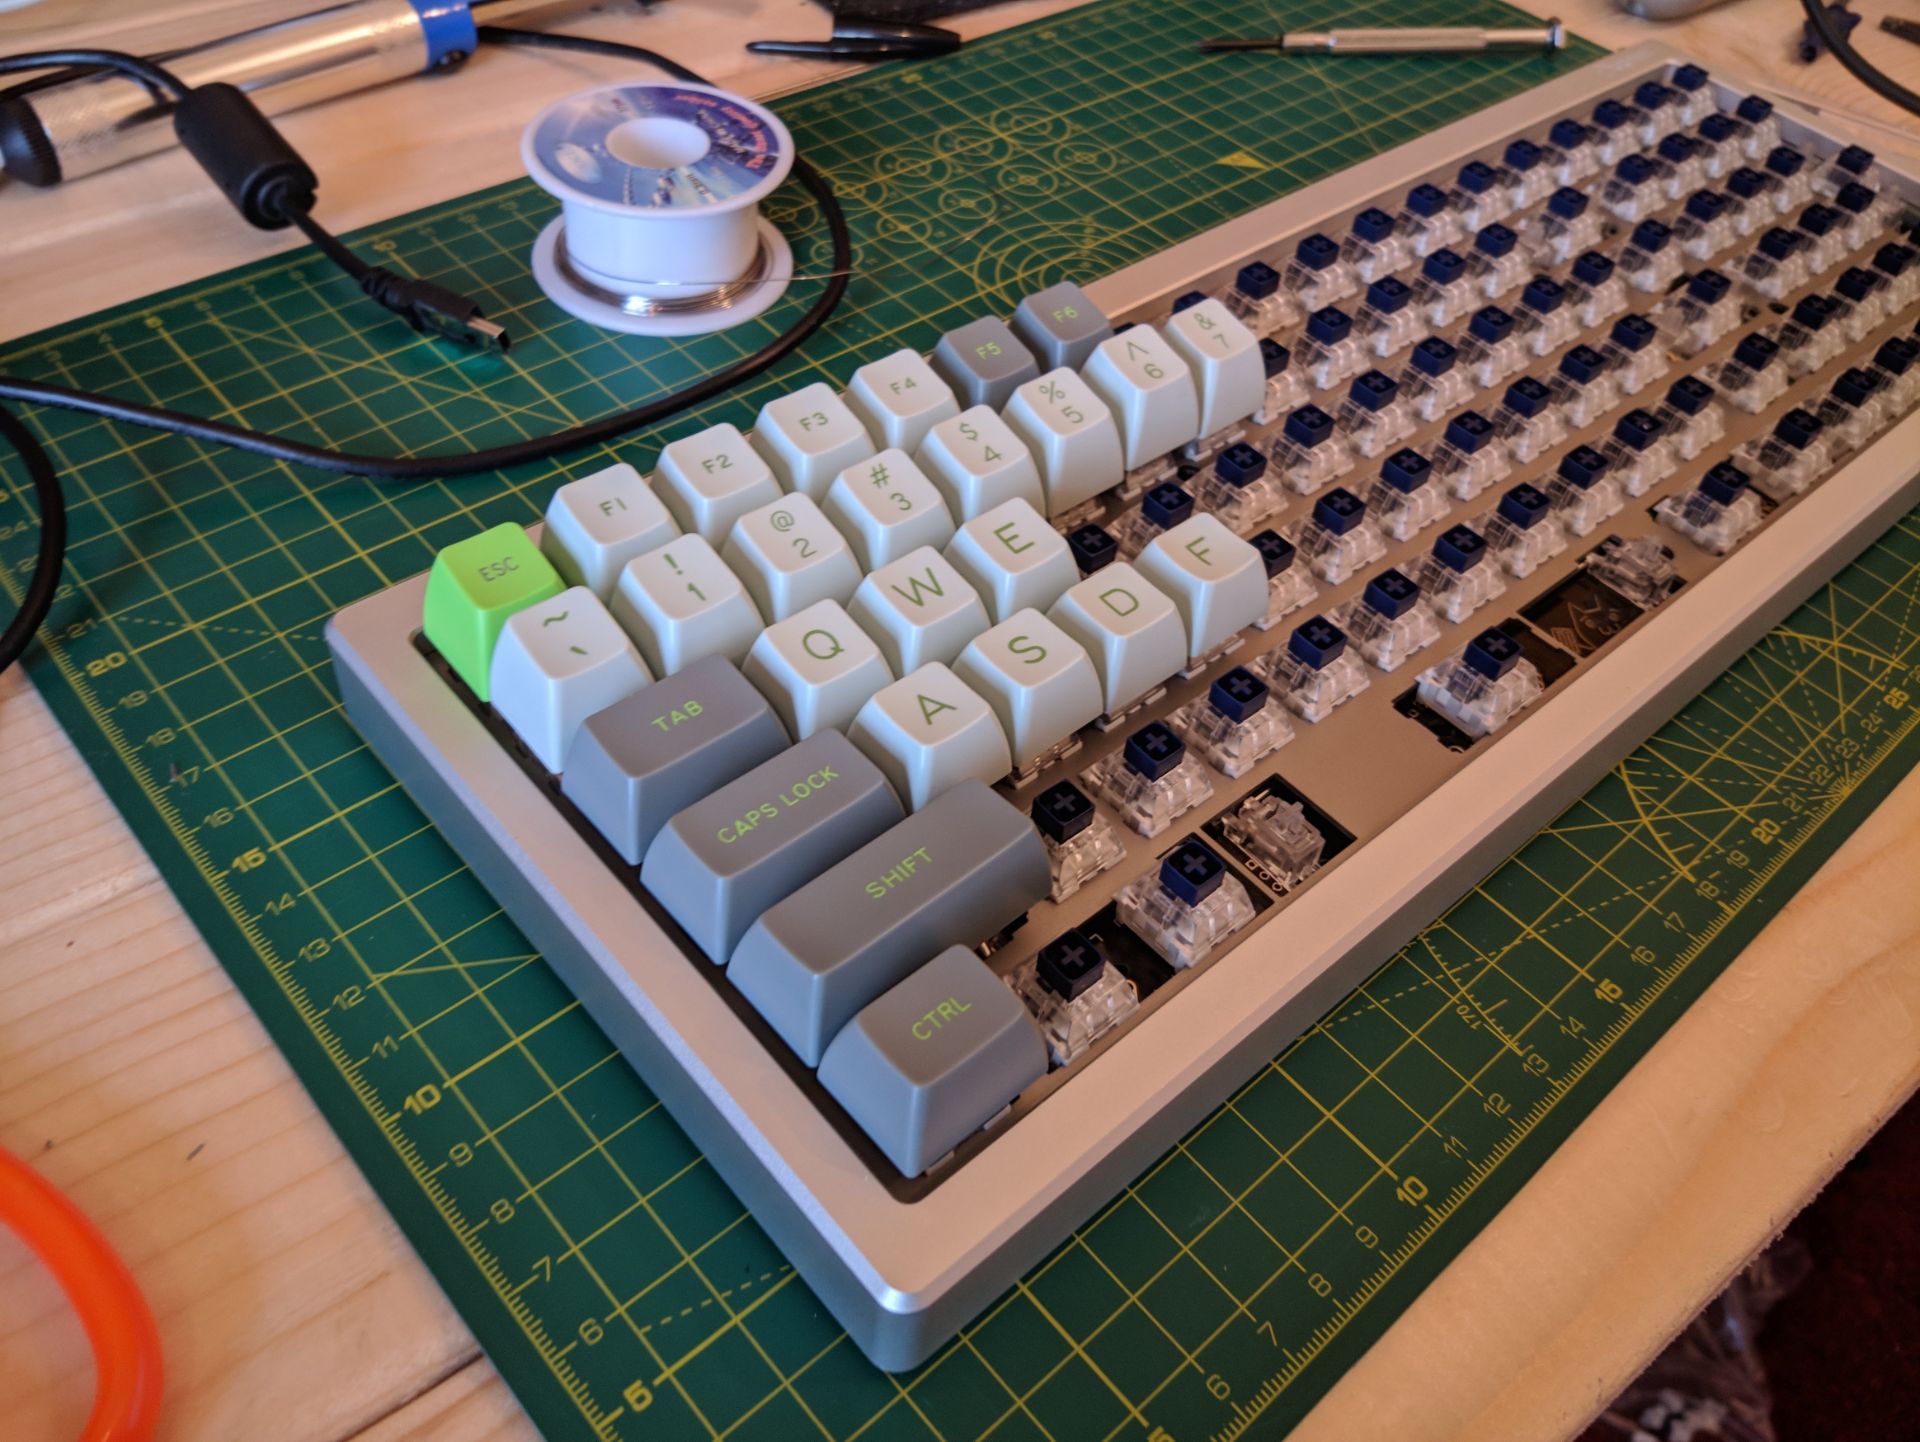
First I plugged the PCB into my laptop and used my tweezers to test each set of holes and verify every key worked. By default, every key is mapped apart from the key to the left of the spacebar which is the function key – used to control the underglow. After verifying the PCB was fully operating, I installed all of the stabilizers; I should have tested how rattly they were at this point but did not so my space stabilizer was rather noisy before greasing. KPrepublic (the Aliexpress store I purchased the stabilizers from) had only put 4 of the 7 4u stabilizer ‘wires’ so I ended up buying some expensive gold stabilizers that were slightly thicker.
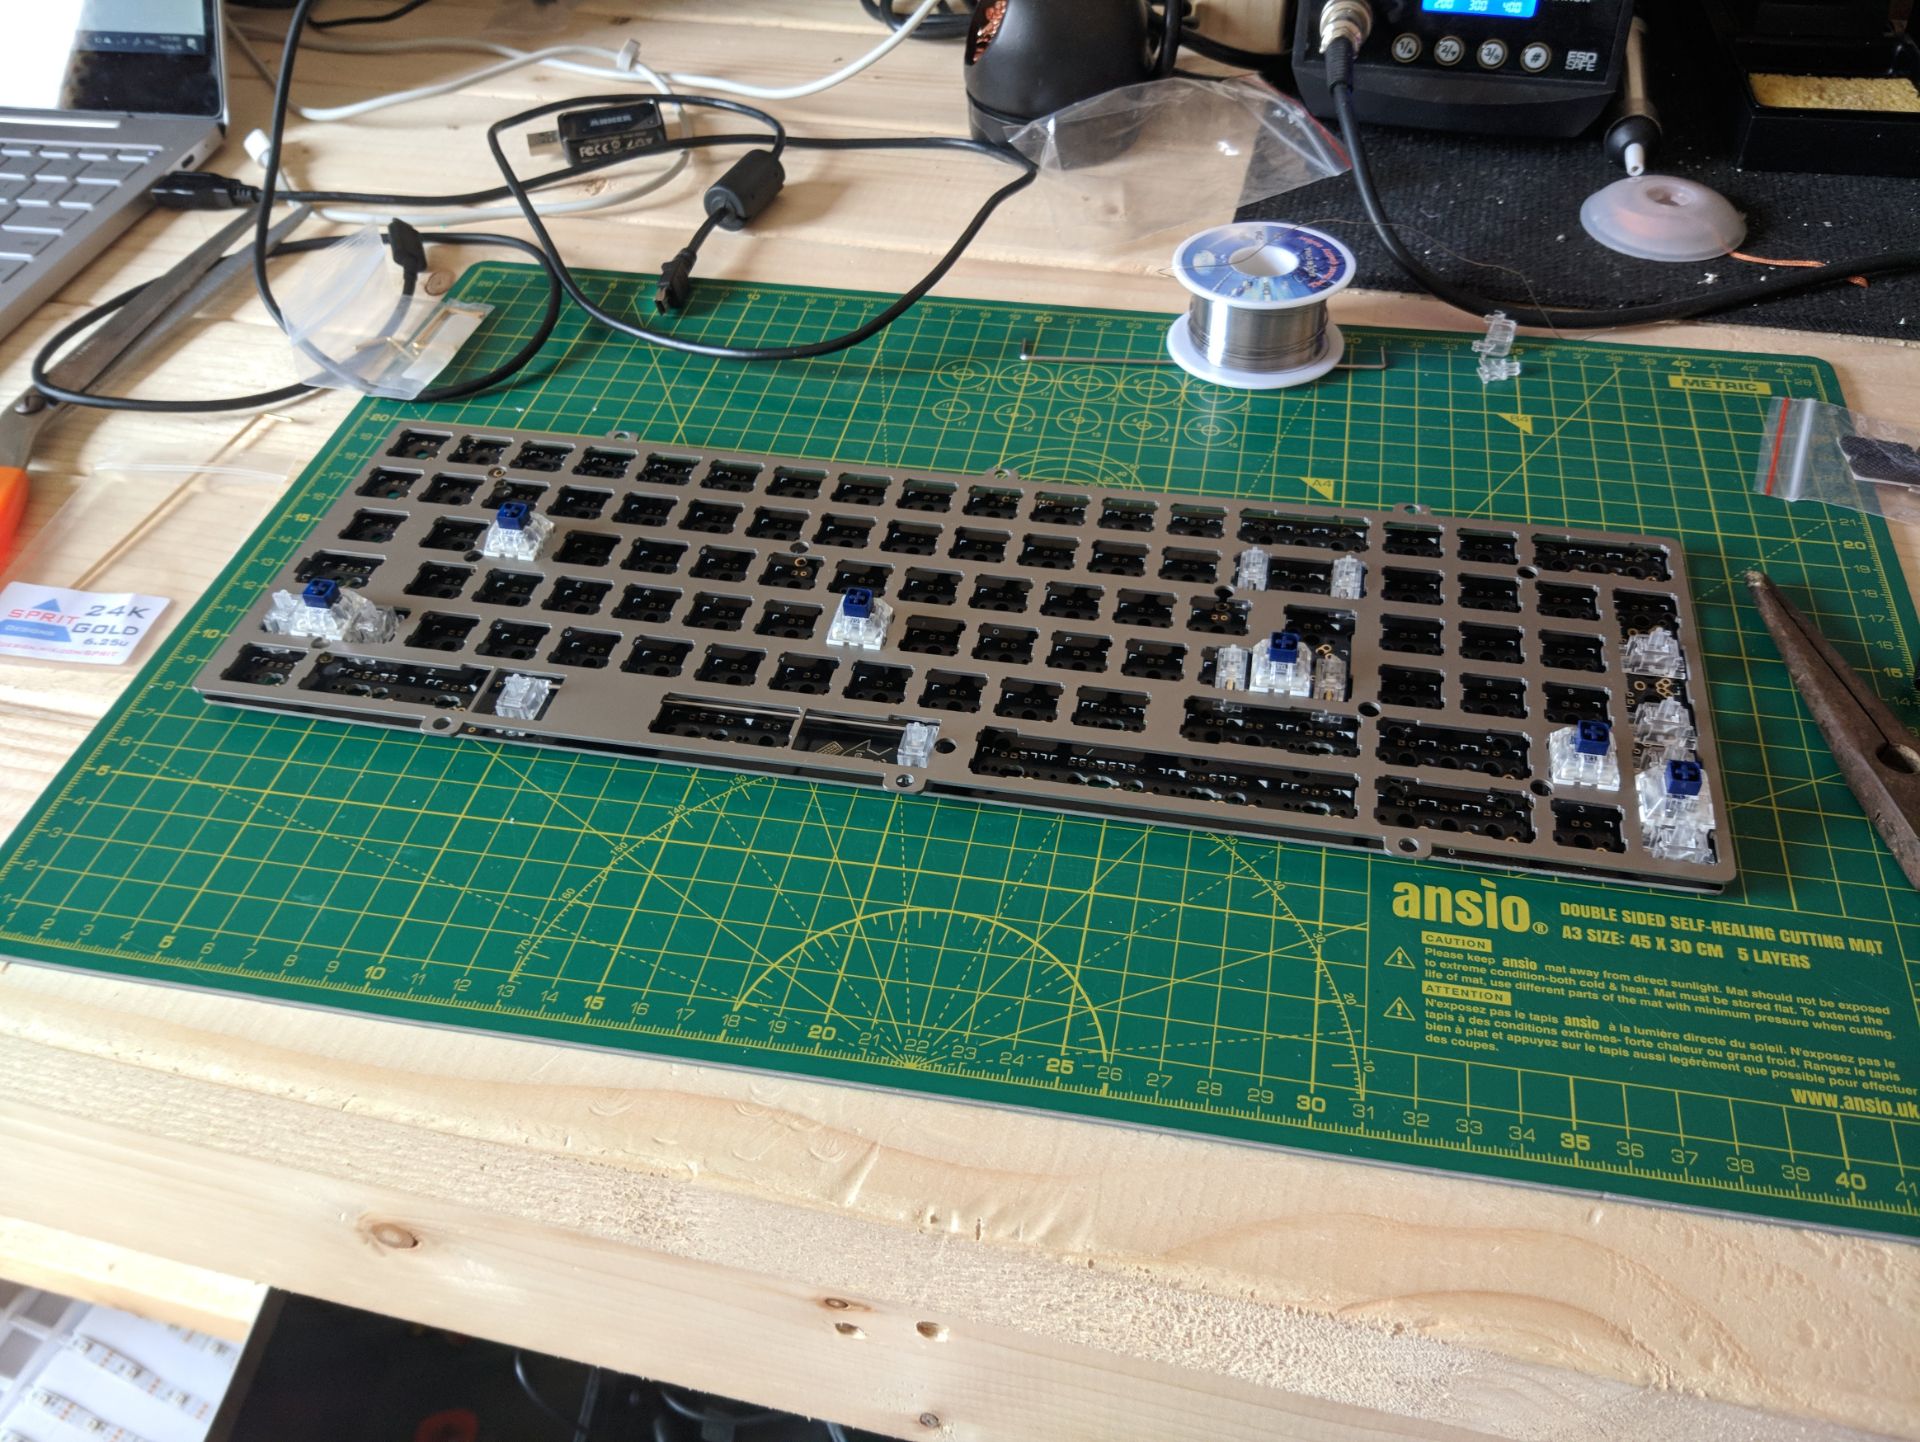
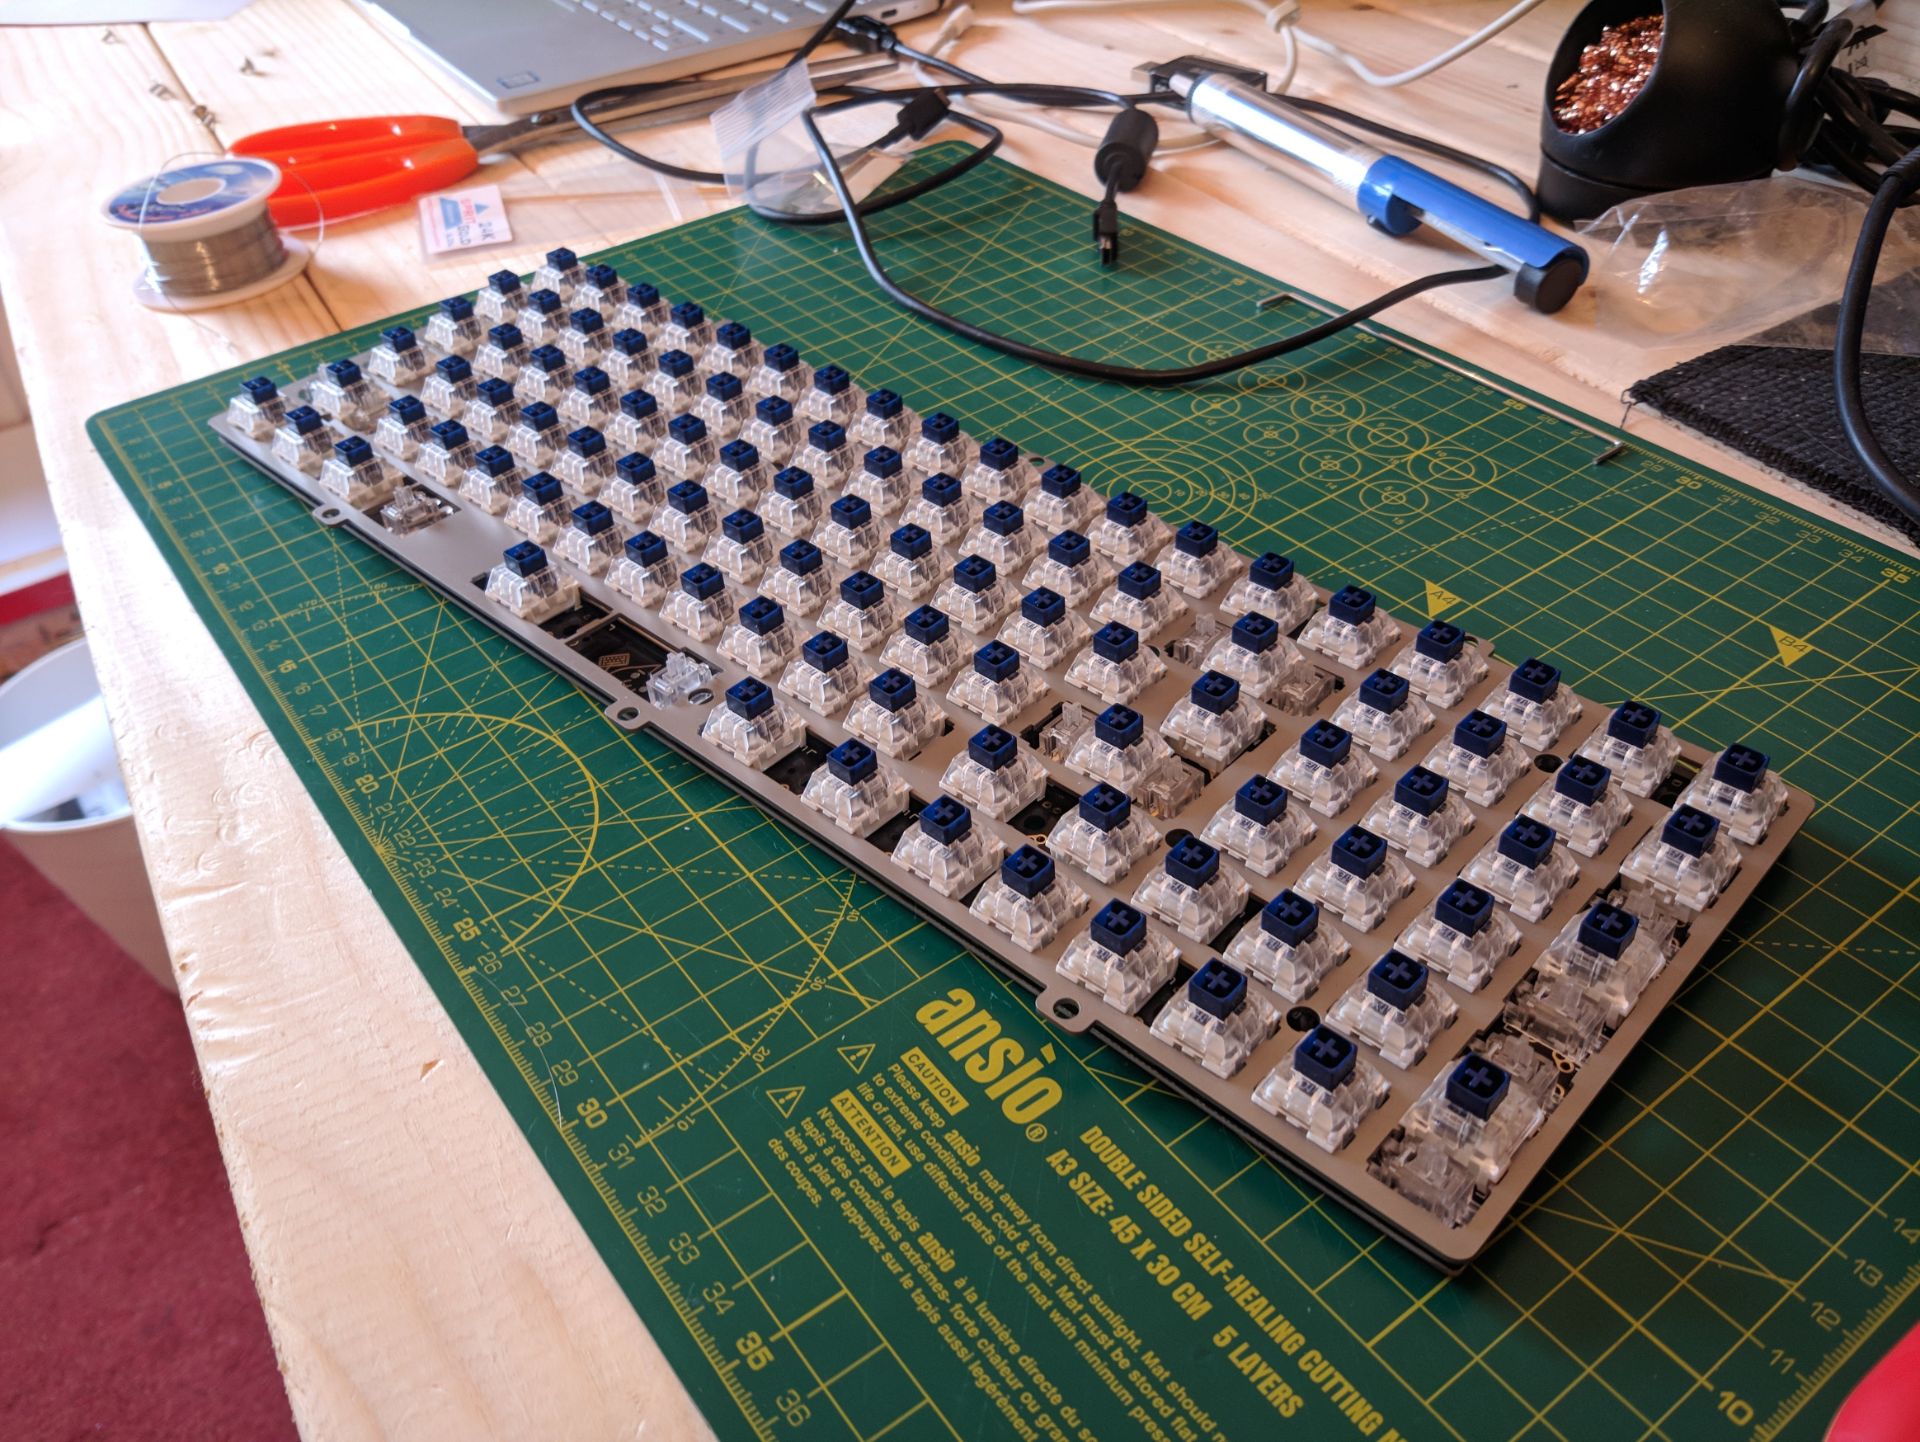
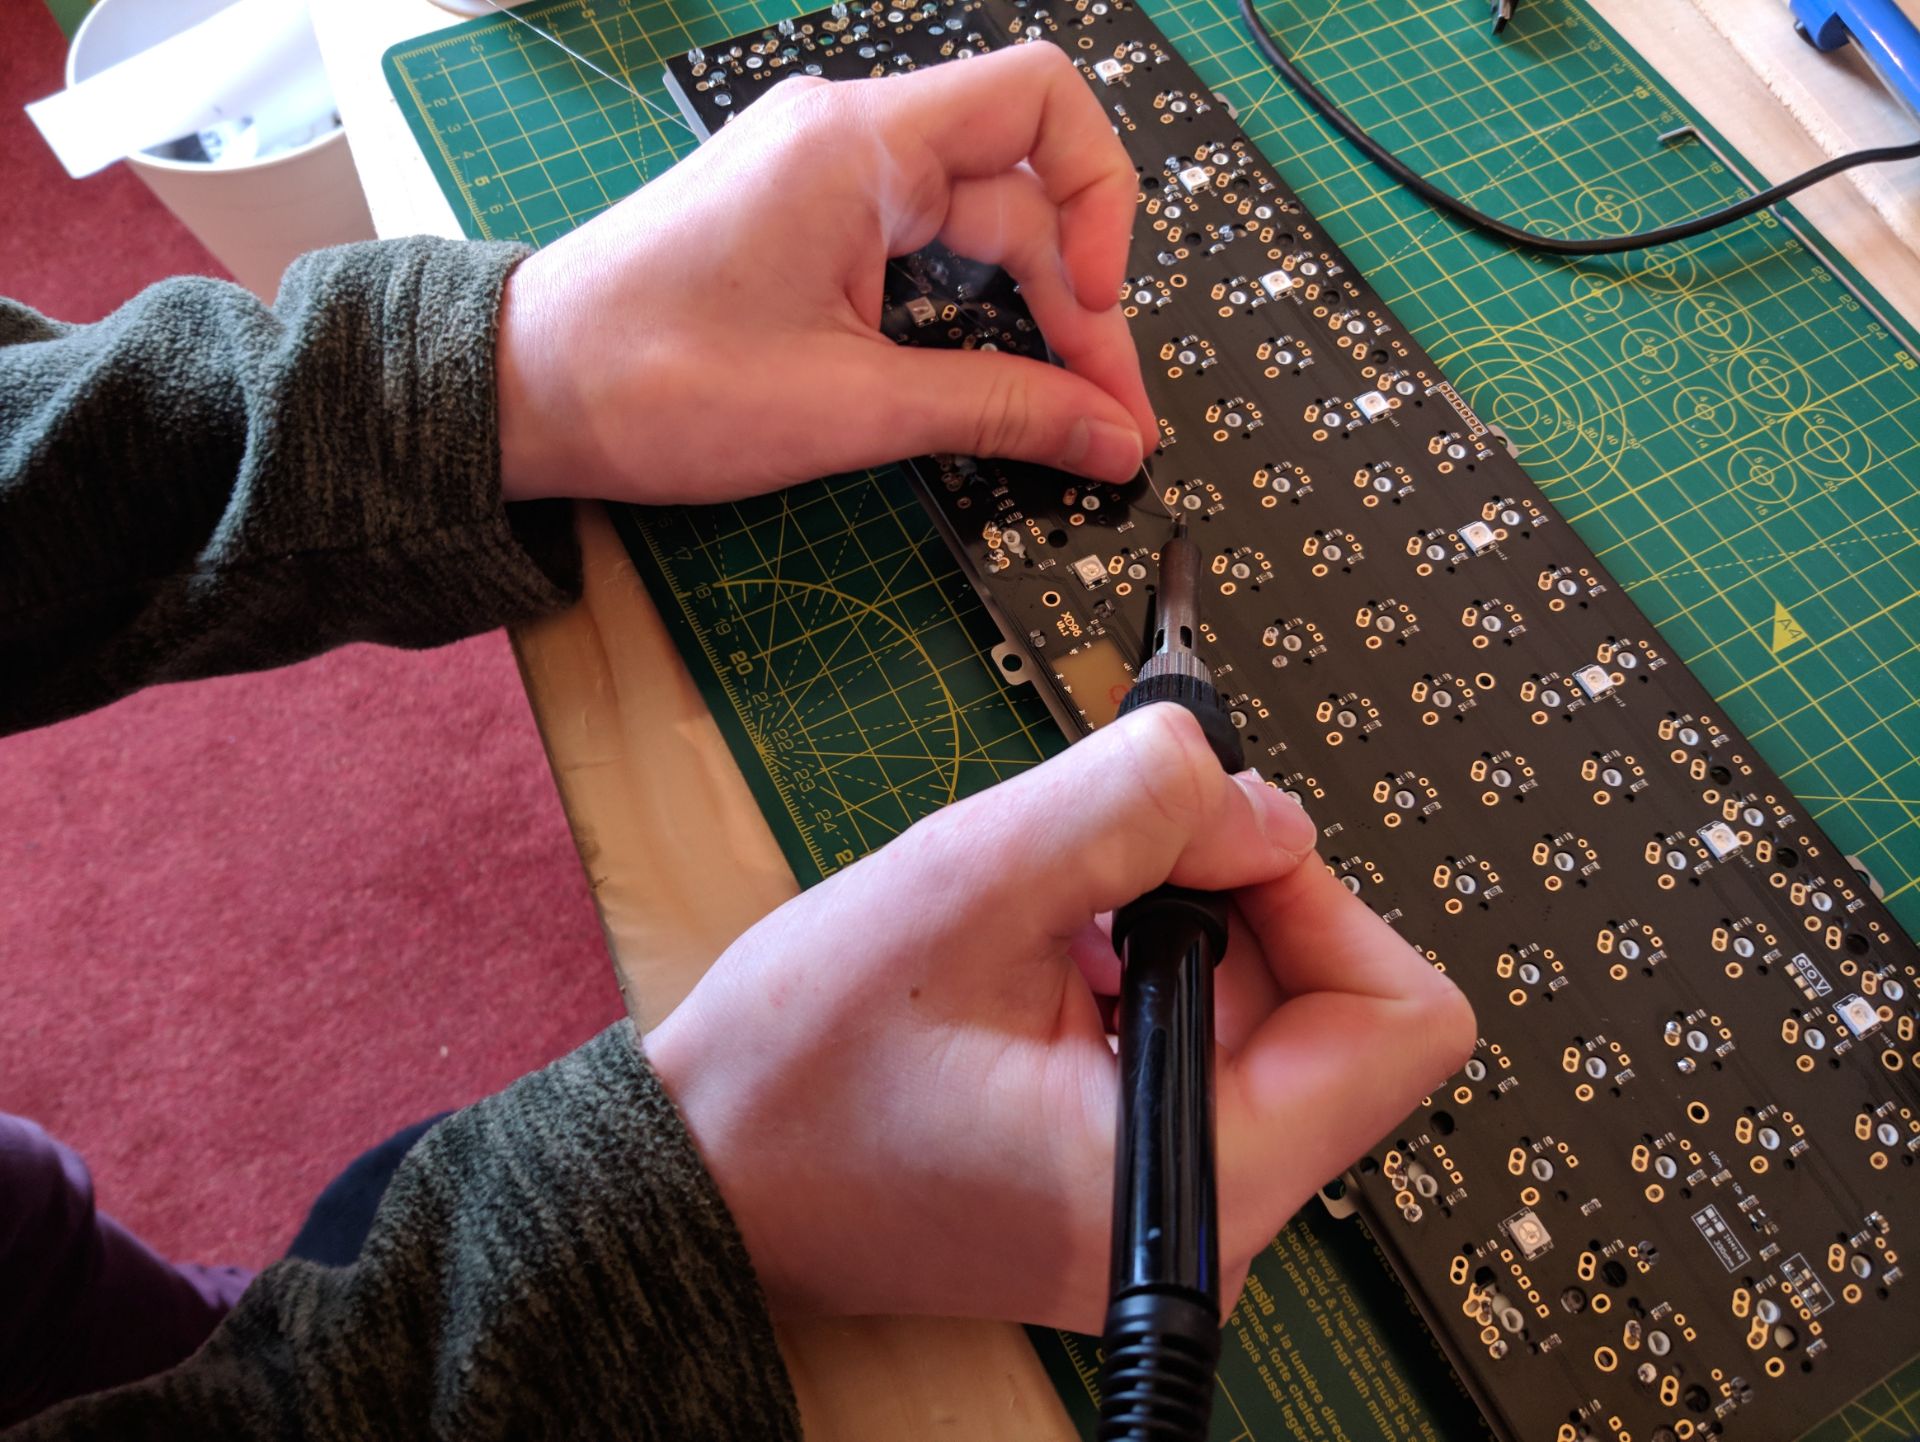
Next came the soldering of 200+ joints. I placed the PCB over the plate which I had removed from the case (it is included) and tested that the stabilizers were correctly spaced by putting a switch into place and adding the corresponding keycap: I would highly recommend this as if you mess up stabilizer placement you need to desolder all of the switches to move them. I then soldered these switches in to hold the plate and PCB together while pushing in the other switches. When all the switches were in place I went down each row and soldered them in; there is quite a large through hole on the PCB for the MX style switches’ legs which meant some of the keys were not exactly parallel. This can be seen from above but isn’t noticeable at a normal angle.
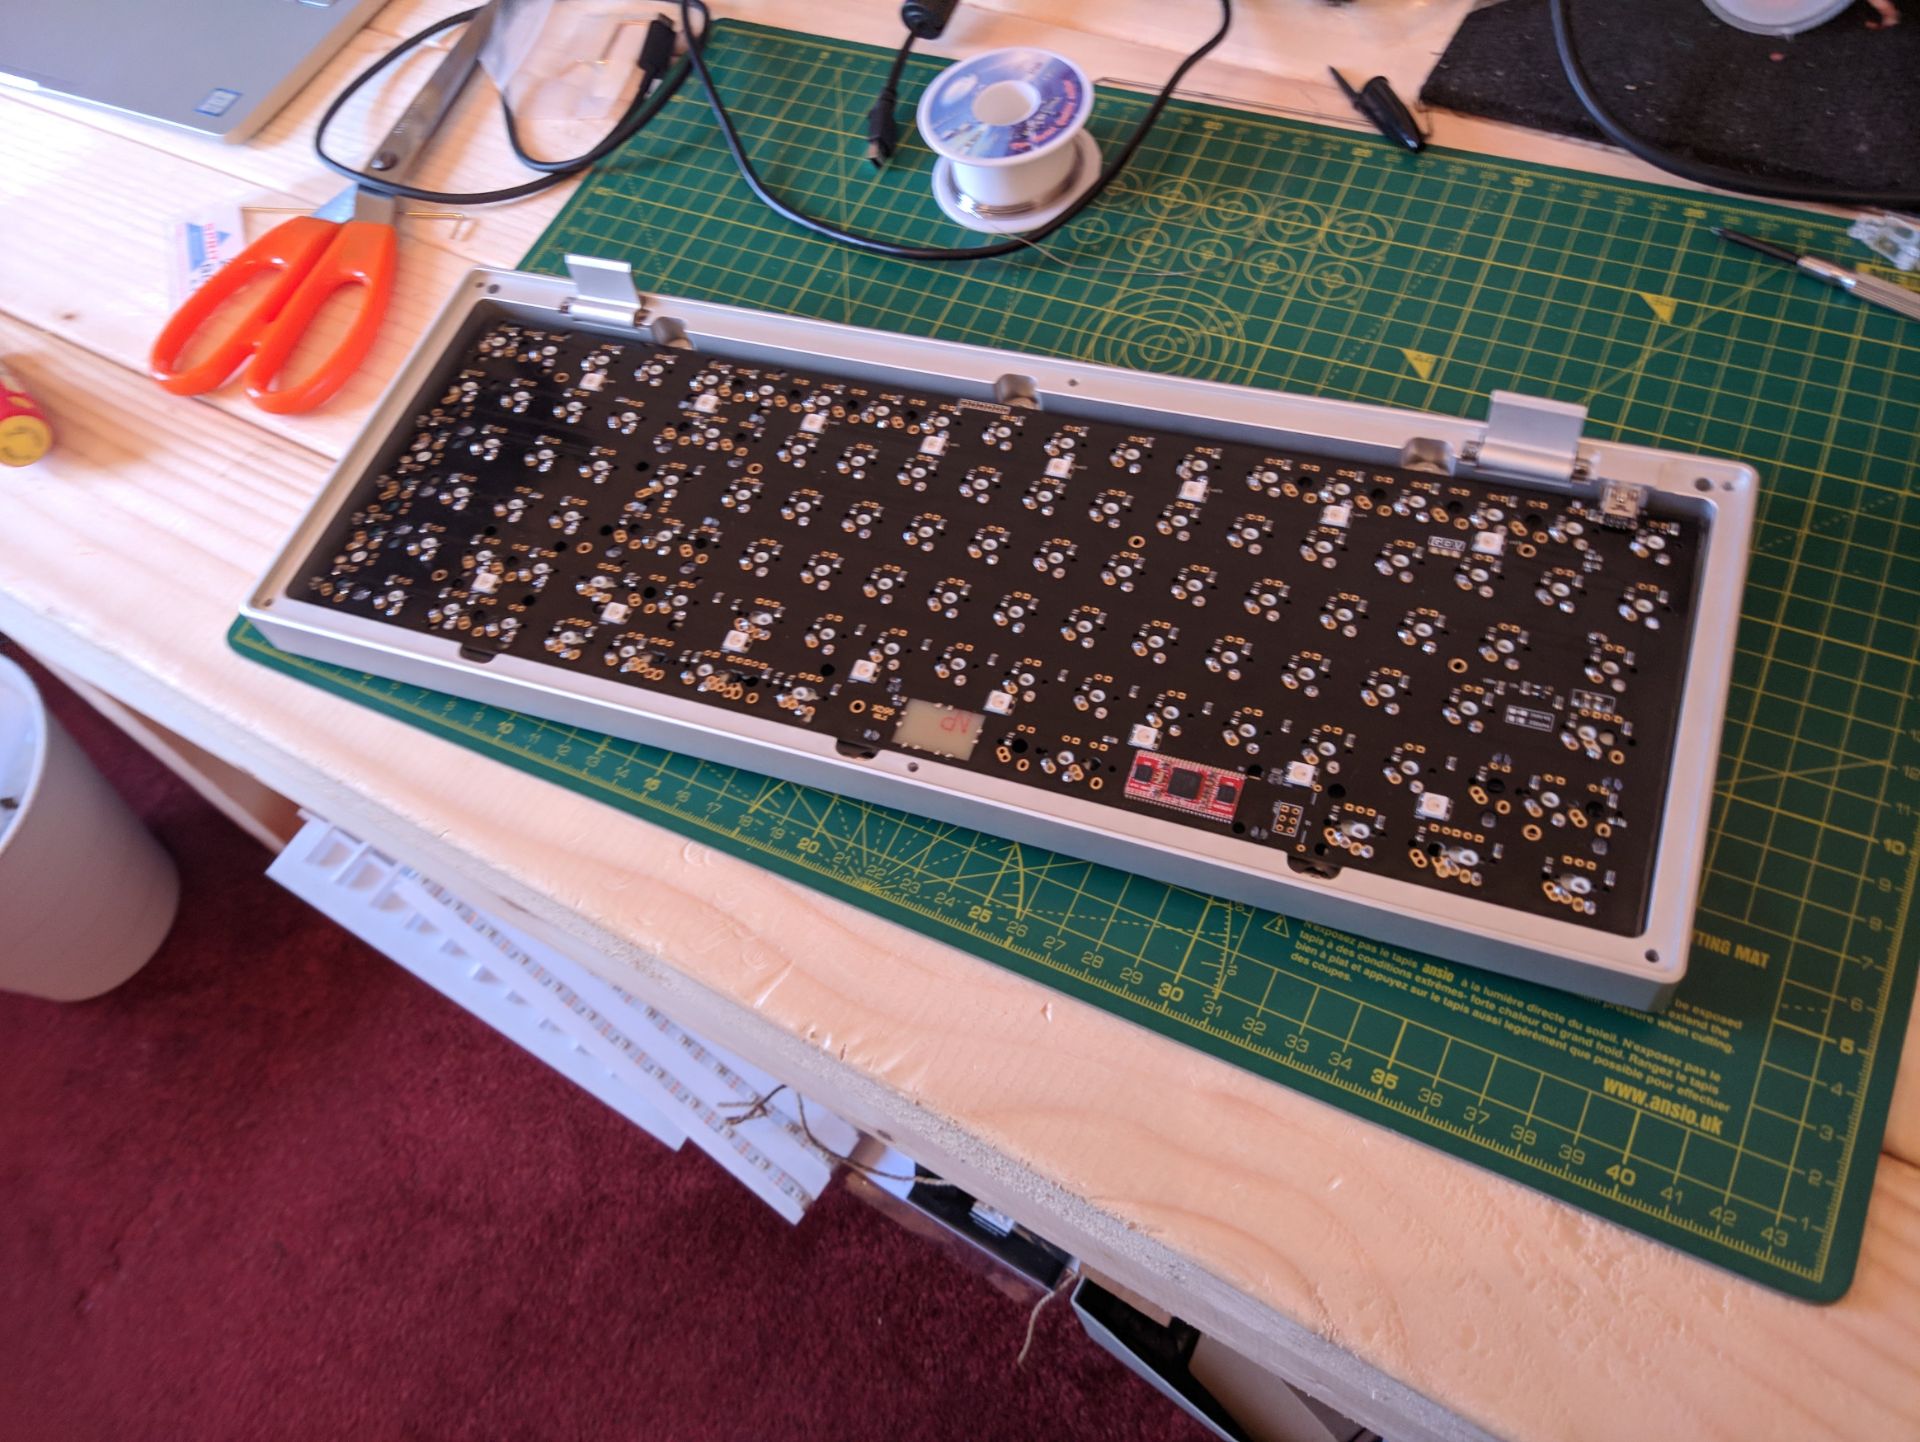
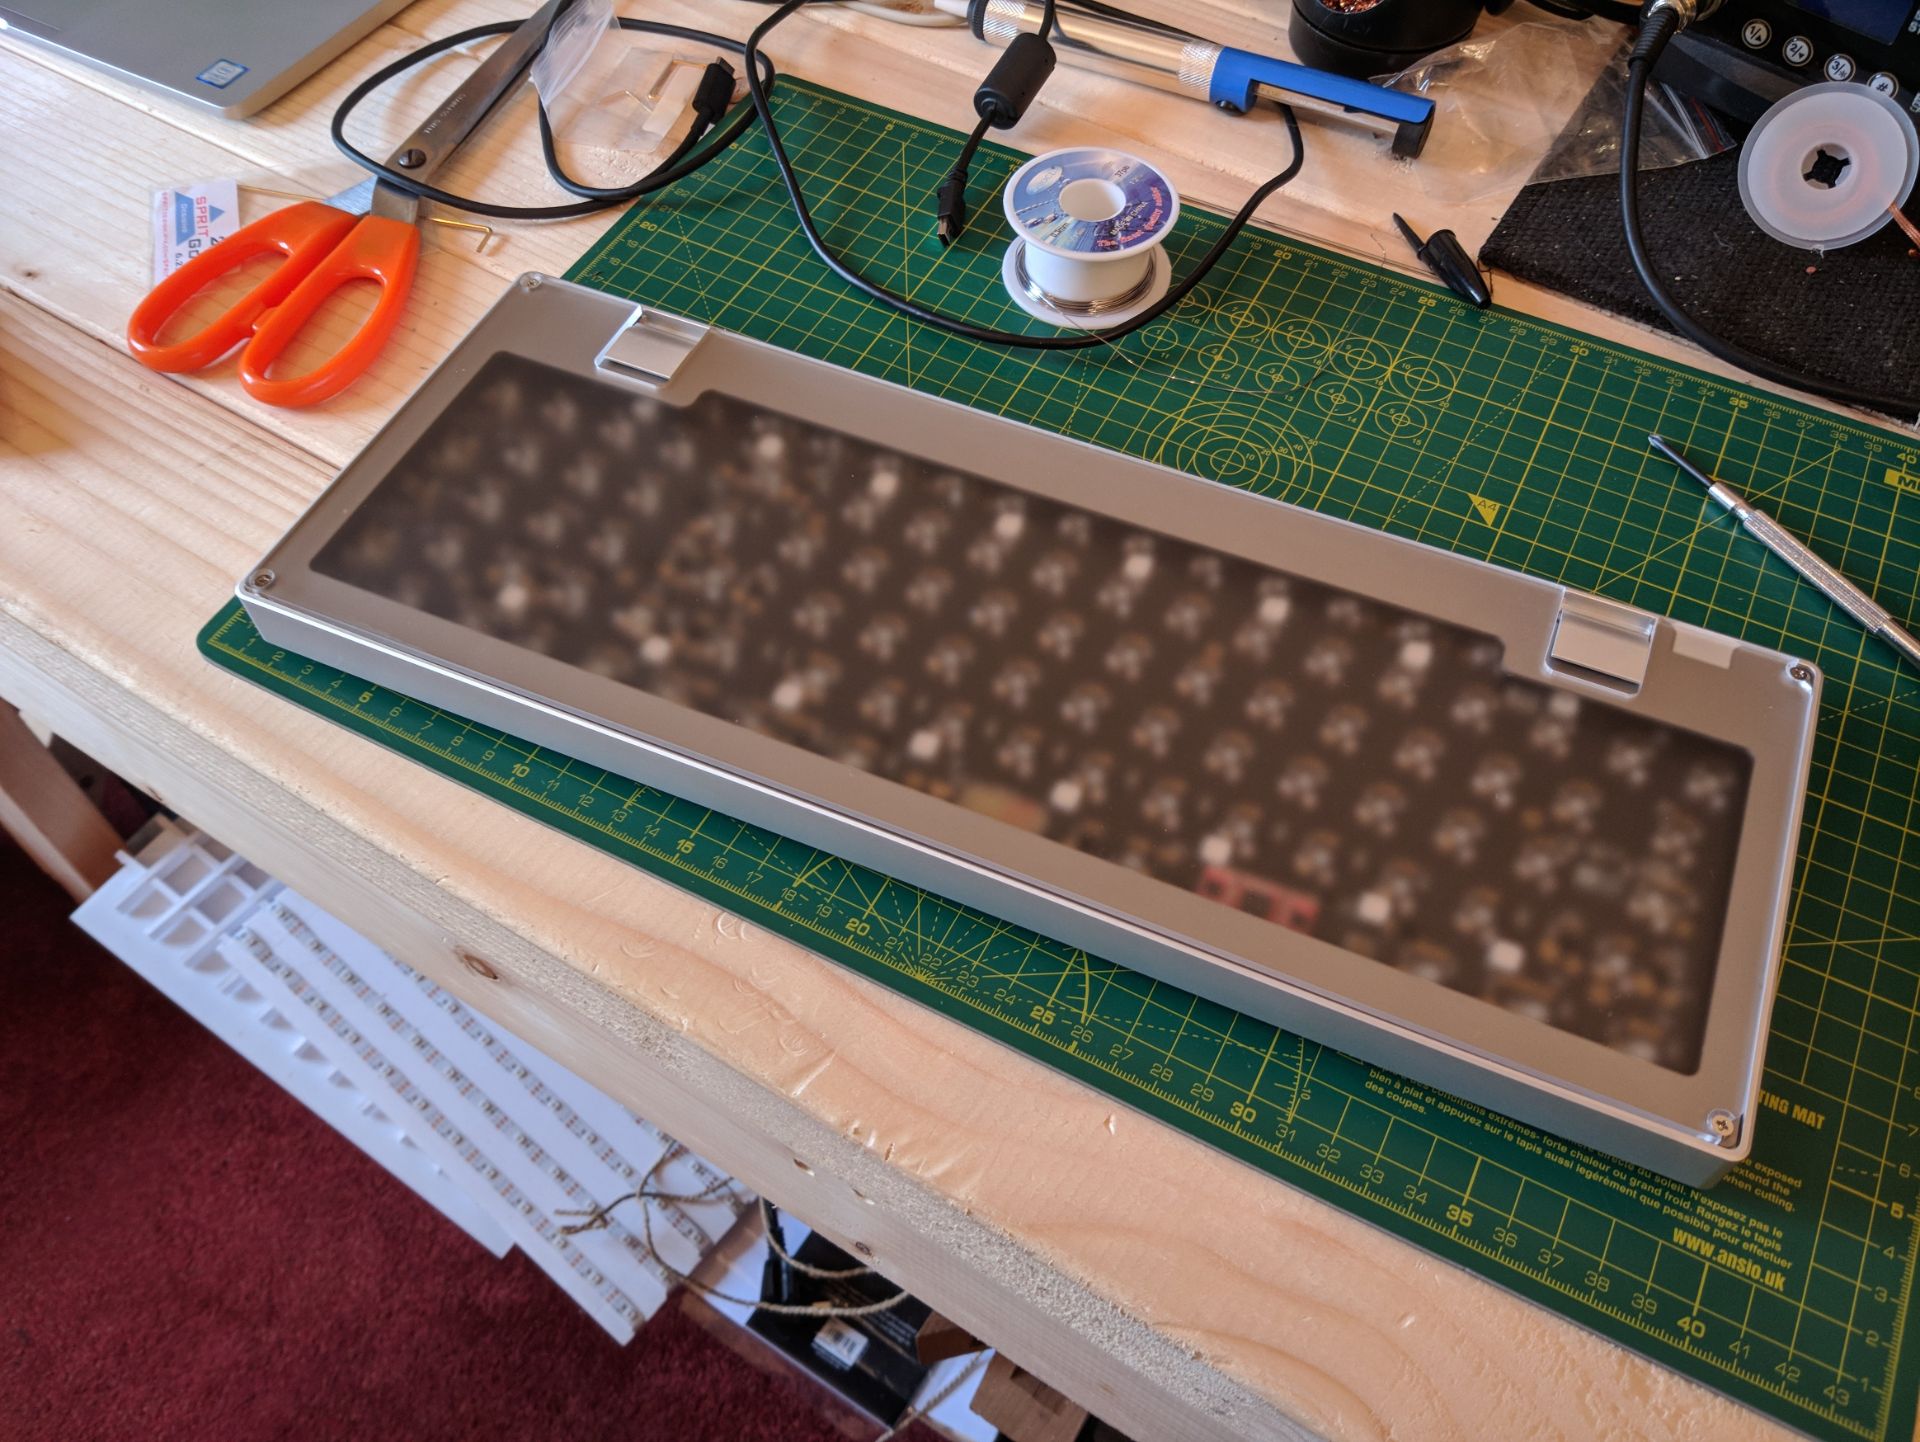
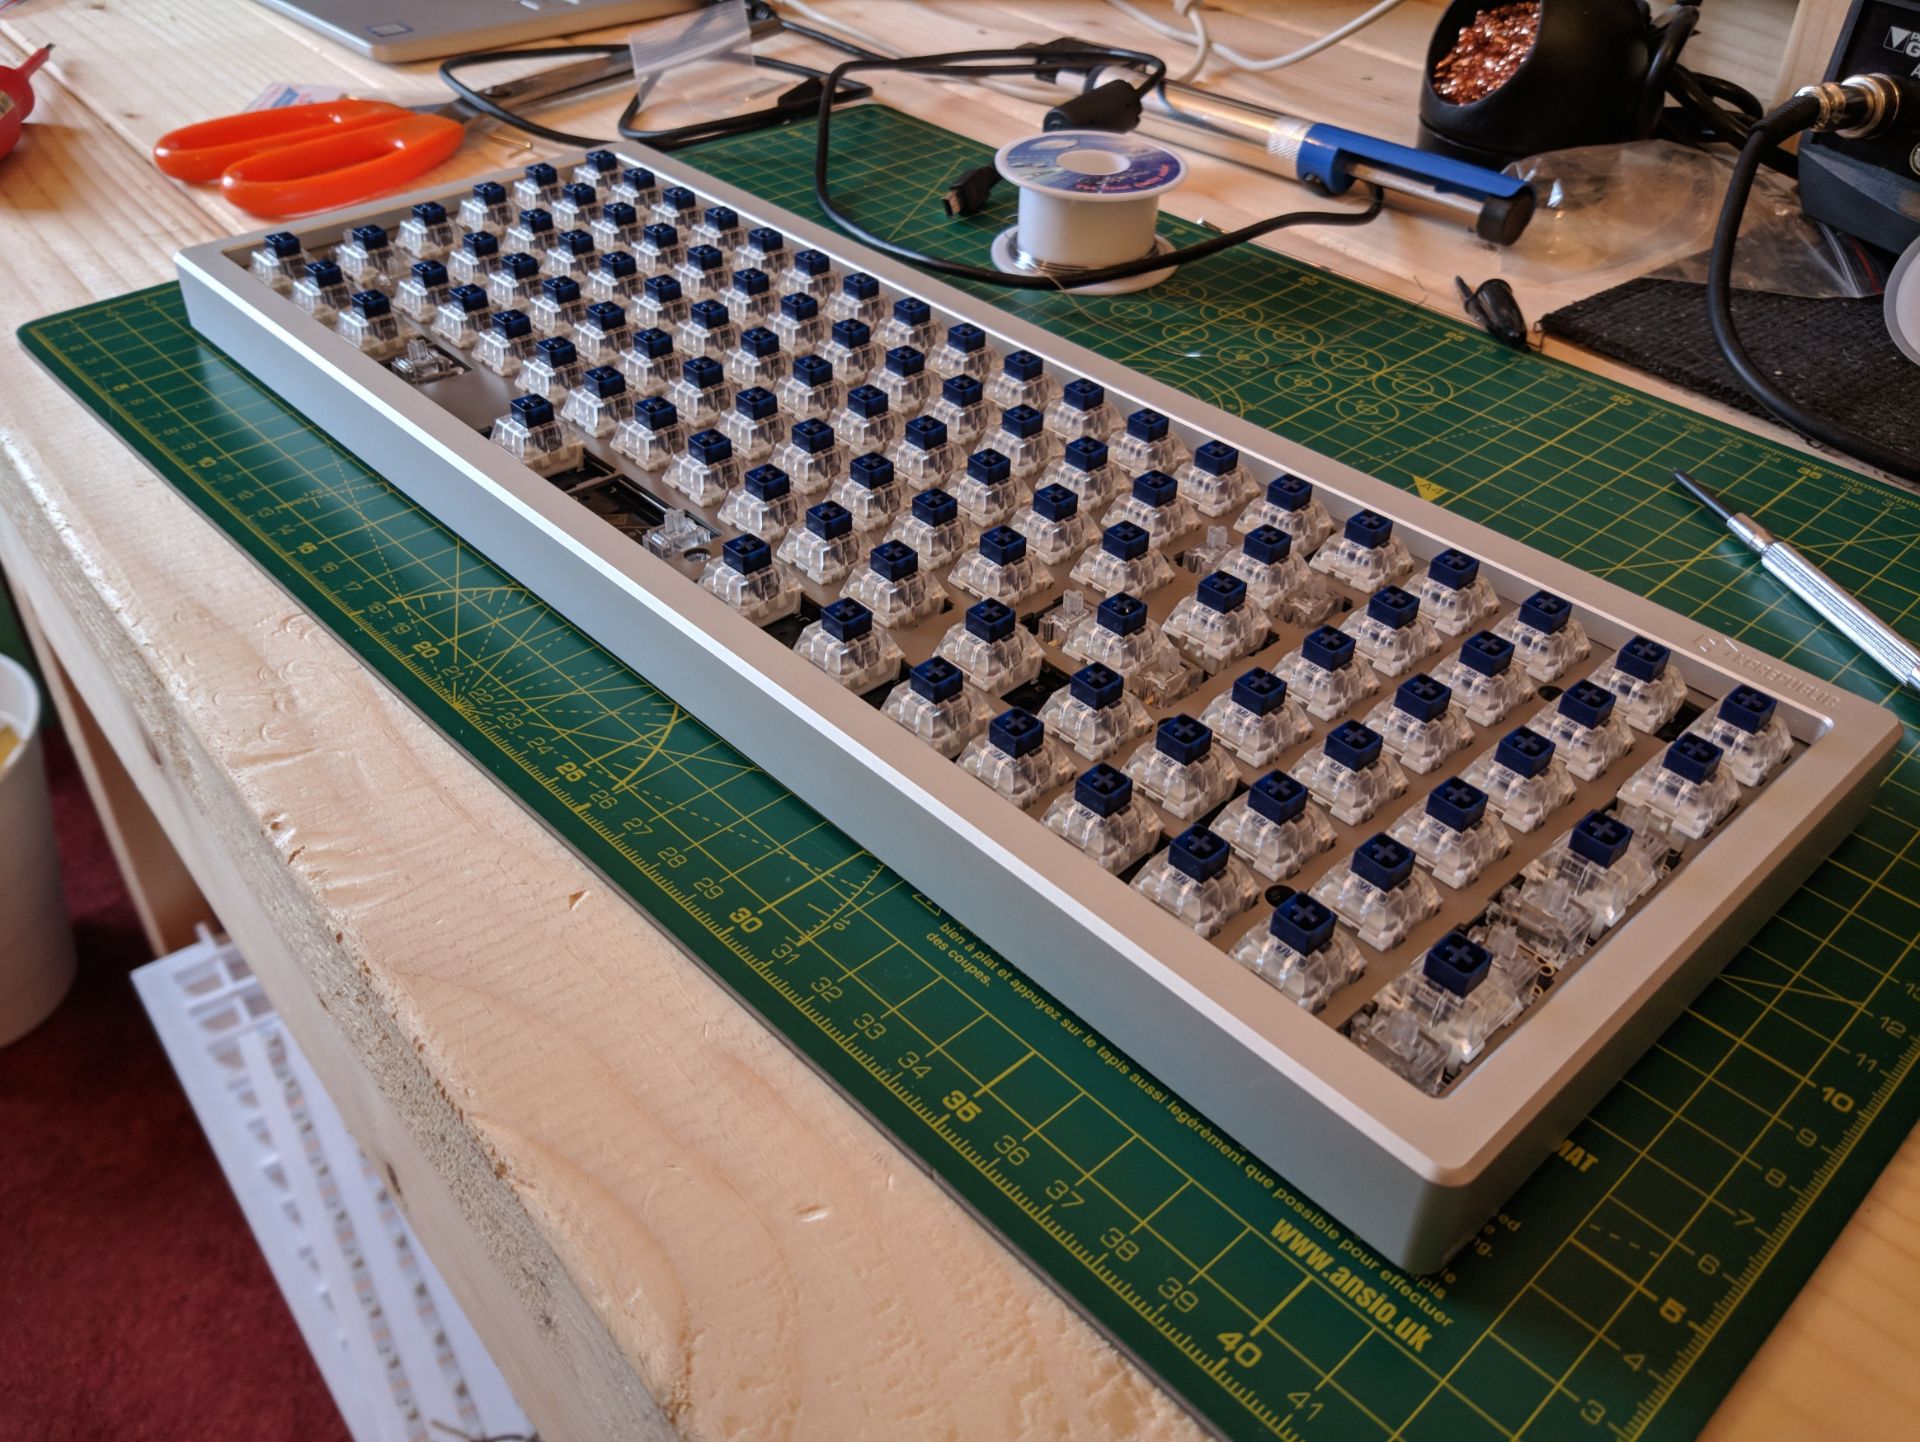
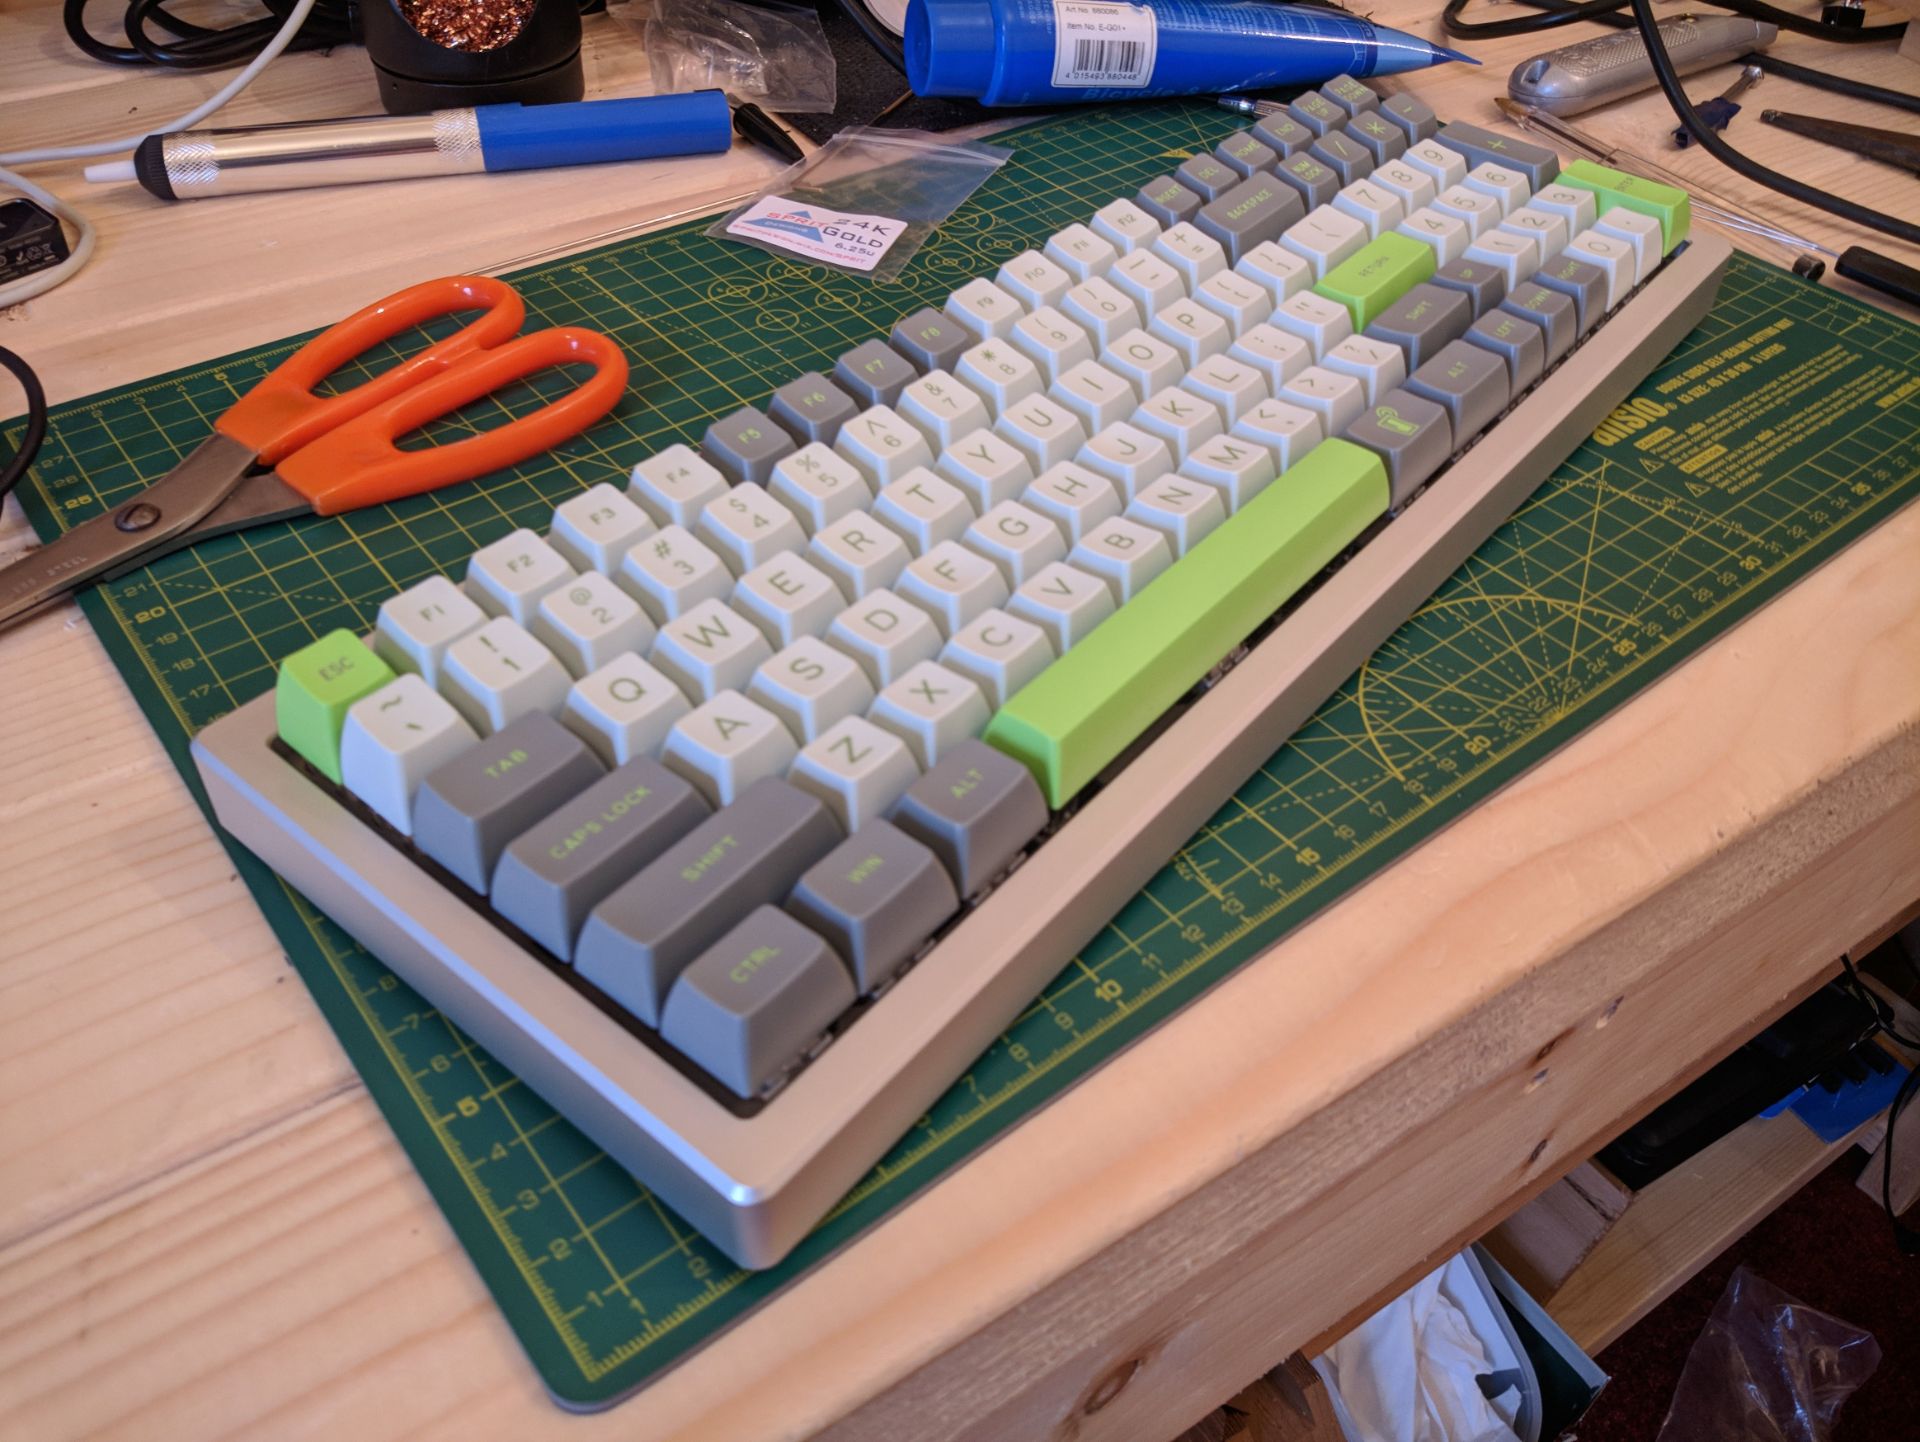
I then screwed the completed PCB and plate back into the aluminium case – as you can see the aluminium rim is very thick which means the keyboard is very heavy and feels sturdy. The acrylic diffuser they sent me was cracked around the screw holes – though after contacting them they immediately shipped another. I added the keycaps and the board was finished!
Modifications
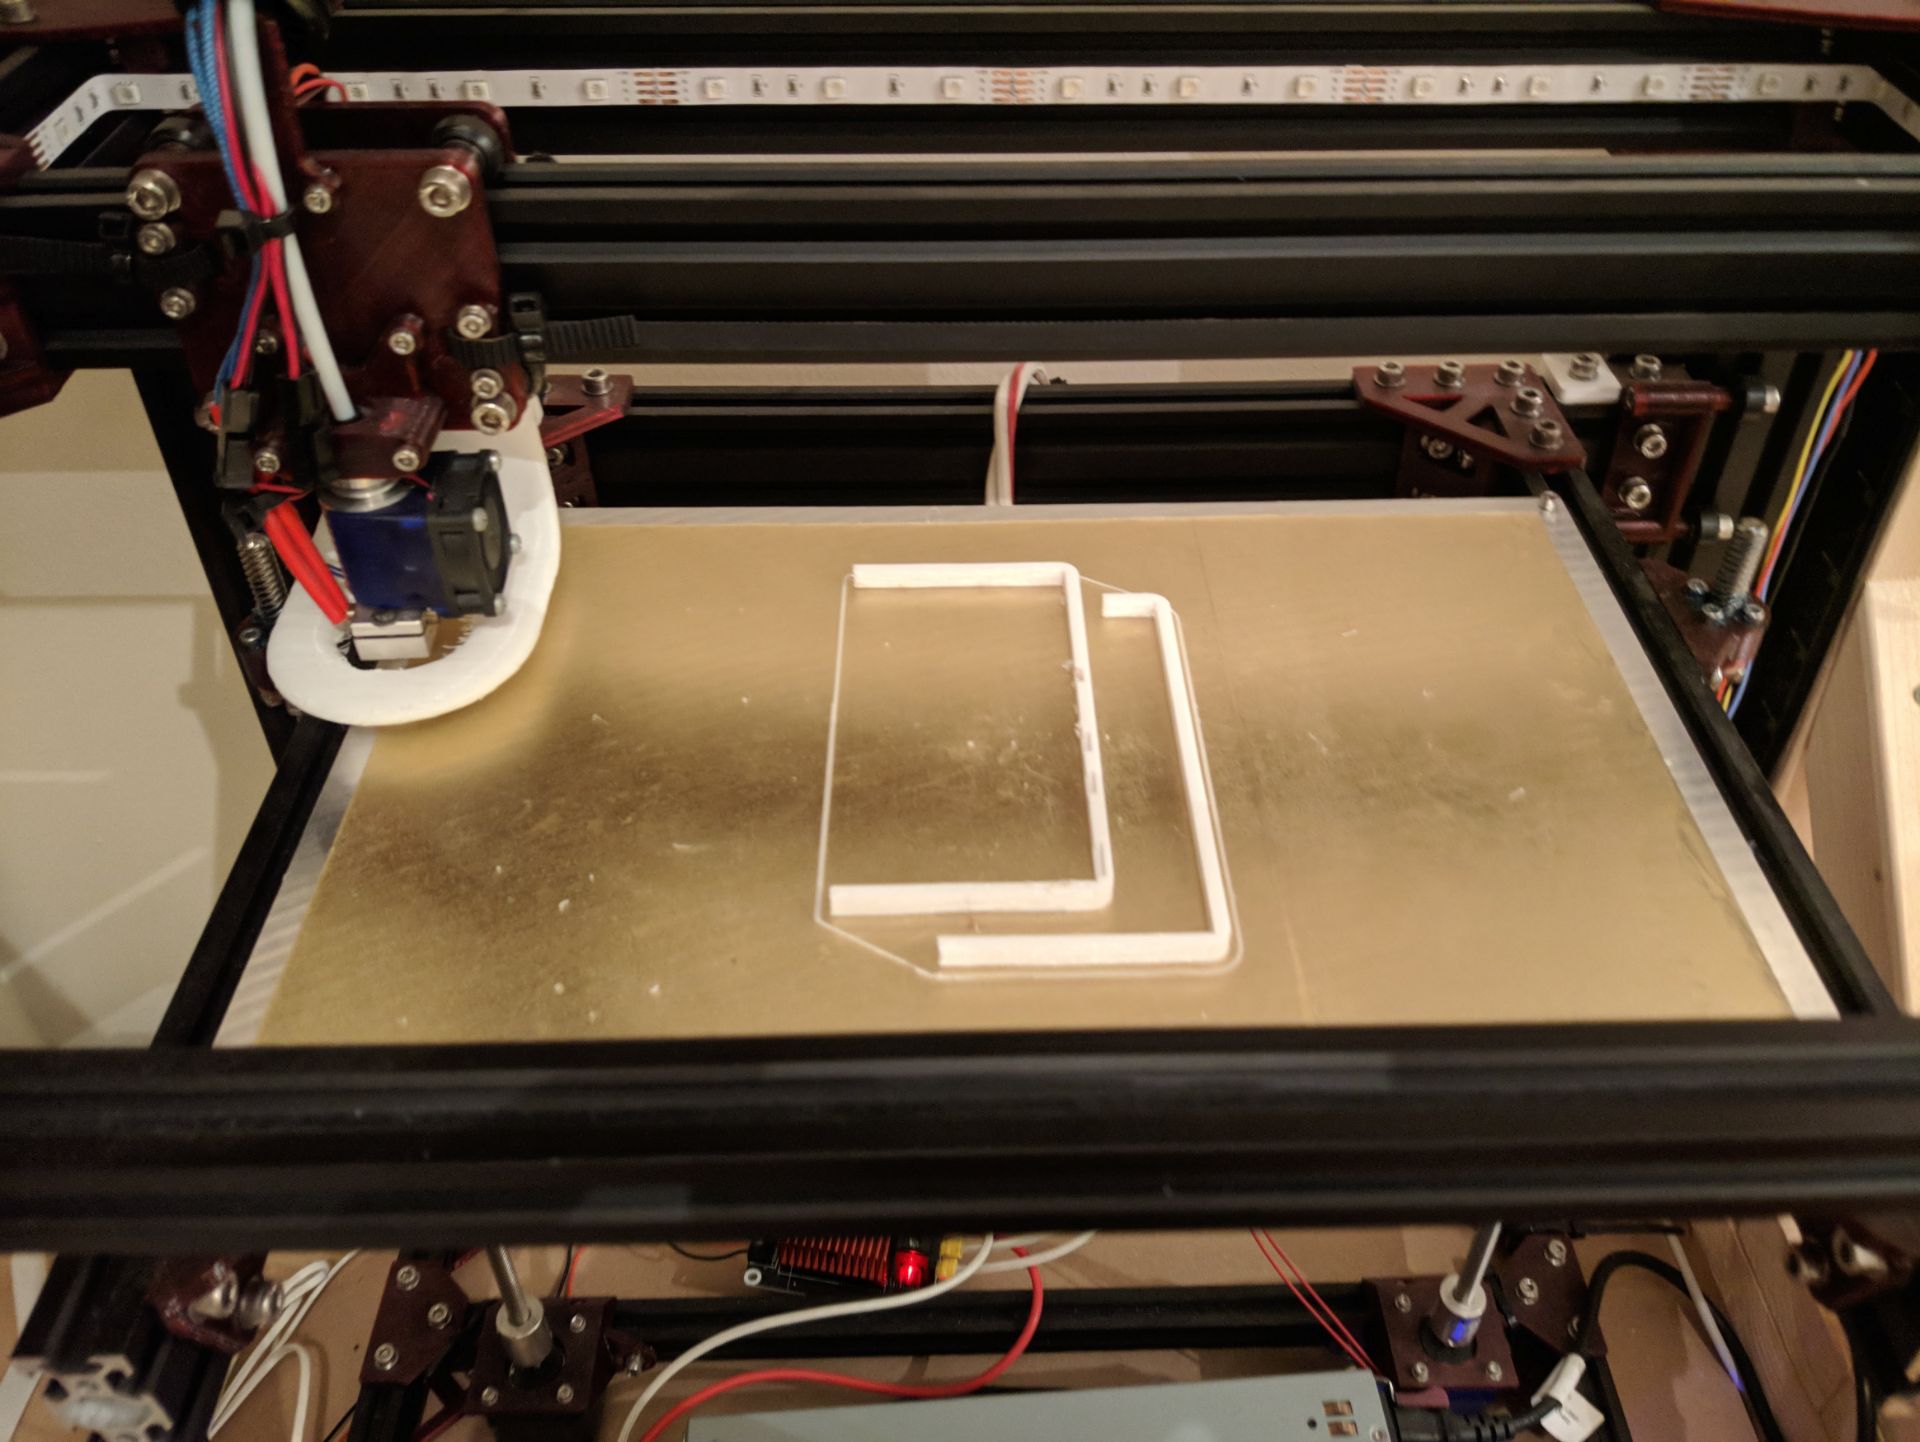
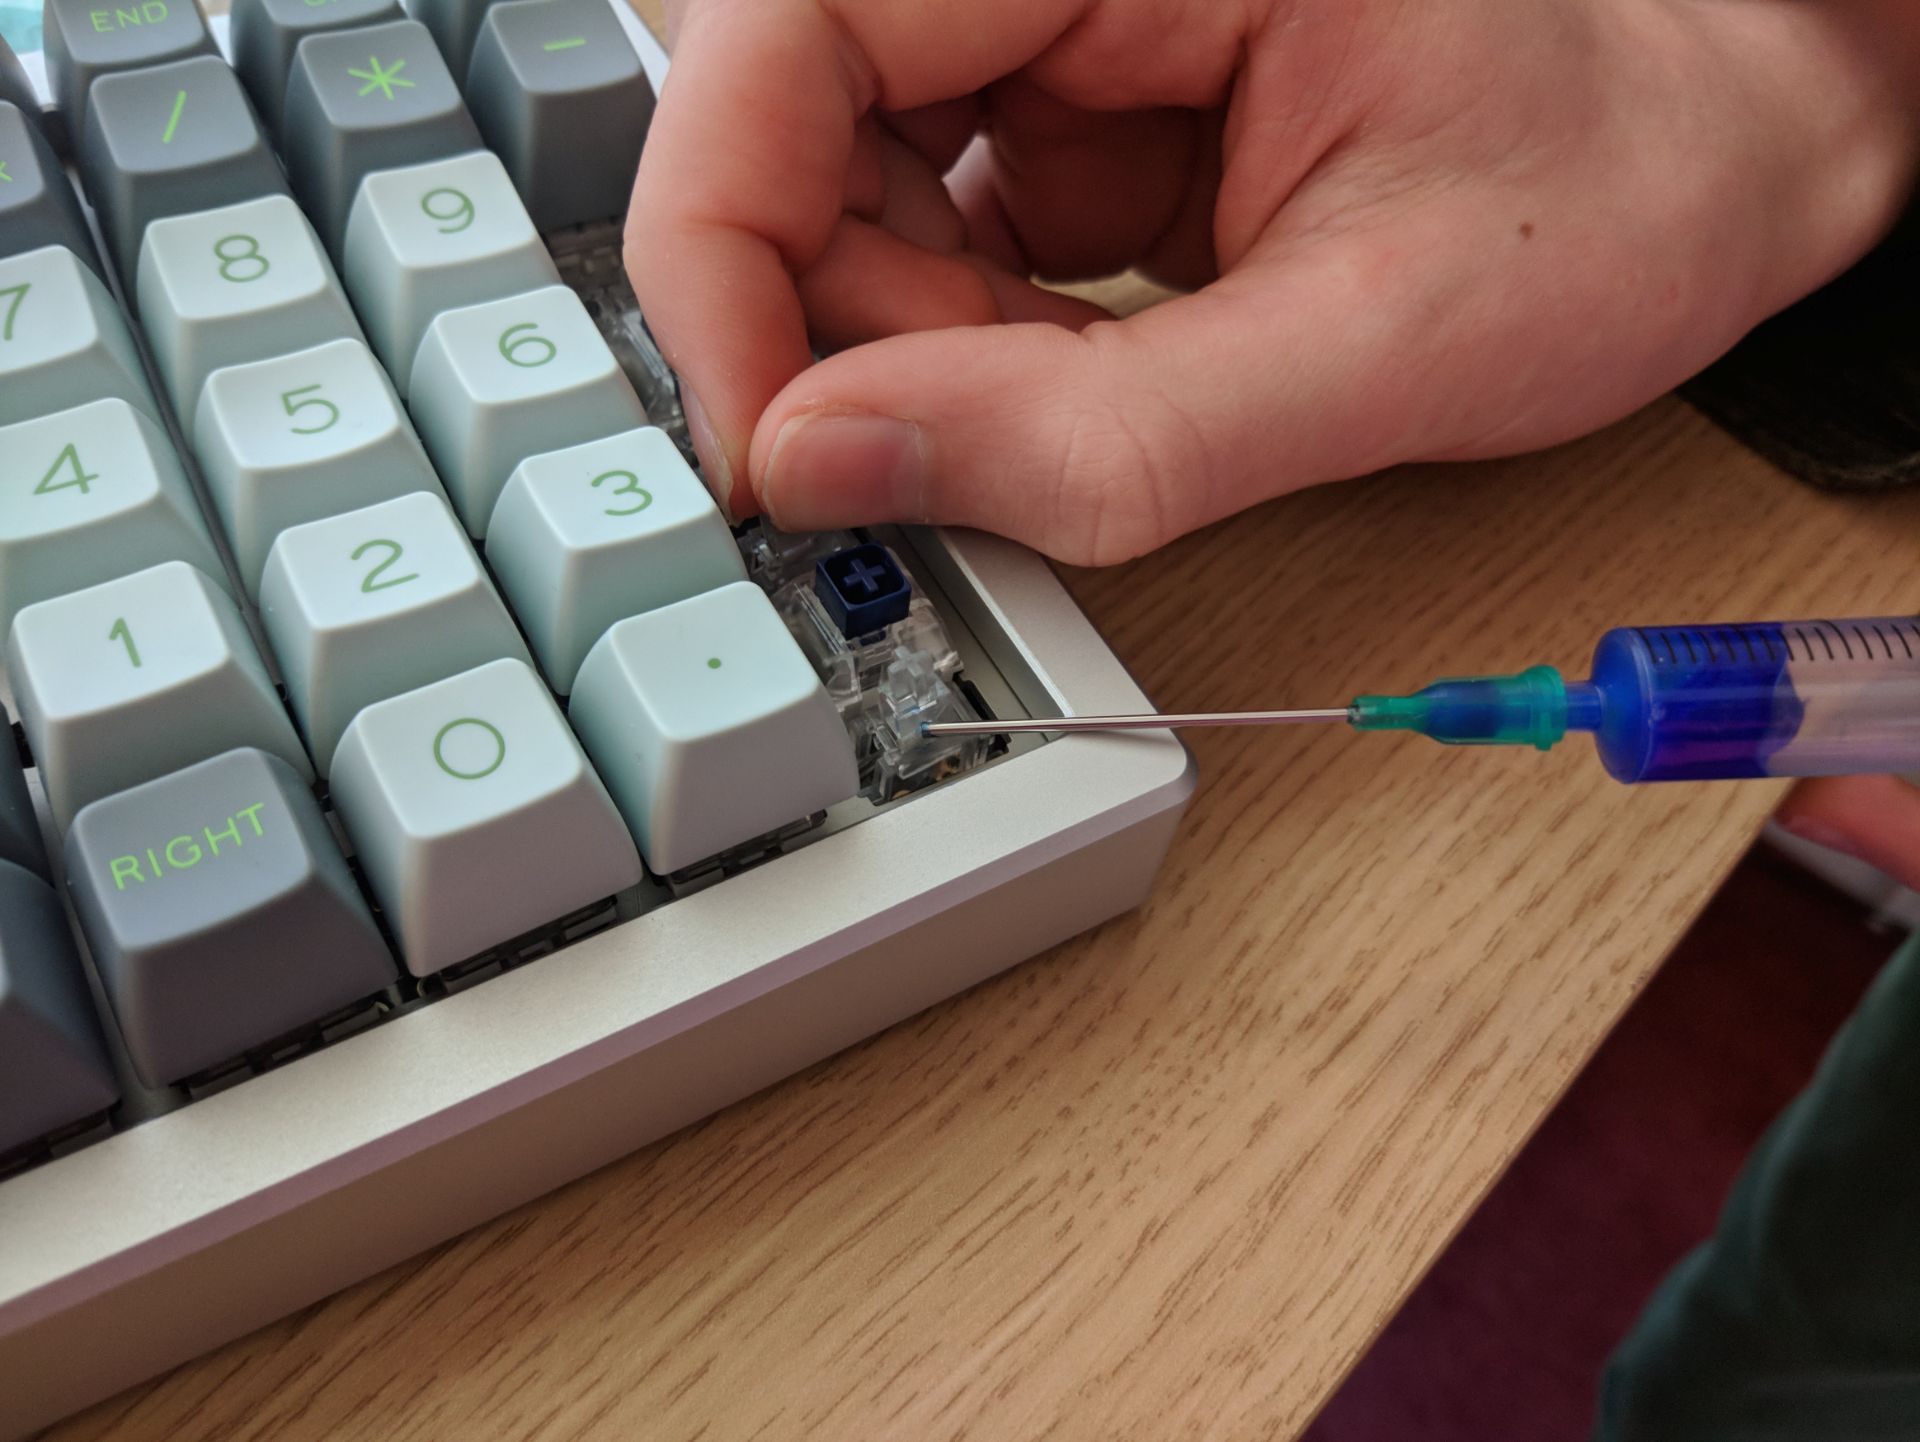
The first modification I made was to address the issue of the PCB and plate bending when typing at each edge of the keyboard. There are only six connection points between the plate and case; none of which are at the sides. This leads to a slight depression when typing heavily on the edge keys. To fix this Reddit user /u/ReconFirefly made a spacer to place between the PCB and metal base. This eliminates all flexing. The next thing I did was lubricate the stabilizers from above with some PTFE lithium grease; now all but intentional rattling occurs.
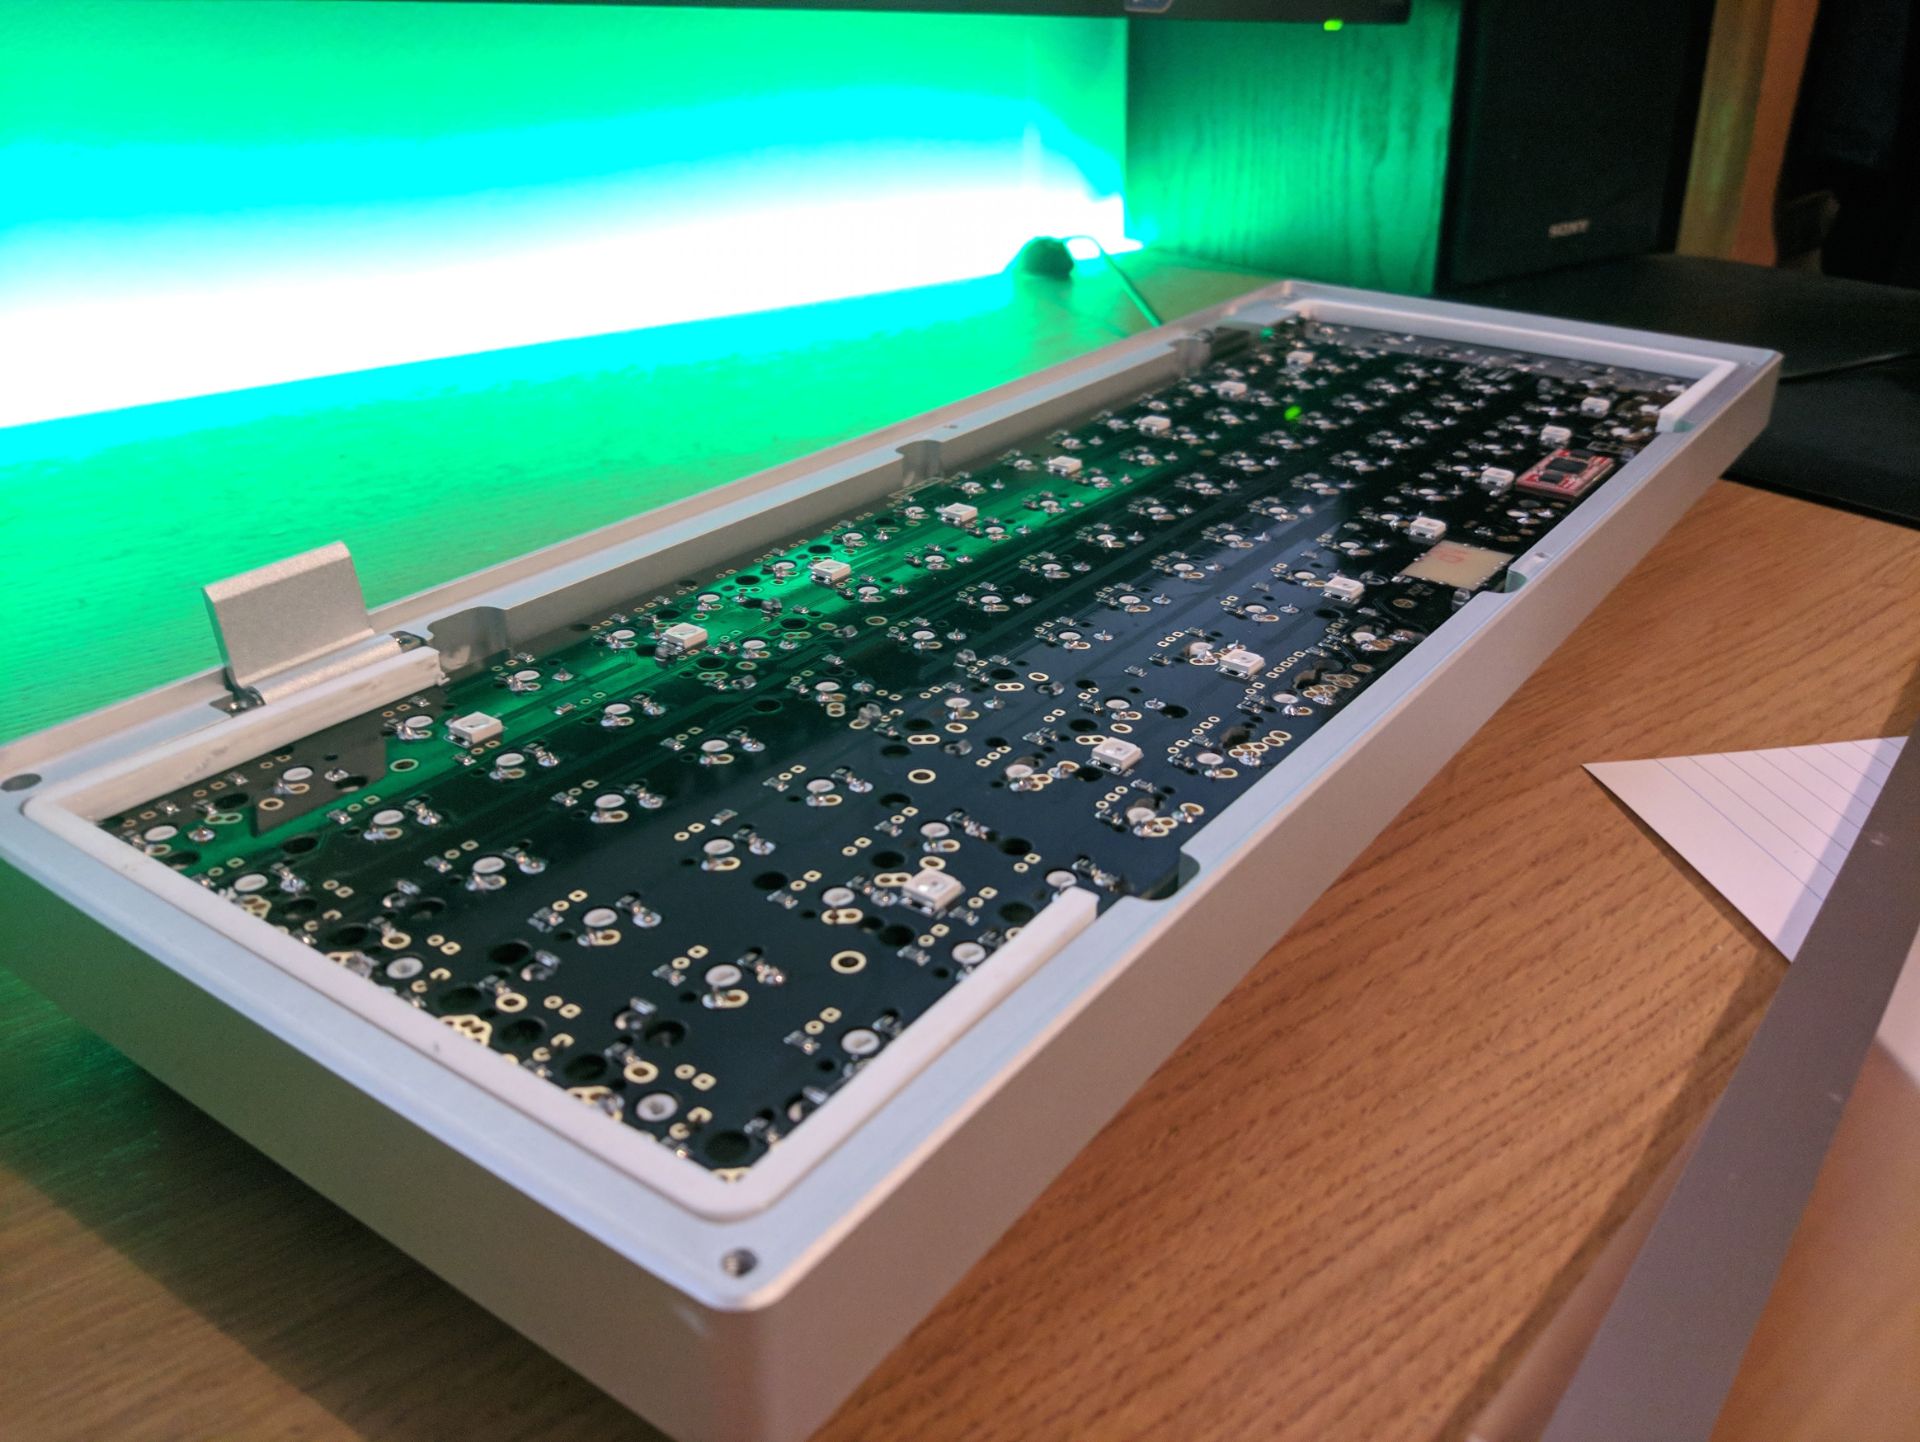
Typing Test & LED showcase (compared with Pok3r)
As you can see the LED colour/setting is changed with the FN+UP/DOWN keys; LED brightness is FN+LEFT/RIGHT