
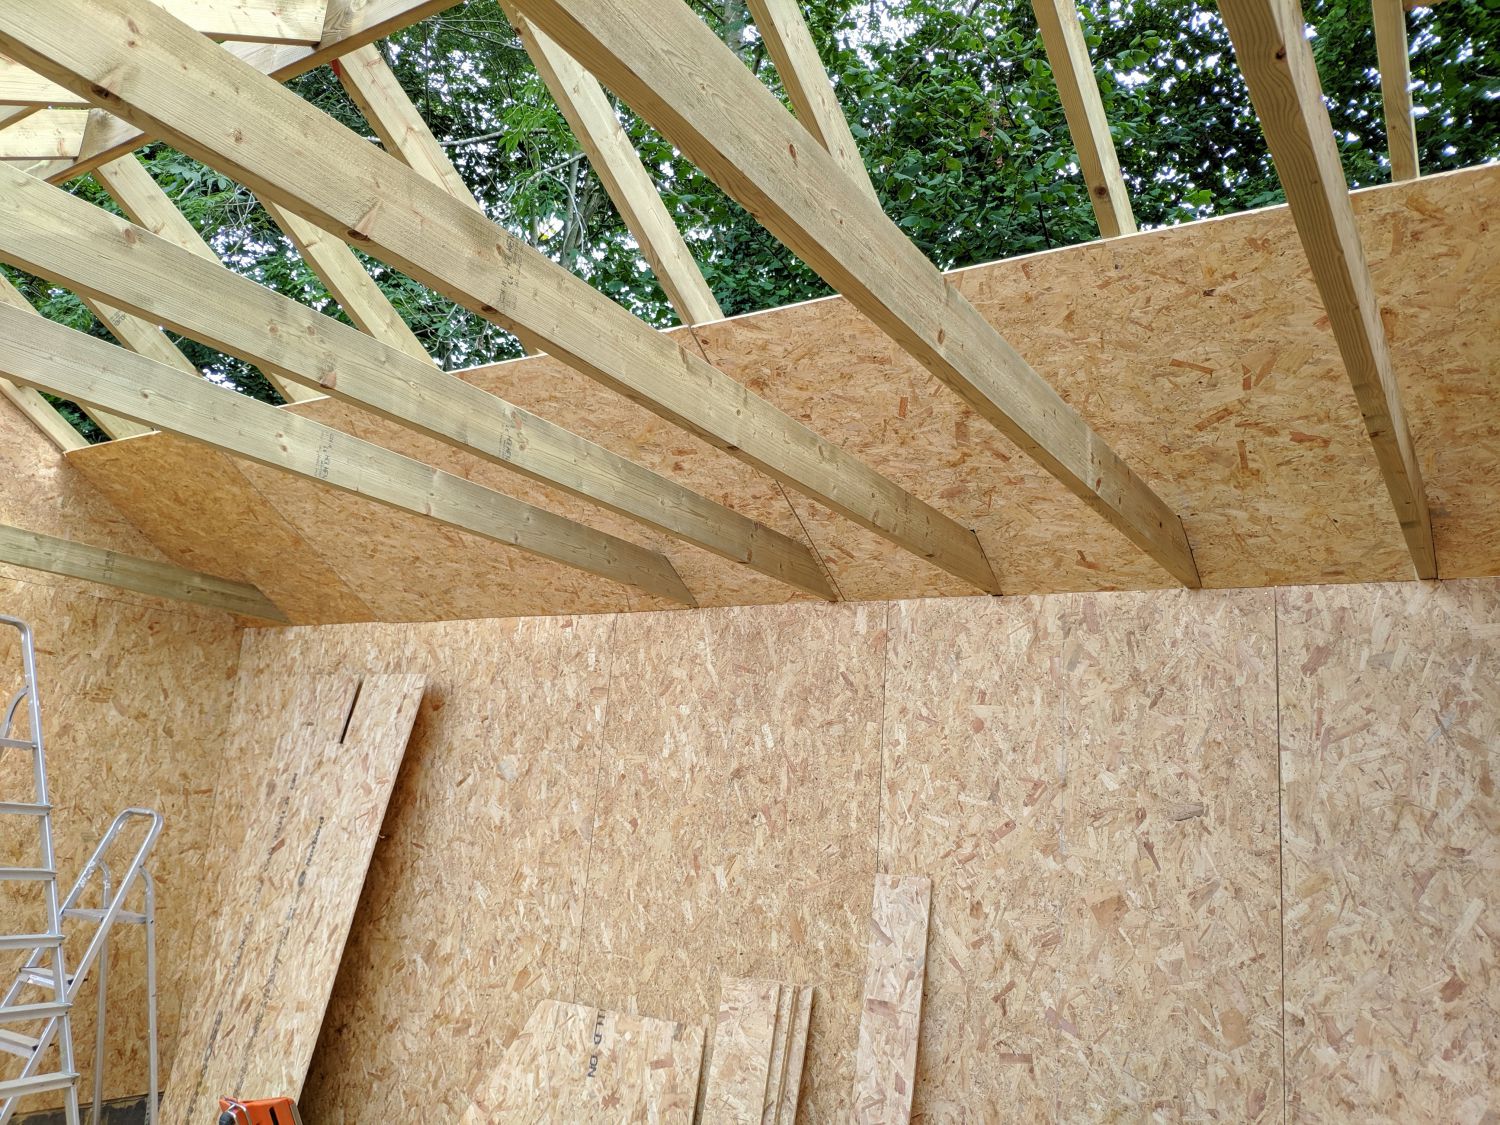
One unique feature of this design is the internal sheathing, rather than more common external sheathing. The OSB in this design acts as the main vapour barrier and hence needs to be on the warm side of the insulation. As warm air (holding more water molecules) from the inside reaches the walls it needs to be barred from entry; without the vapour barrier it could move into the walls lead to interstitial condensation. Sheathing in this way is superior to using a plastic vapour barrier as if a plastic vapour barrier were used, the OSB on the outside would reduce its effectiveness.
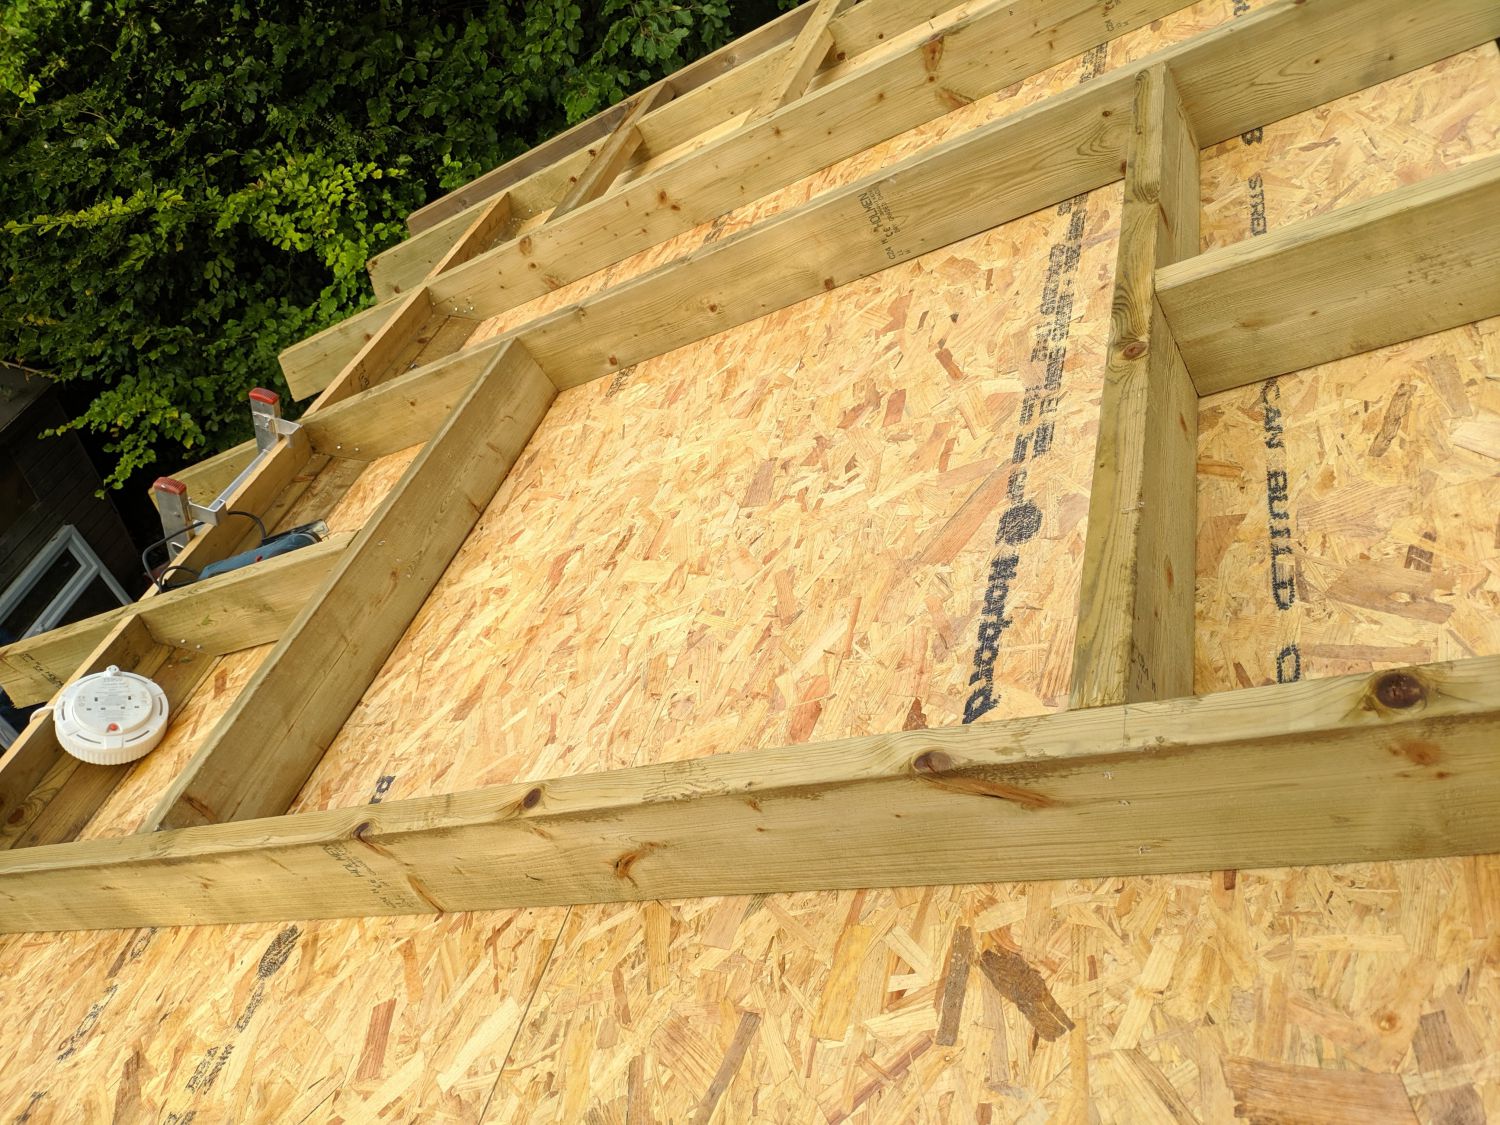
All of the walls and the roof were sheathed with 11mm OSB and nailed with galvanised 2.8 x 63mm nails.
Walls
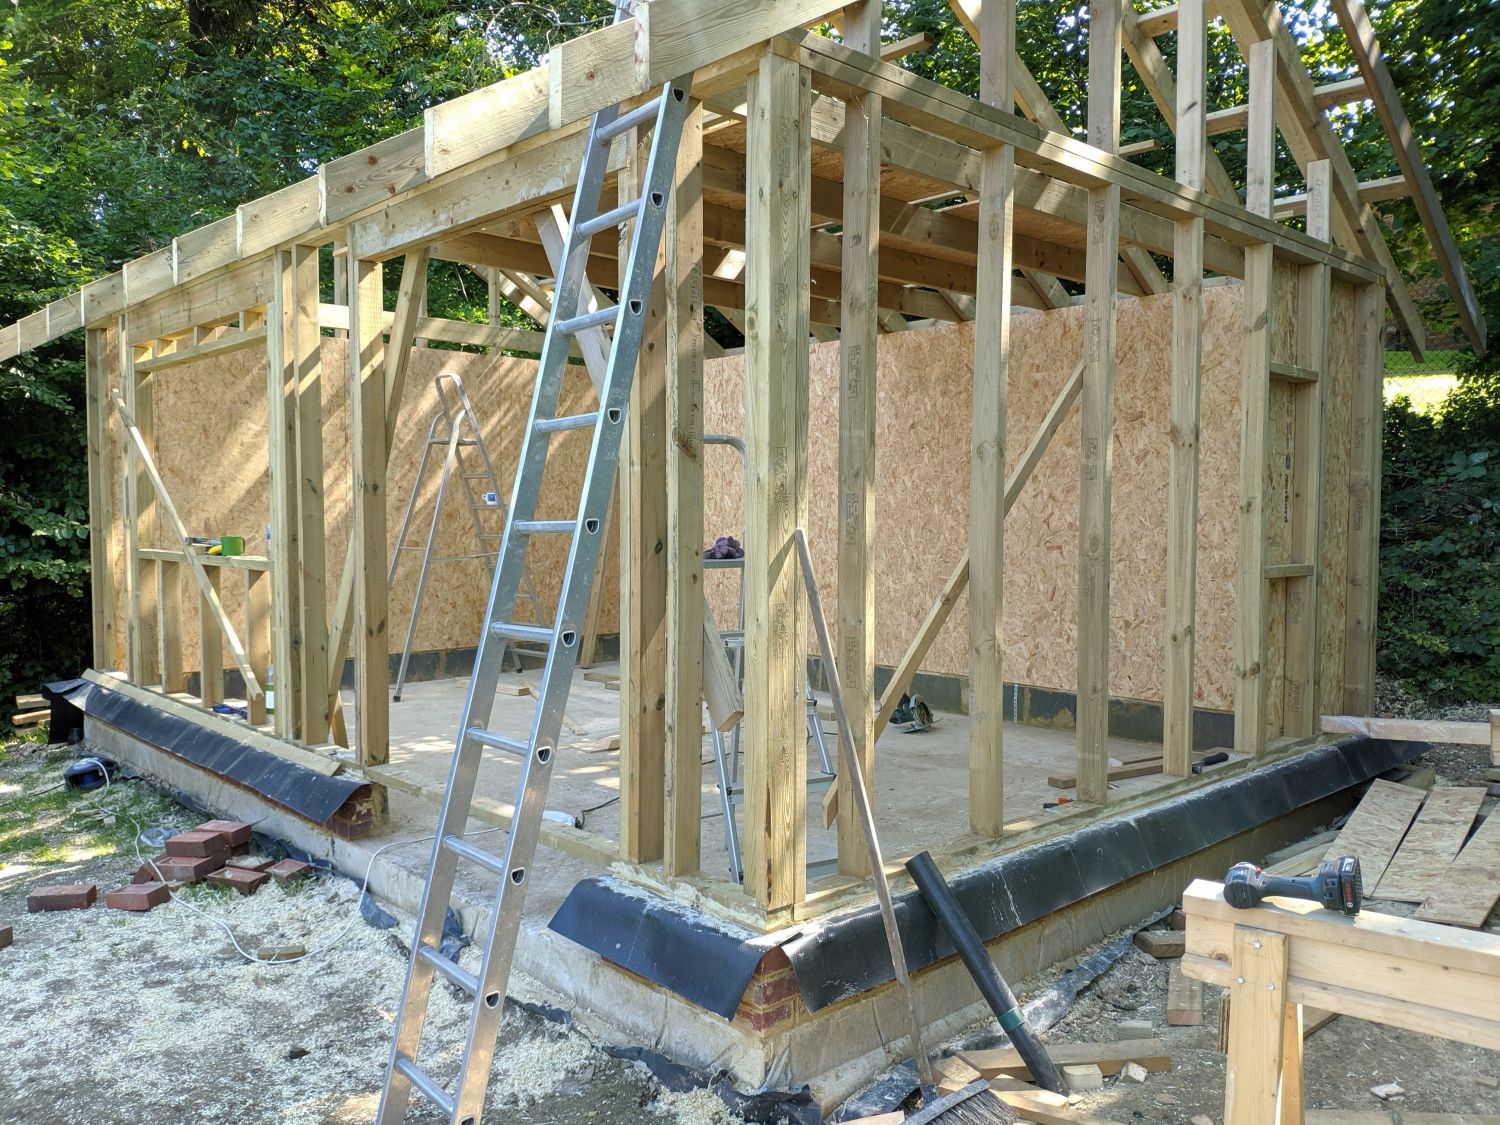
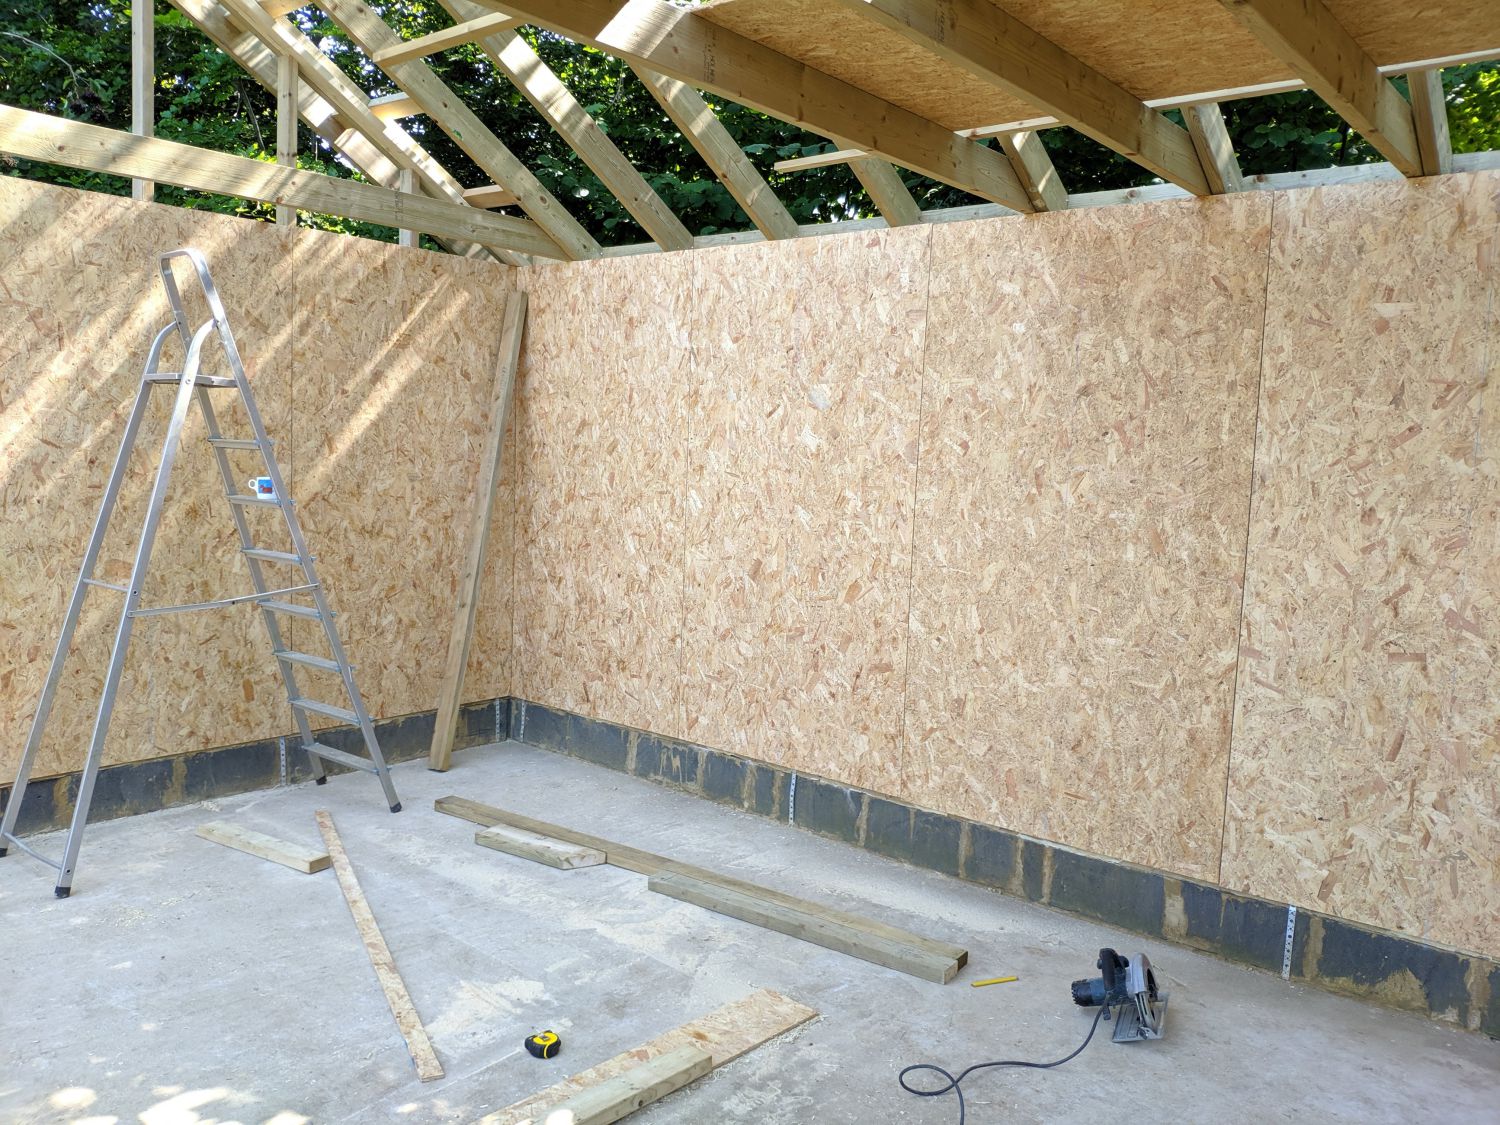
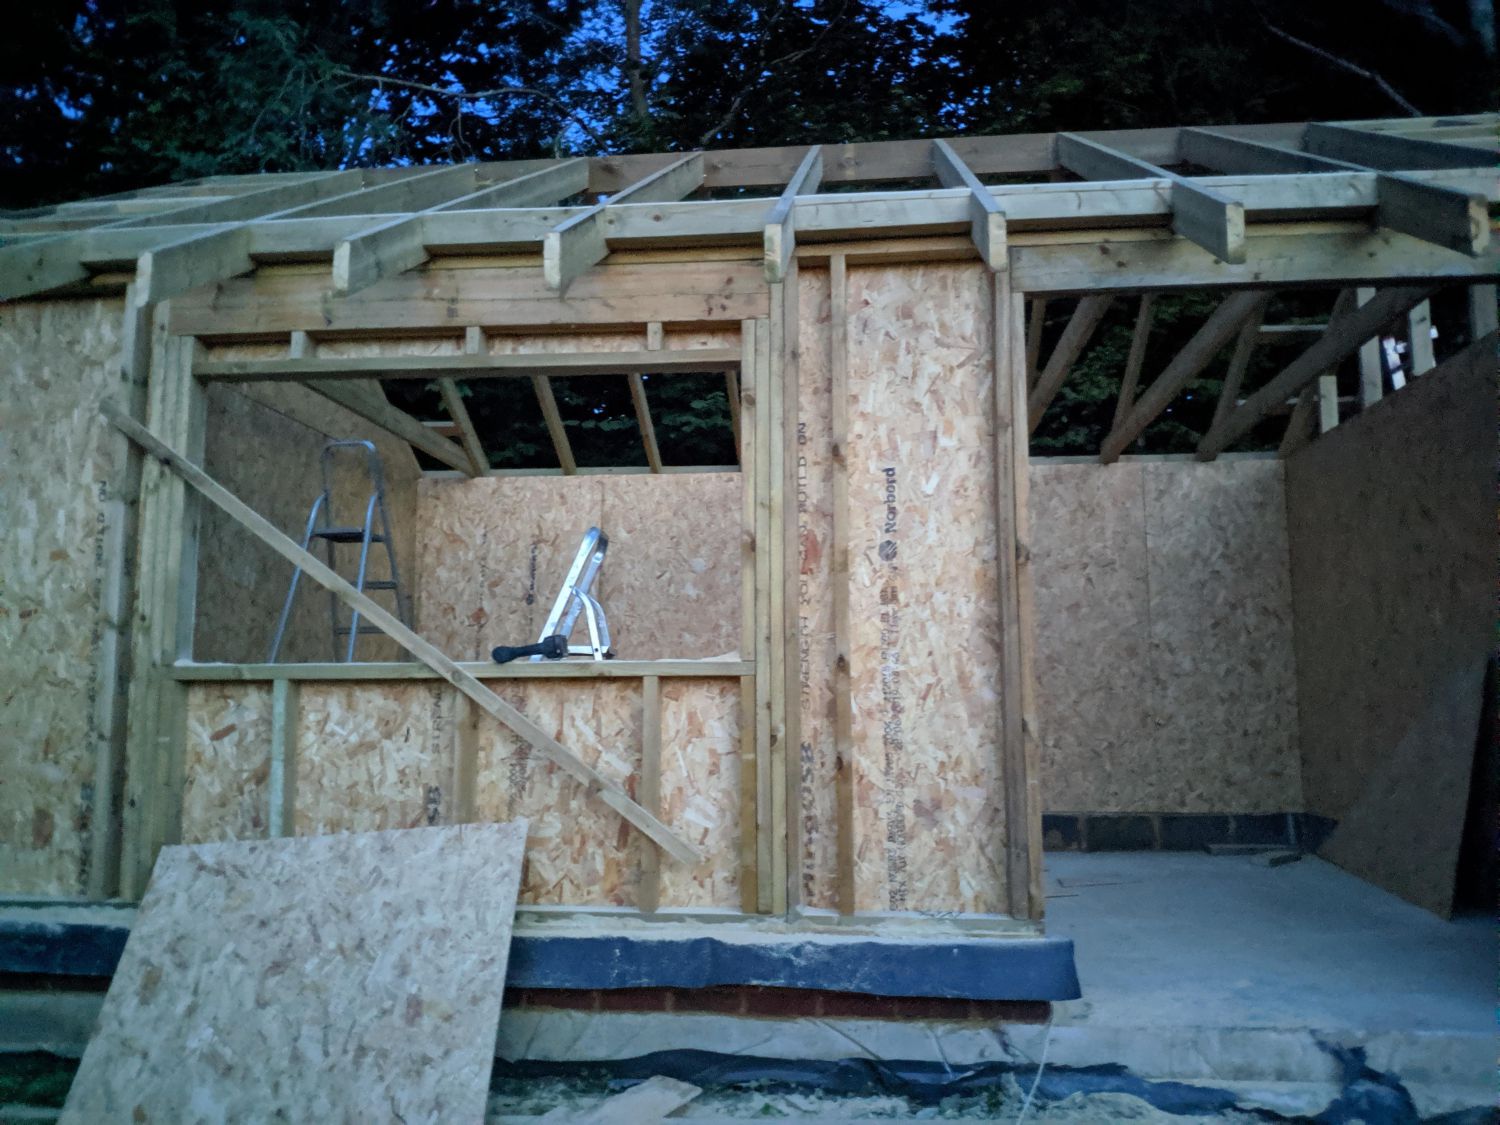
The first step was to sheathe the walls; initially I had planned to have the OSB go all the way to the concrete floor but due to some of the blocks having a slight slant (should have used a string line!) I had to cut them short above the blocks. I may eventually cover this with a large skirting board or use it to run wires. I had layed out the 24″ spacing of the walls to allow for 11mm OSB in one direction; this made the sheathing straightforward and only one sheet needed to be cut, the final one of each wall.
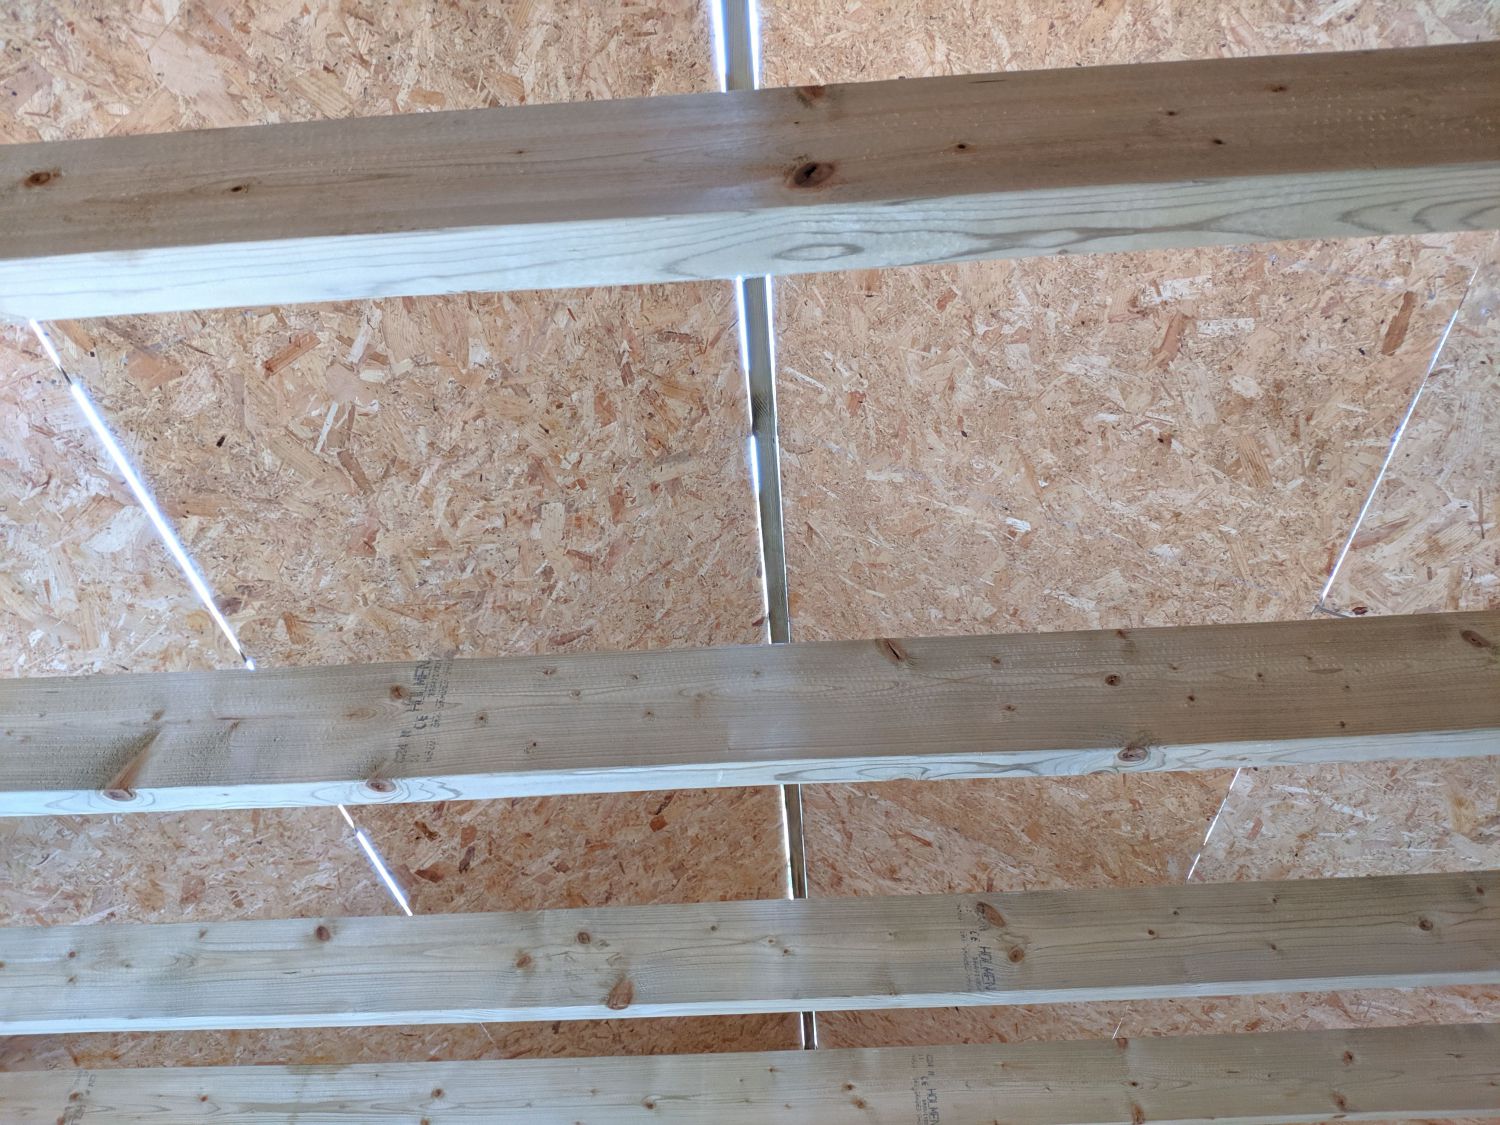
Between the sheets I used 3mm nails as spacers to allow for some expansion if needed.
Gable ends
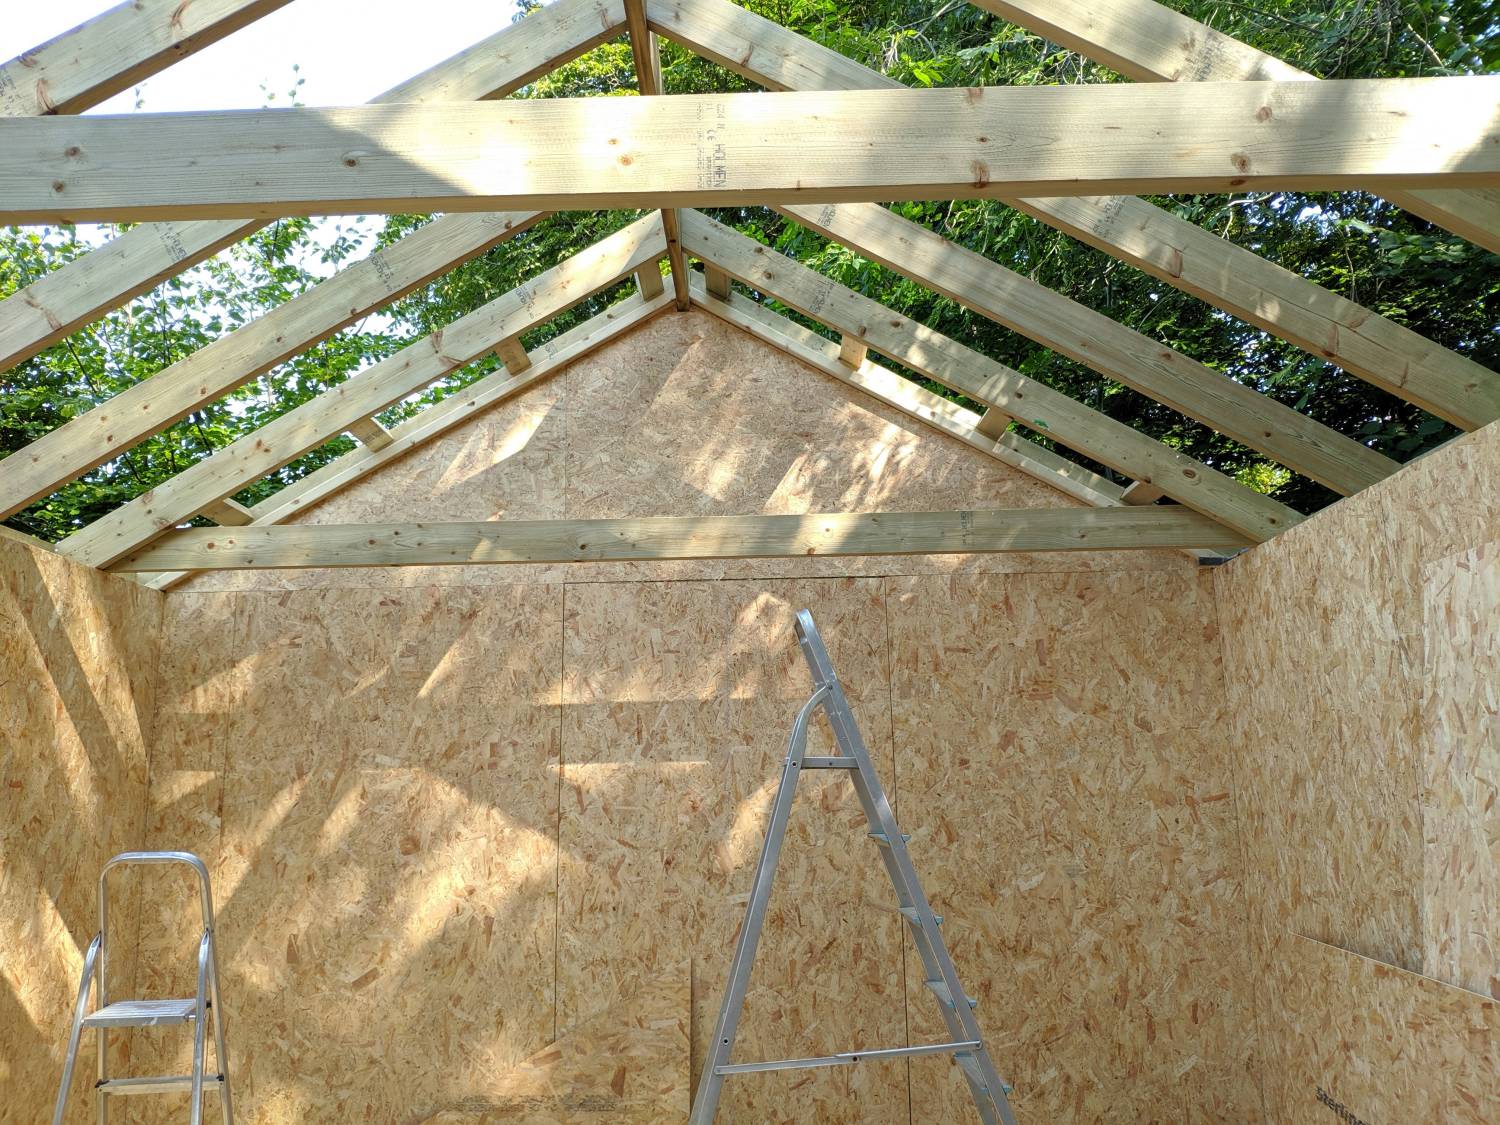
I layed out the gable sheathing with a chalk line and framing square and then lifted the cut sheets into place and nailed.
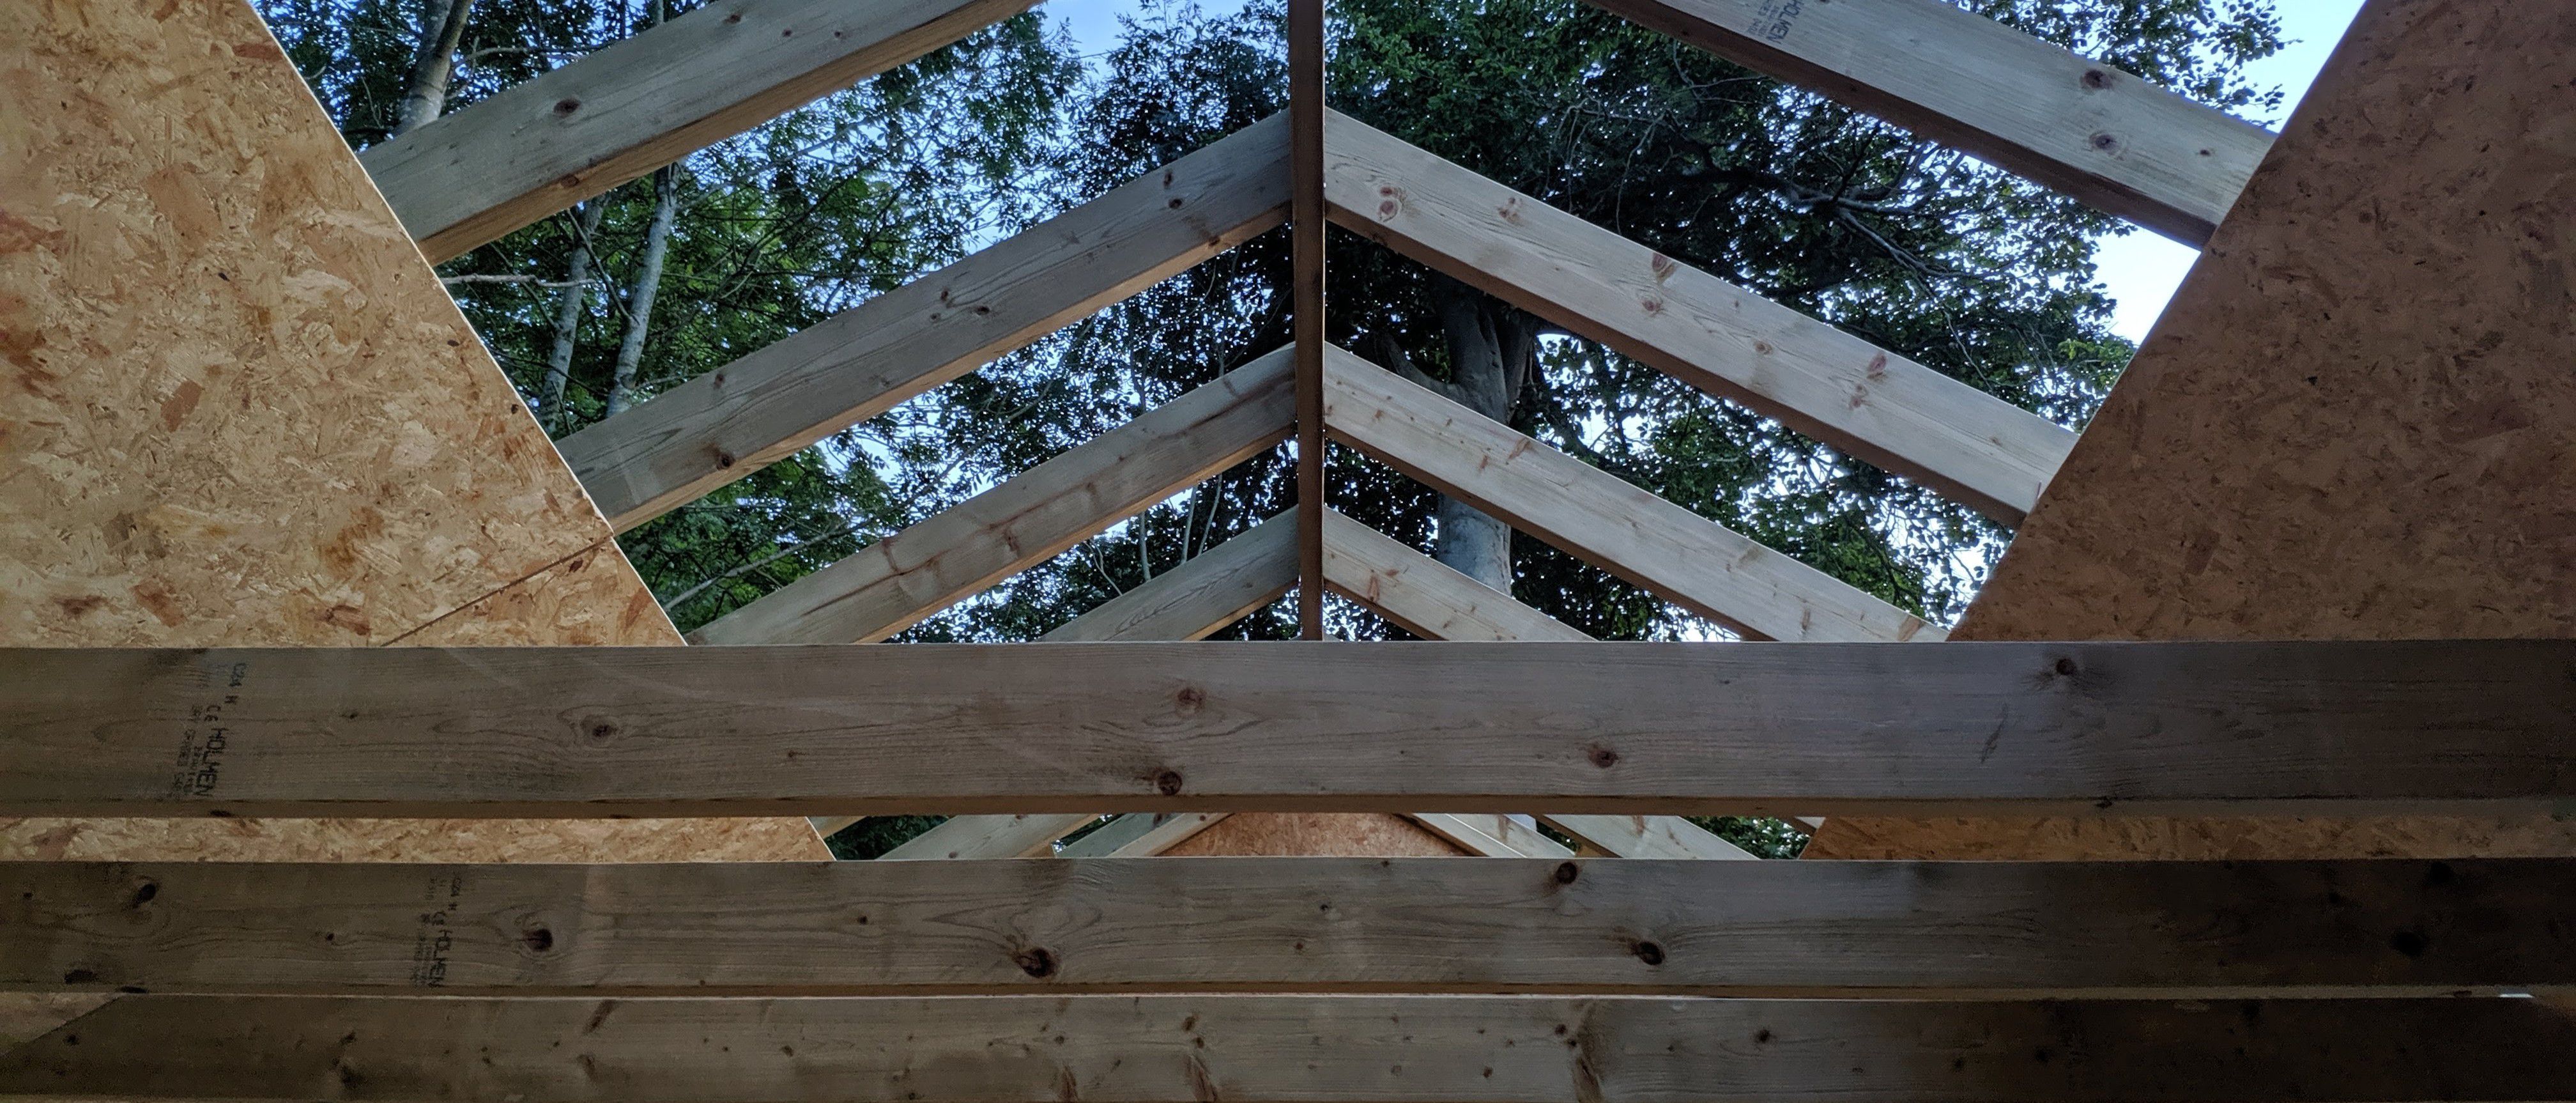
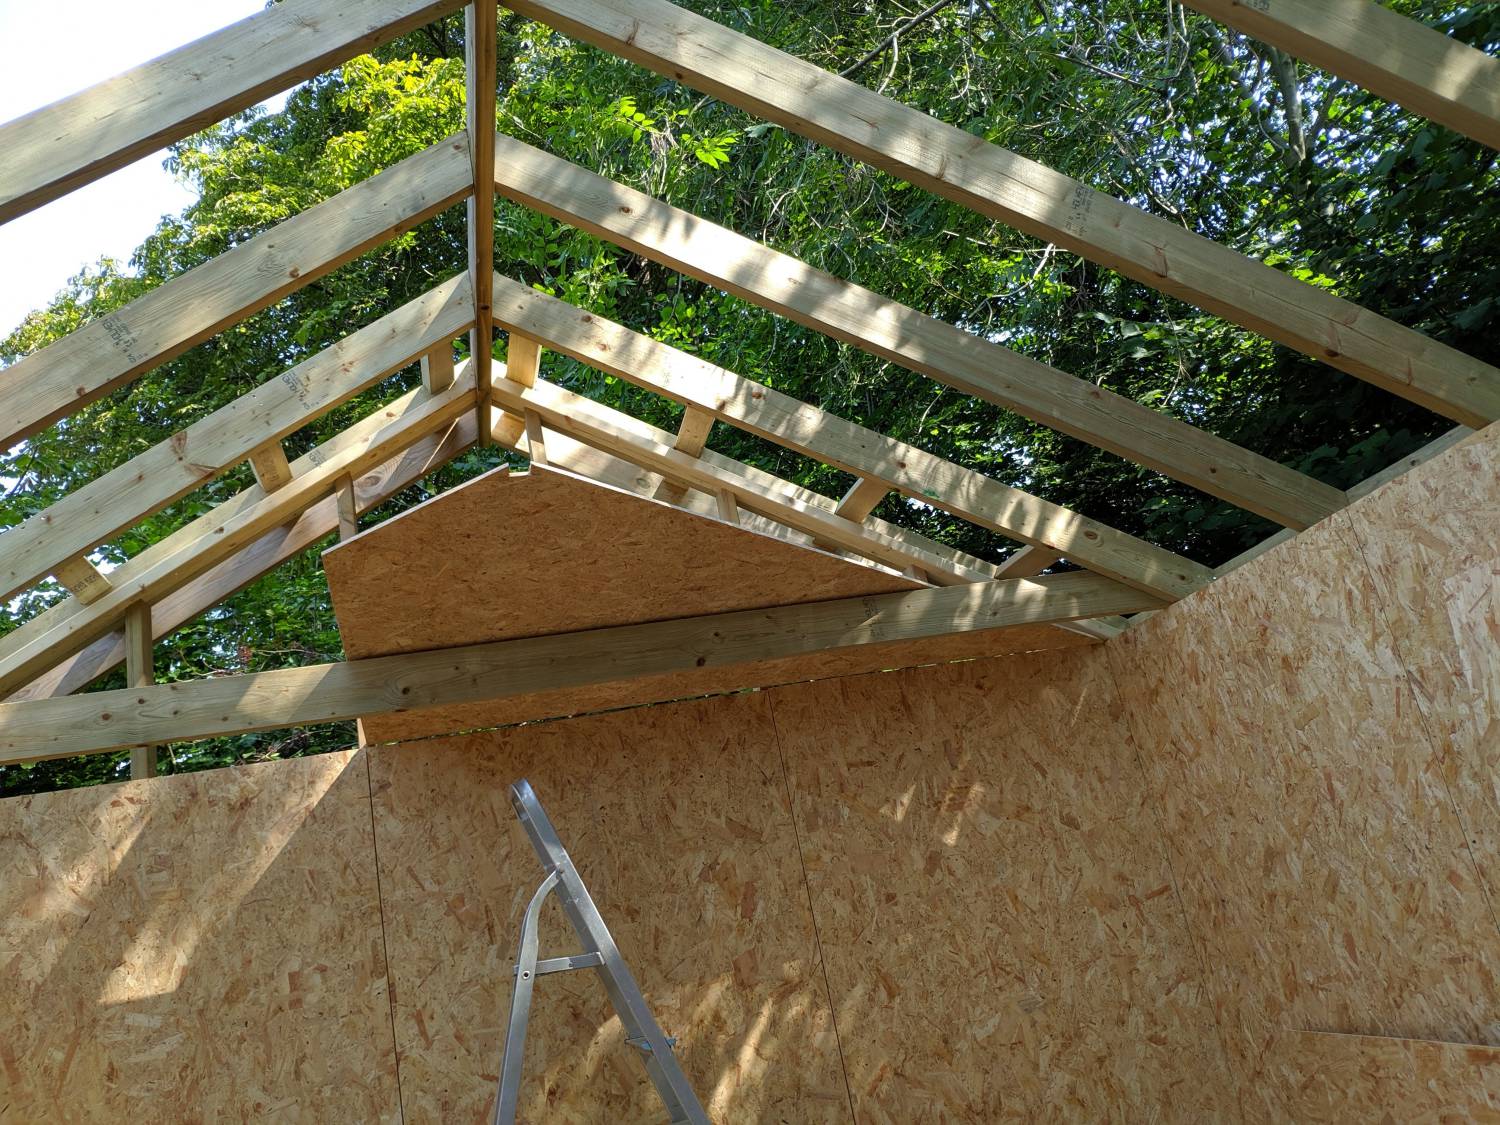
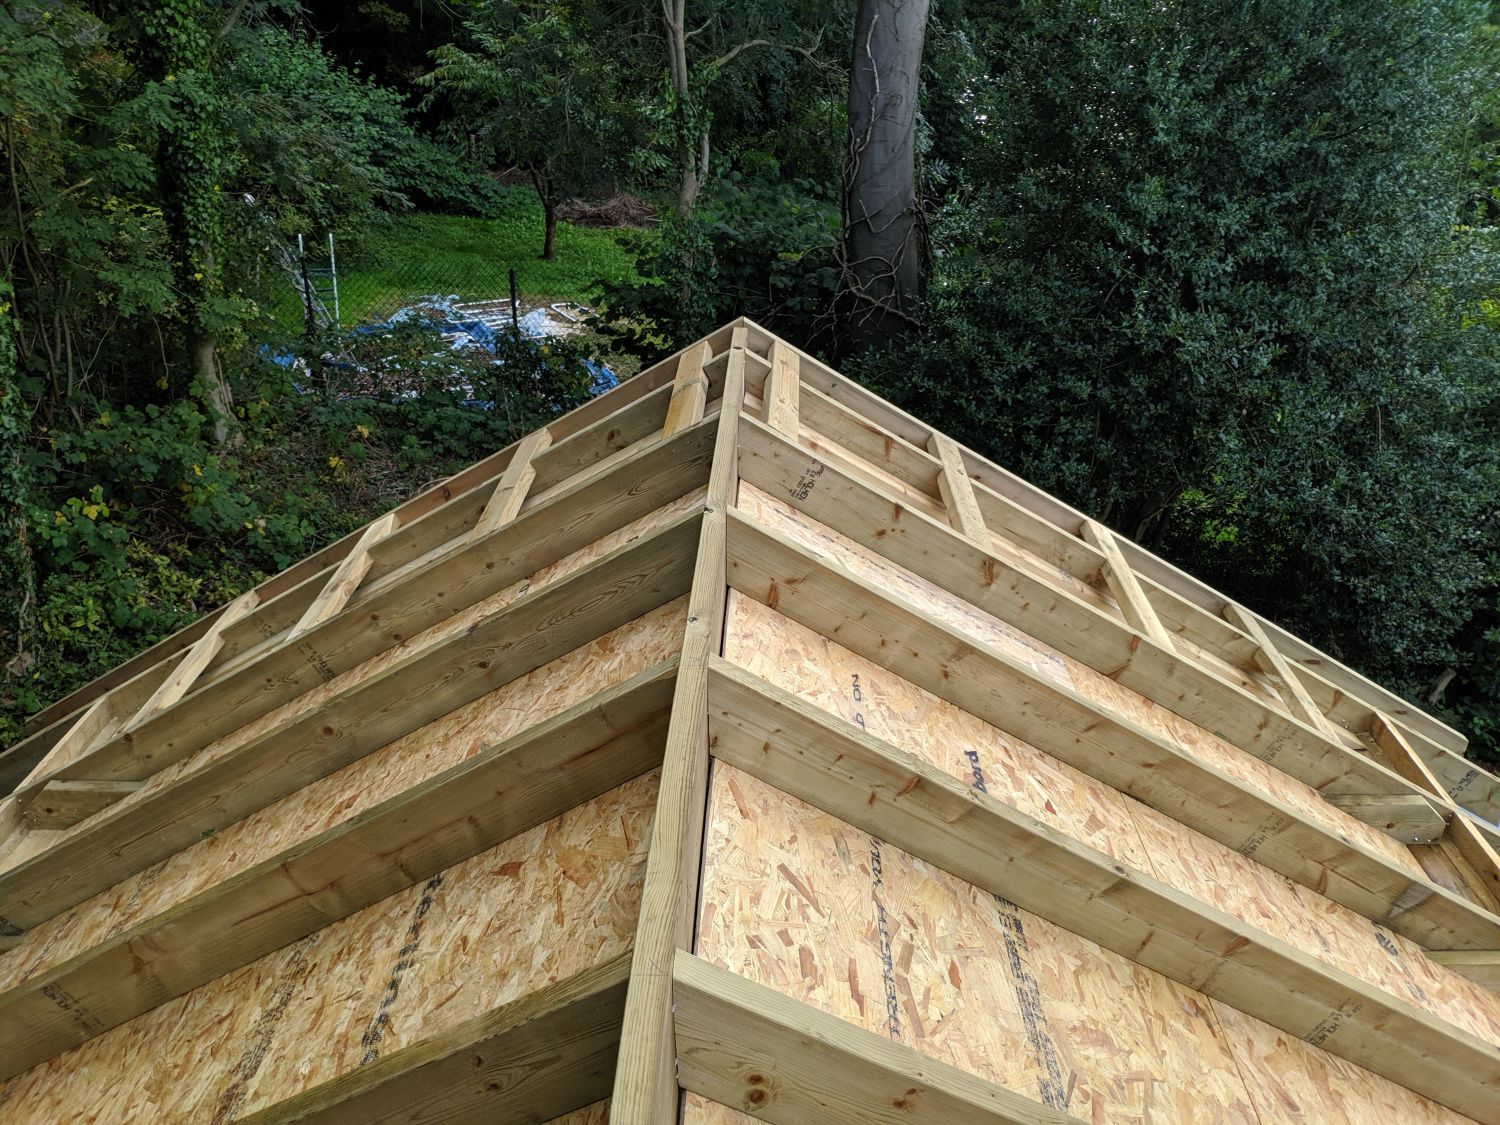
Roof sheathing
The roof sheathing was much harder to install, not just because of the height, but also because cutouts had to be made in each sheet to fit around the joists.
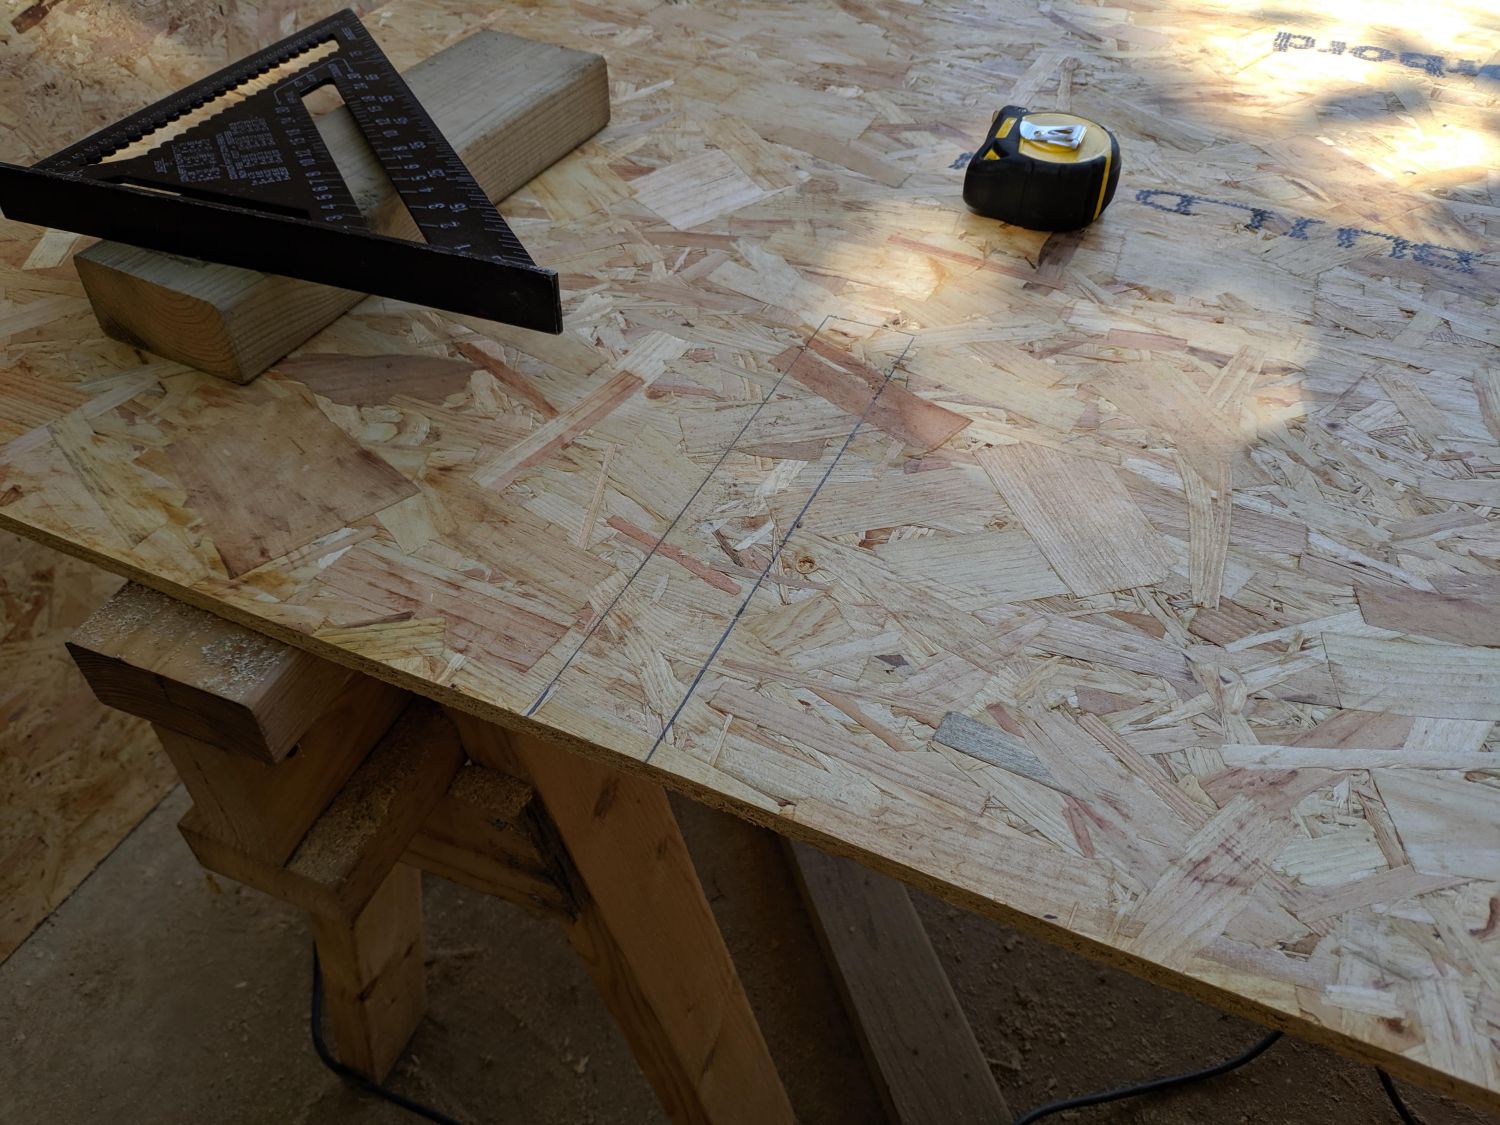
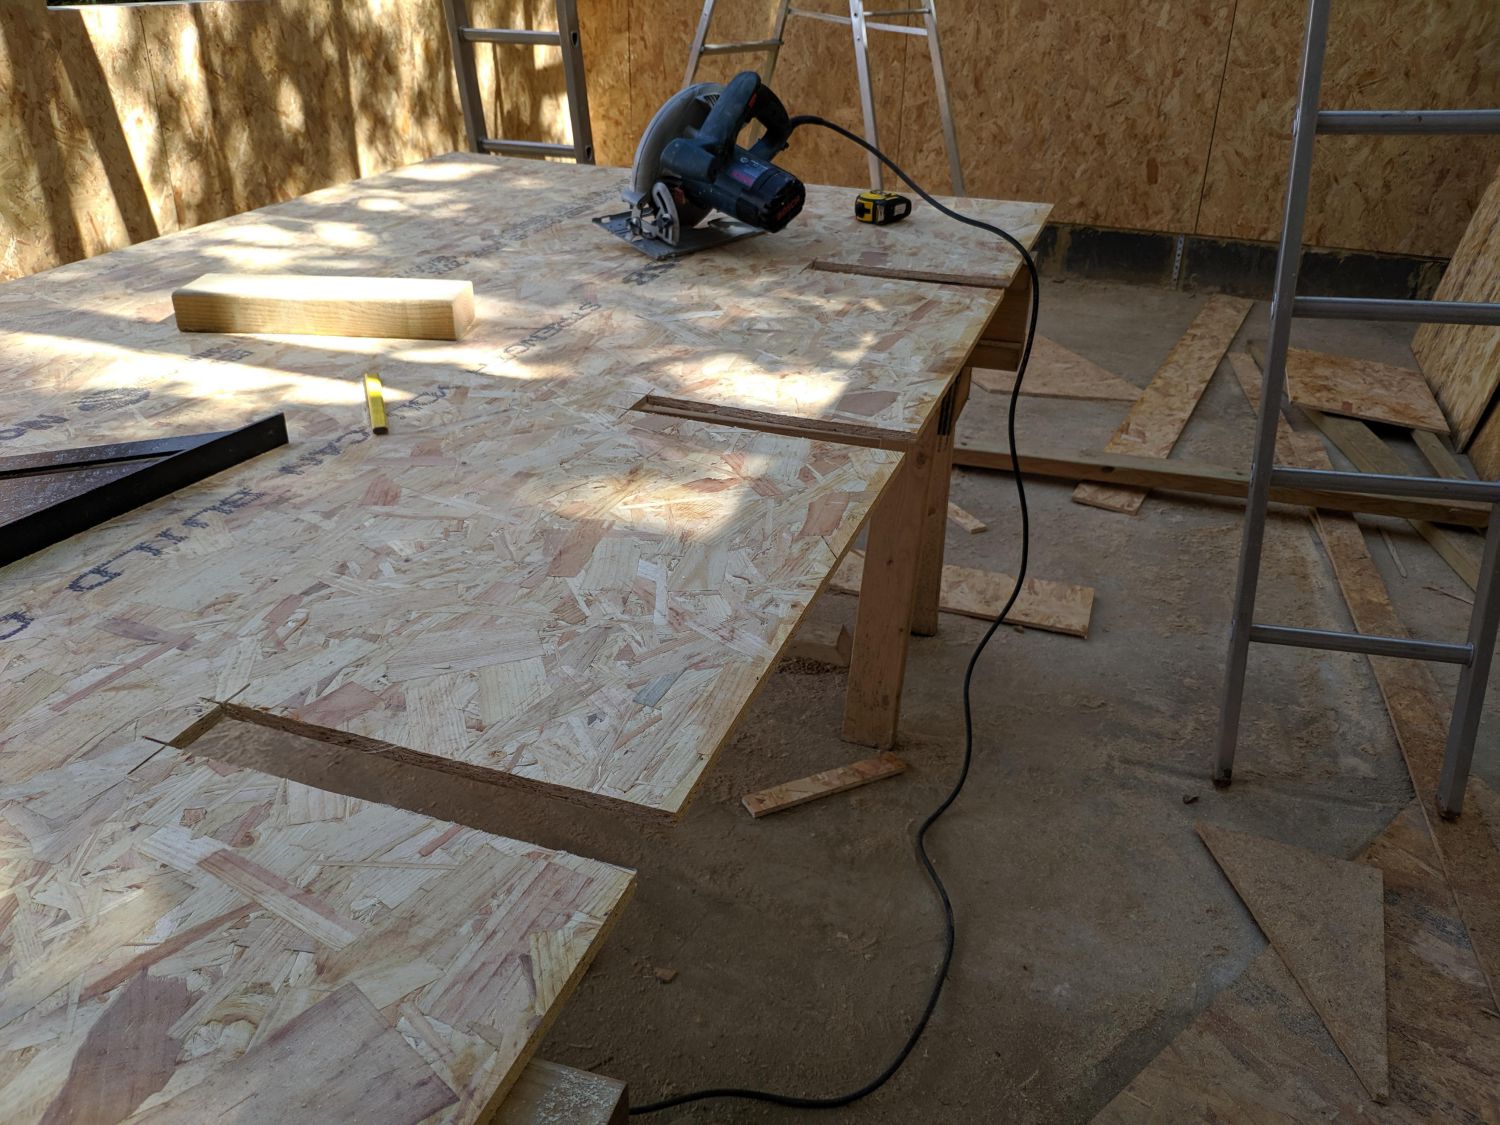
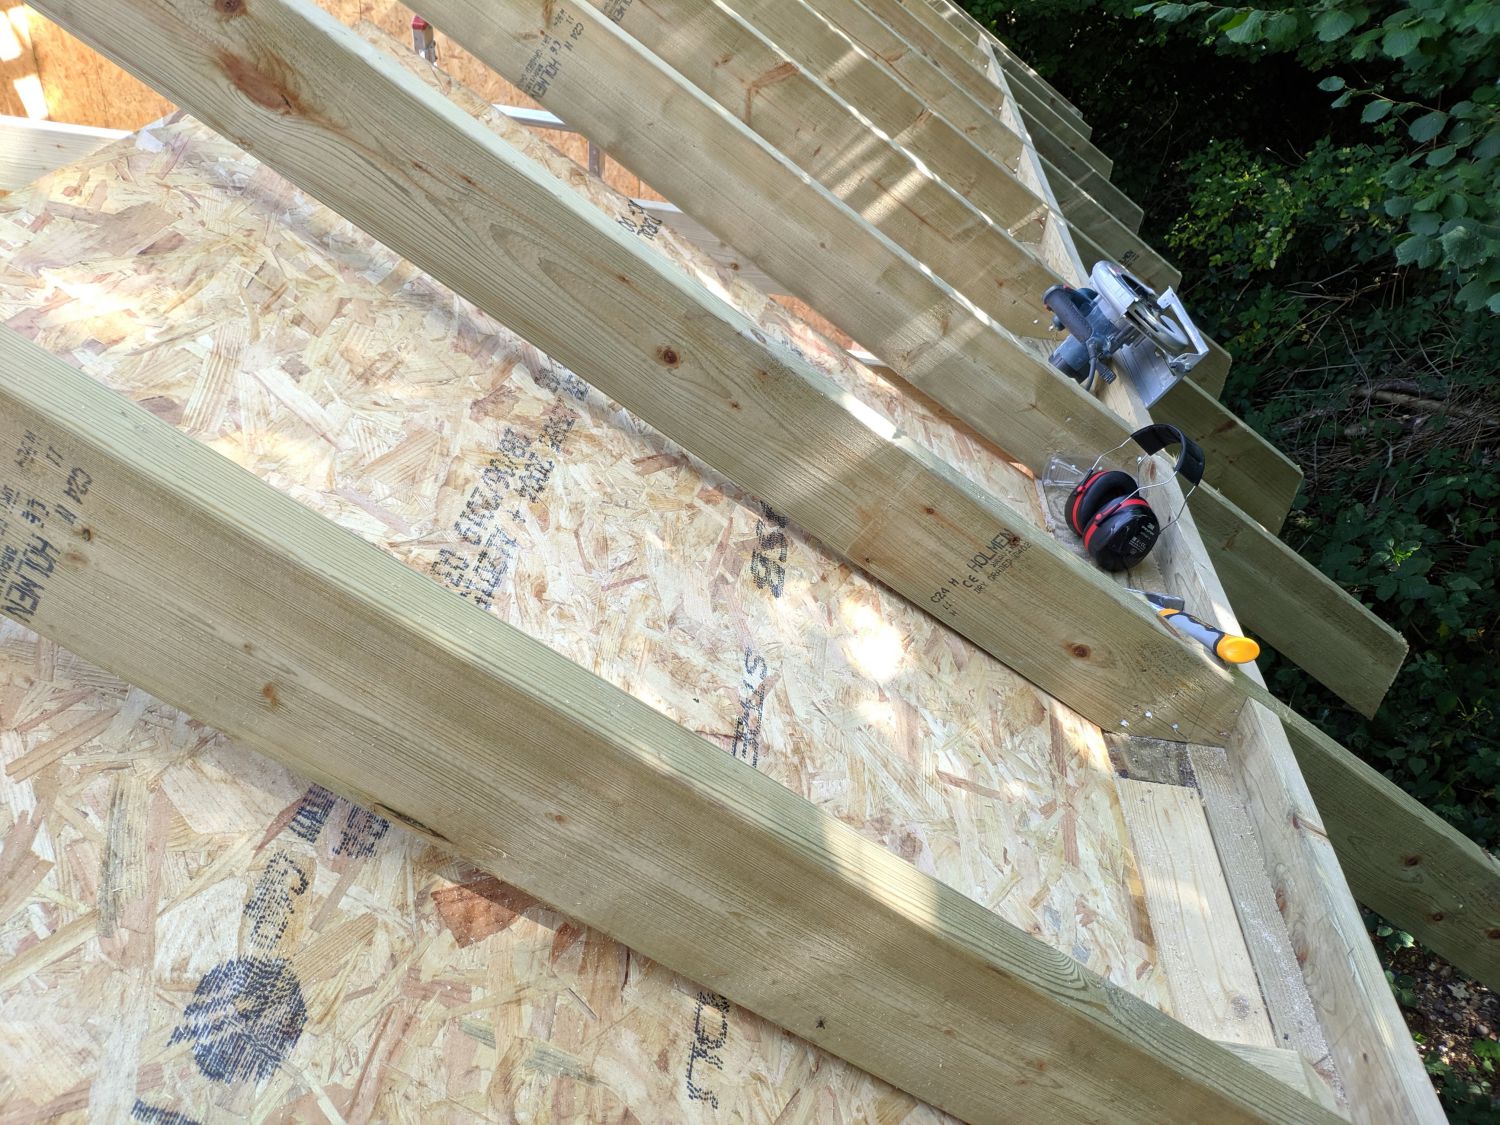
Once I had marked and cut the sheets I slid them over the joists and into position: I had to cut further into the sheets than I needed to easily install them meaning a small gap was left.
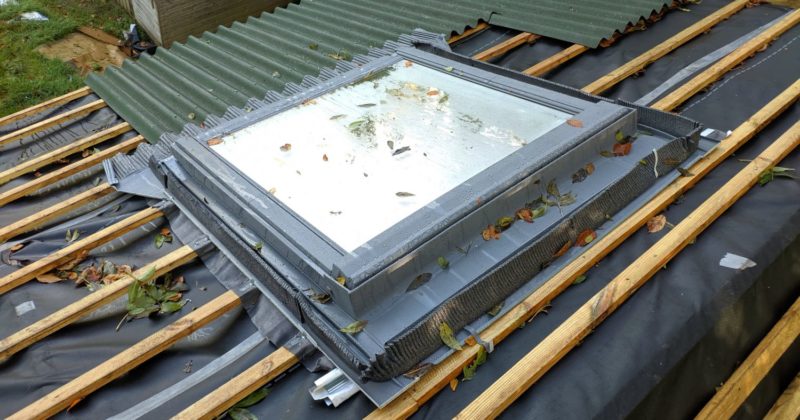
Window openings
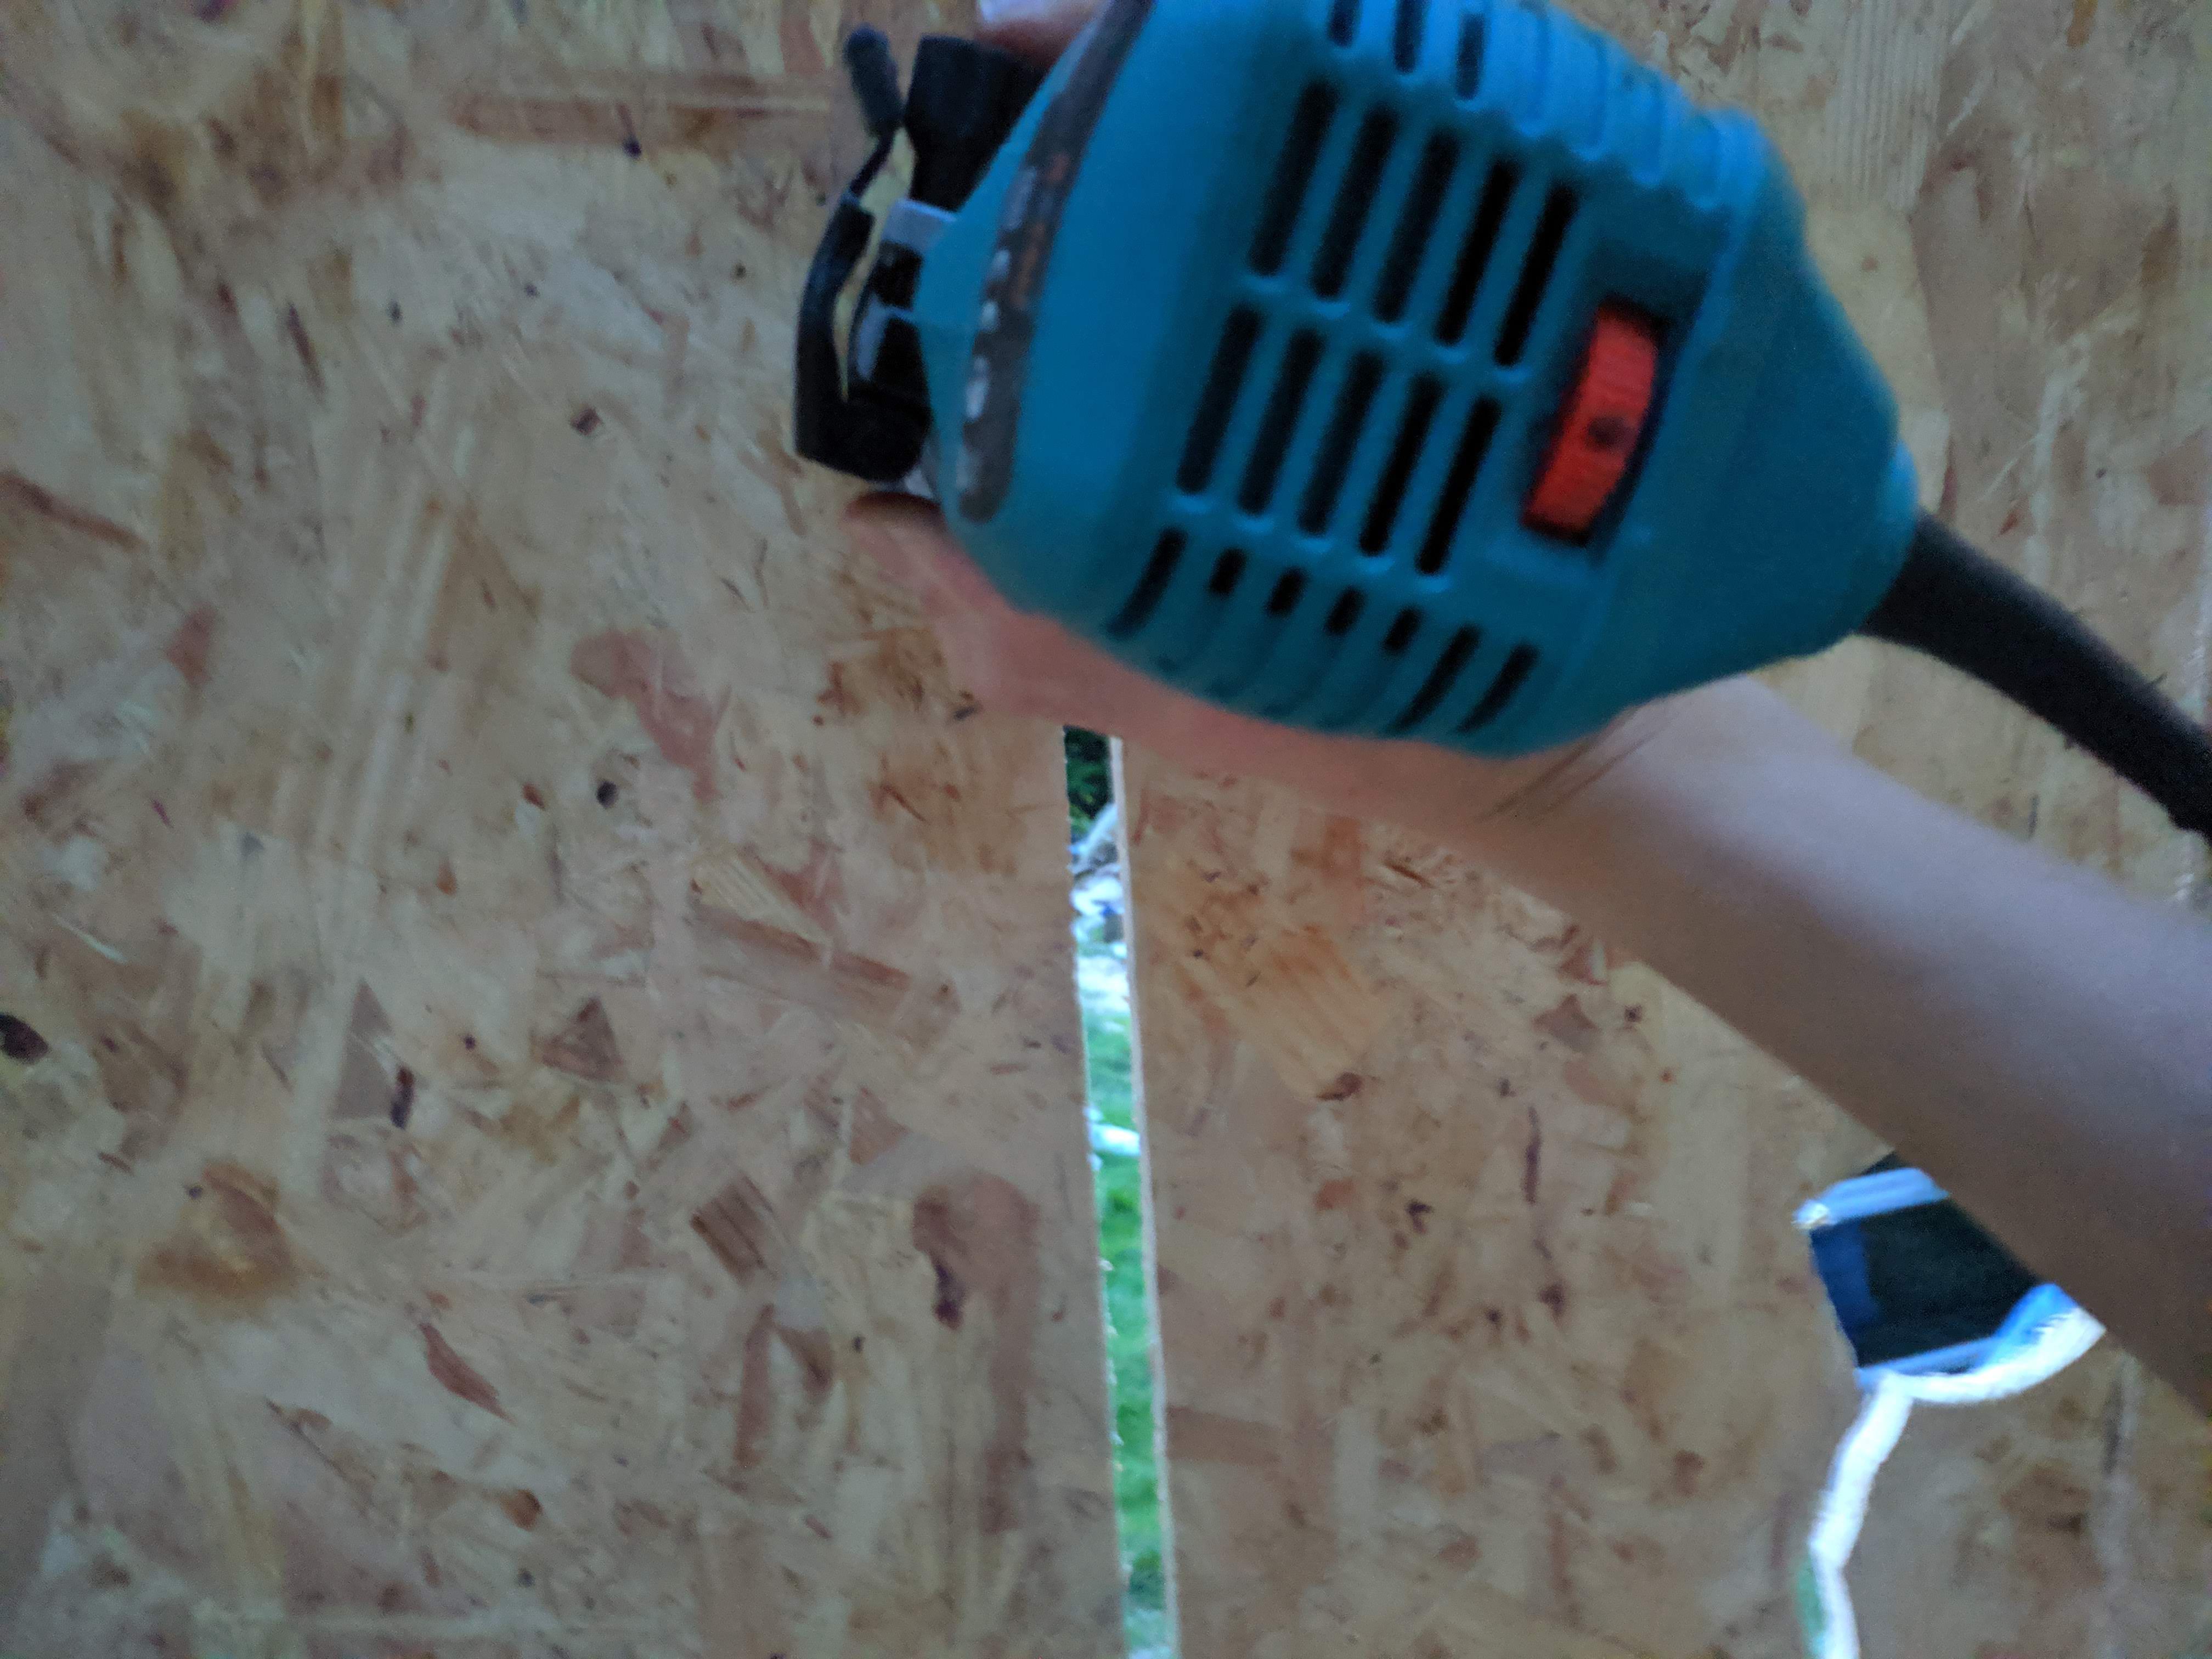
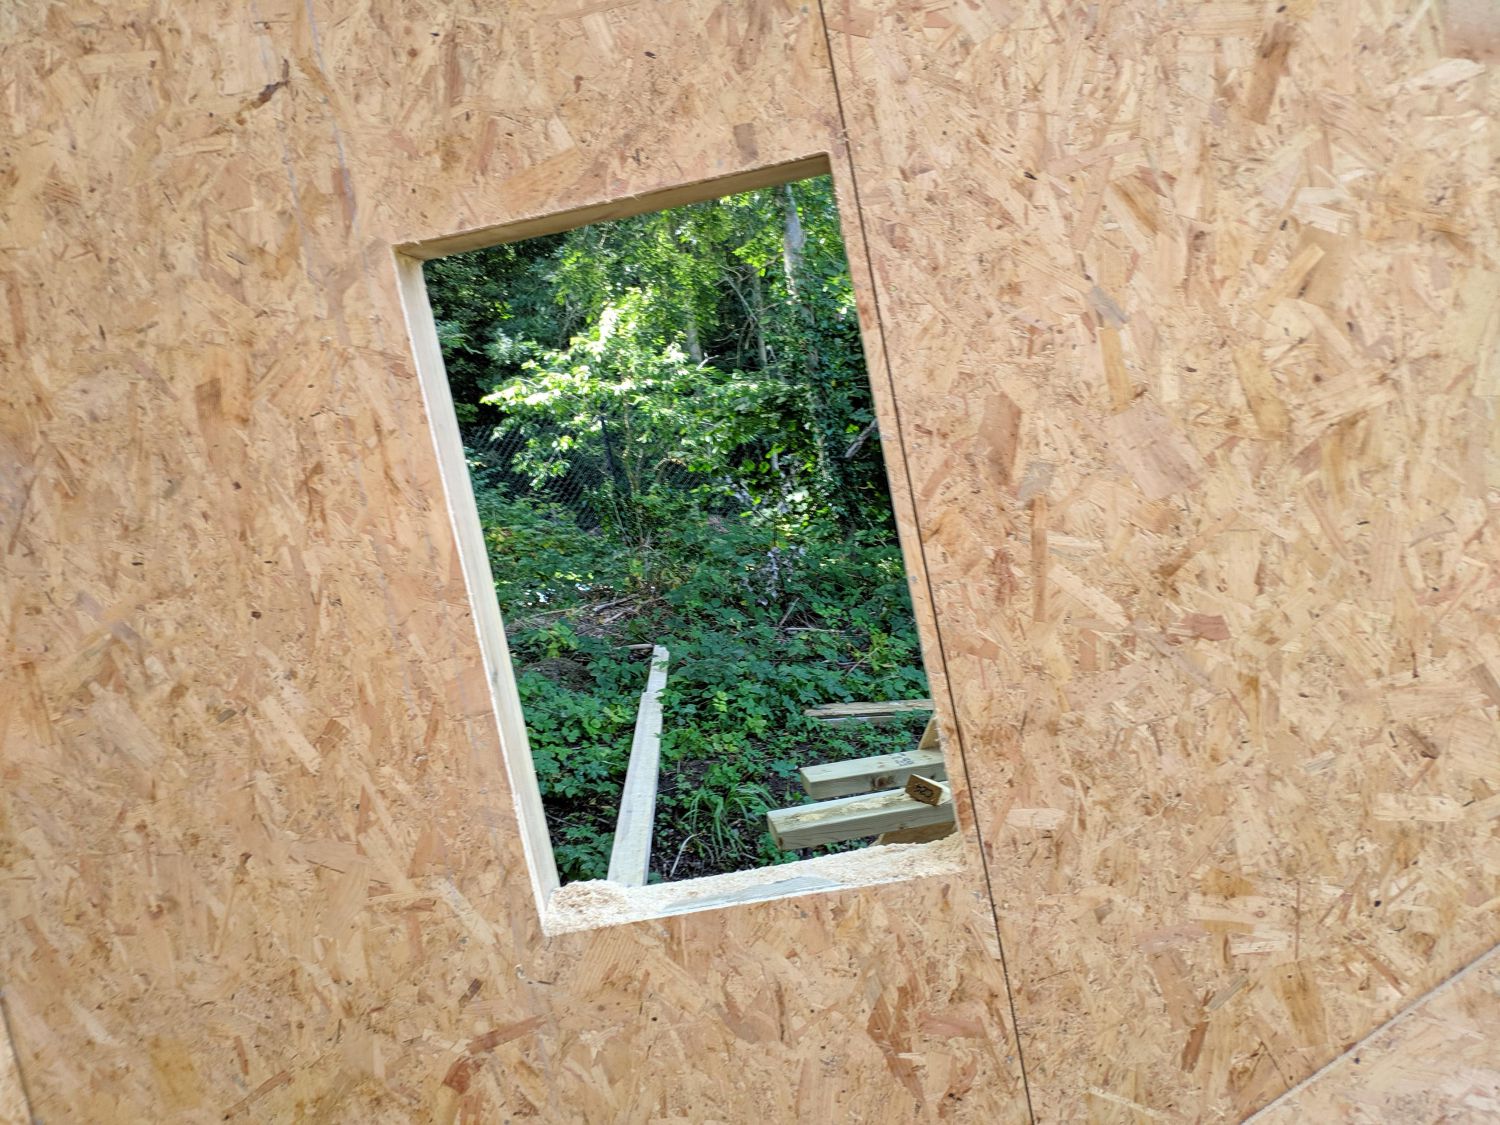
Once the sheathing was all in I used a flush trim router bit to remove the OSB over the windows. For the roof window I used a jigsaw and handsaw as I couldn’t use the router above me (safely).