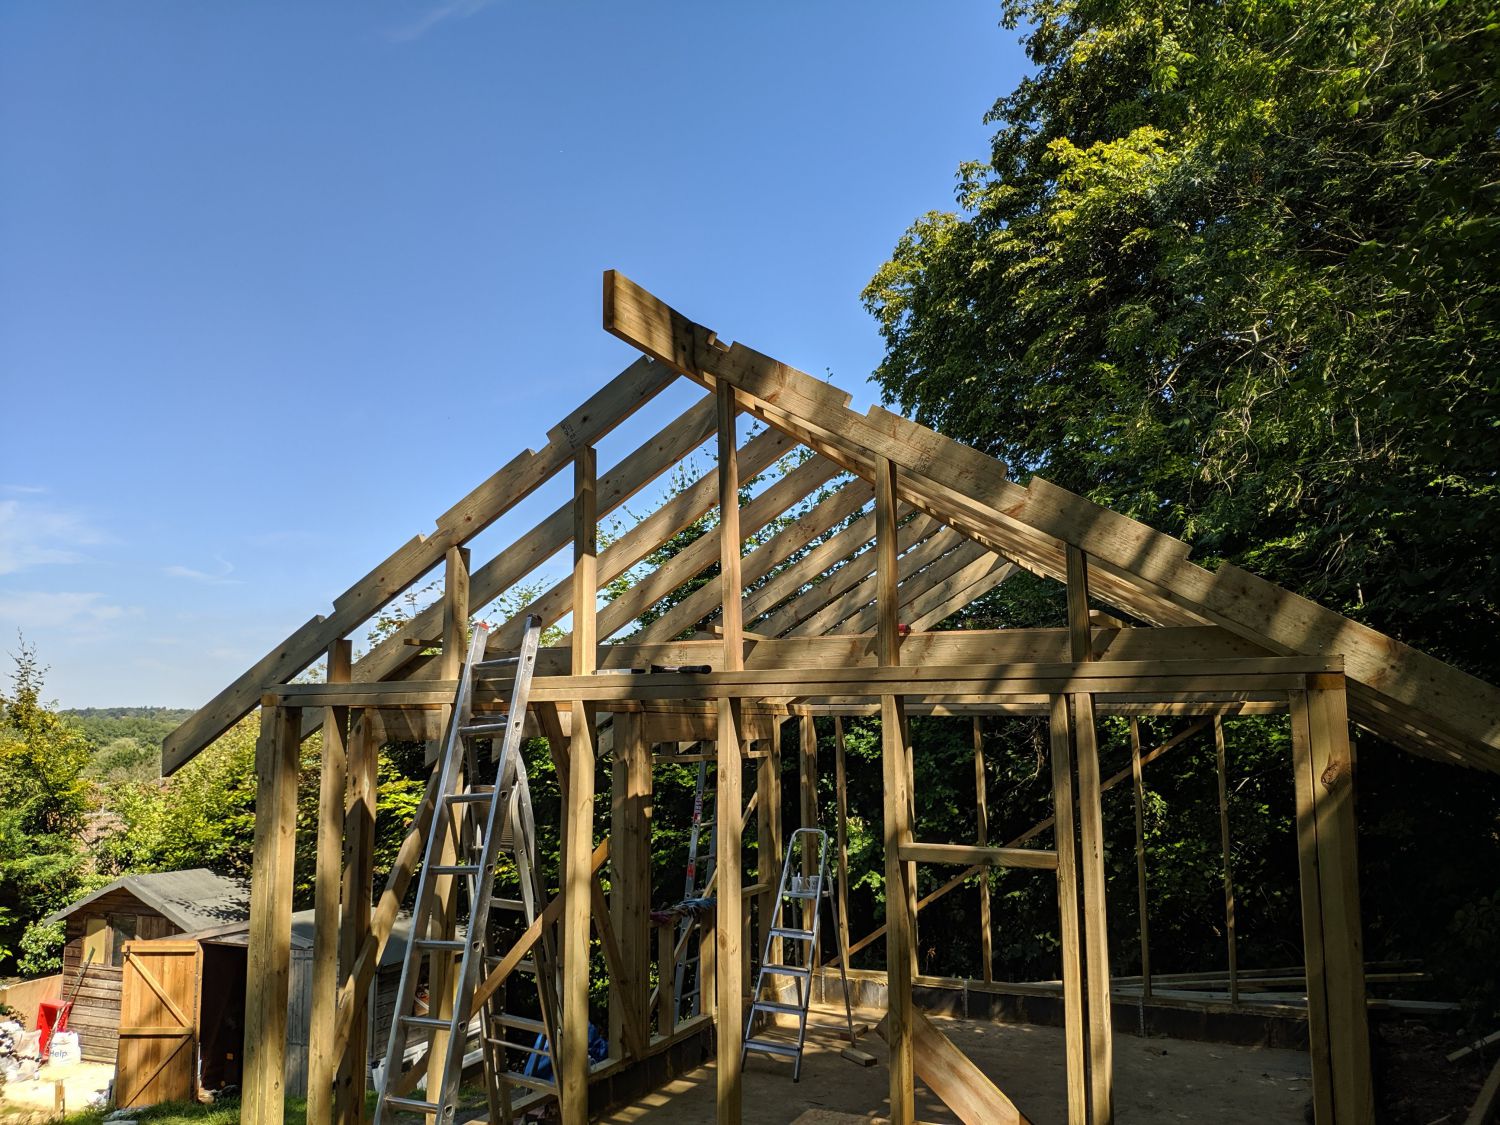
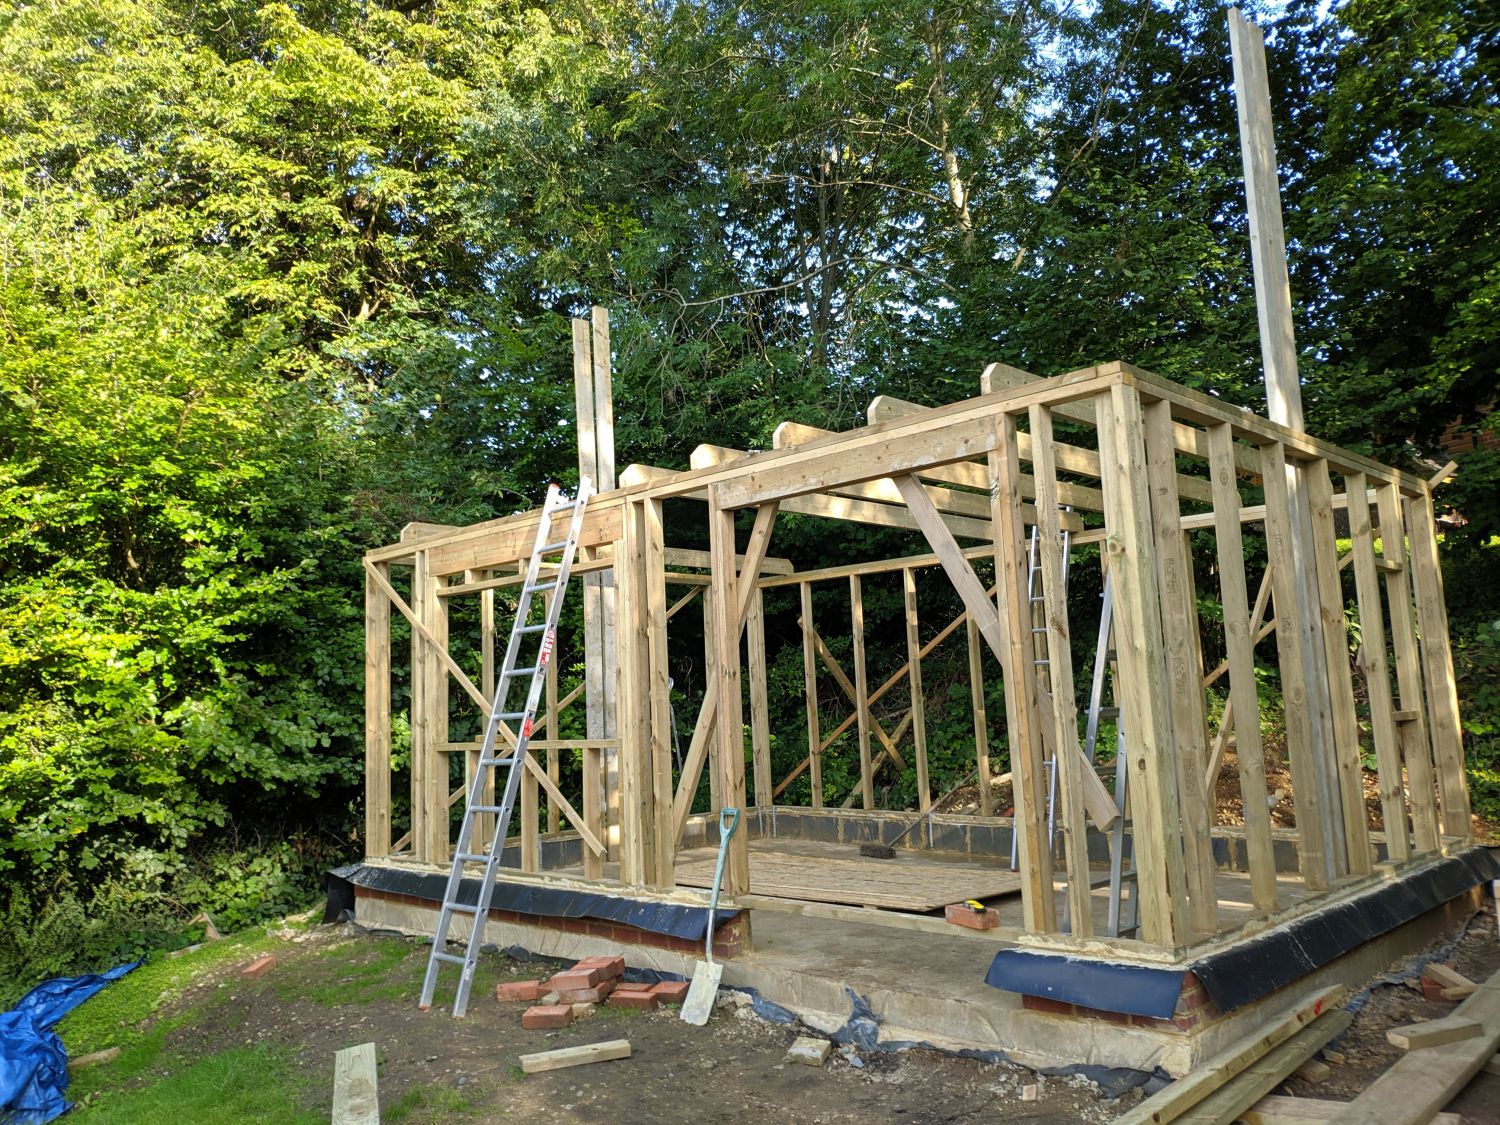
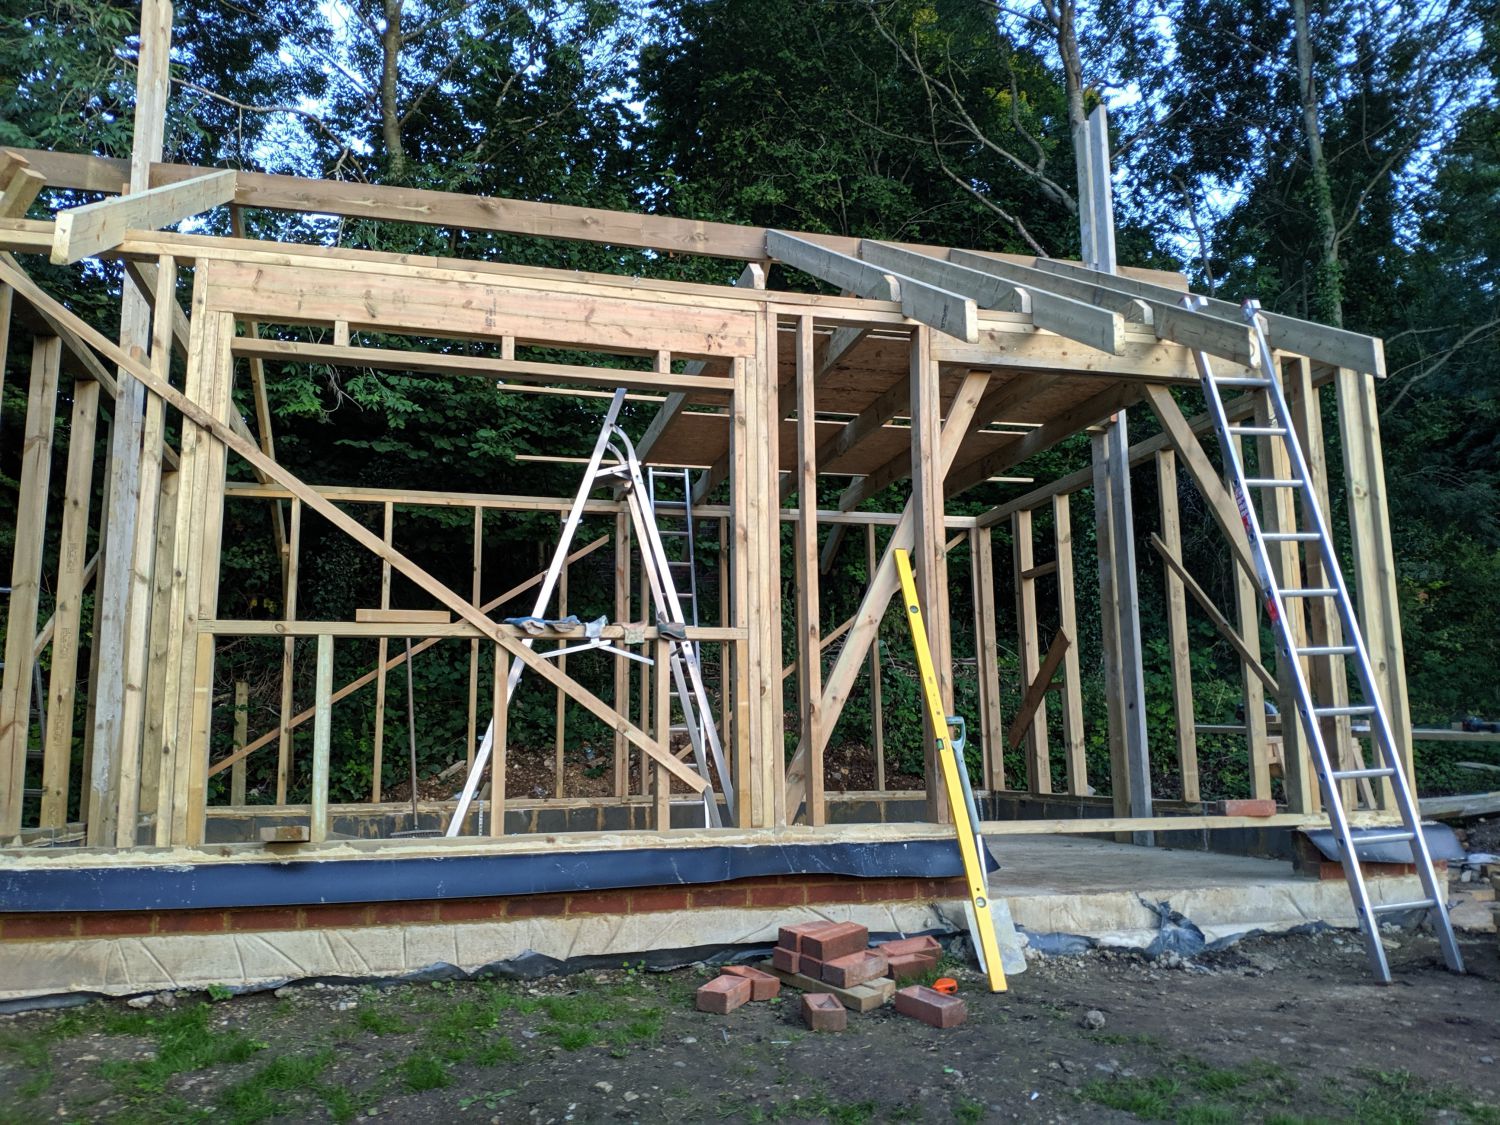
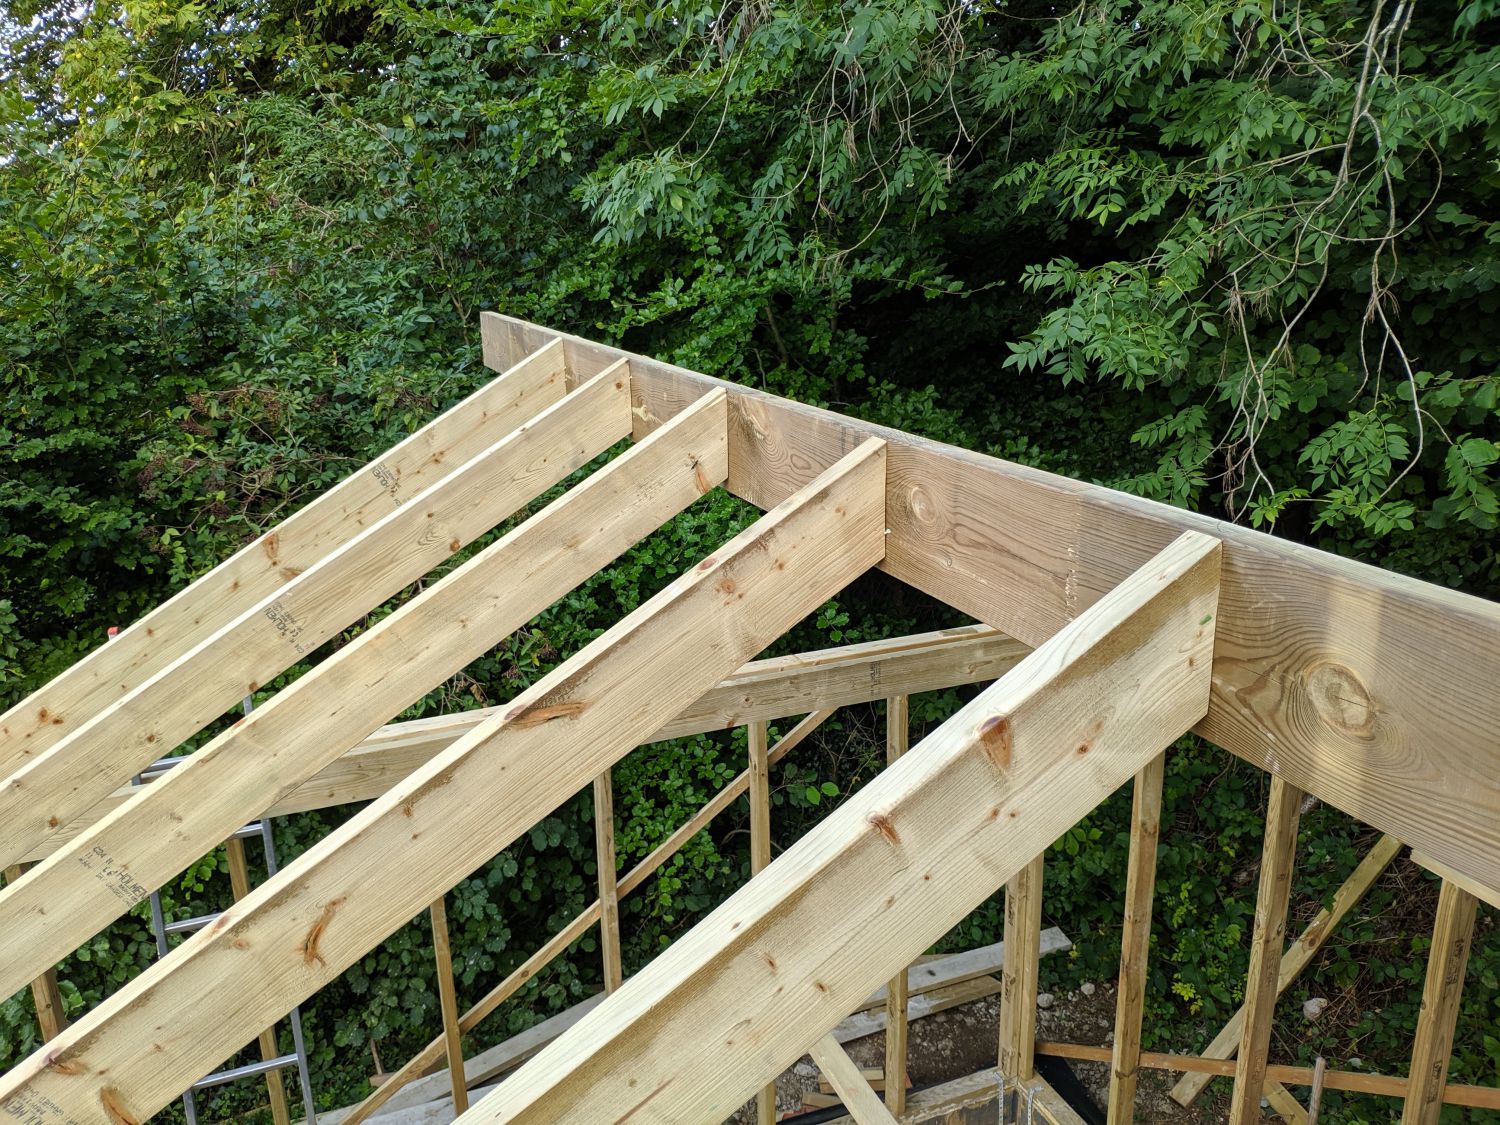
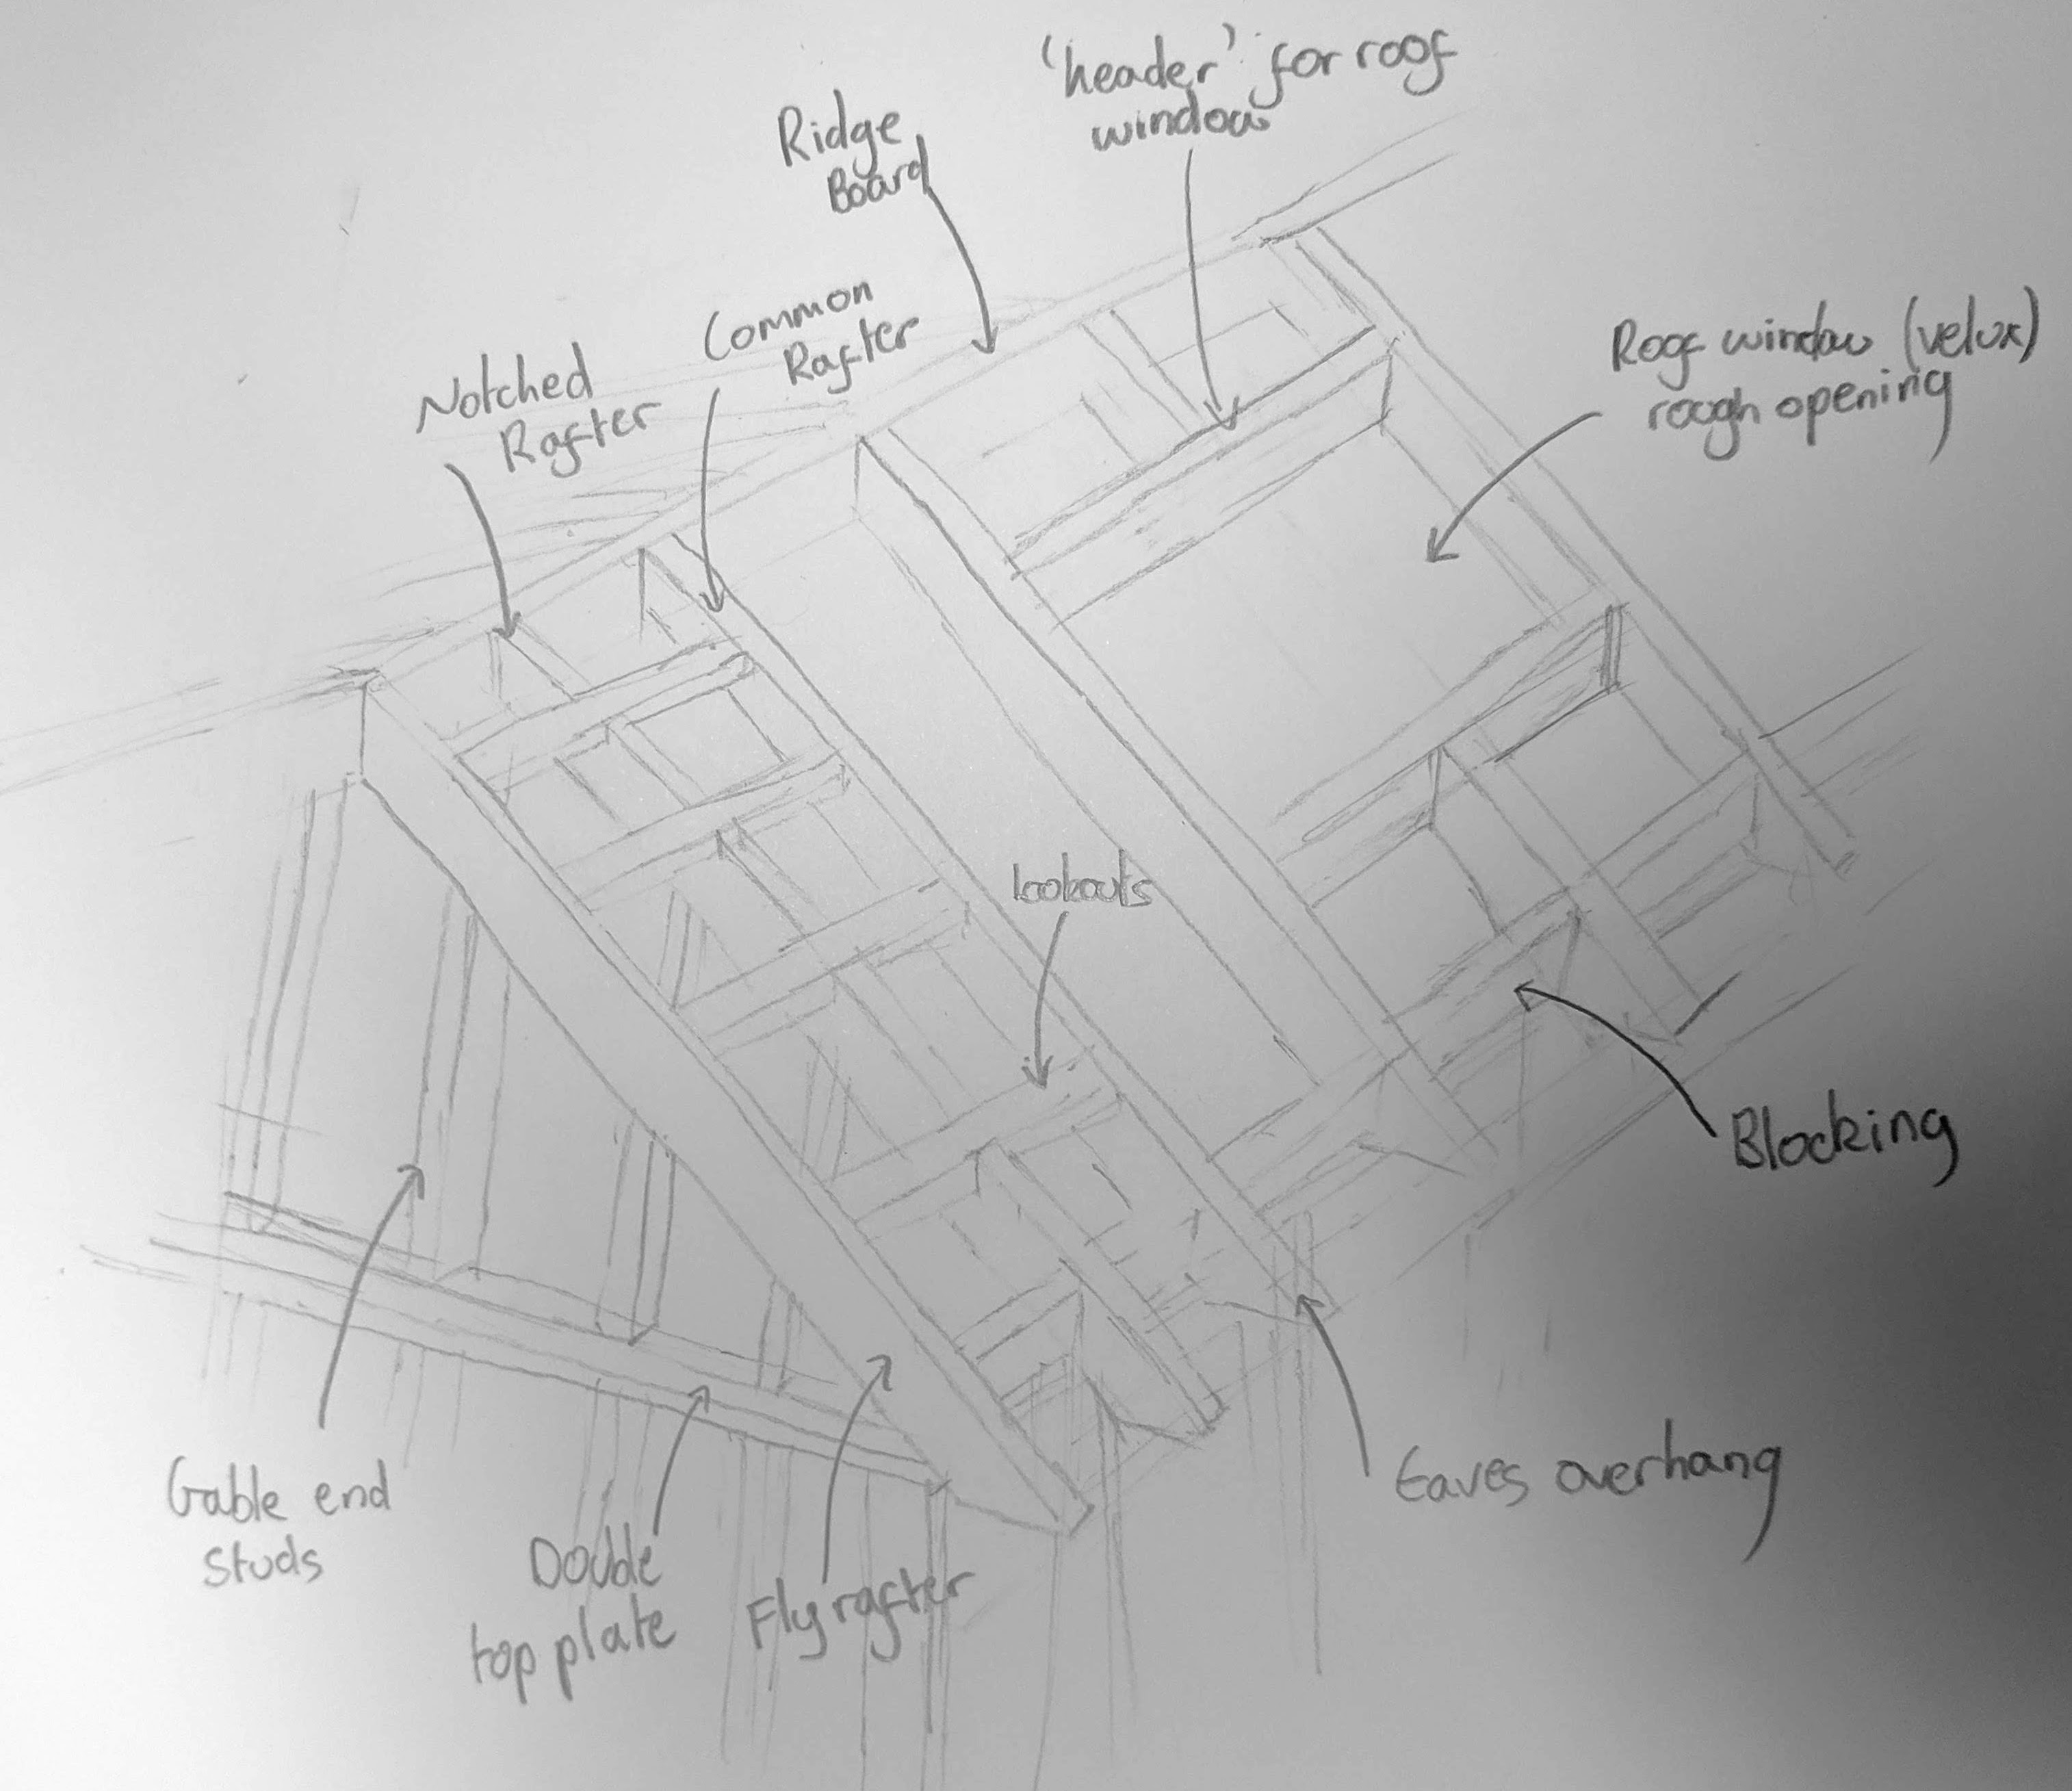
The roof is a 30° gable roof with 6×2 timbers for the joists and rafters. There is a 600mm overhang at the eaves and a 300mm overhang at the gables.
Joists
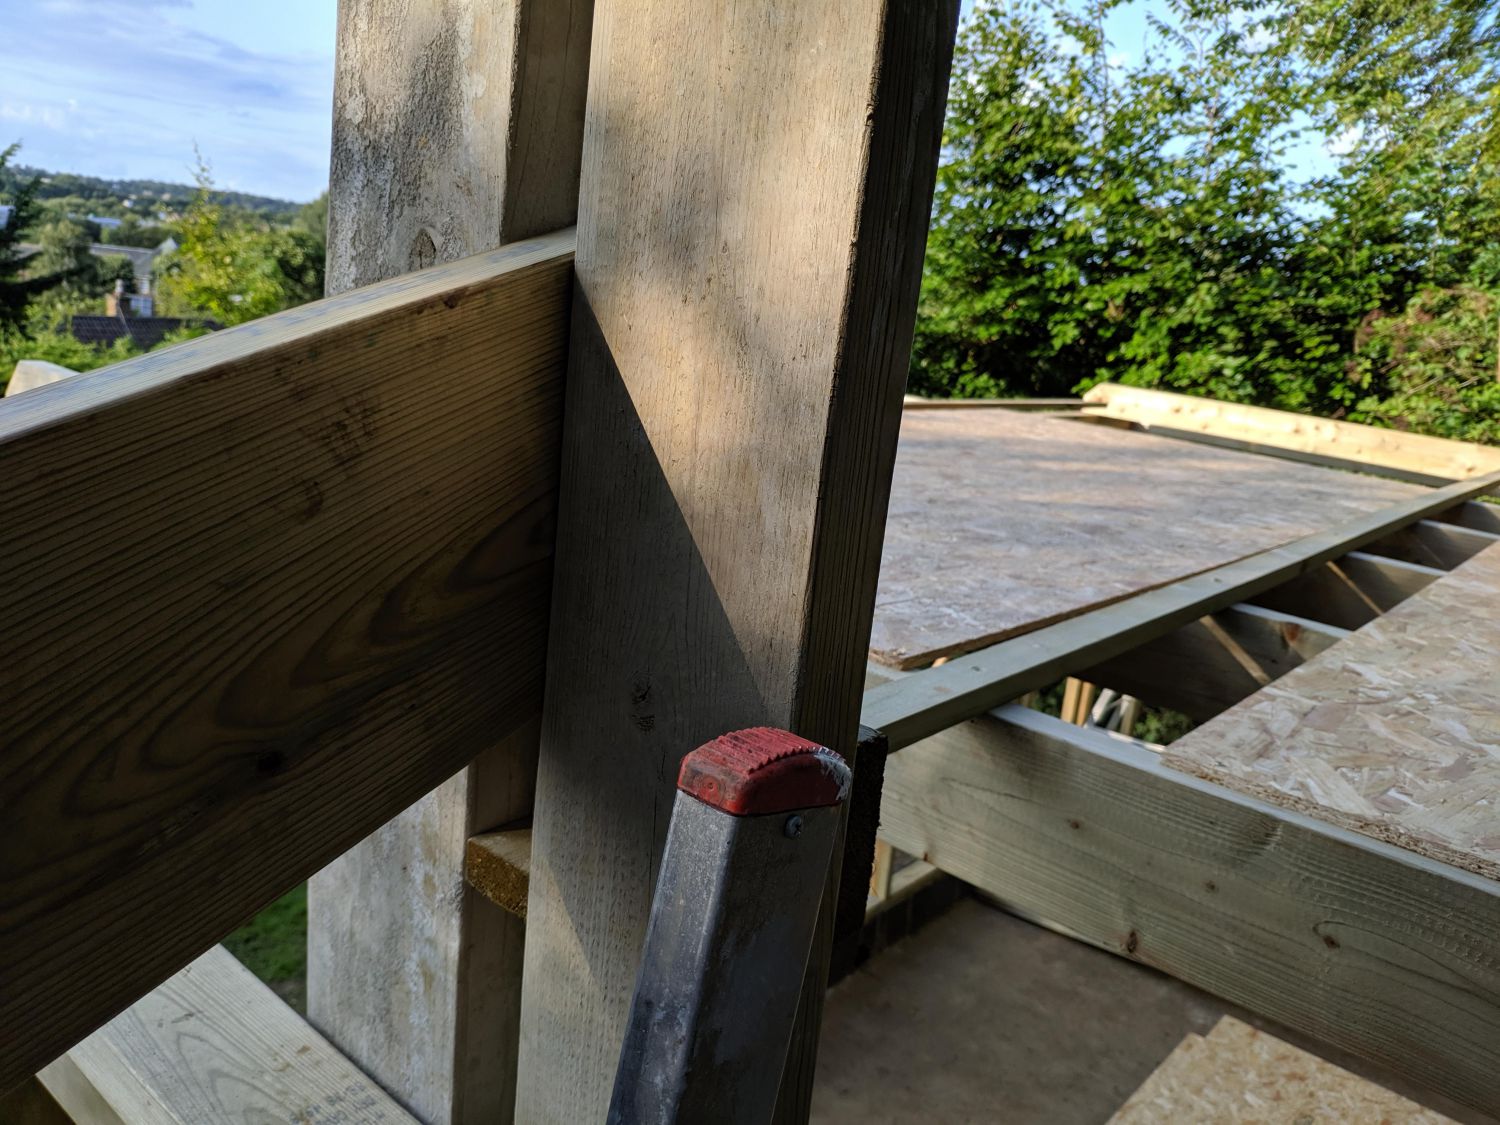
Initially I had planned to used raised ties to increase the internal roof height but later decided to use regular roof joists sitting on the double top plate. Because I used a double top plate the rafters (and joists) did not need to sit above studs.

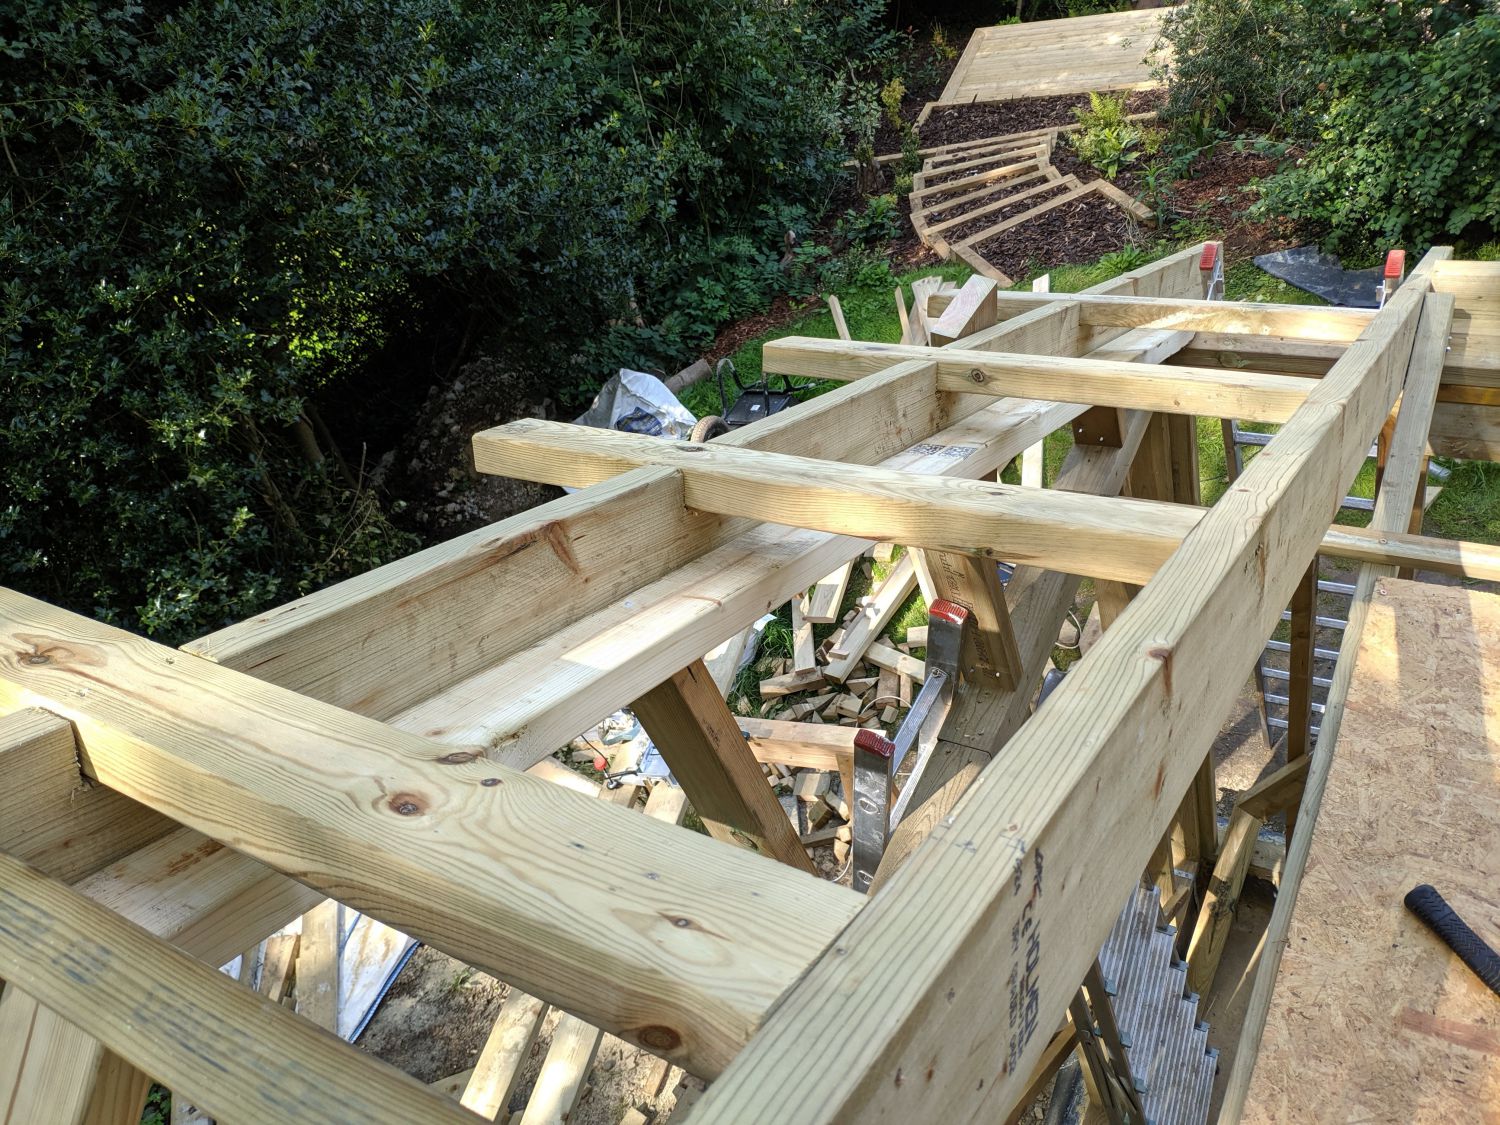
After I had cut the joists to size I cut a bevel in the end of each to ensure the joist ends would not poke above the rafters. I then nailed the joists to the top plate which I had marked with 24″ OC spacing. Over part of the roof three joists are skipped; in this section there will be a vaulted ceiling with a skylight; this should make the space feel much larger and also allows access to the space above the joists which will be used for storage.
Raising the ridge board

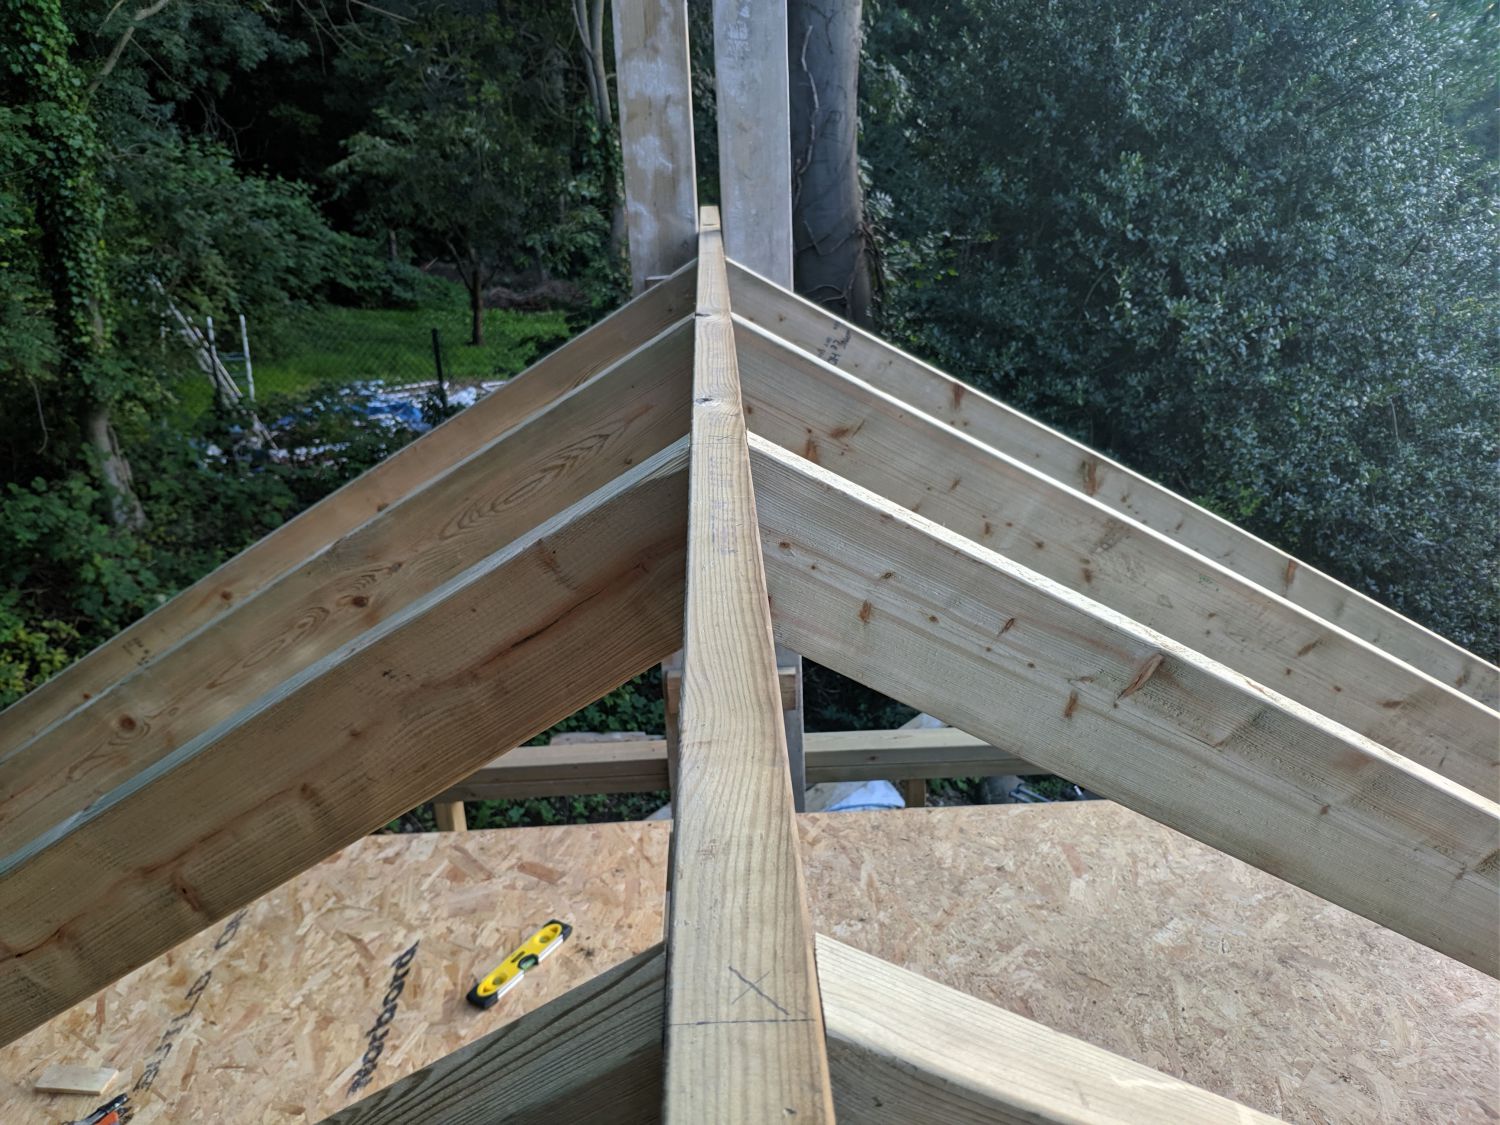
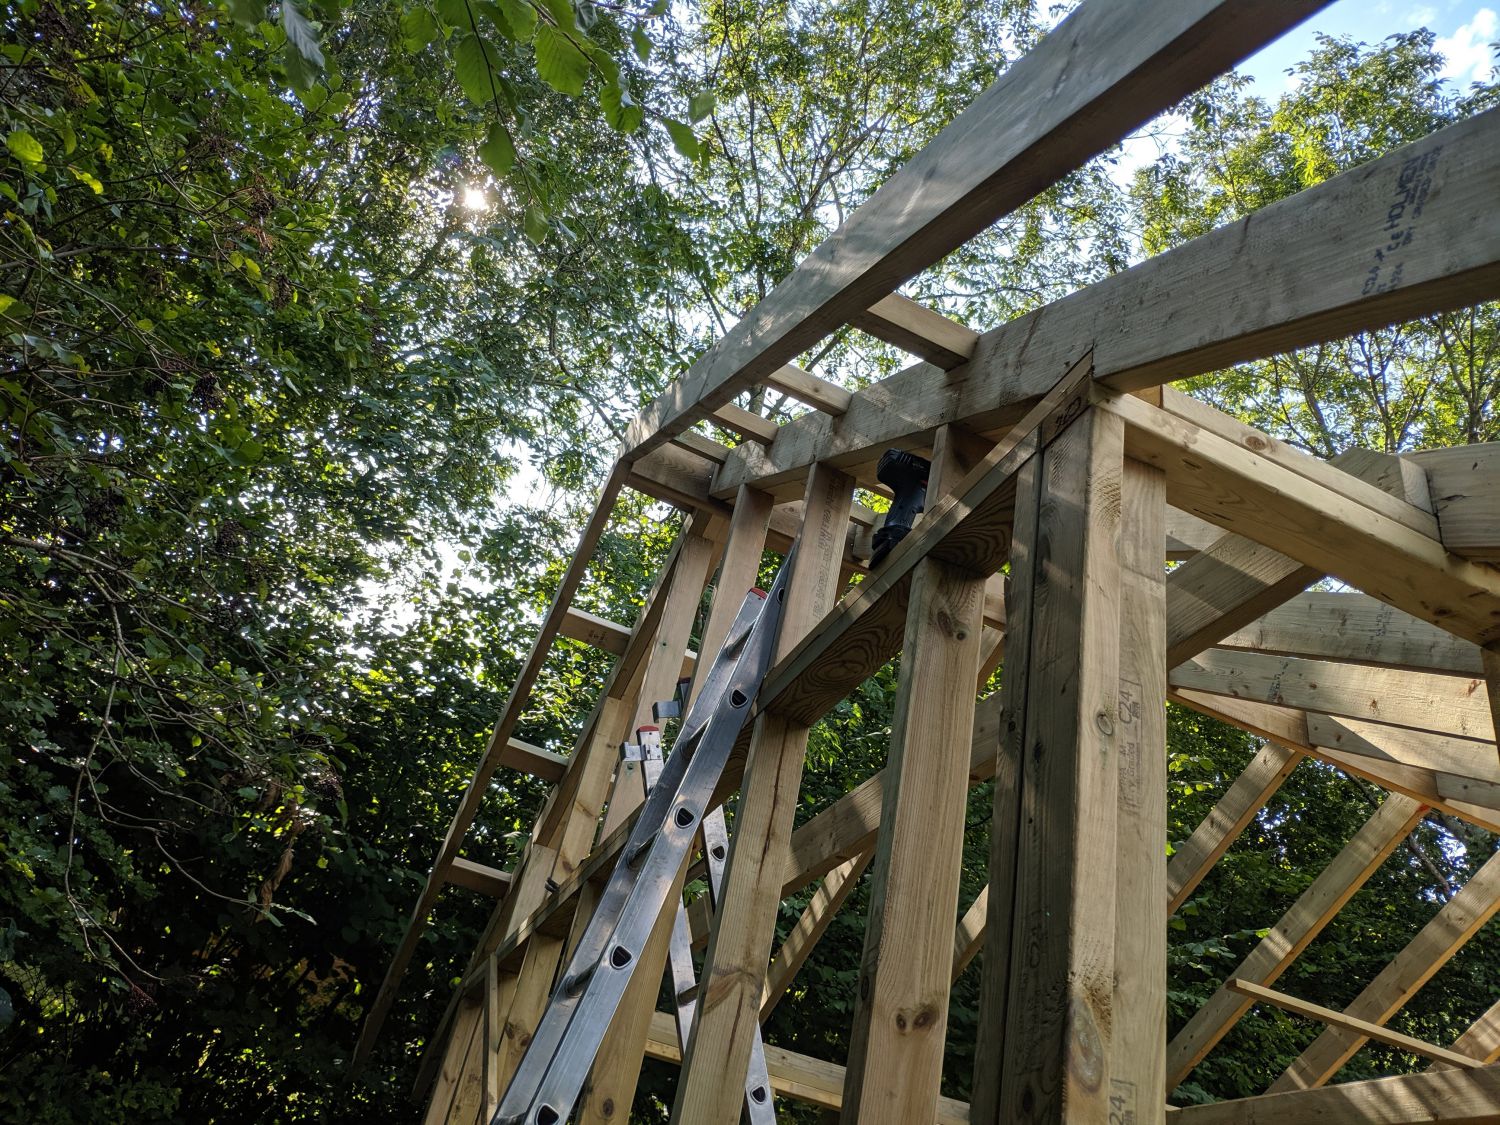
The next job was to raise the ridge board into place. This is a semi-structural beam as joists (acting as ties) run down most of the building, but across the area where ties are absent the ridge must prevent the spread of the walls. For this reason I used a 8×2 timber that ran the full length of the building.
To get the beam in place I made two holders and screwed them into the wall frames; these aligned the ridge parallel to front and back walls. Then, I pushed the ridge into the holders, resting it on the joists. I lifted one side up and screwed in a cross support to keep it at the right height. I repeated this for the other side and made minor adjustments until the beam was completely level.
Rafters
Common Rafters
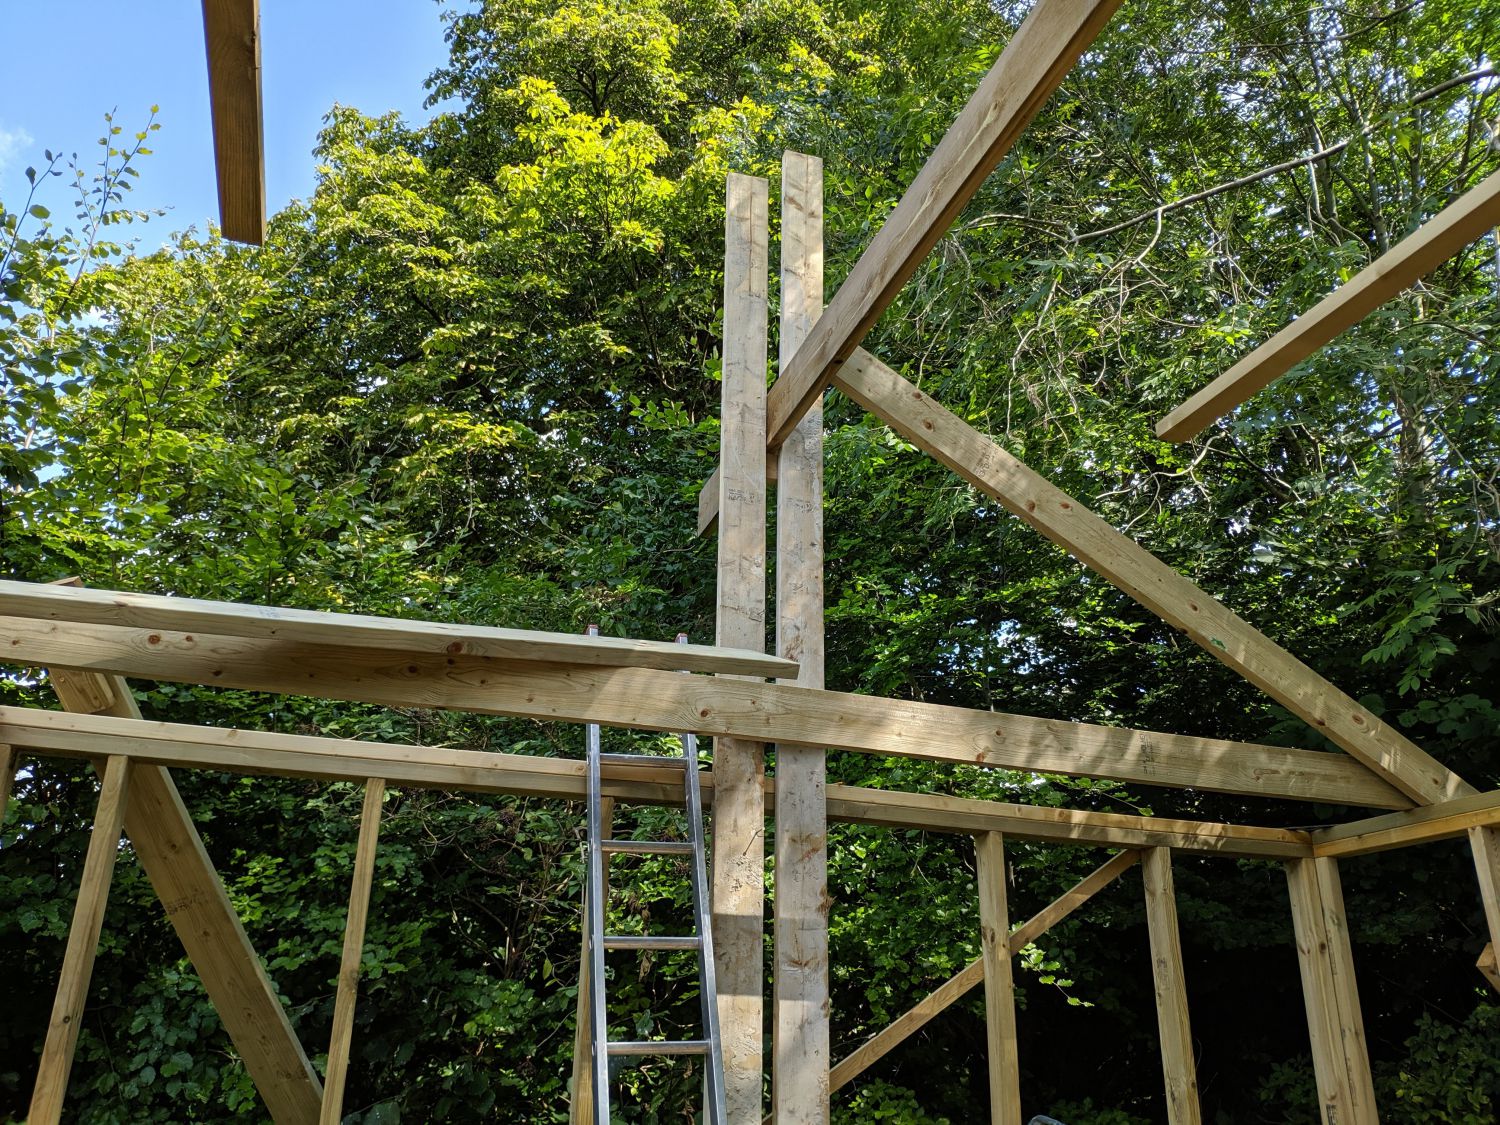
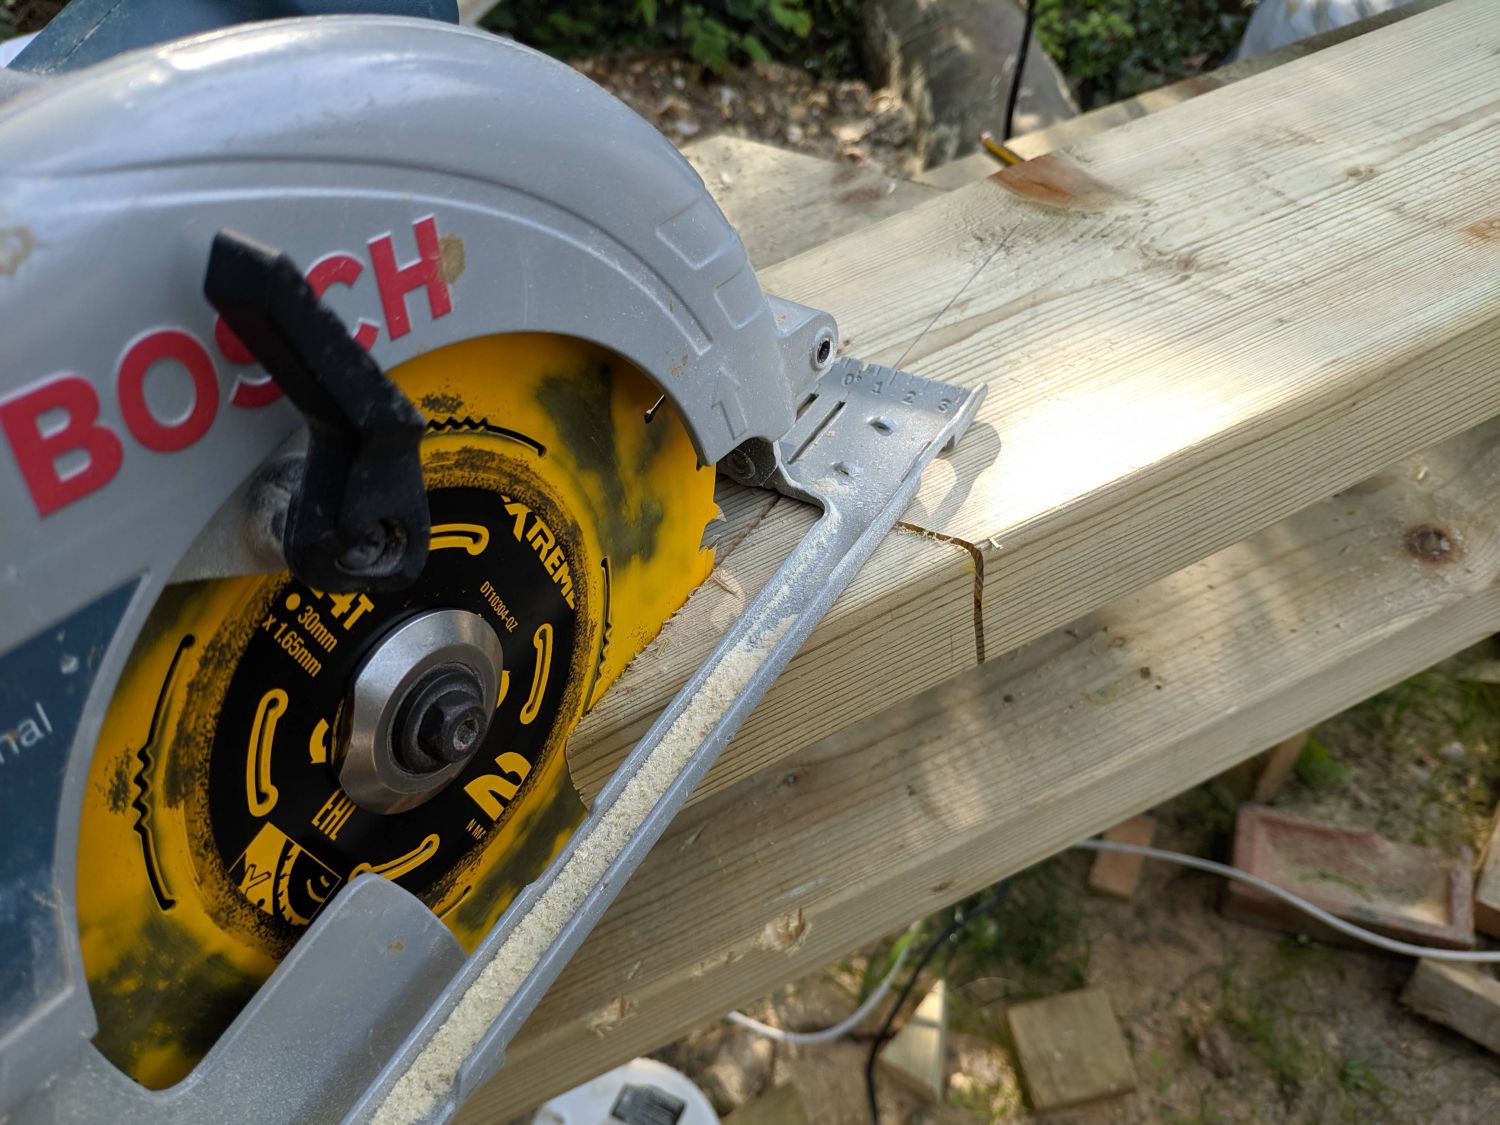

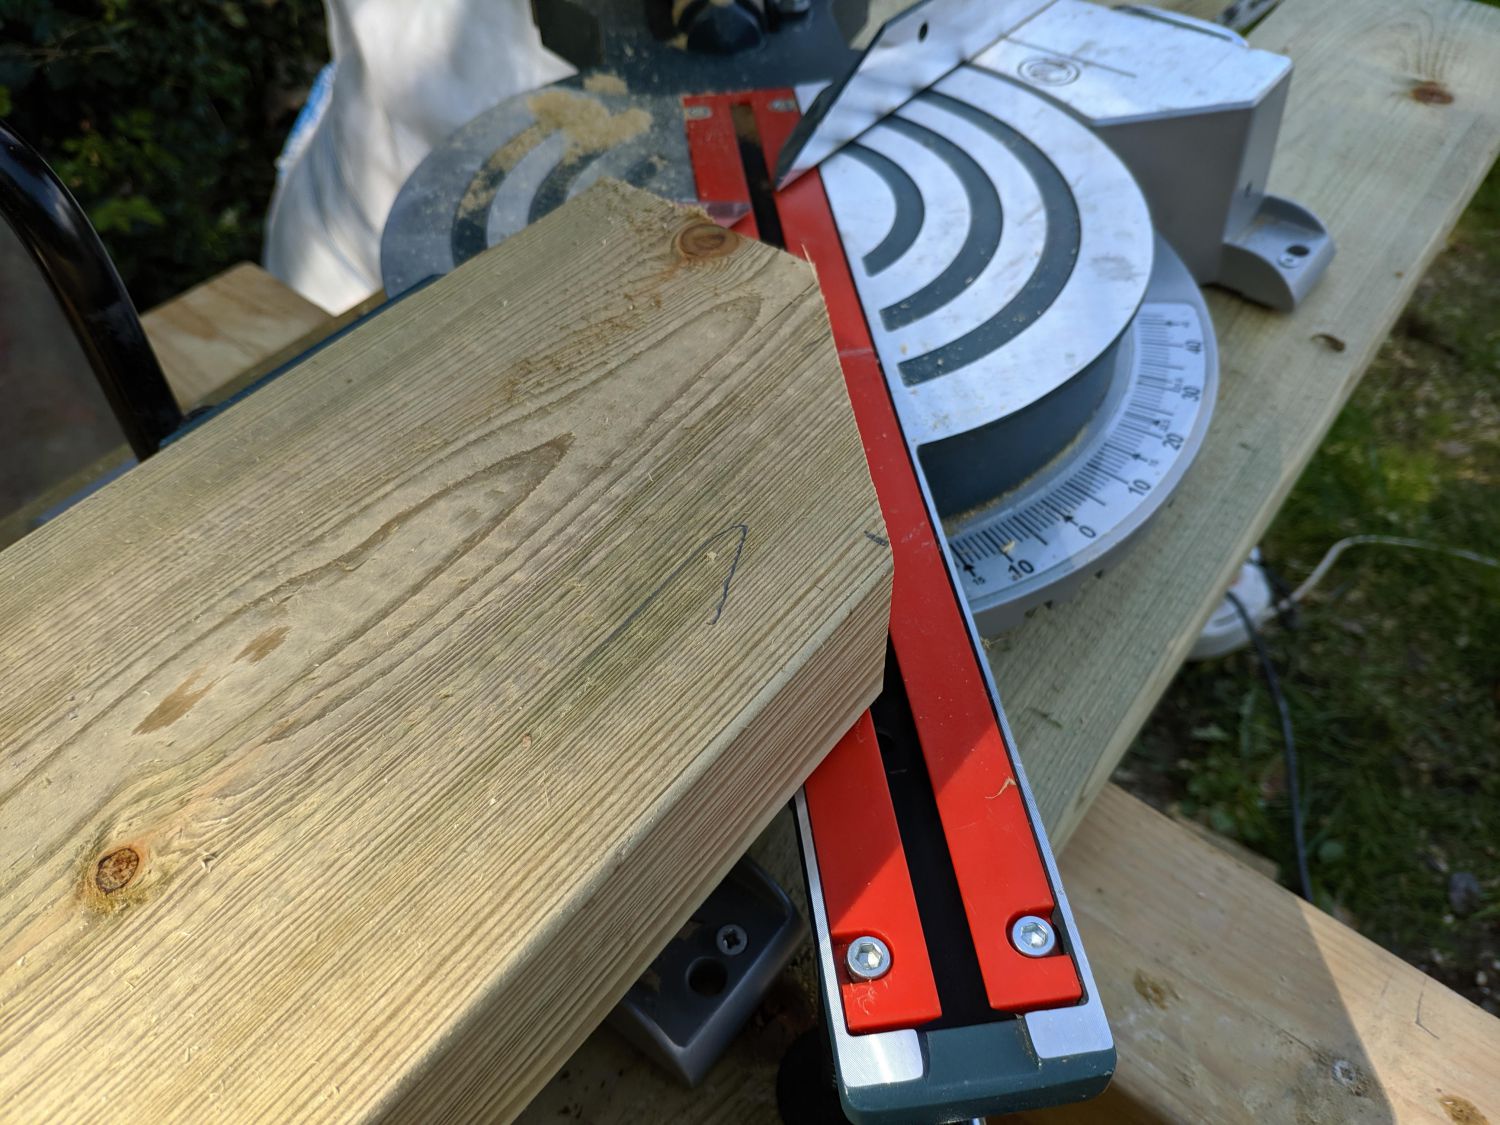
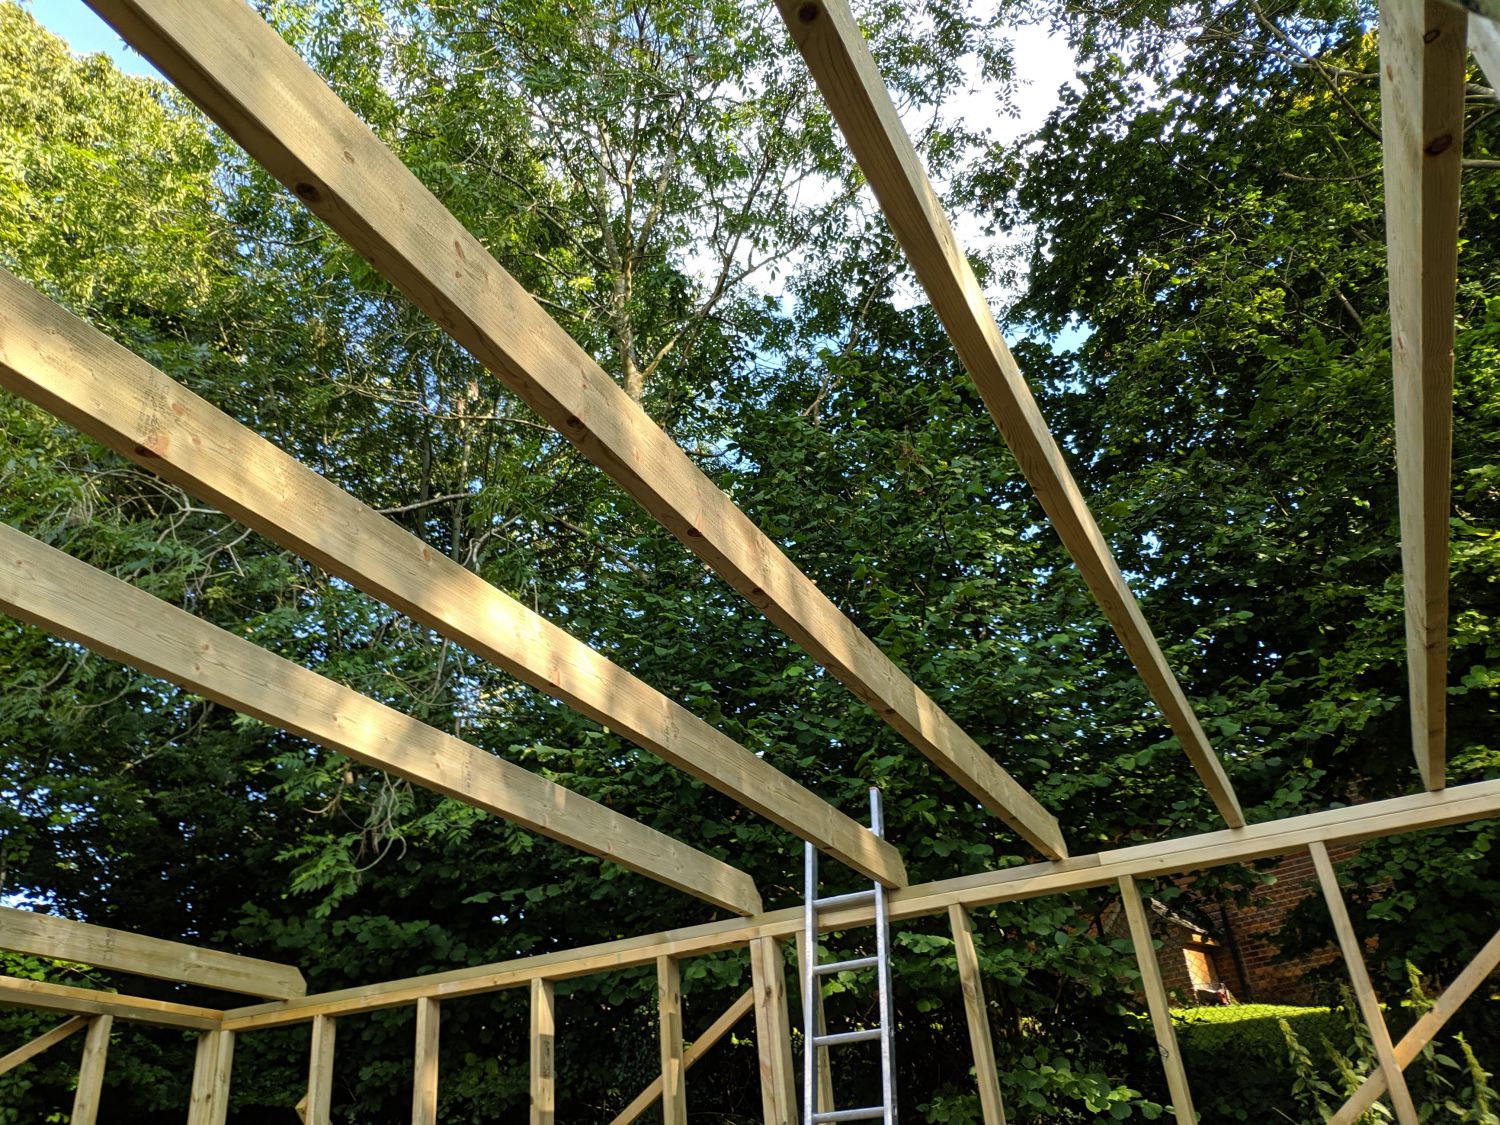
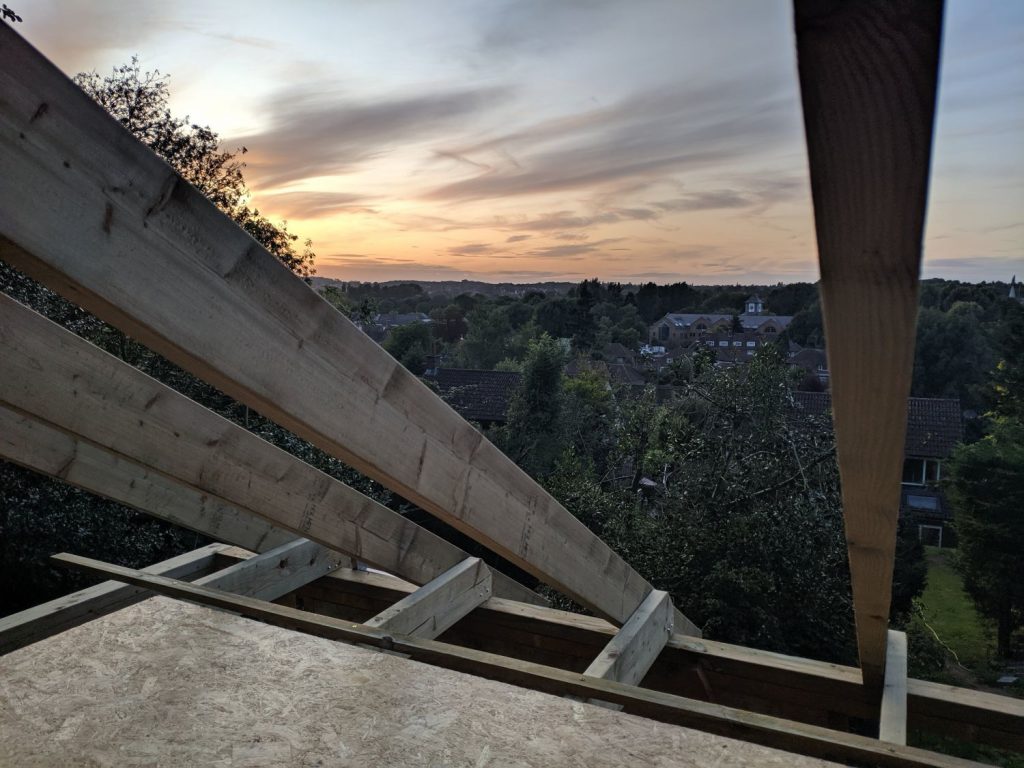
Once the ridge was in place I started to cut and nail in the rafters. I used this blocklayer calculator to calculate all of the cuts I needed to make; these joists are 24″ OC spaced and at a 30° pitch. I made one of the end cuts with the mitre saw then did the other in the same position with my circular saw. For the birdsmouth seat and heel cuts I used the circular saw and finished the cut with a hand saw.
After I had marked the ridge beam, I began to add rafters at each end of the building, leaving the notched rafters (to hold lookouts) for later. I nailed the rafters into the top plate and joists (where present) and at the top, end nailed them through the ridge board.
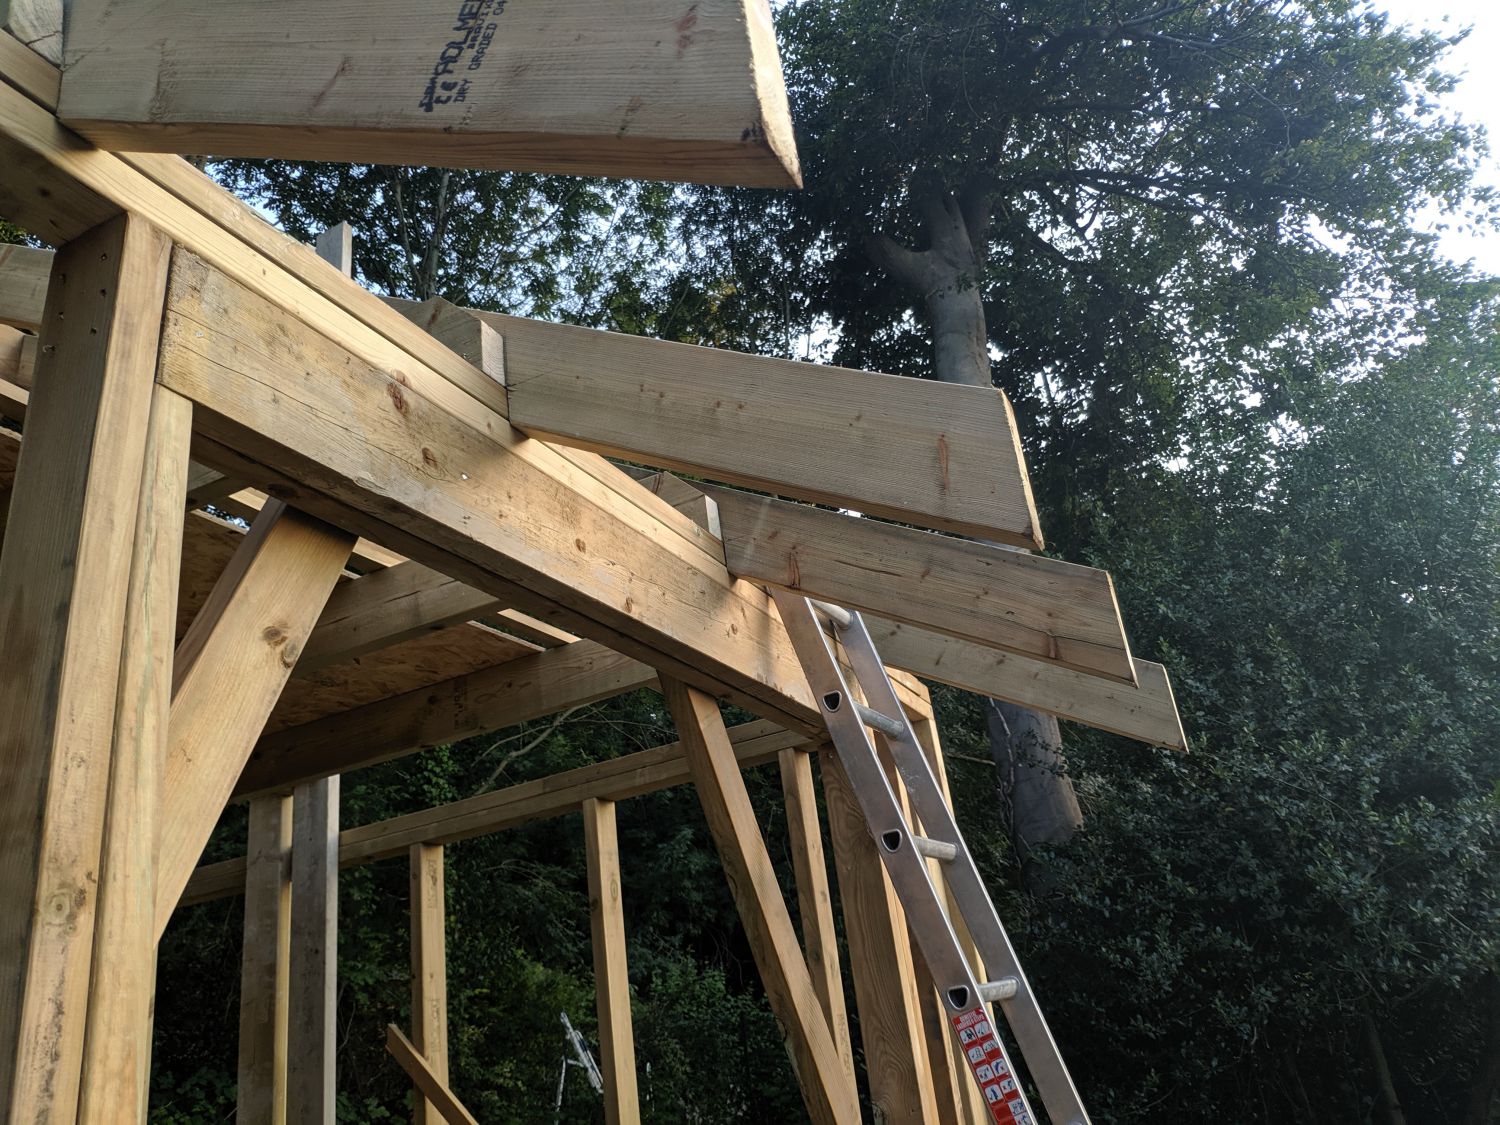
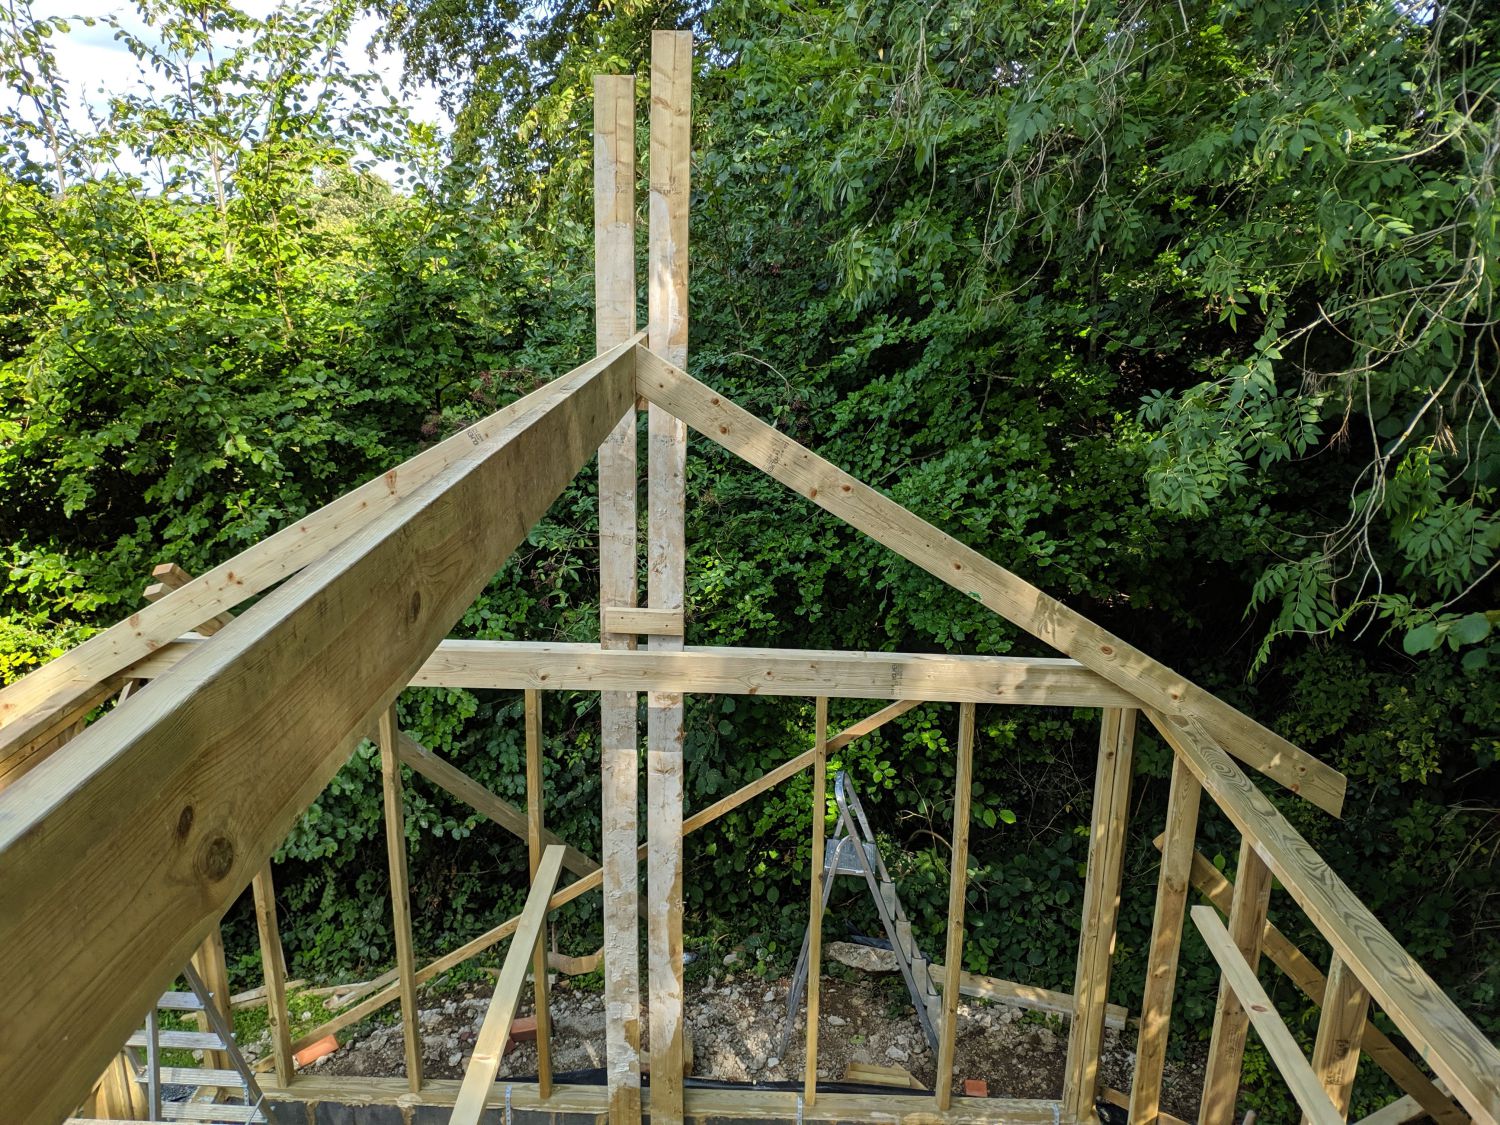
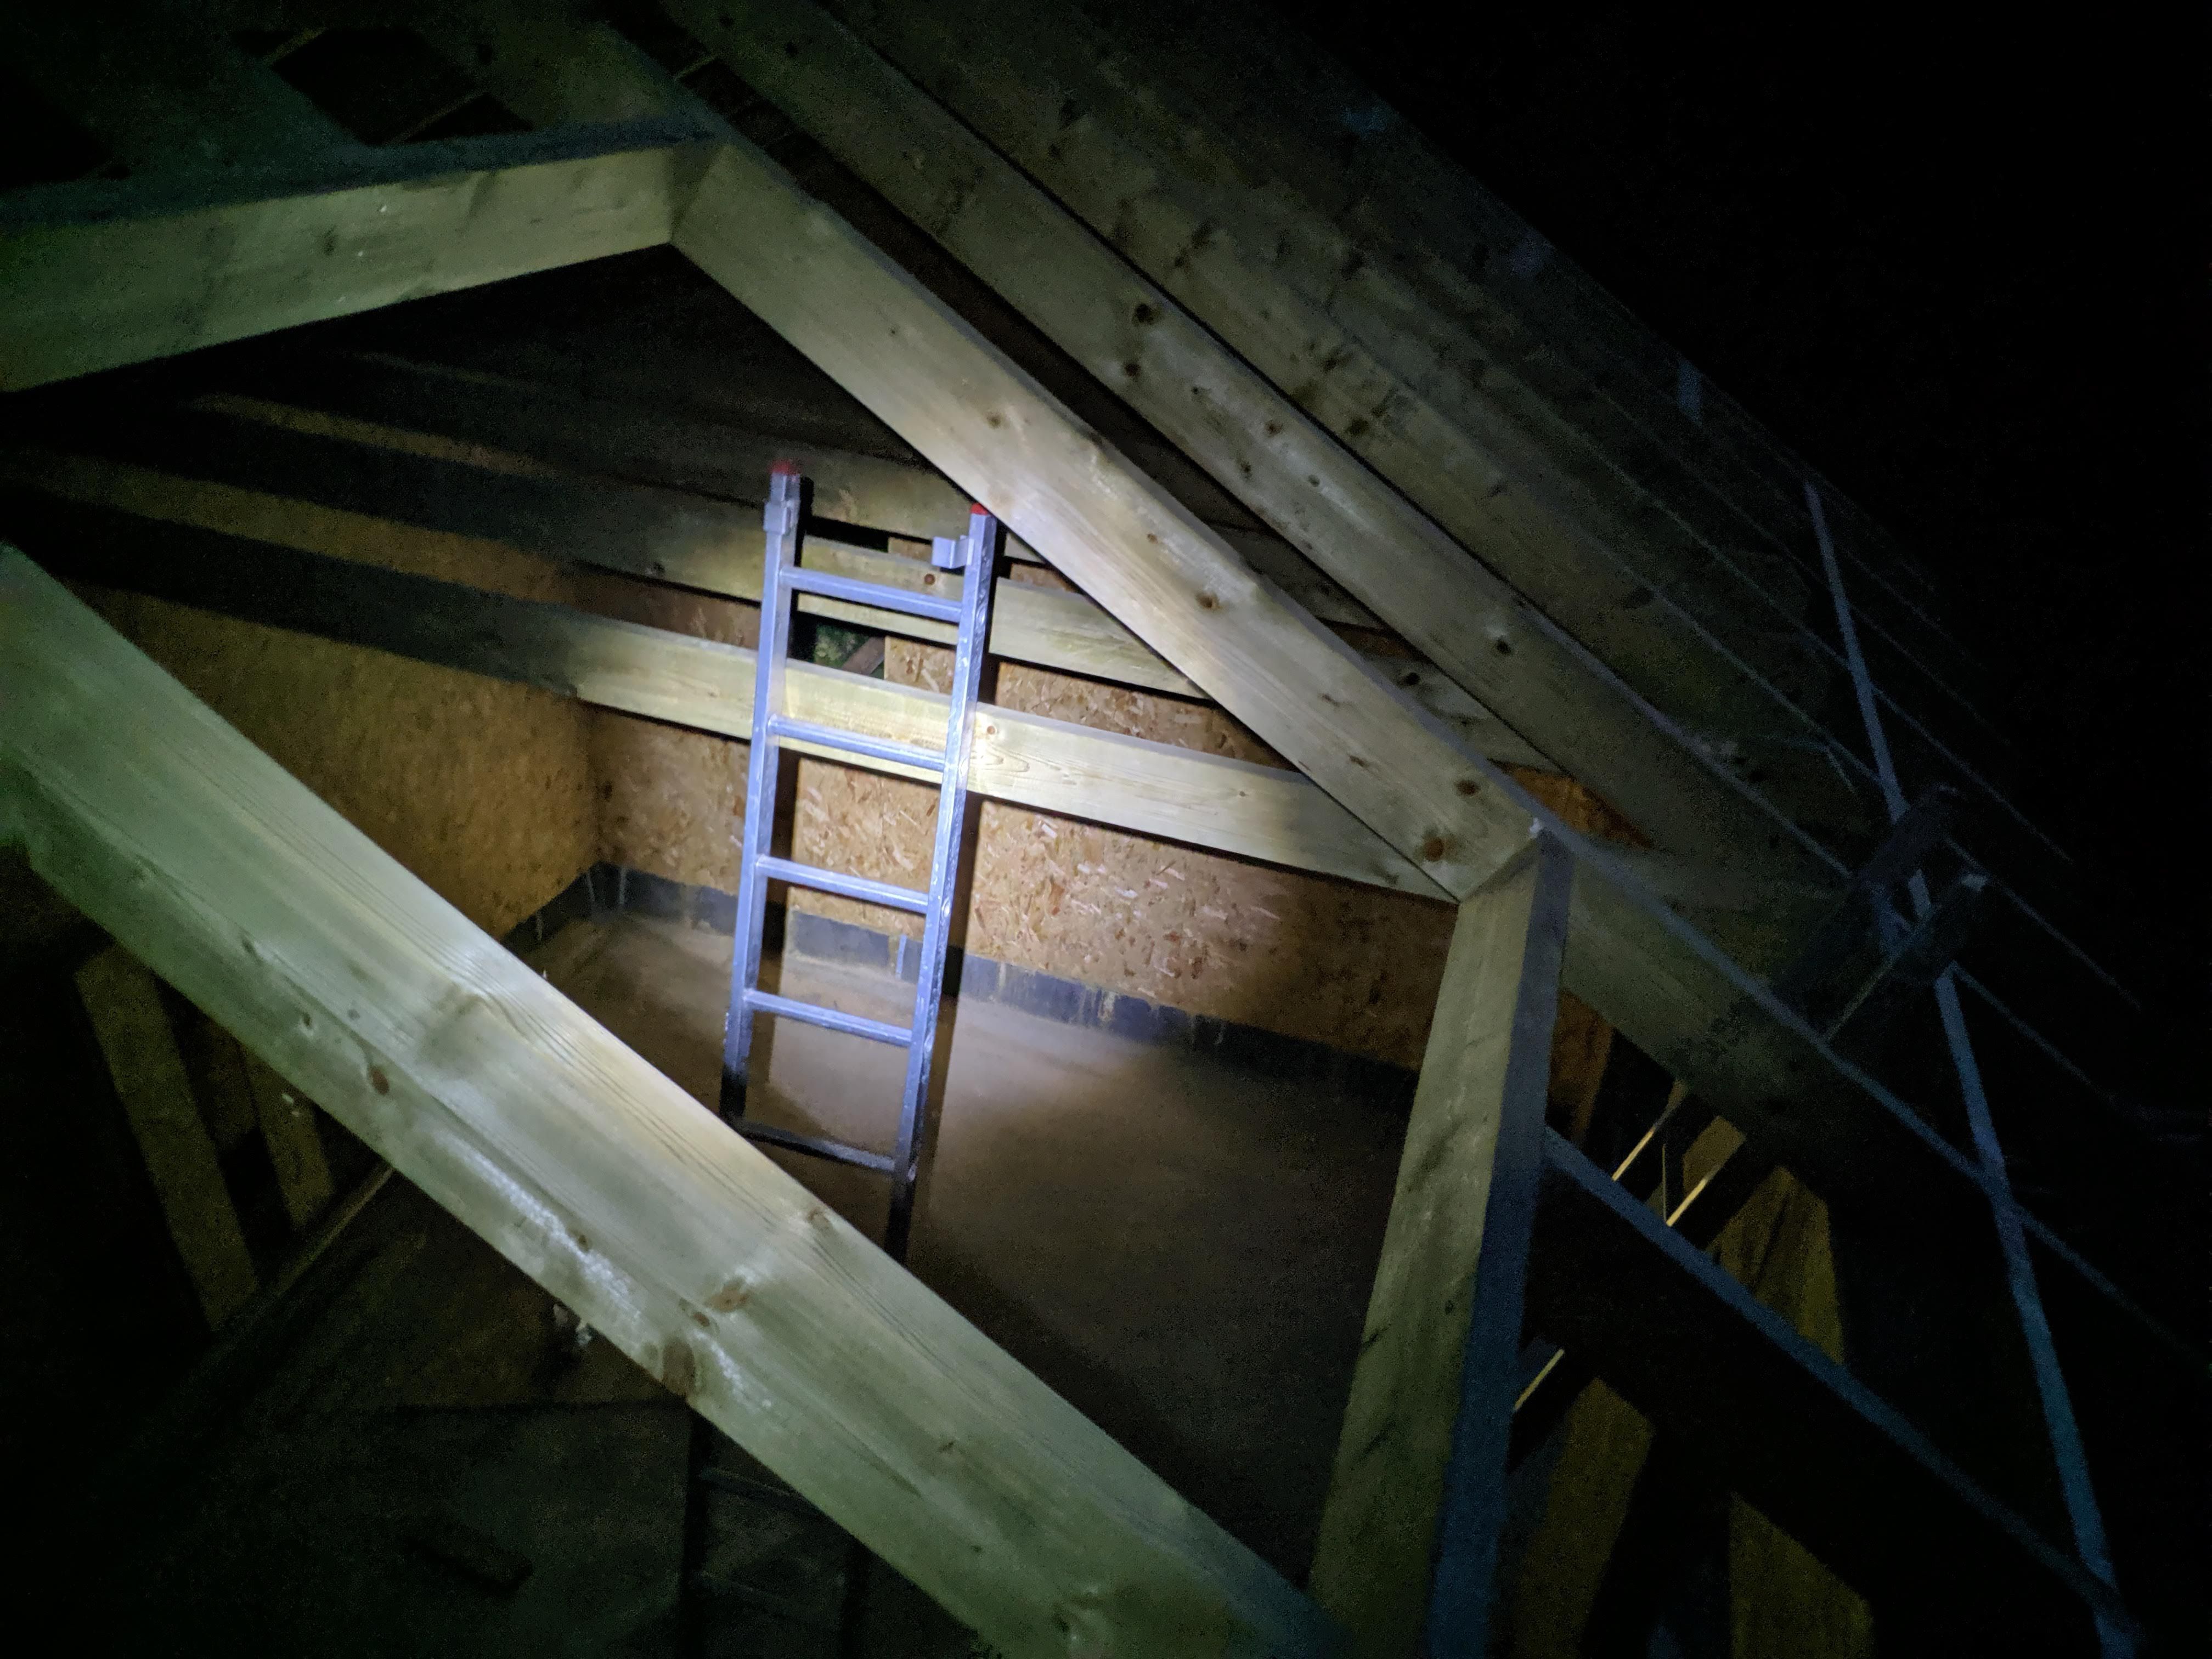
I put all of the rafters over the scaffold in, then continued to add the rafters inbetween; at this point the ridge was secure enough to lean an extended ladder on it.
Gable overhangs
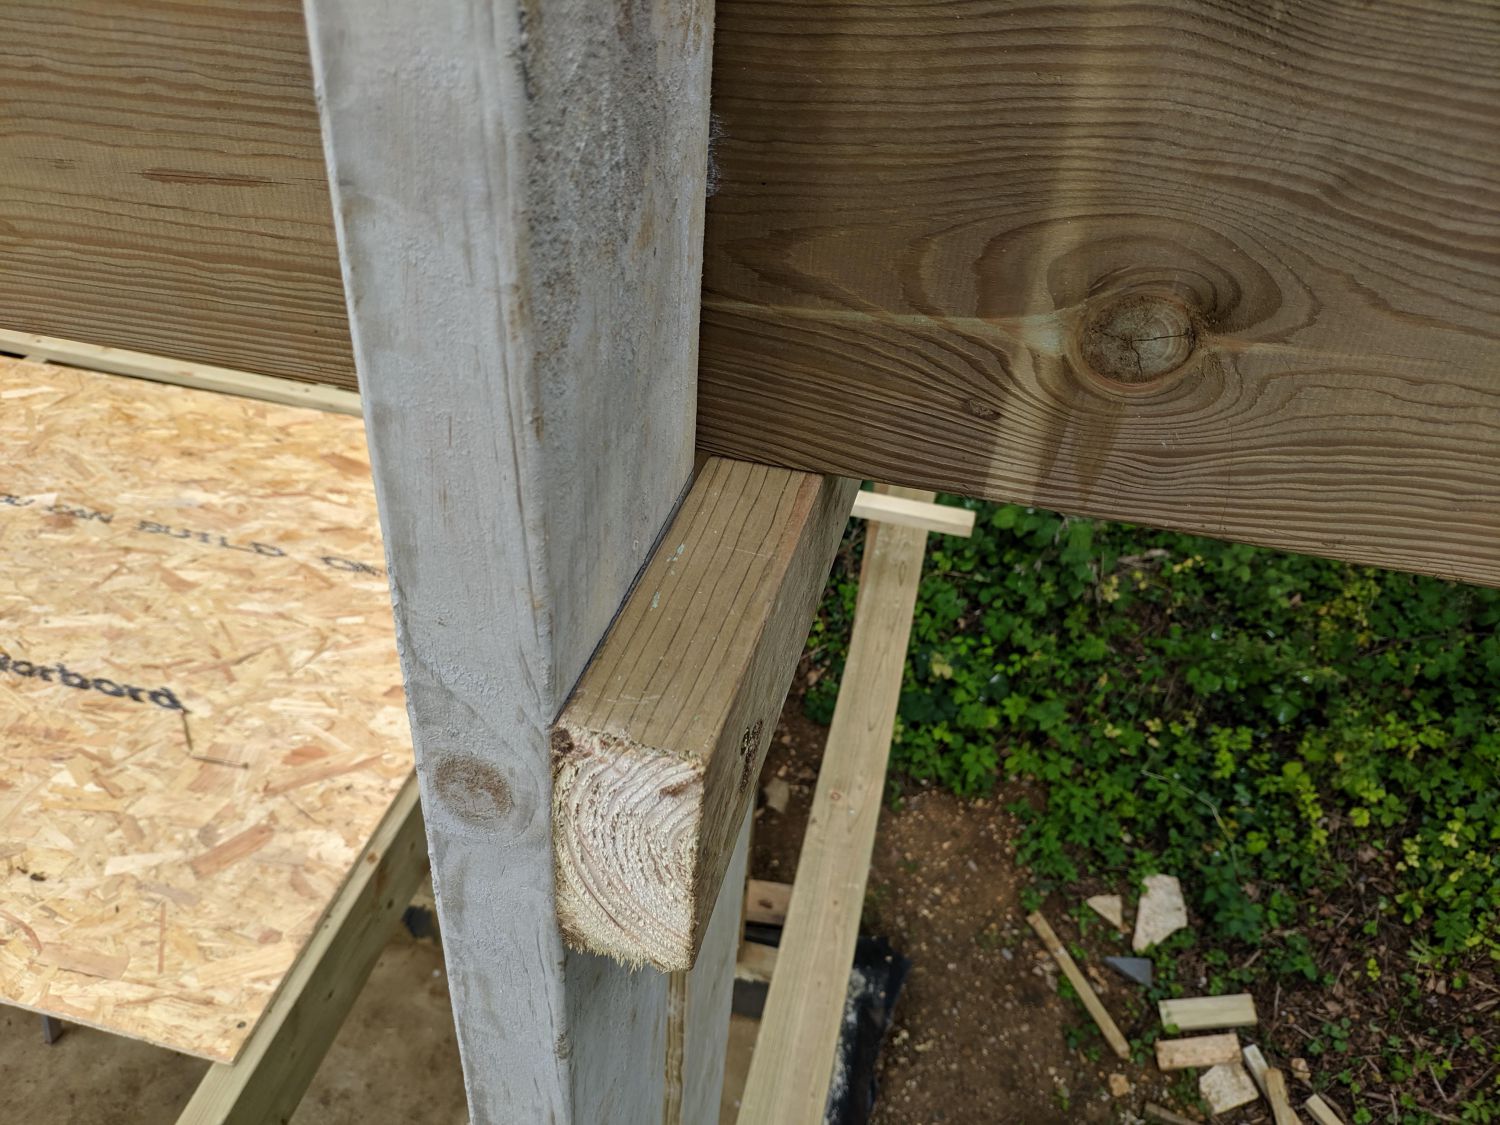
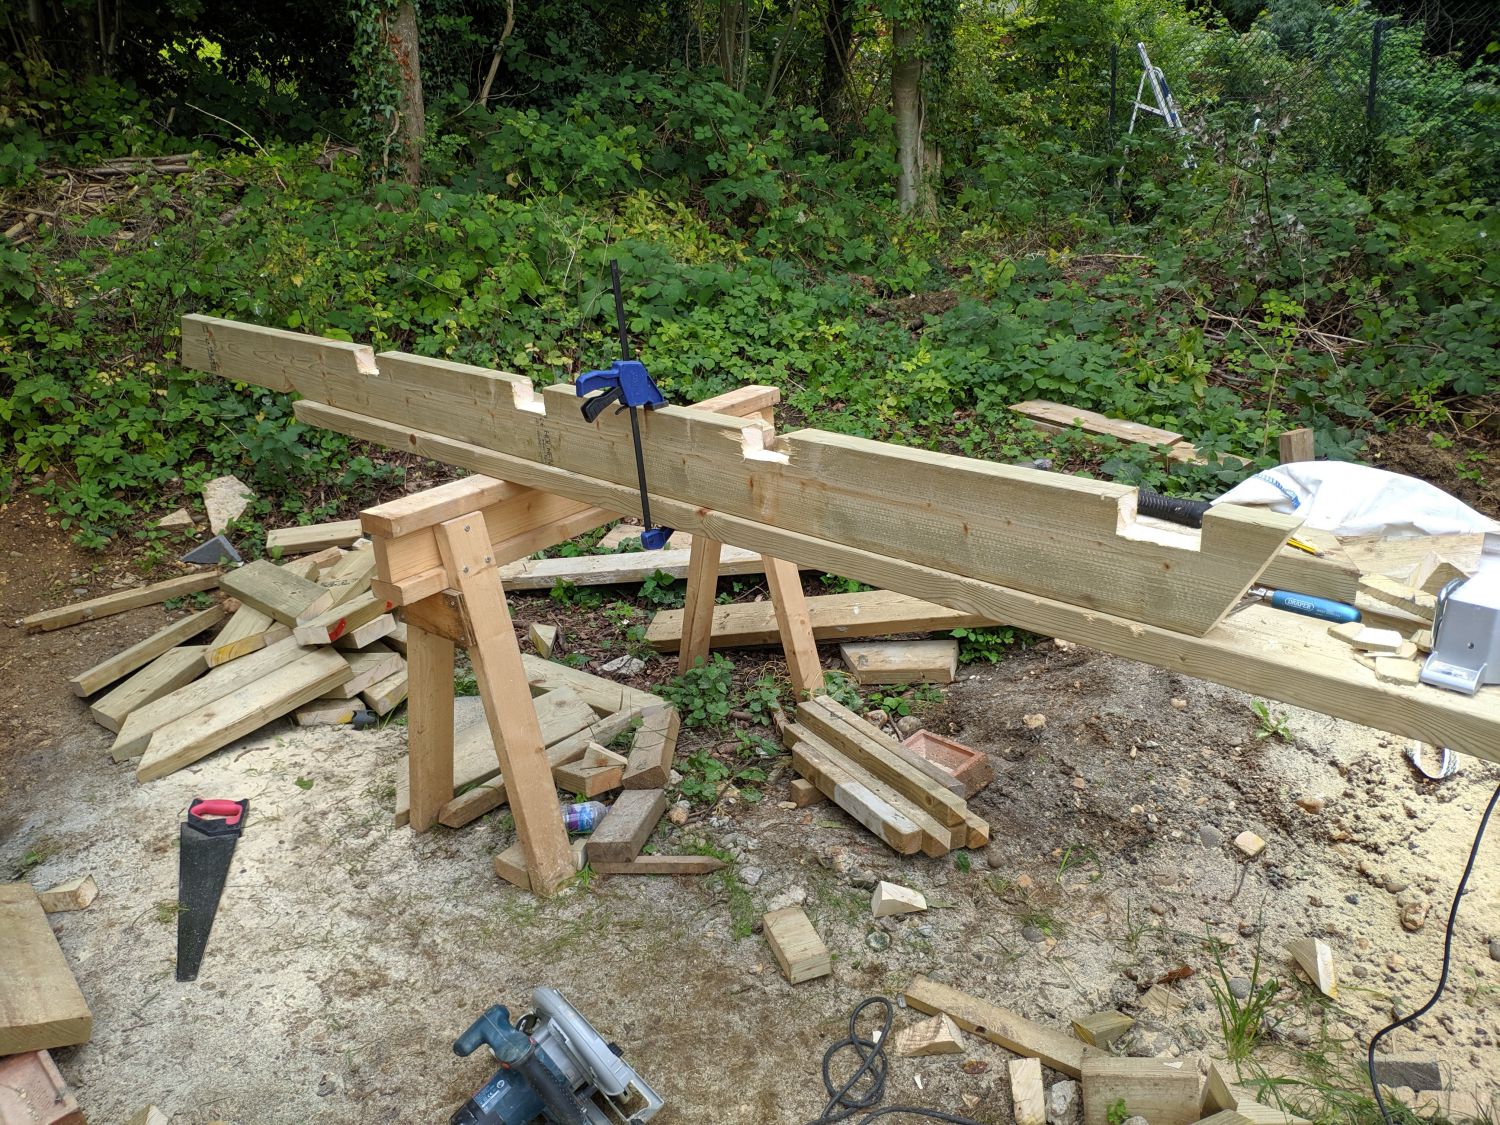
I was initially unsure about adding overhangs at the gable as it’s not a very ‘local’ style but I decided it would add to the cabin look. To add overhangs for such a lightweight roofing material (Onduline) I could probably have got away with just nailing a 4×2 ‘ladder’ into the final rafter but as I still was considering tile, I used a more ‘proper’ method. Lookouts, end nailed through the penultimate rafter from the edge sit in notches on the end rafter and hold the fly rafter (overhanging) in place.
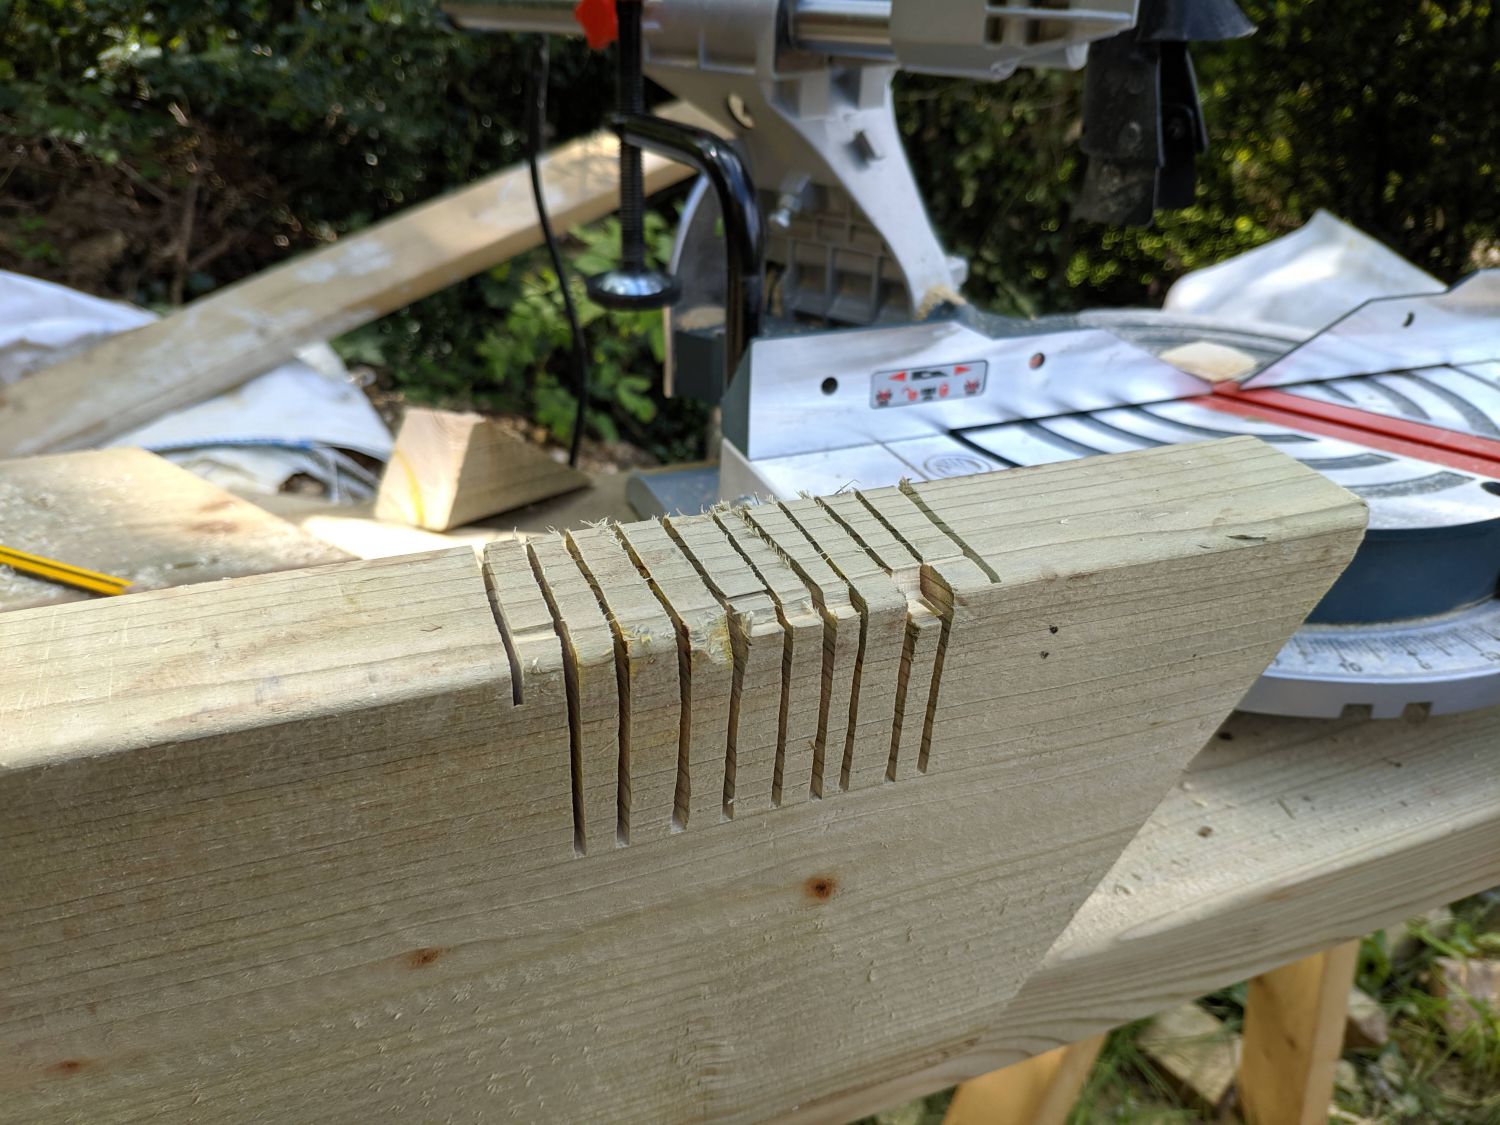
To make the notched rafters I started with a common rafter and marked out spaces for the 4×2 lookouts every 2ft. I then used a circular saw to remove as much material as possible before chiseling out the notch. I also experimented with using a jigsaw which worked well too.
I then nailed the notched rafters in as usual and after cutting down the lookouts nailed them in. To add the fly rafter I cut some temporary supports and screwed them into the notched rafter so the rafter could sit while being nailed in.
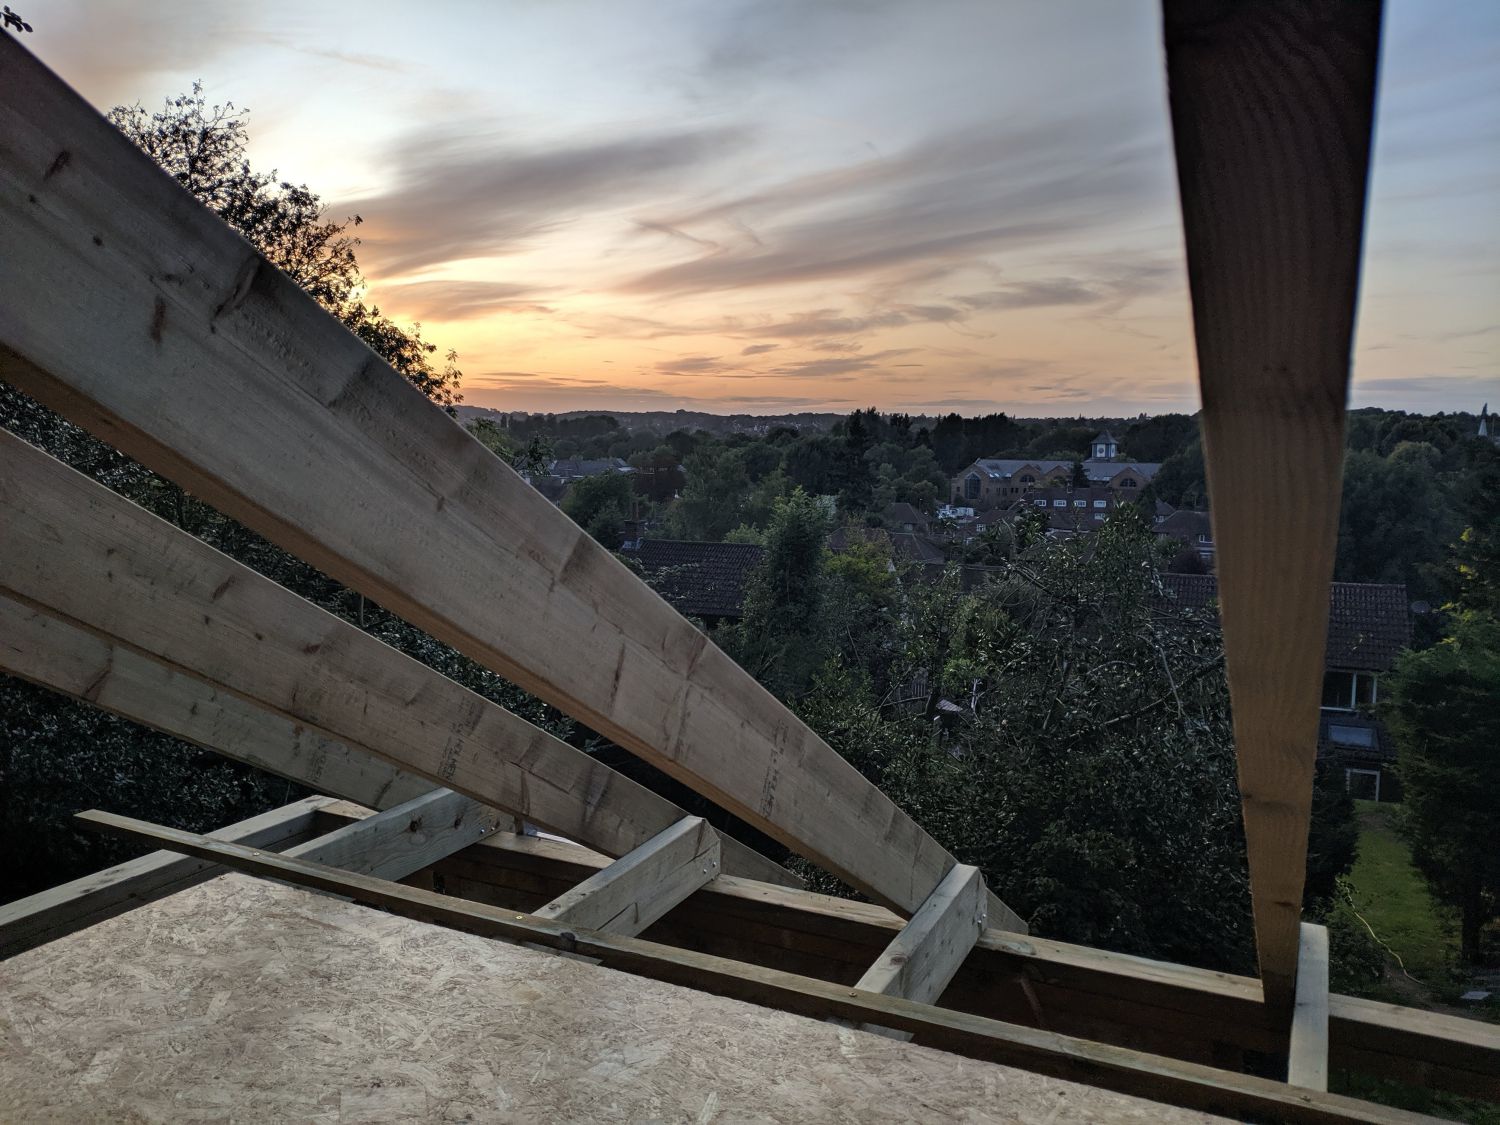
Blocking
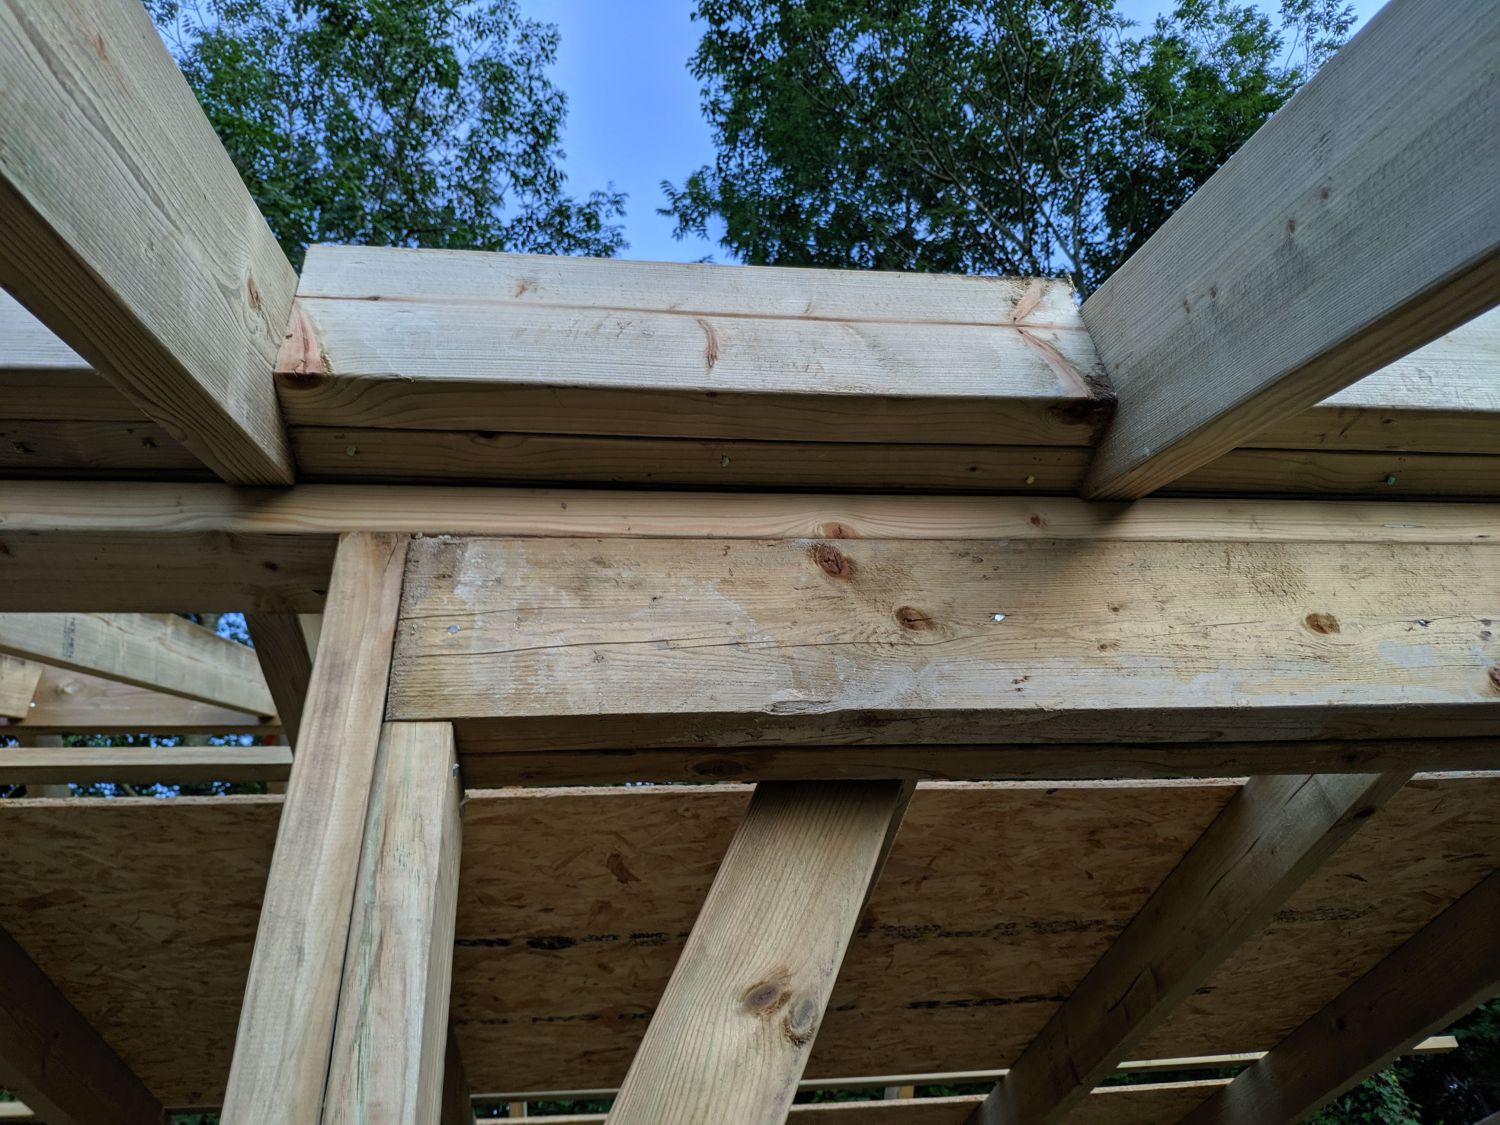
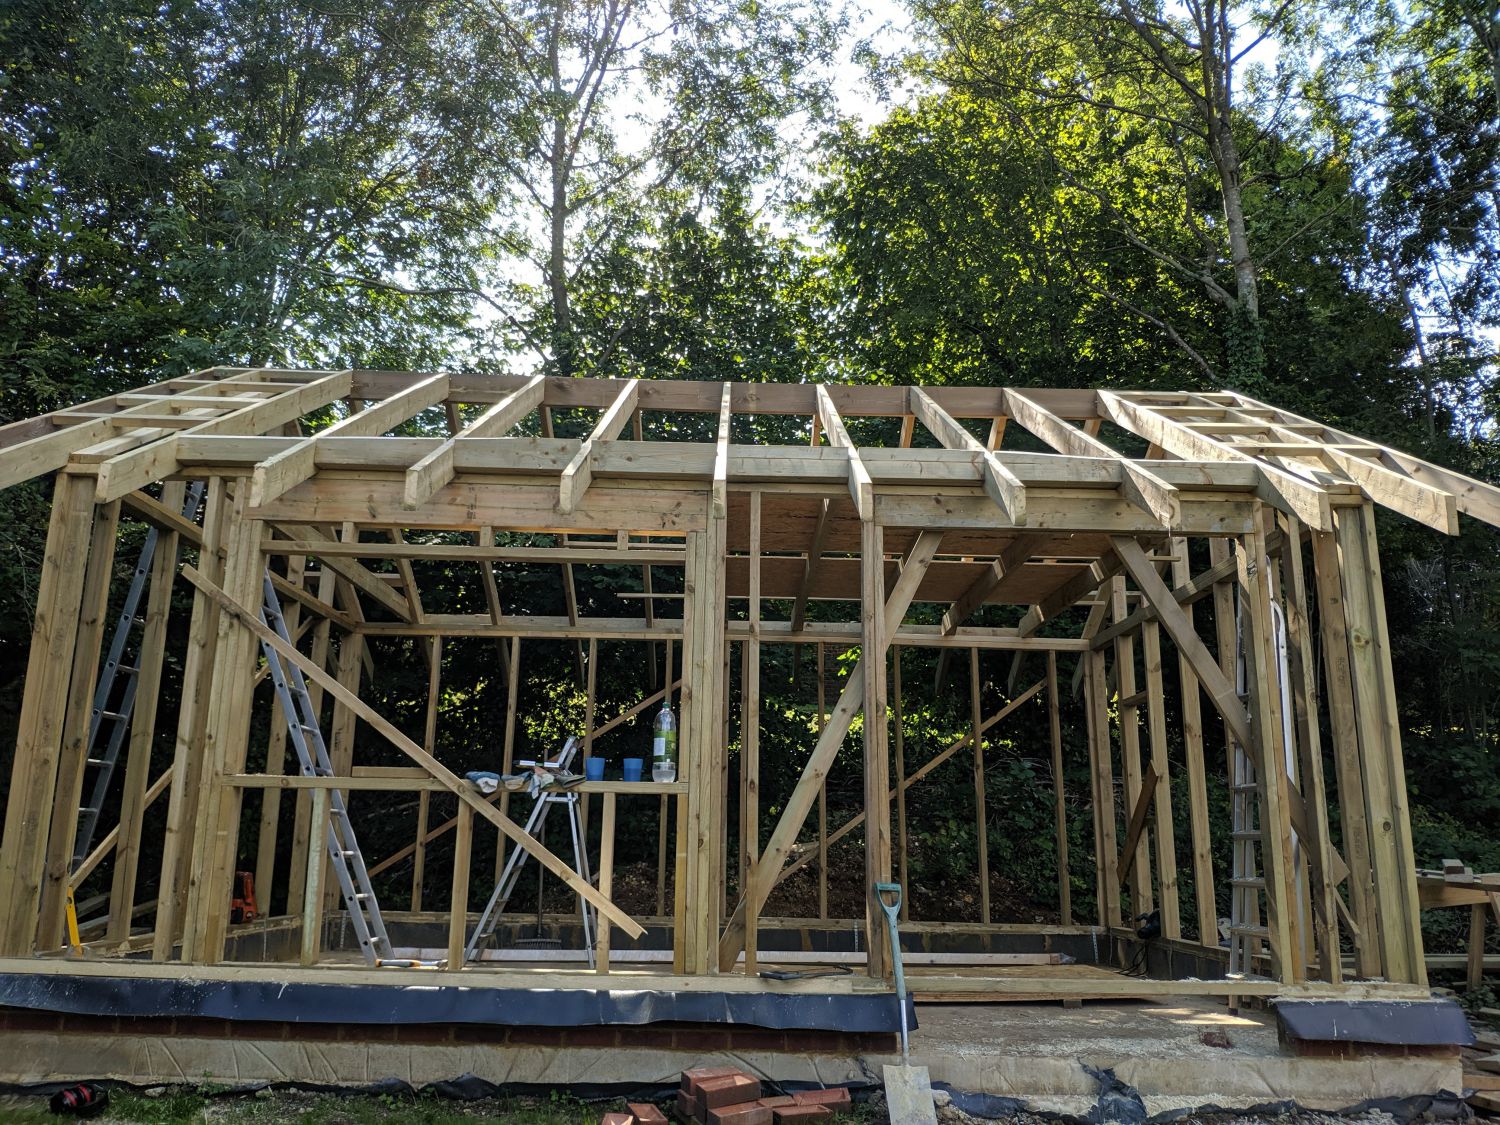
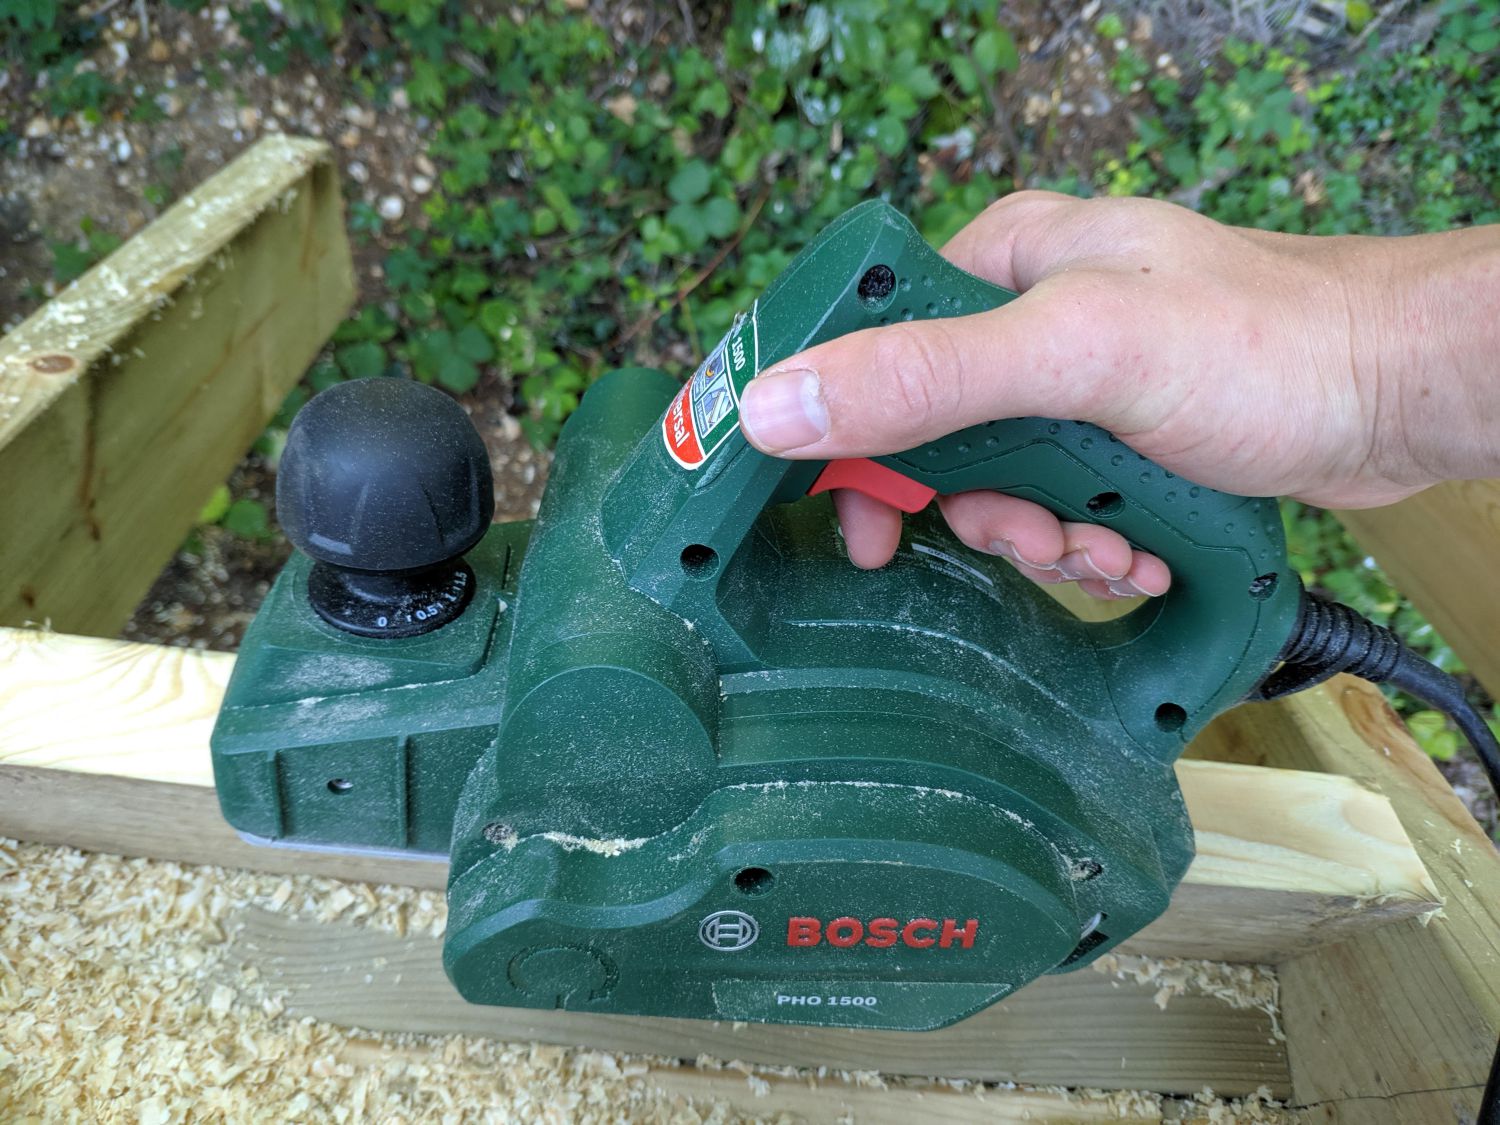
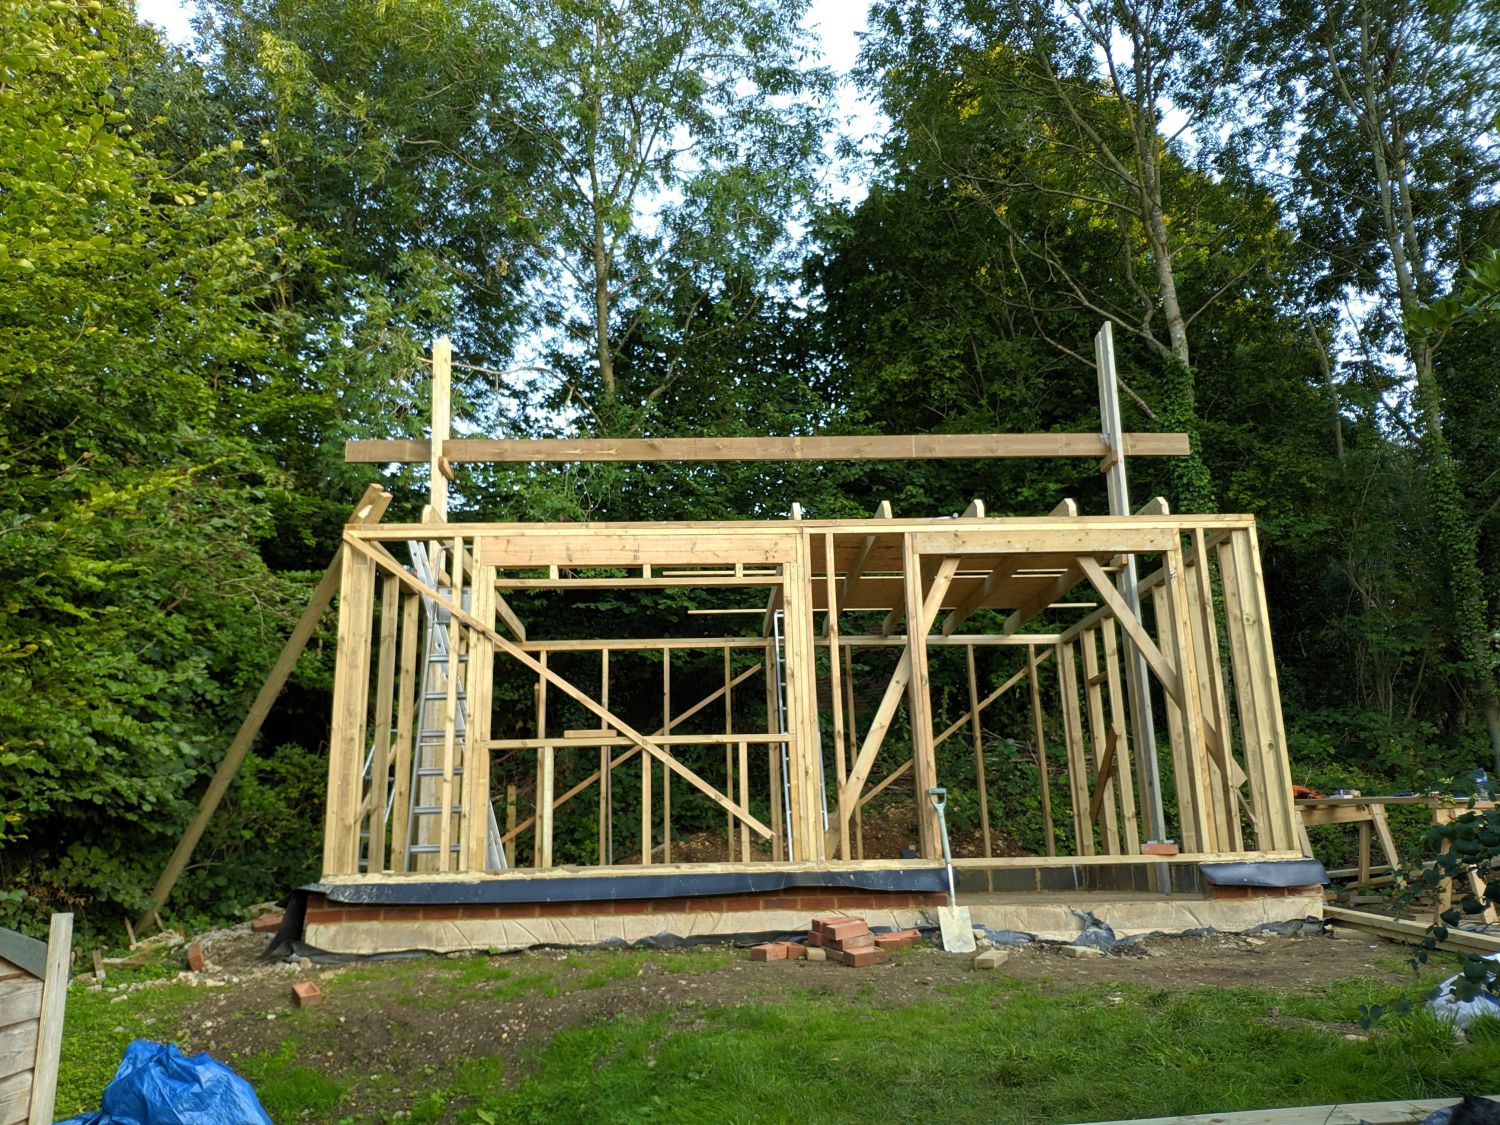
Blocking needs to be added to seal off the space in-between the rafters. I measured the gaps between each rafter to ensure a tight fit and made the blocking pieces to size. I used a 6×2 and a 2×2 nailed to it. I then nailed these pieces in before using a power plane to make the top of the blocking flush with the rafters; this is required as the roof membrane lies directly over the rafters.
Roof window framing
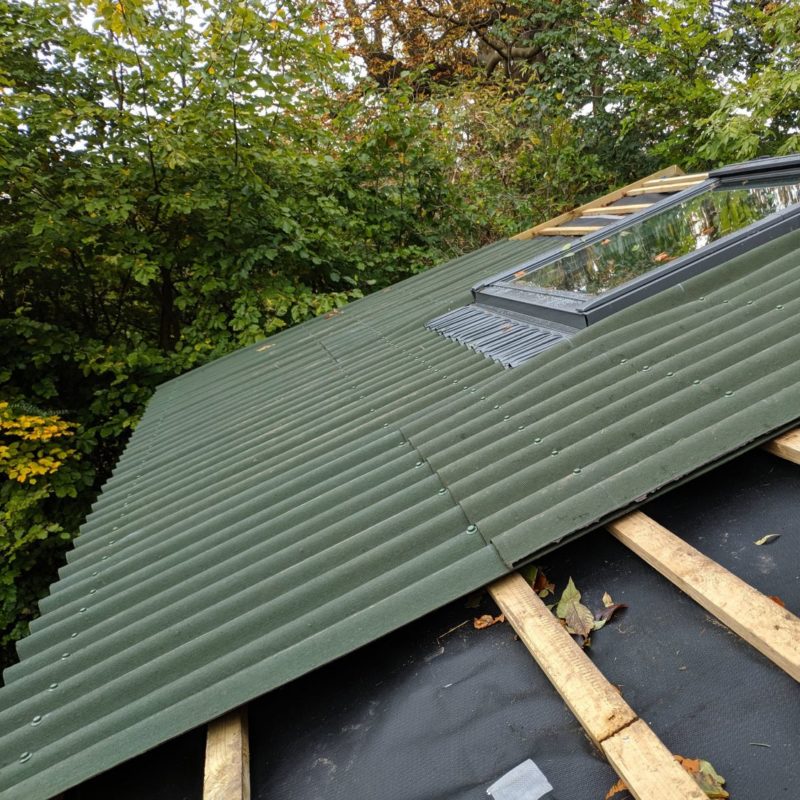
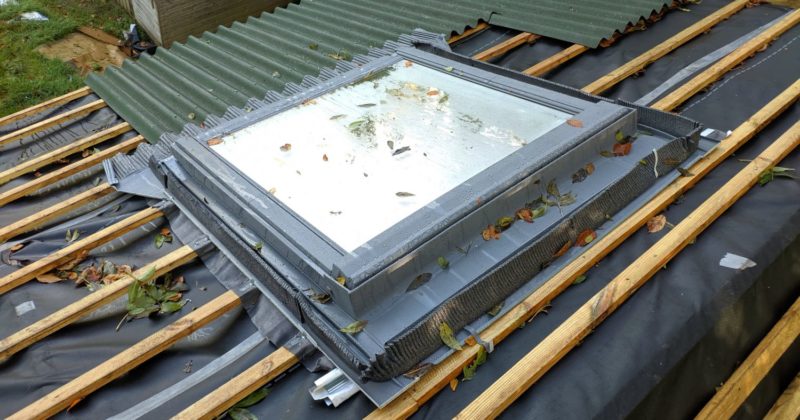
The final framing I needed to do was for a Velux roof window I decided to add halfway through roof construction. As I was using lightweight Onduline roofing sheets, doubling up rafters was not required. I simply cut one in half and added two horizontal timbers to distribute load on the upper and lower parts to neighbouring rafters.
Conclusion
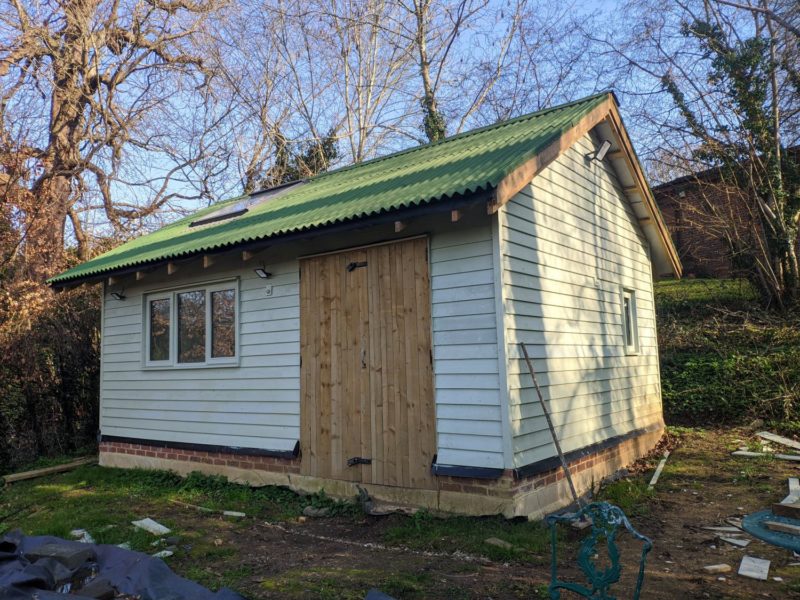
The framing was one of the fastest parts of this project and definitely the most fun! Initially I was planning to do a flat roof for simplicity, but I am glad I went for a (in my view) much better looking gable and in the end it came together quite easily.
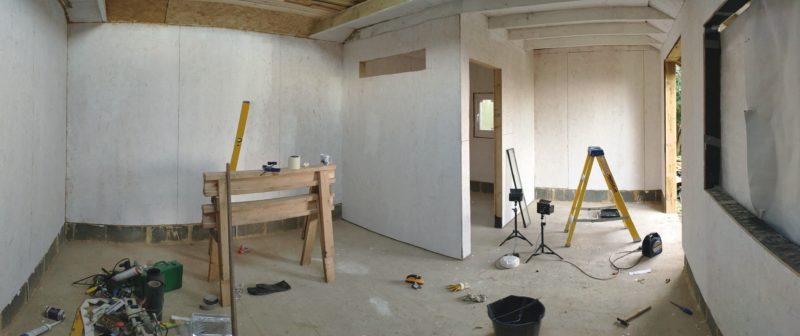
At this point the frame was still fairly ‘shaky’: this was fixed when the sheathing, which acts as bracing, is added.