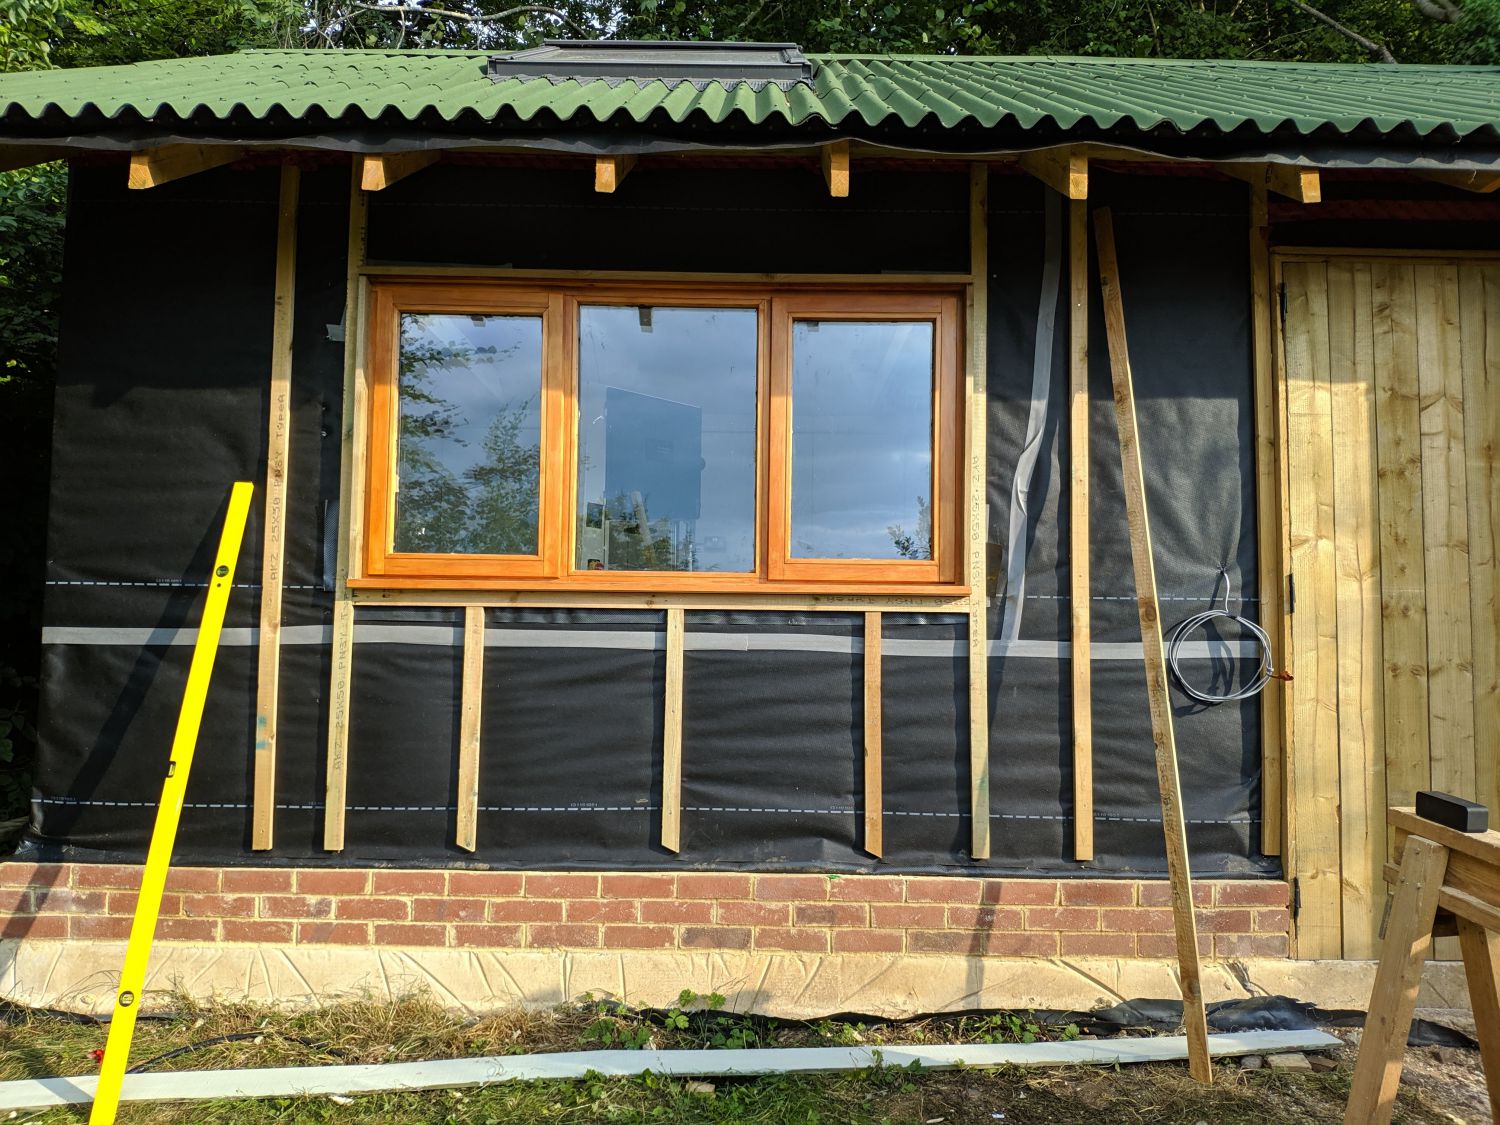
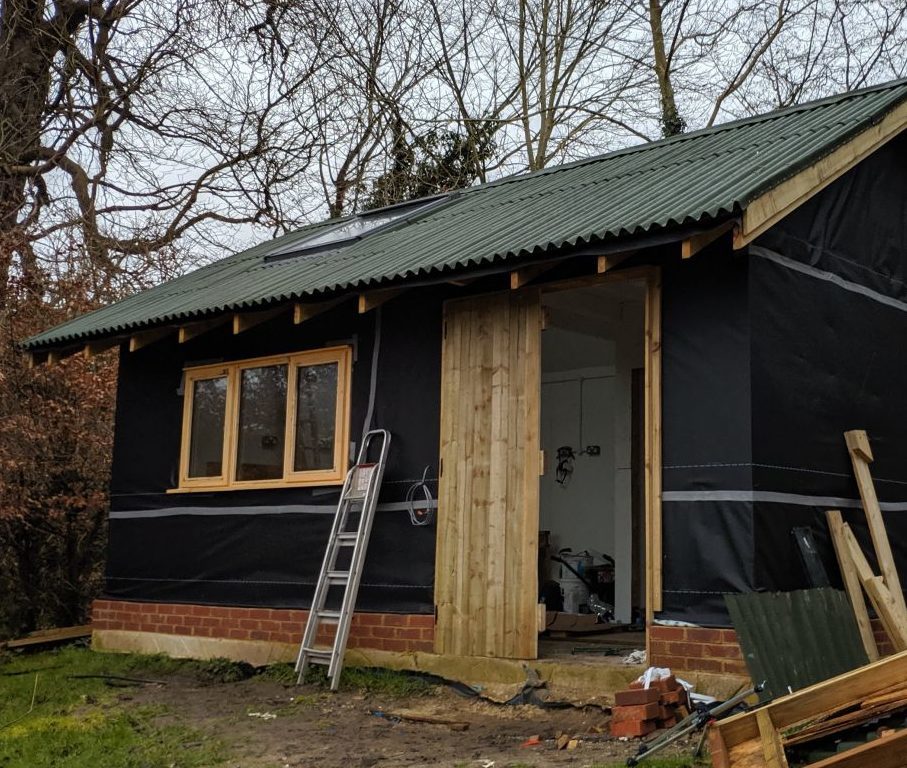
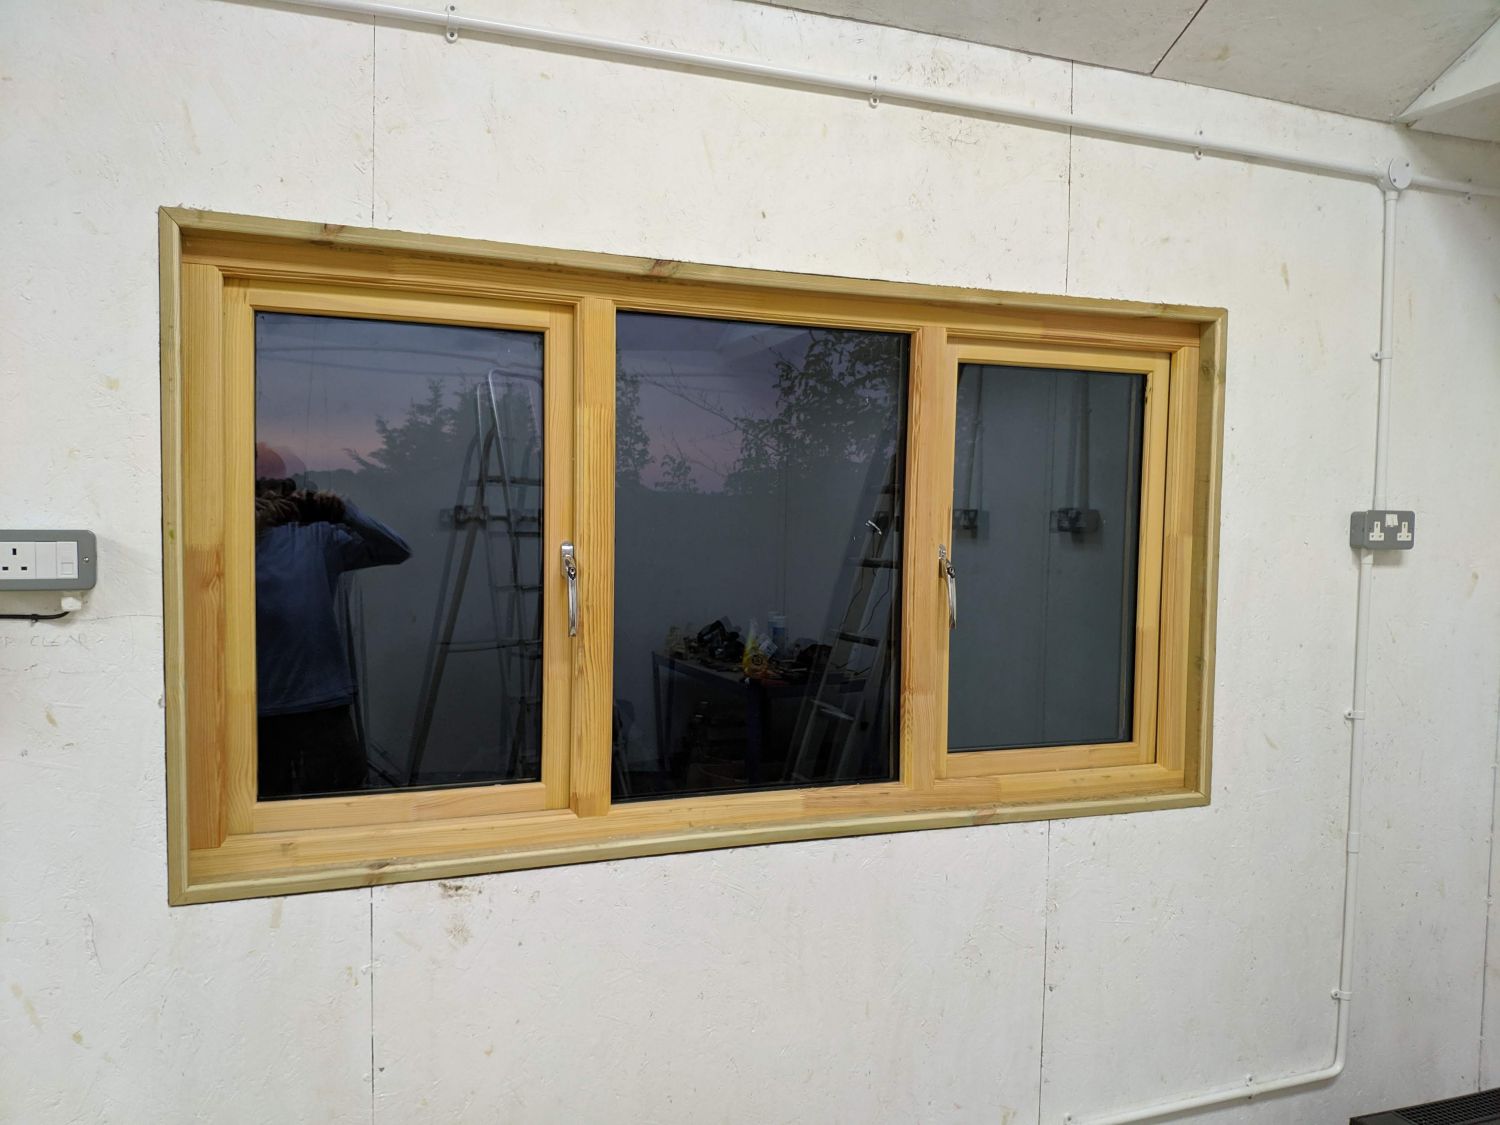
Initially I had planned to use second hand uPVC windows in the workshop, but during installation opted to switch to better looking timber windows. These came with hardware installed and finished with a brush on treatment.

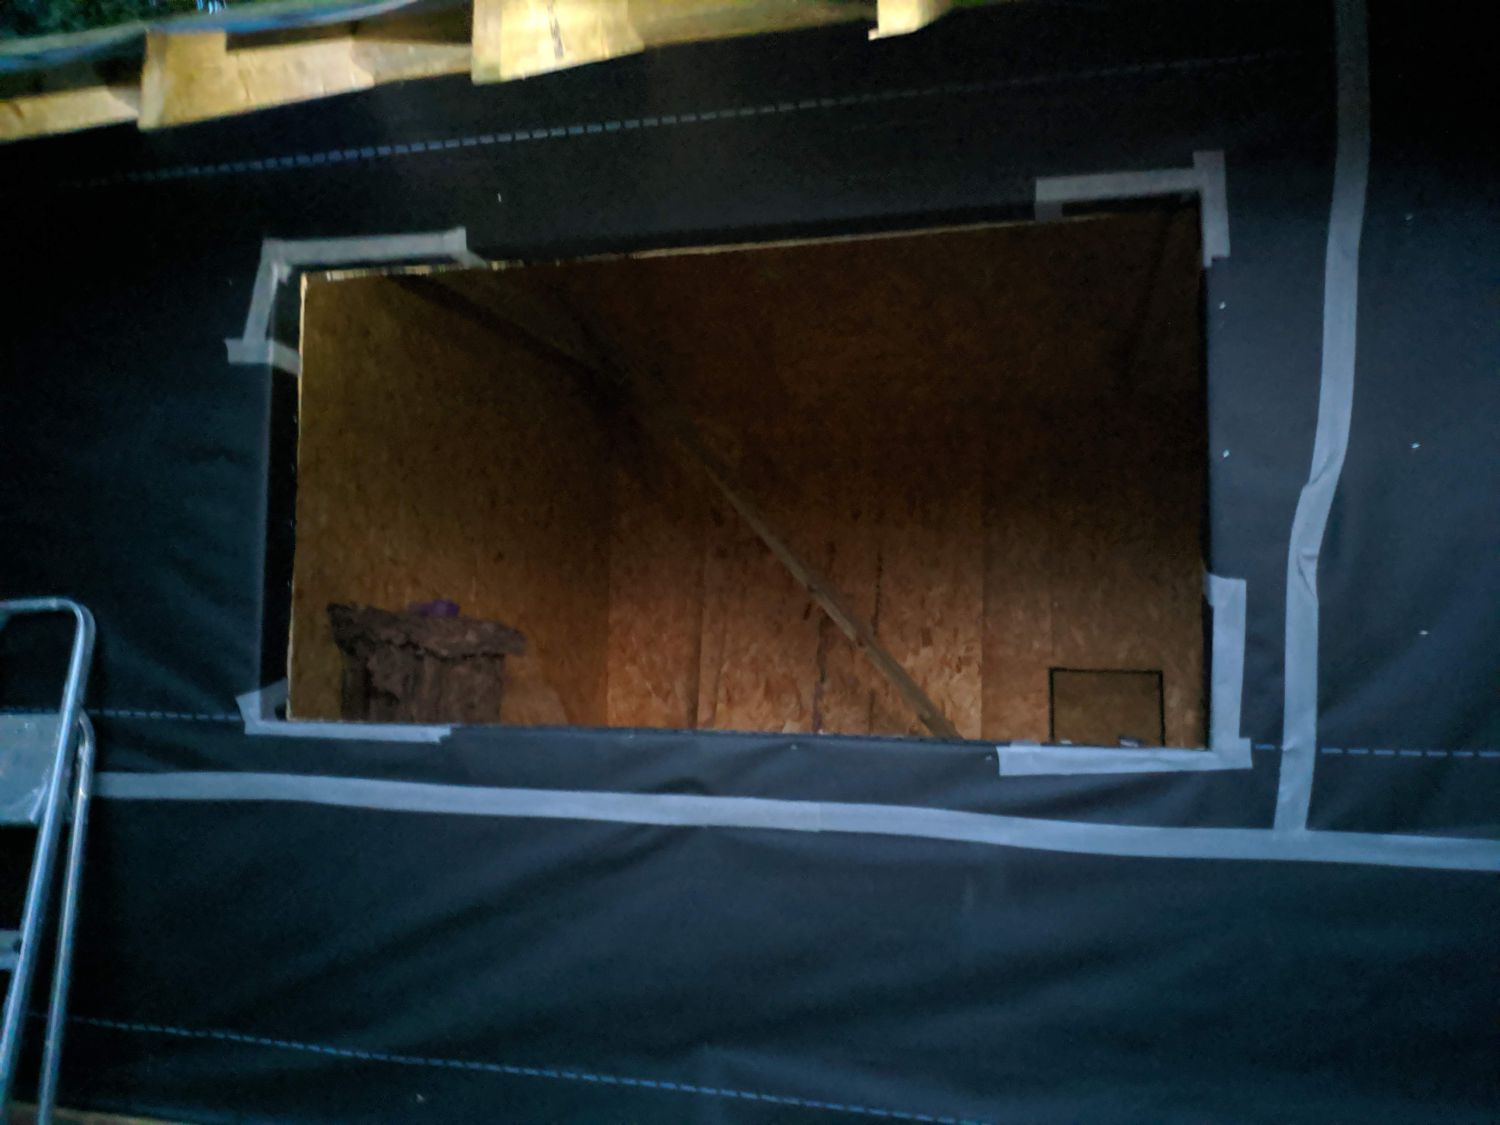
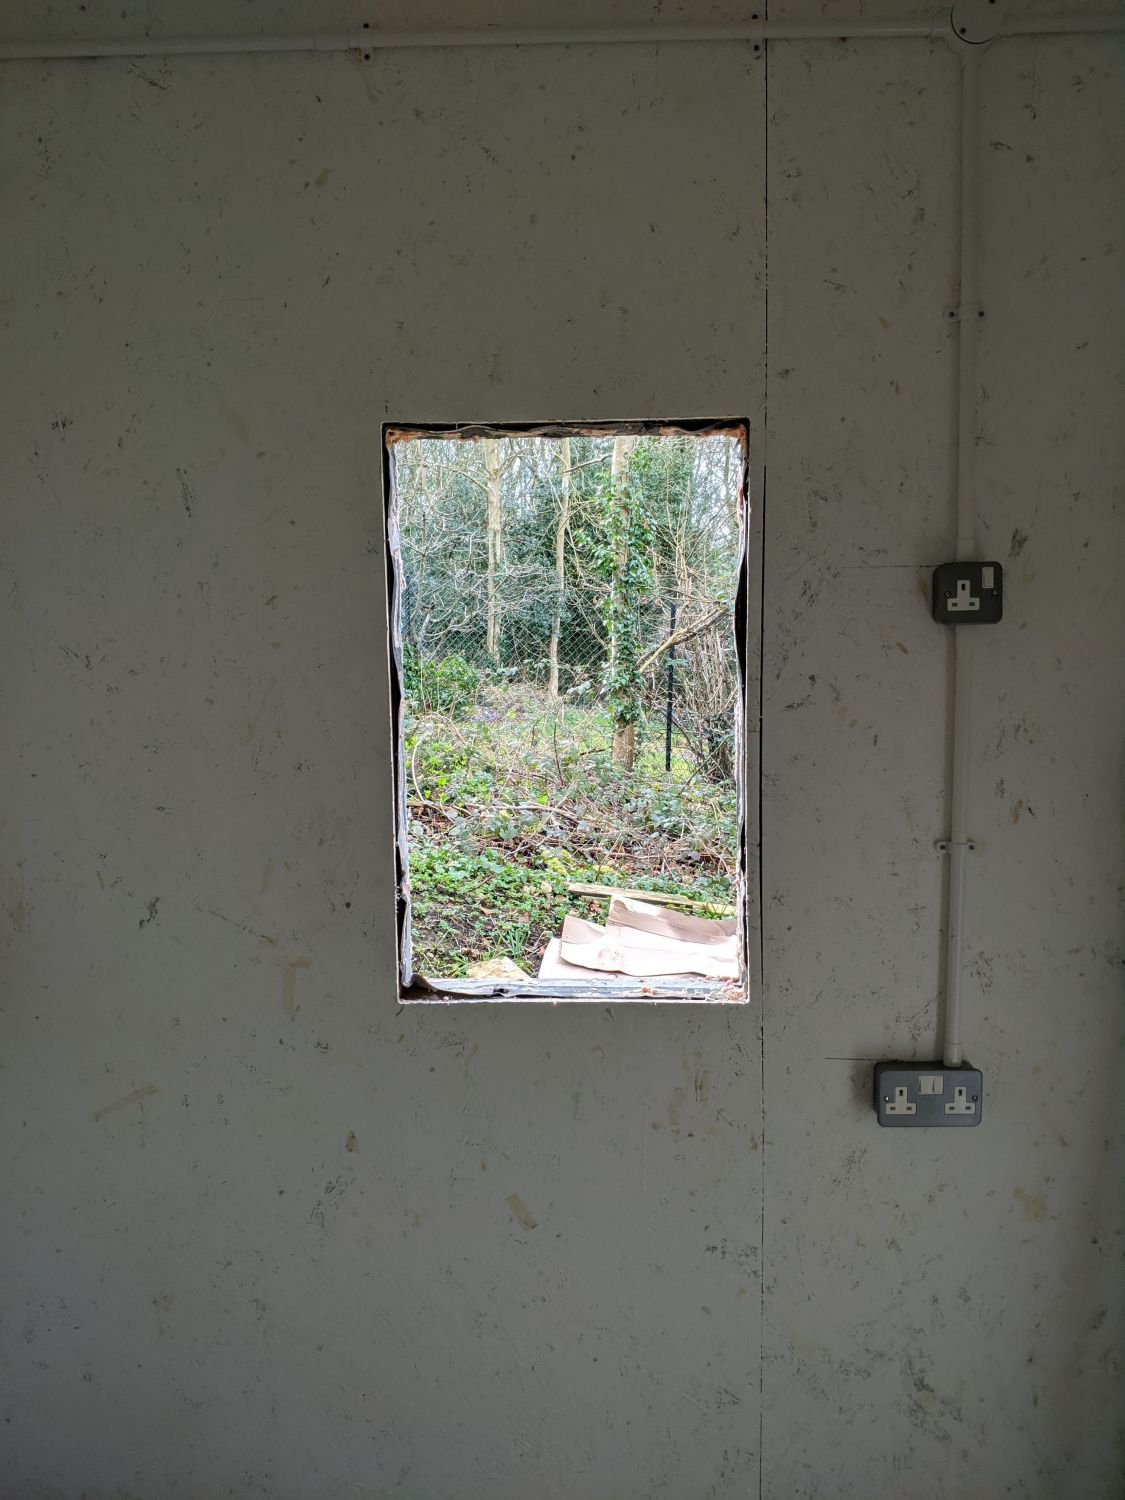
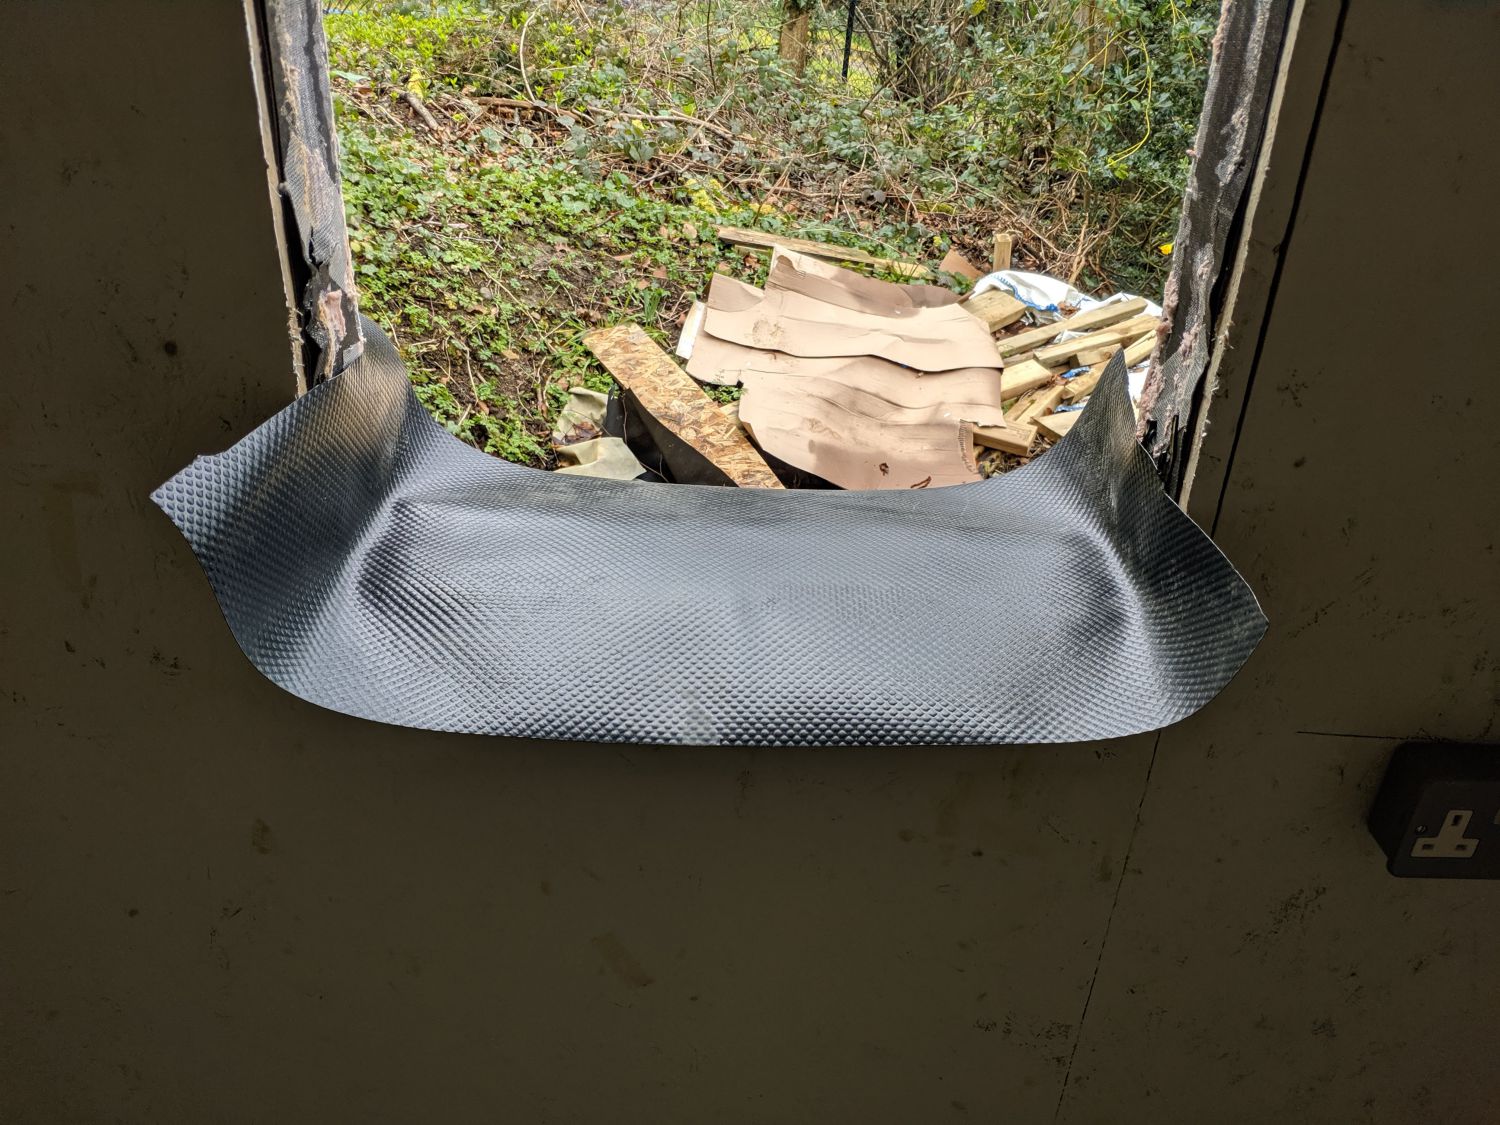
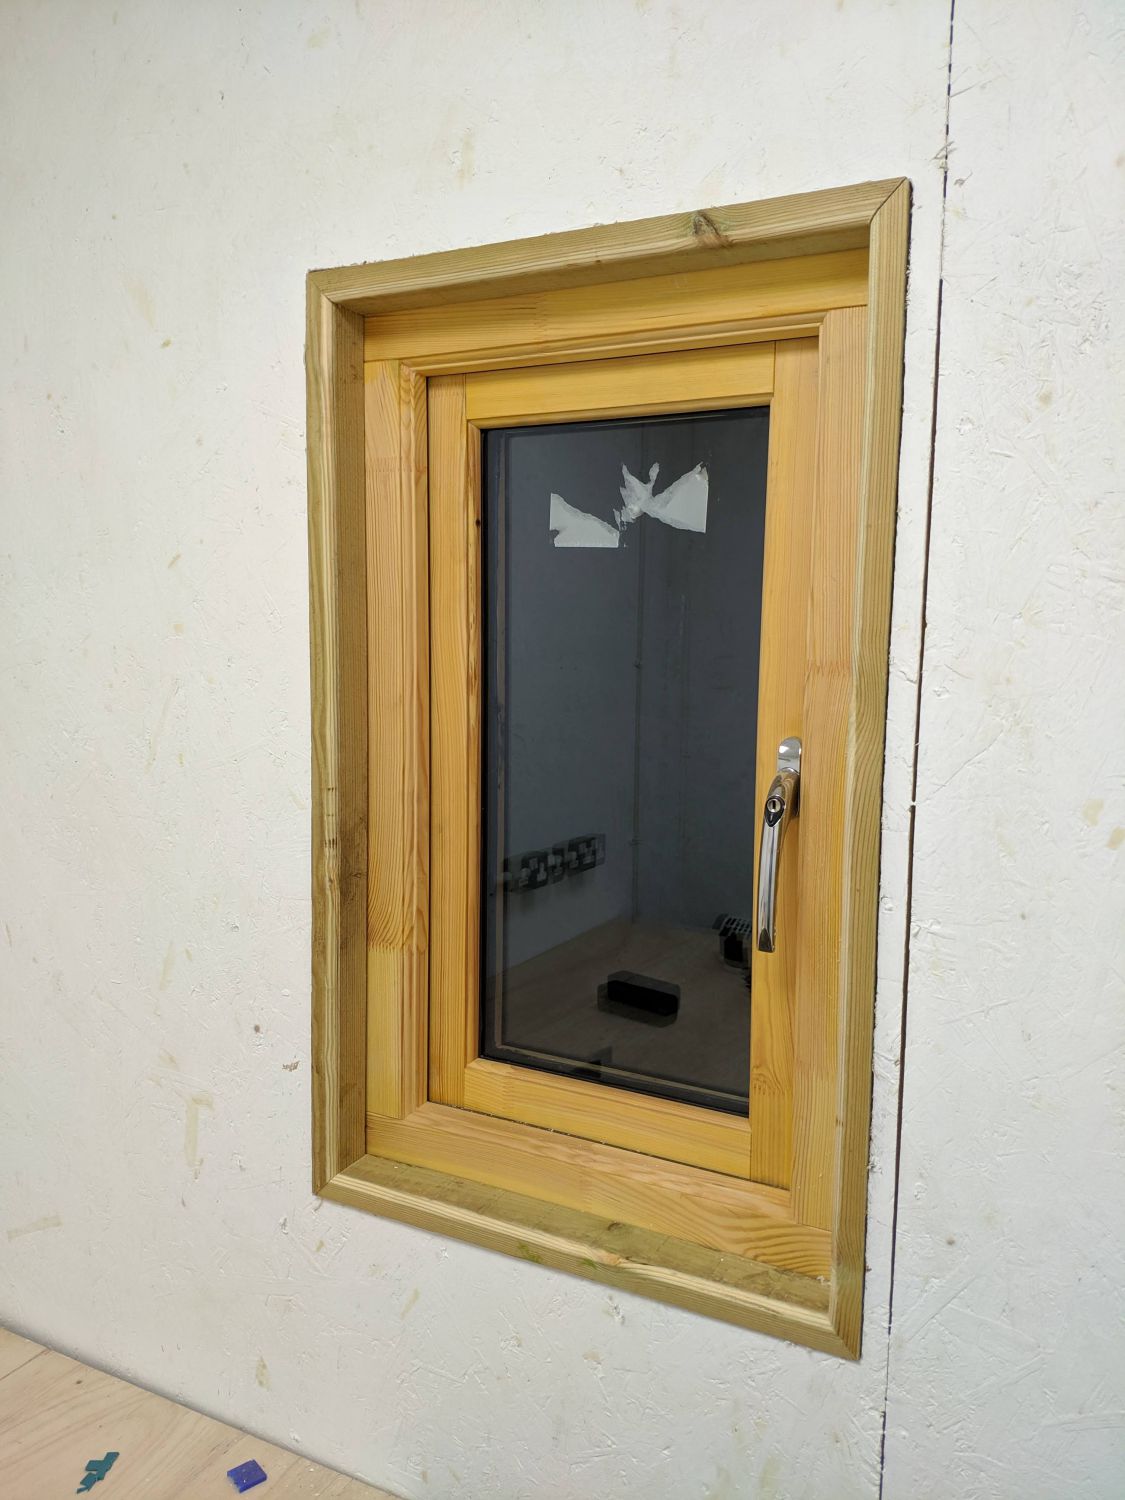
I began by cutting through the breathable membrane to create the window openings. I formed flaps at each edge which were folded over and stapled in place: lapping tape was then used to waterproof joints. I started with the smaller window.
Frames
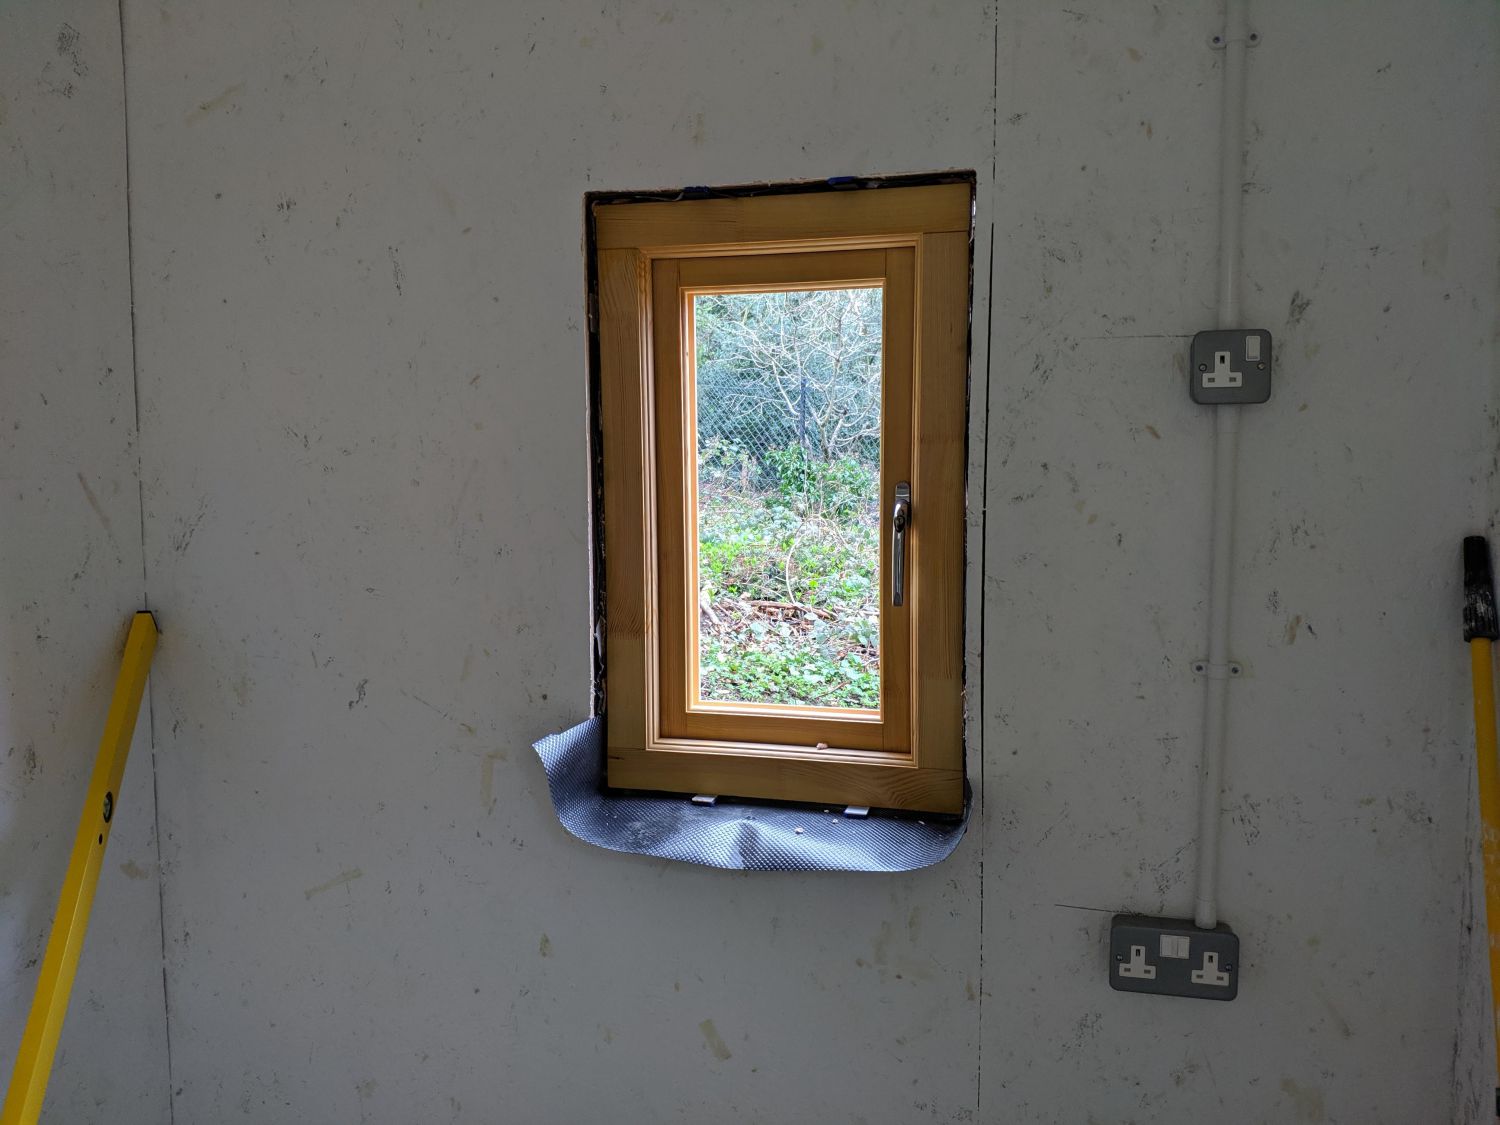
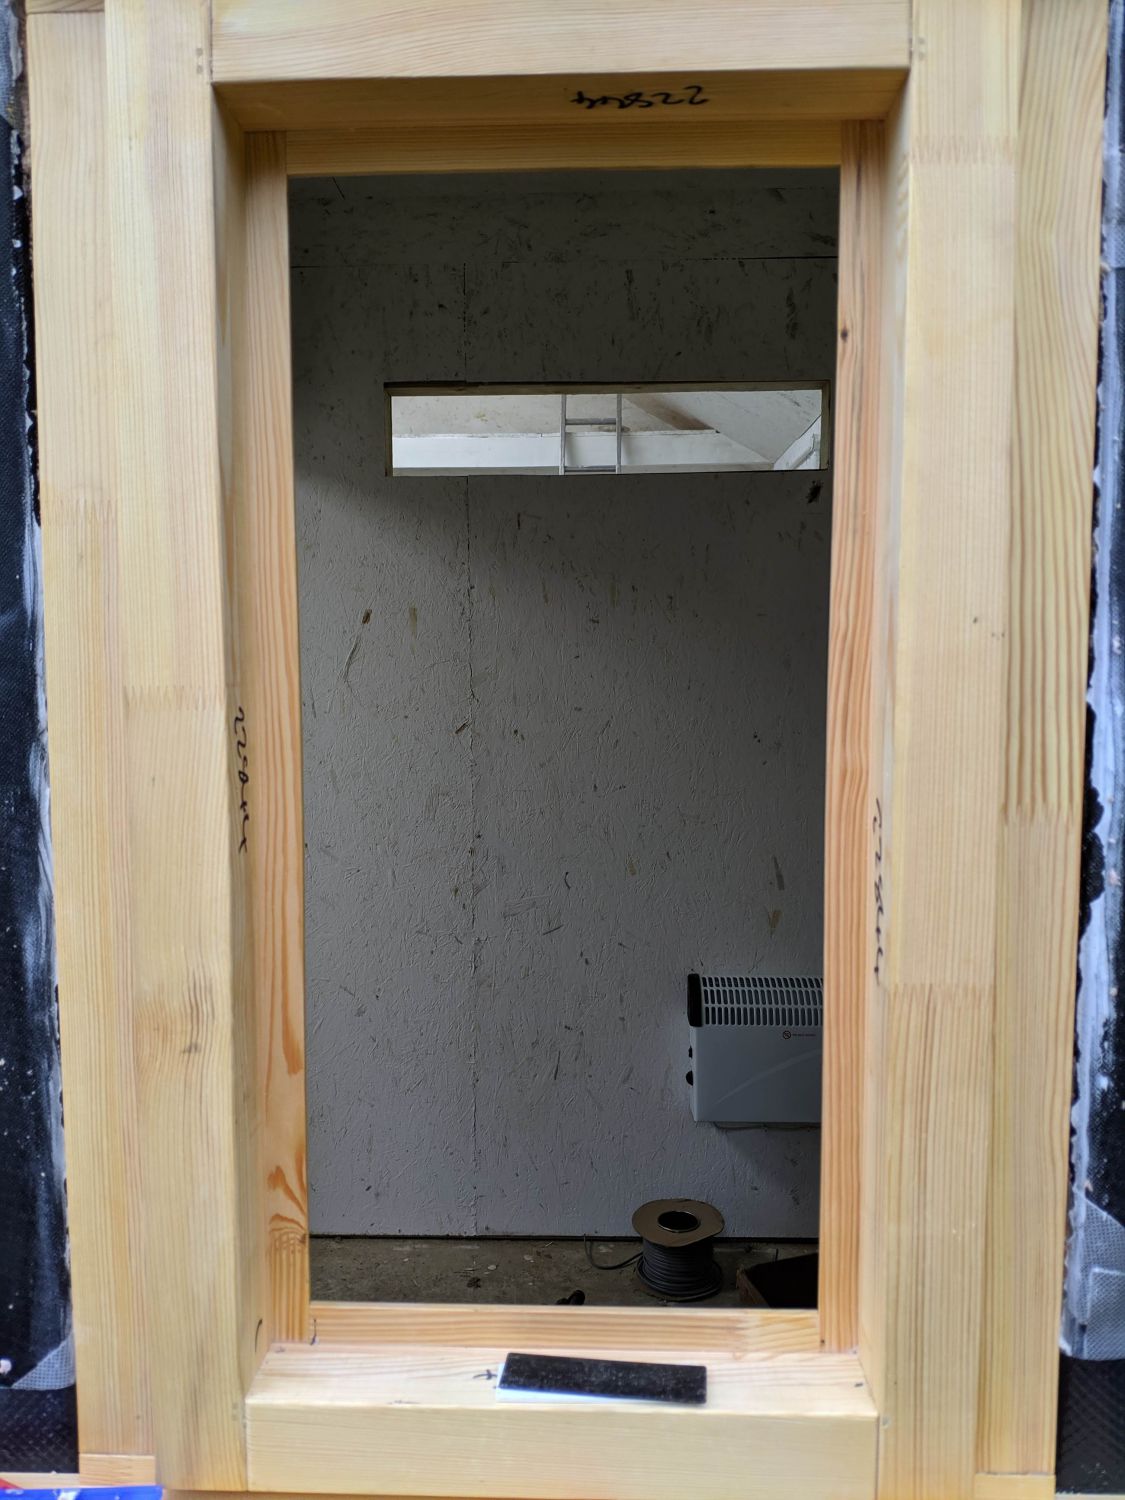
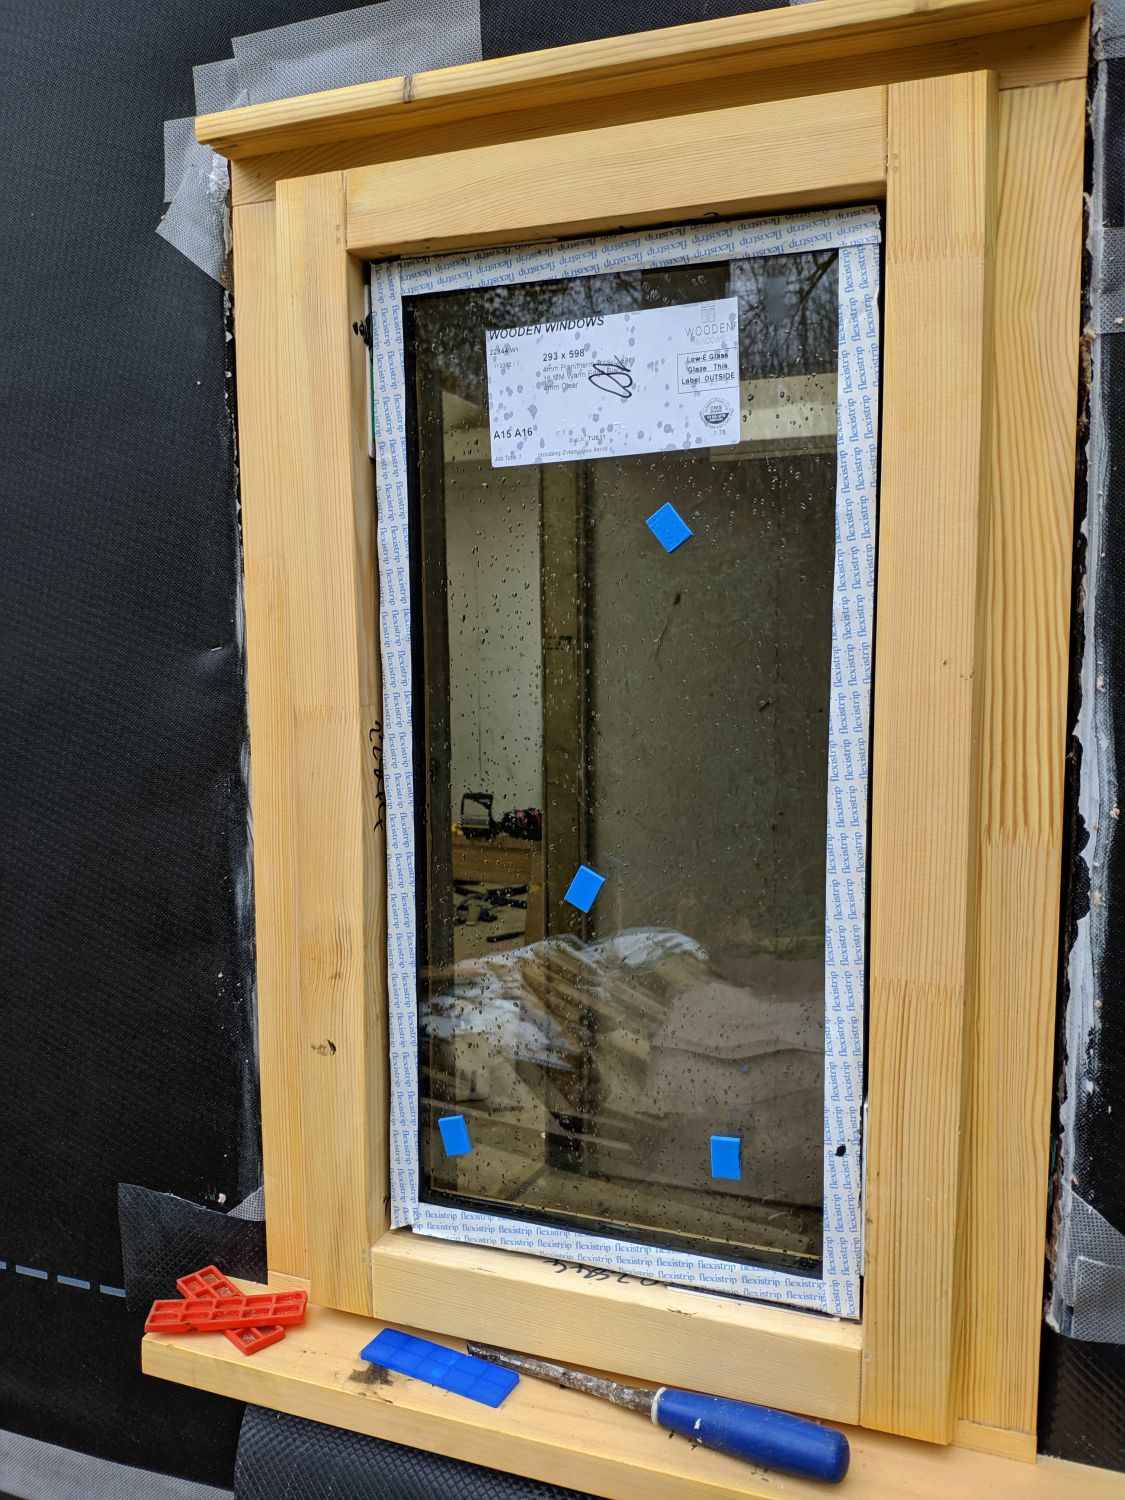
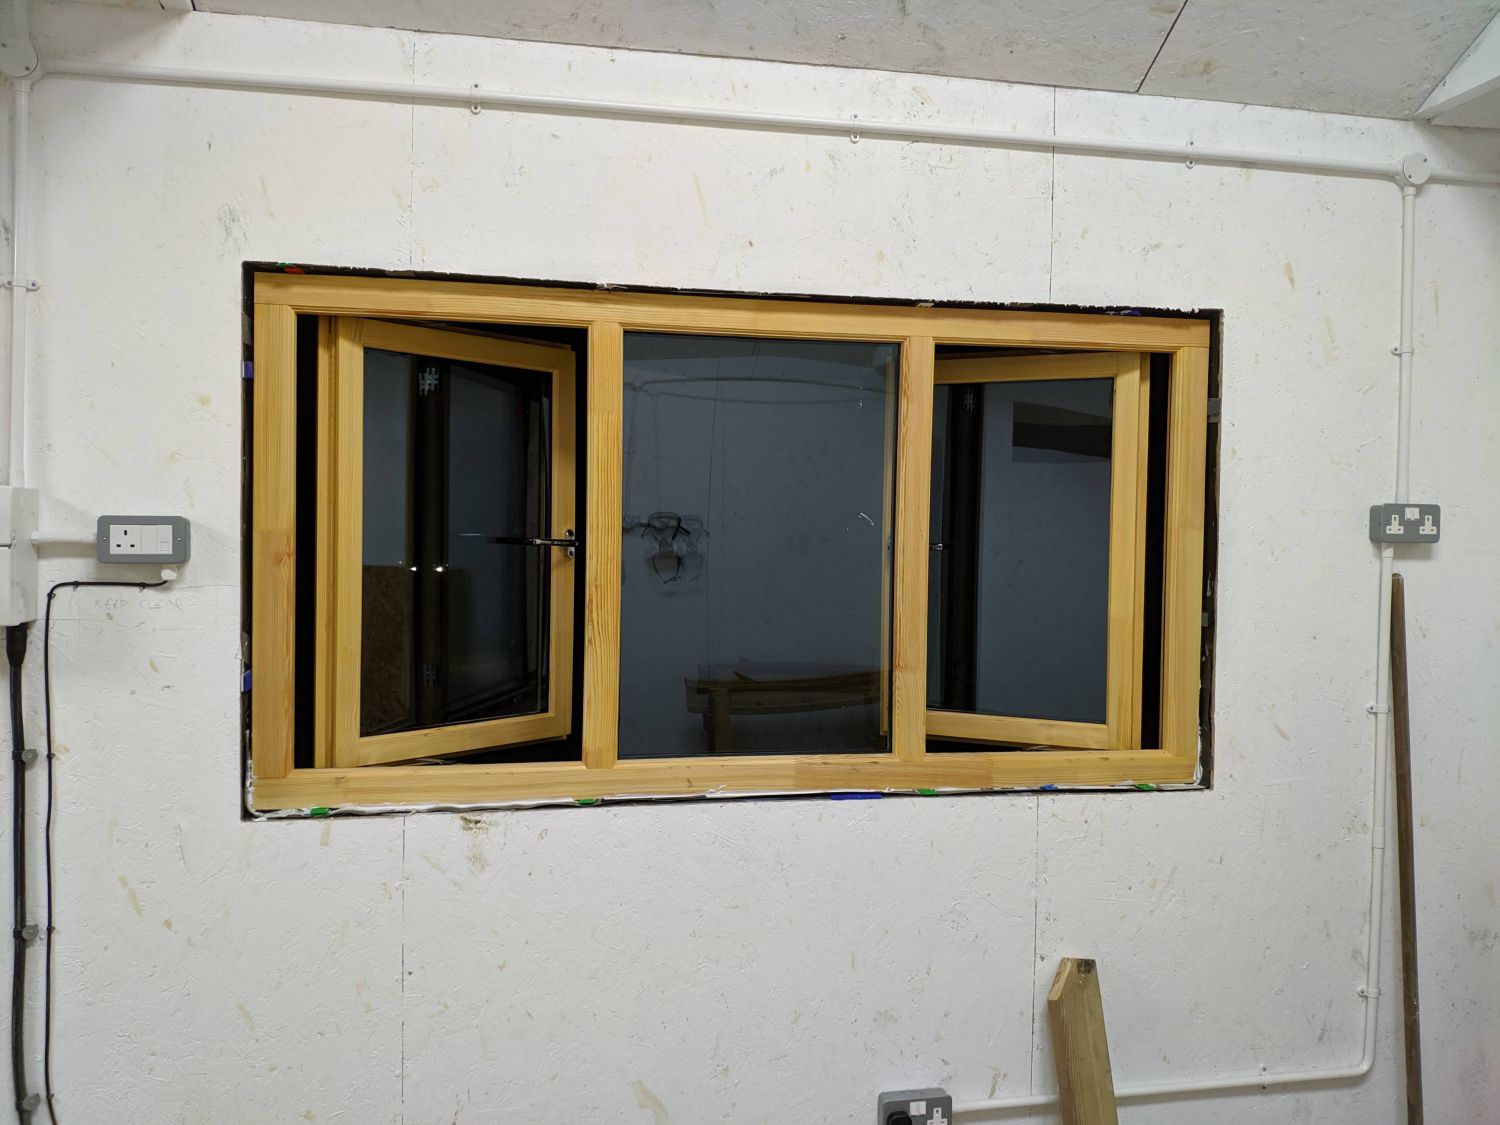
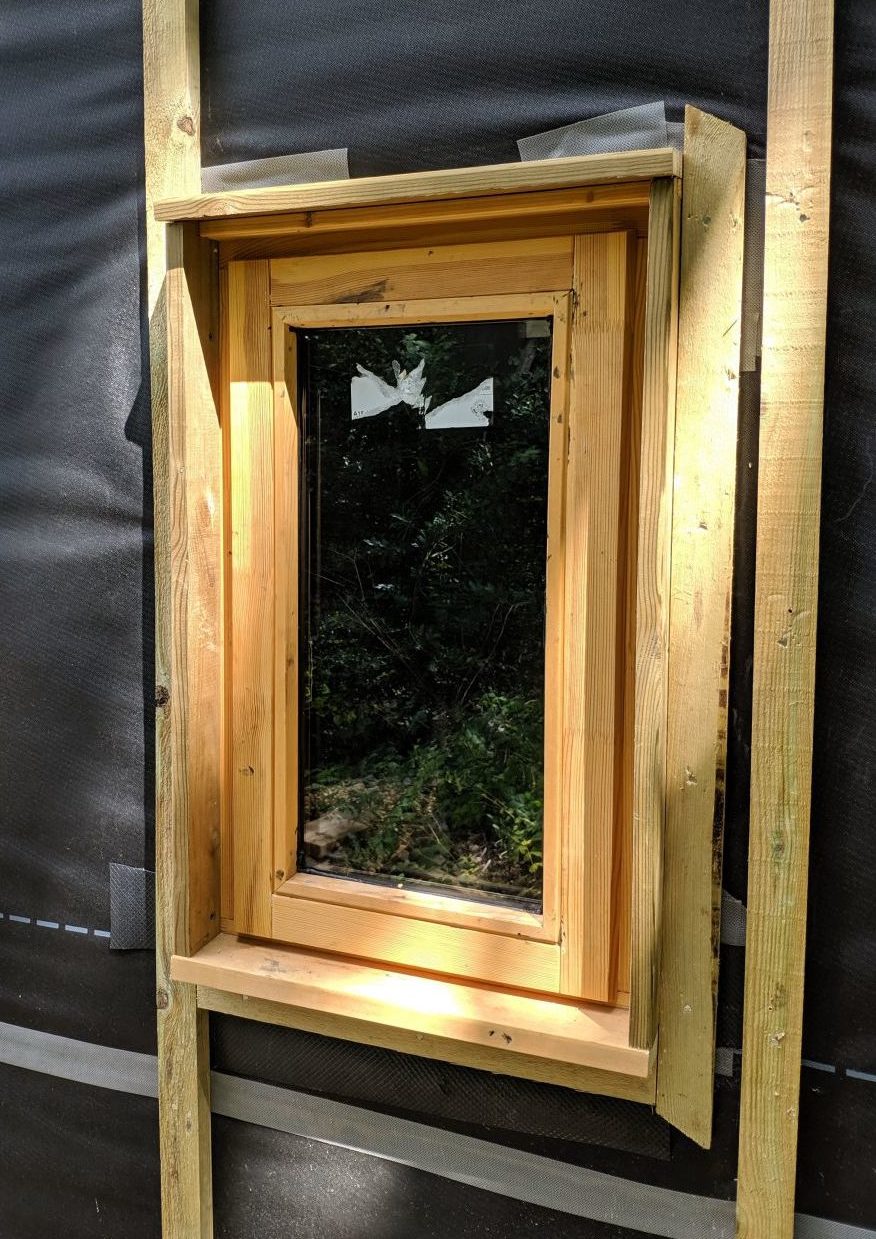
Window frames must be installed square to the wall and fixed to its structure. I laid down a length of DPC bedded on silicone to prevent damp rising through the frame into the window; in reality the frame should be dry. Using the oversize sill of the frame as a stop, I pushed the window into the opening. Next I used plastic packers at regular intervals to ensure the window was parallel to the horizontal and had a friction fit in the void. Finally I screwed through pilot holes into the wall structure securing the window.
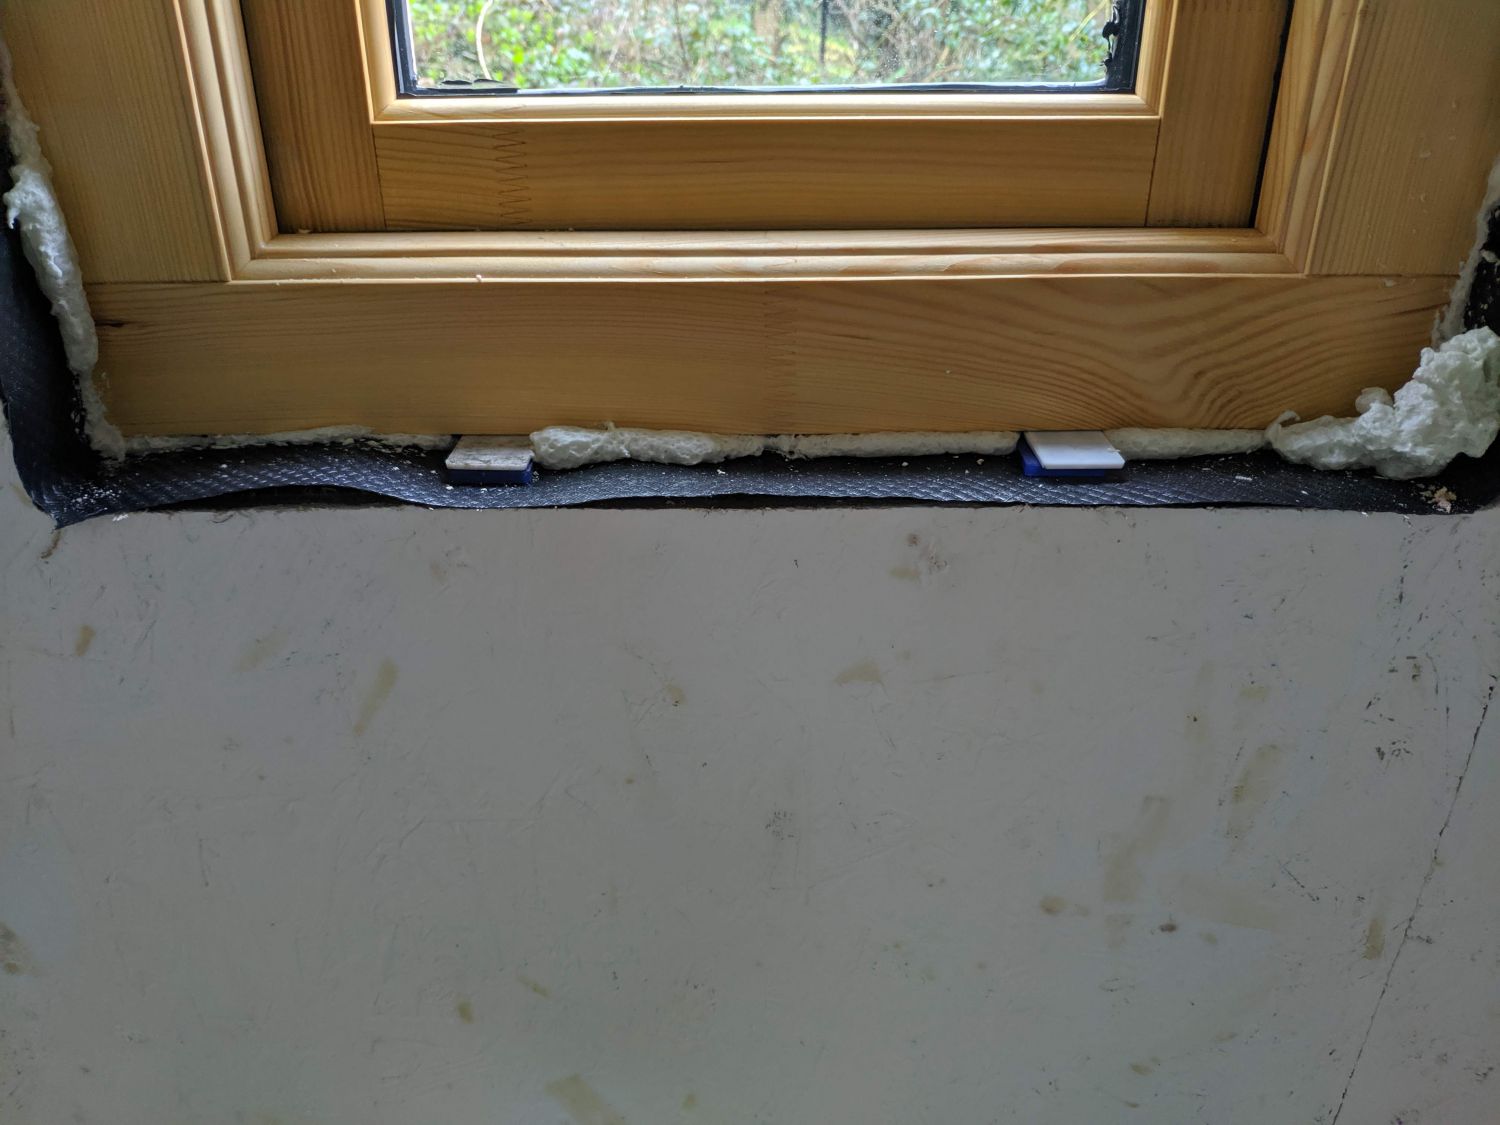
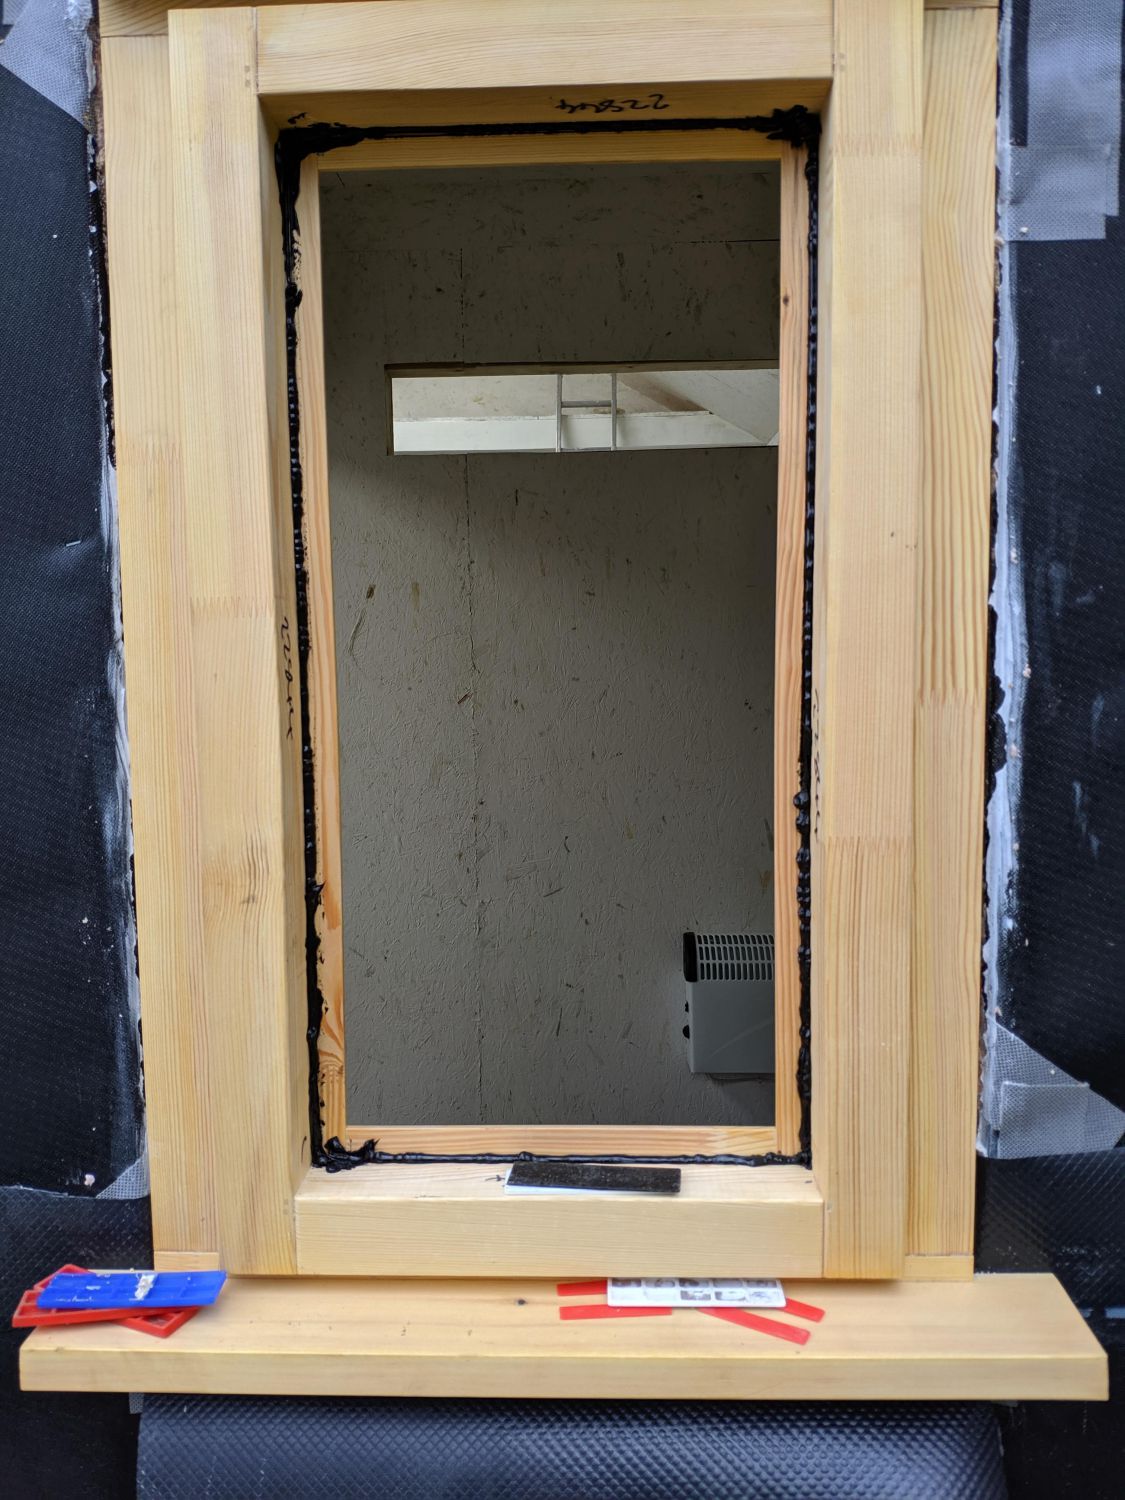
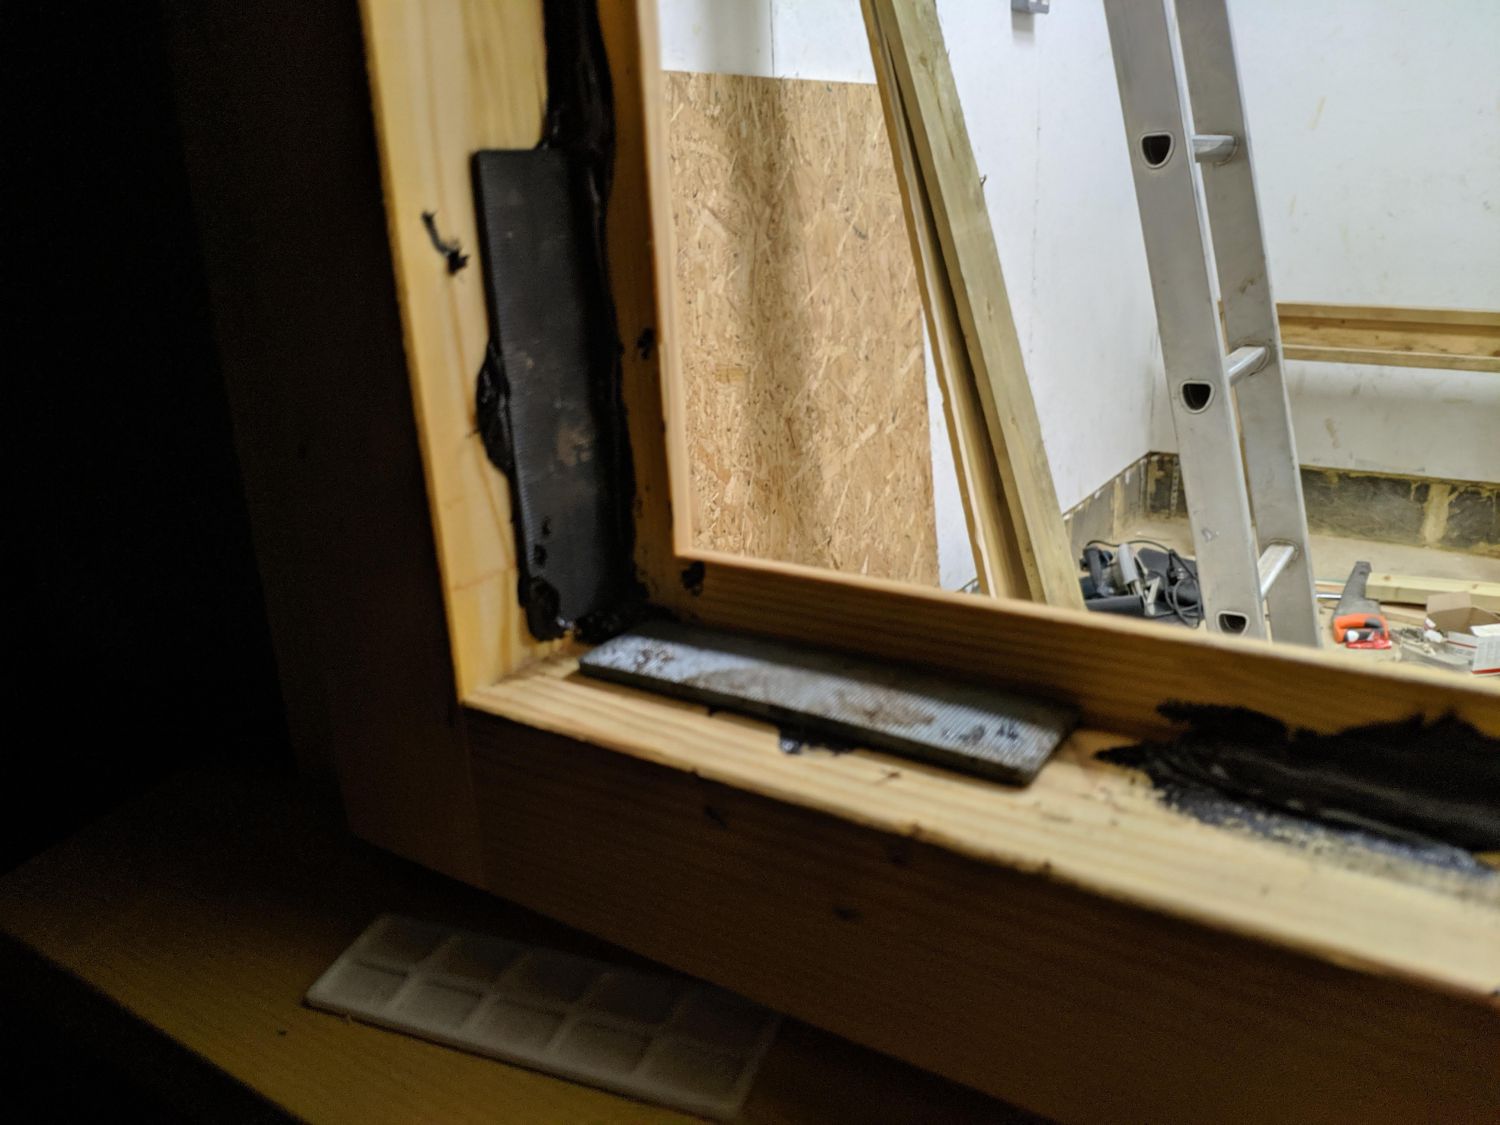
To seal the windows I used expanding foam, applied with a gun. I then went around the exterior edges of the window covering the foam with silicone to prevent UV degradation and allow for easier water run-off. Excess foam and plastic packers were chiselled of flush with the edge of the frame; this allows for the later installation of an internal ‘sill’ moulding.
Glazing
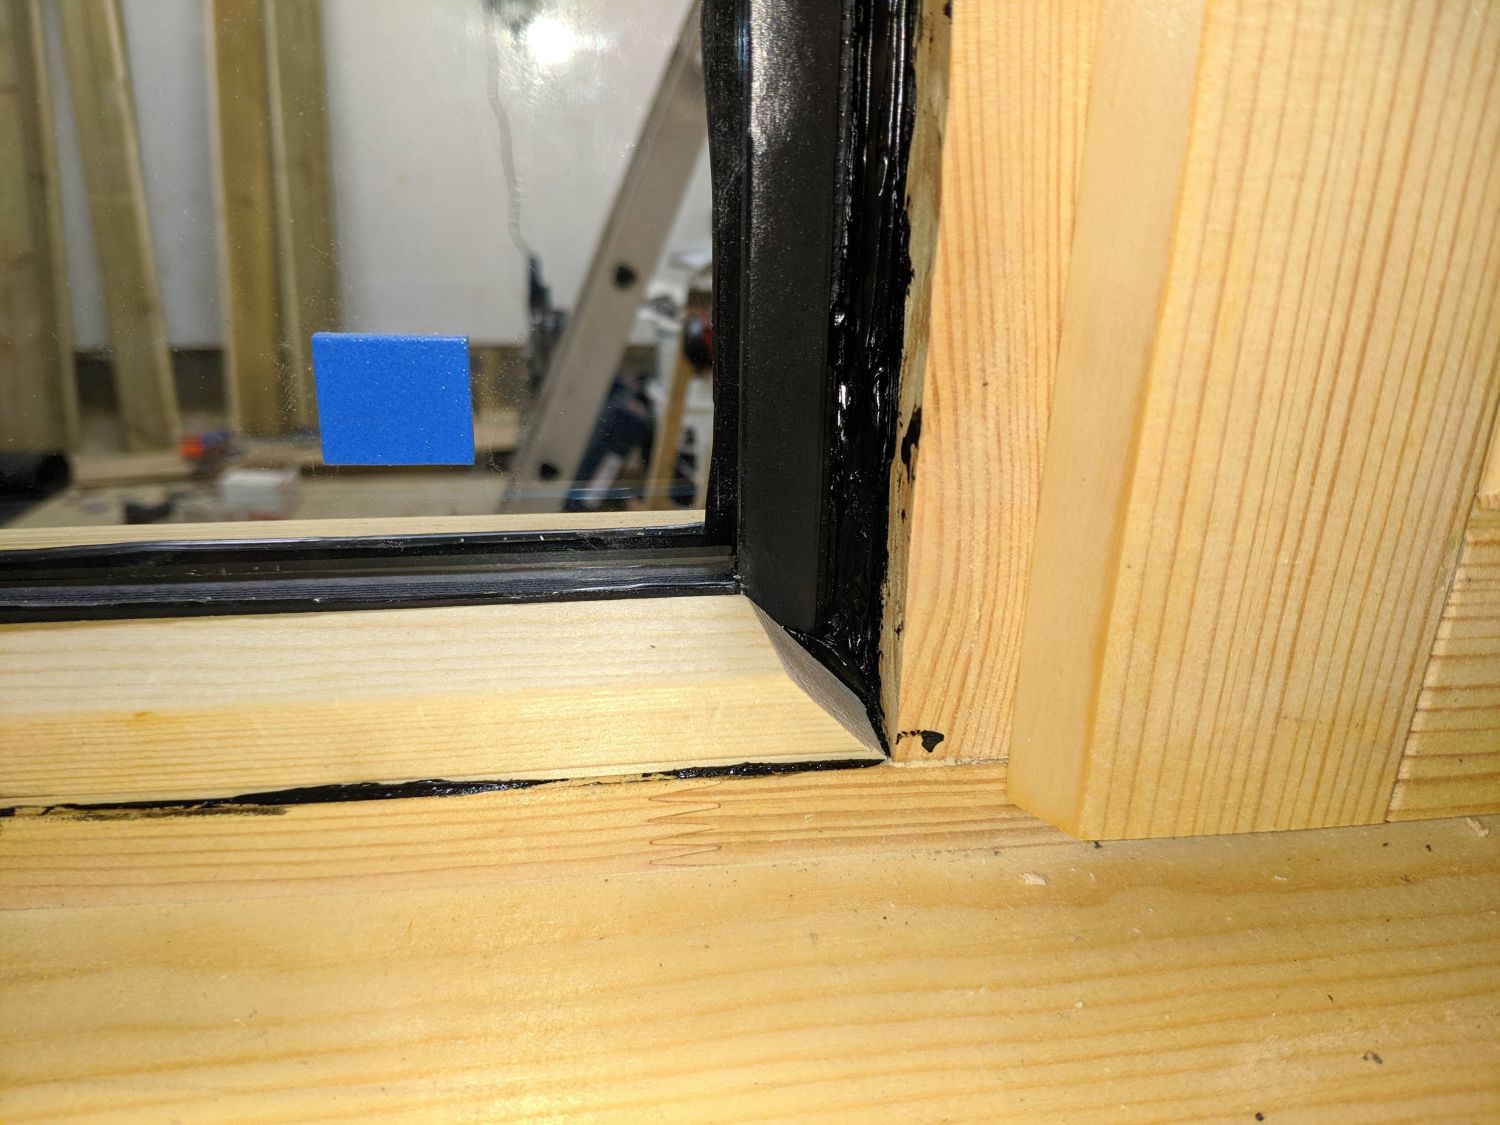
The frames I bought are designed to have the glass bedded in silicone between the beadings holding it in place. The panes supplied are sealed double glazed units; a thermally insulating gas is sandwiched my two panes of glass and a spacer around the perimeter makes it a robust unit.
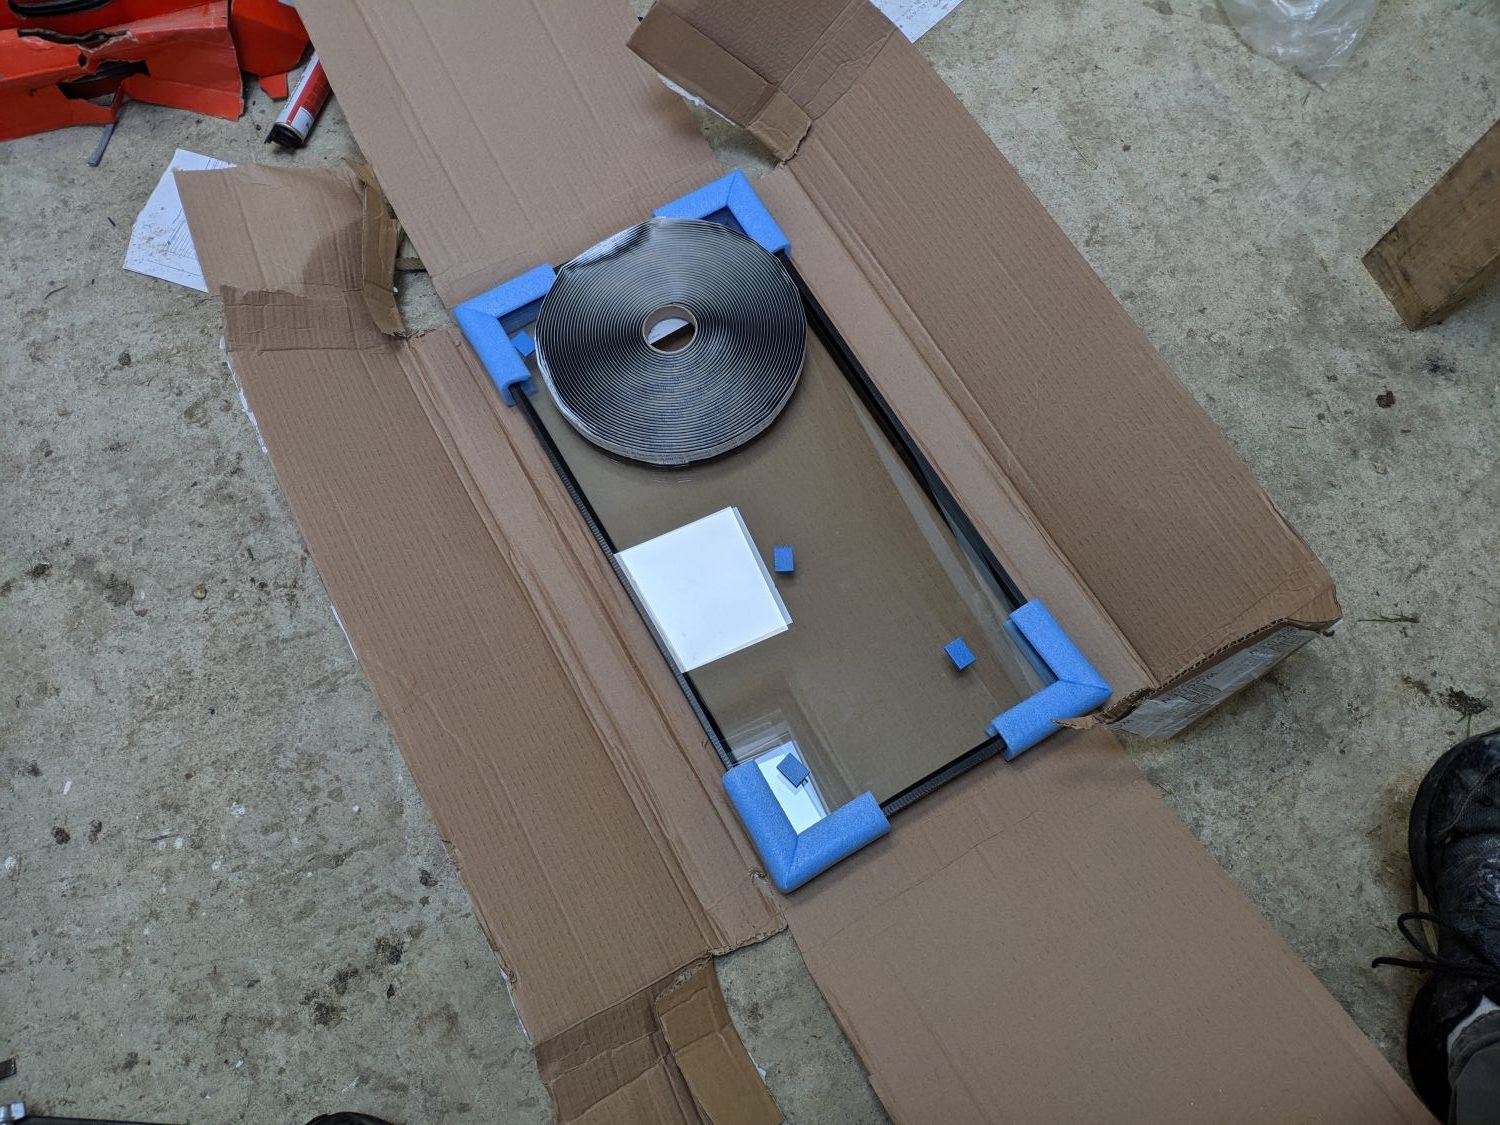
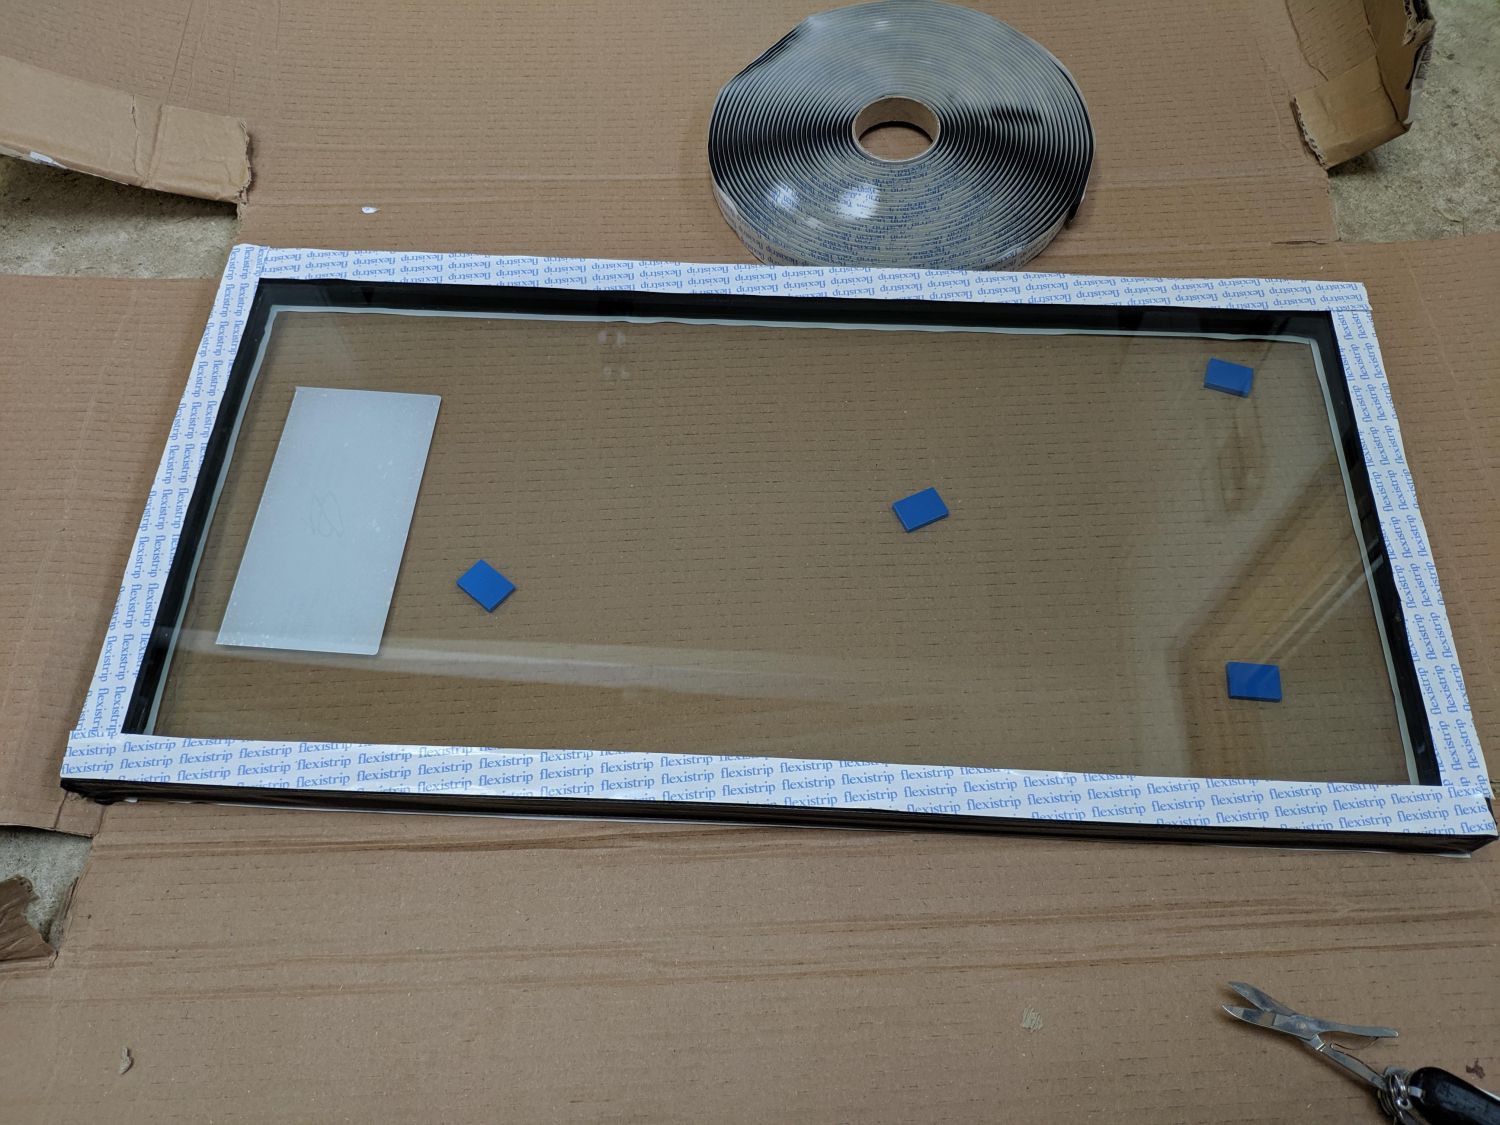
The units are supplied with a roll of butyl rubber which seals between the beading and the pane. I applied this around the edges of both faces. The paper is cut so that if it is lined up with the side of the unit the butyl strip will be aligned with the top of the beading. This seal will act as the first line of defence against water ingress and below it (under the pane) silicone fills the void. It is critical the silicone used for bedding the glazing is low modulus and neutral cure. Low modulus means it will be able to flex when the timber frame inevitably expands and contracts. Neutral cure means no acetic acid is produced as the silicone sets which could damage the sealed unit frame.

Beading in on one side. Silicone bedding added. Back butyl sealed against beading. Perimeter filled with silicone. Beading fully installed.

Actually putting the glass in place was a messy job due to the amount of silicone required.
I test fitted the pane, using packers to square and secure it in the void. This is a long edge opening window so there is the potential for the opening side to sag, similar to what could happen on a door. To prevent this I ‘toe and heeled’ the sealed unit, installing the packers at the bottom hinge side and the top opening edge effectively creating a brace. At these two corners the sealed unit holds the frame in shape.
I removed the glass one final time and ran silicone around the edge of the back beading. Then I peeled off the butyl seal paper and pressed the pane in place. Once I was confident the glass was not going to fall out I filled the voids between packers with silicone leaving a little excess. The front beads were then nailed in place with galvanised fixings.
I put the second window in place similarly.
Finishing touches
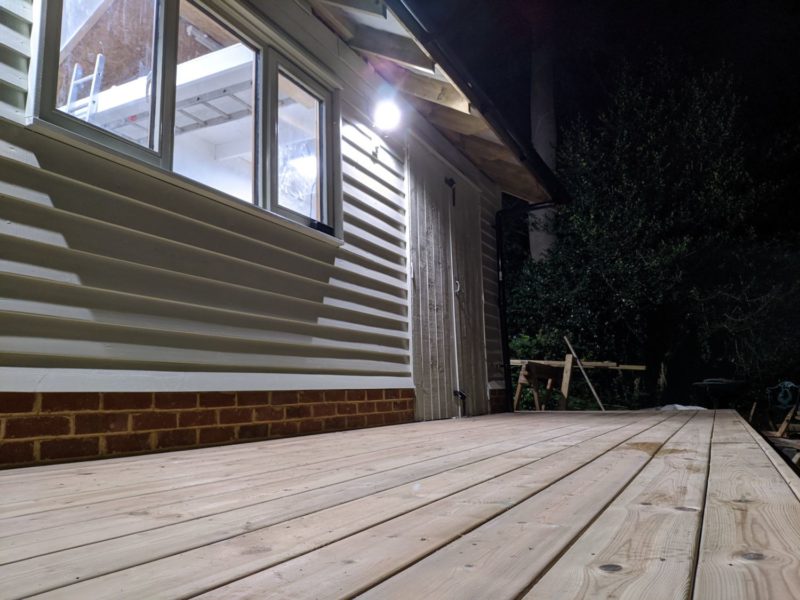
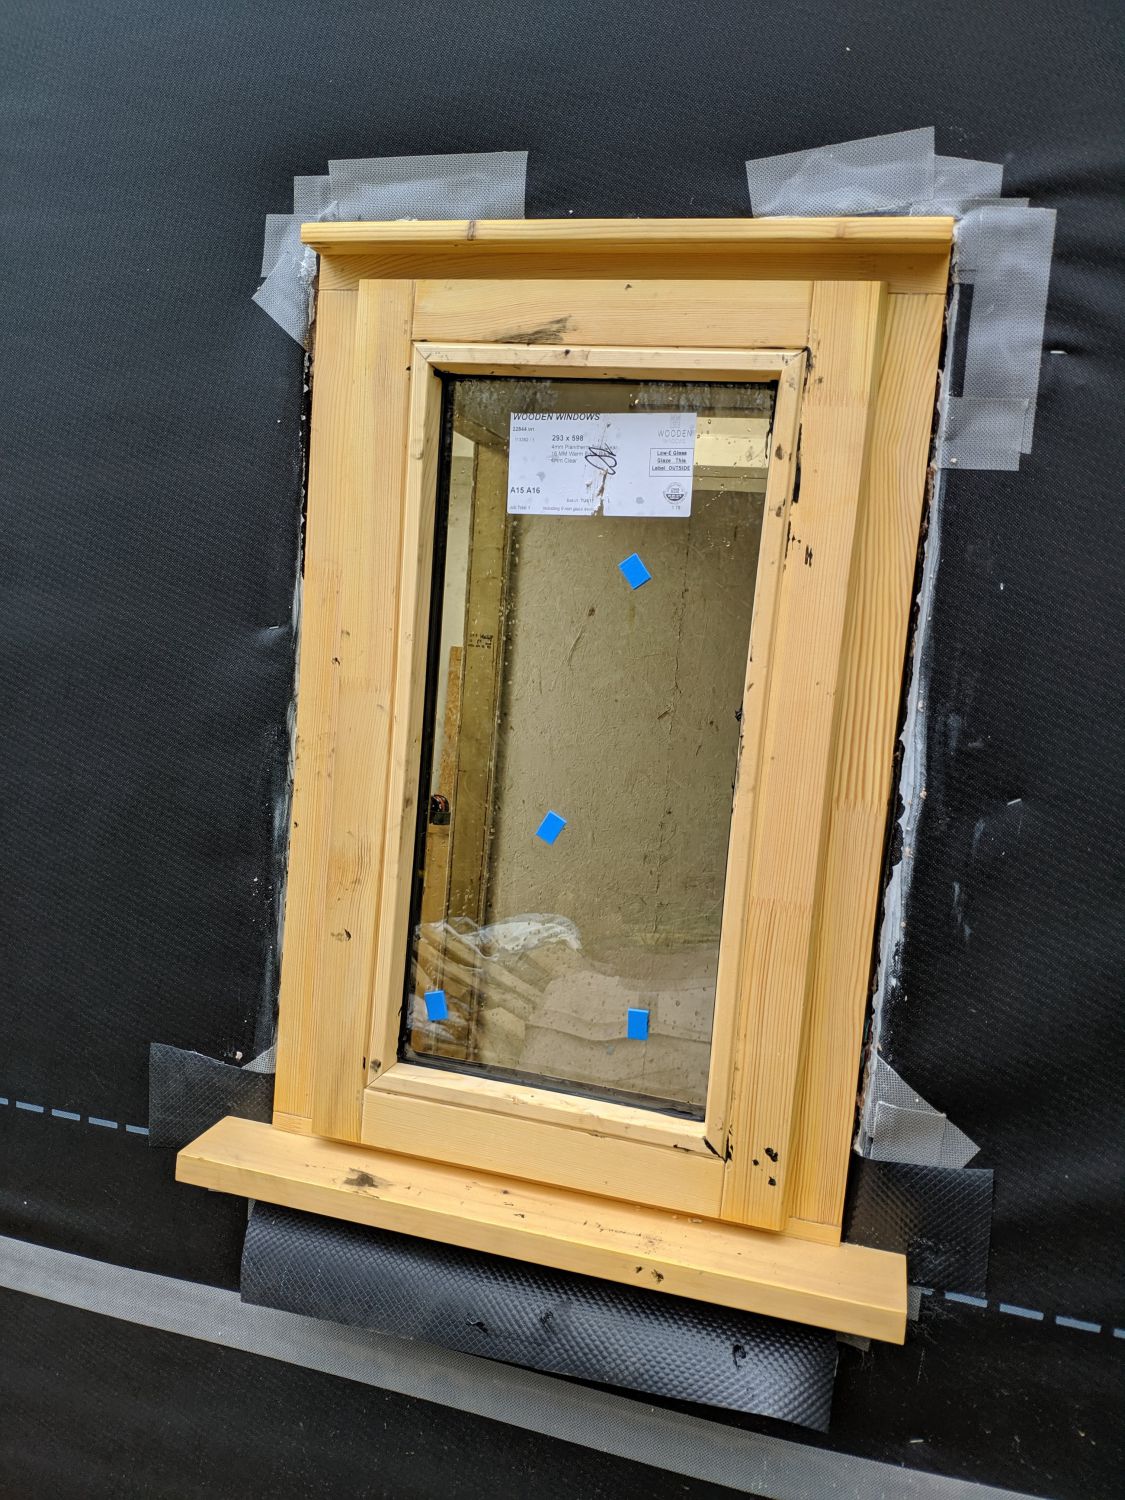
To finish the installation I needed to add a reveal around the windows including a water run-off board at the top.
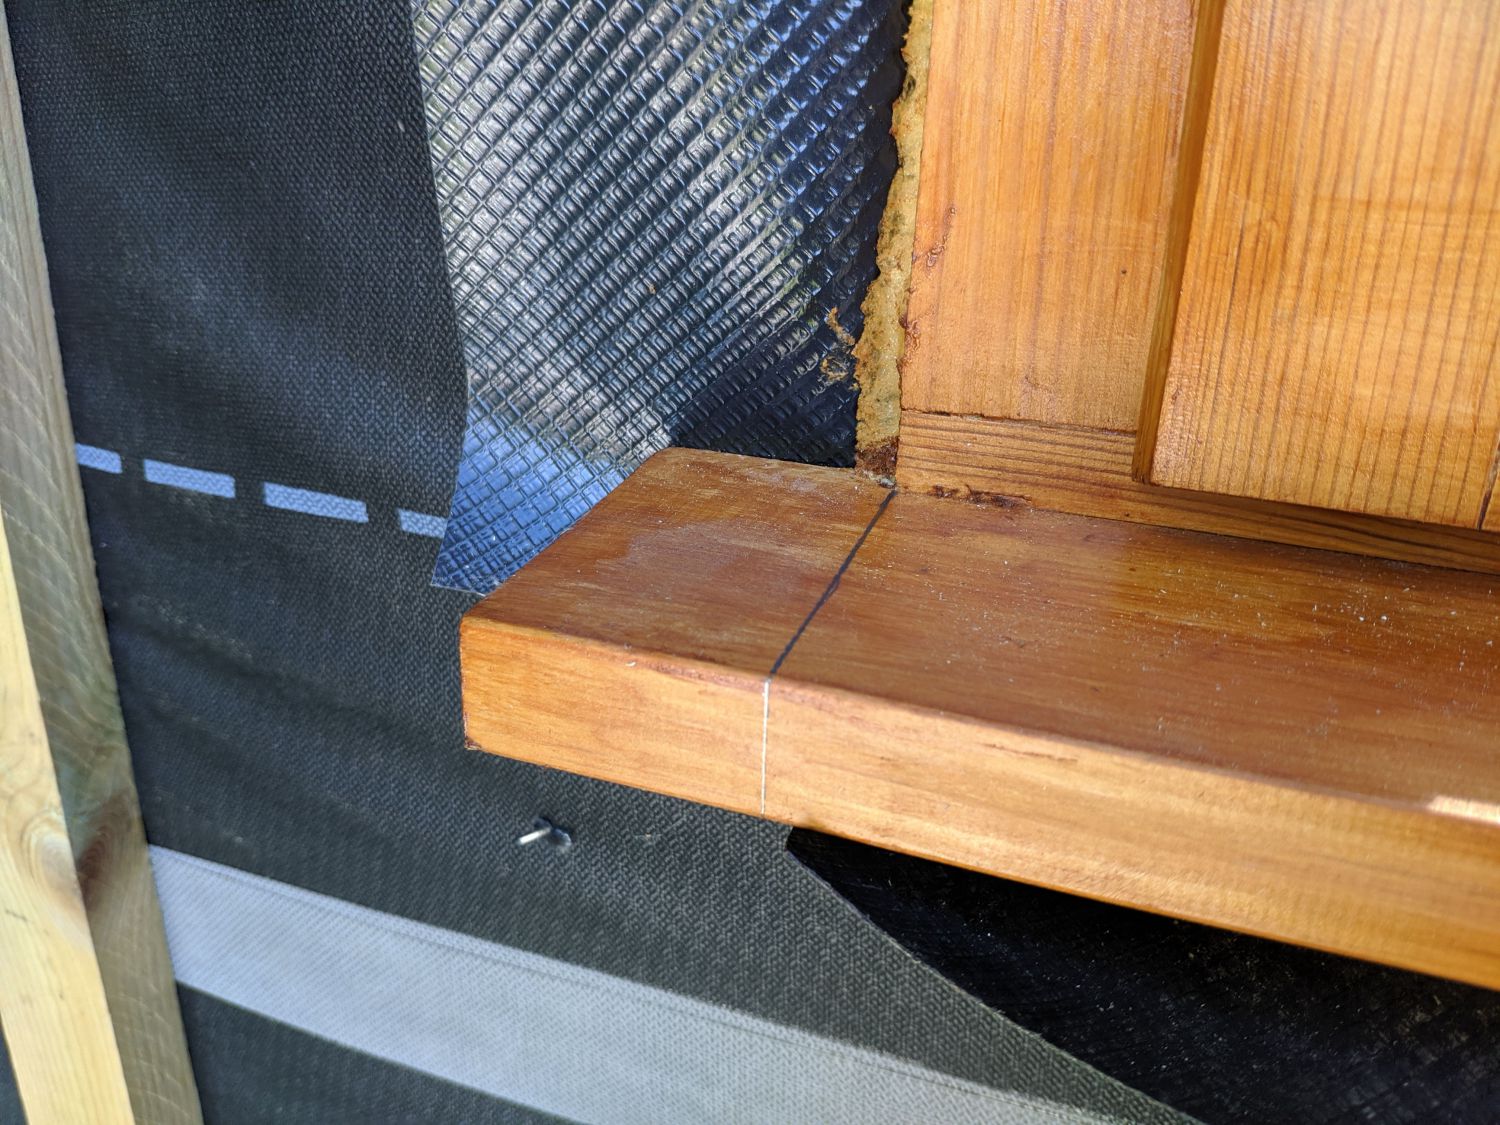
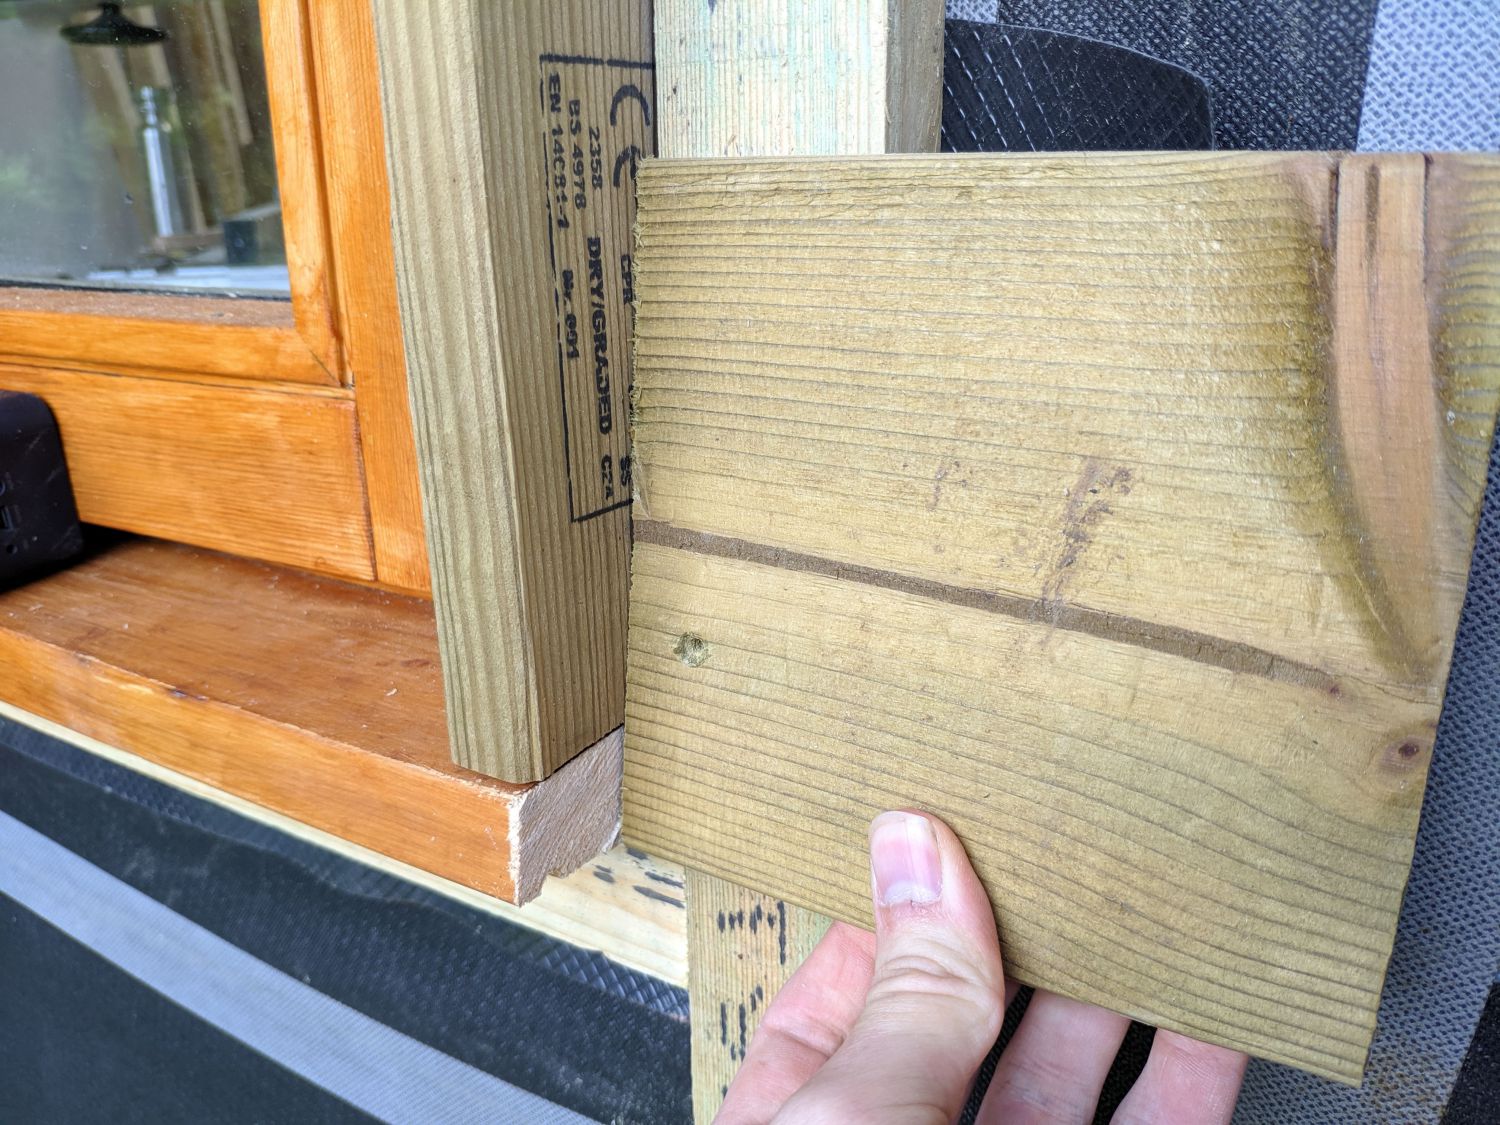
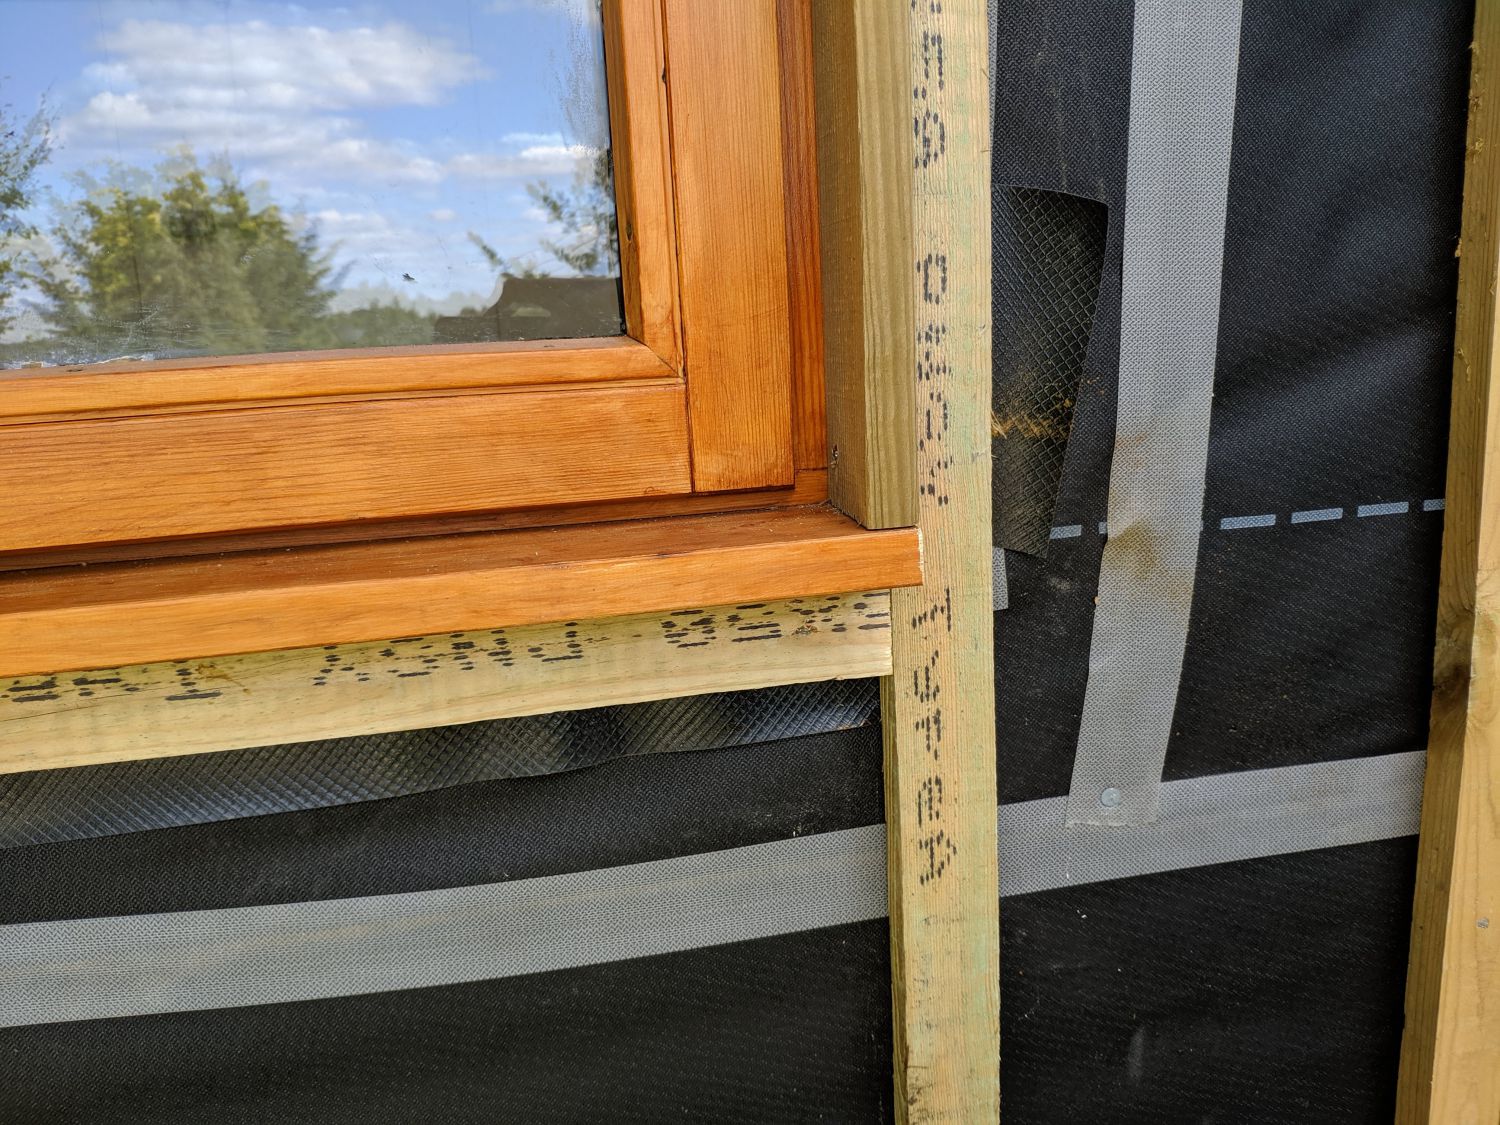
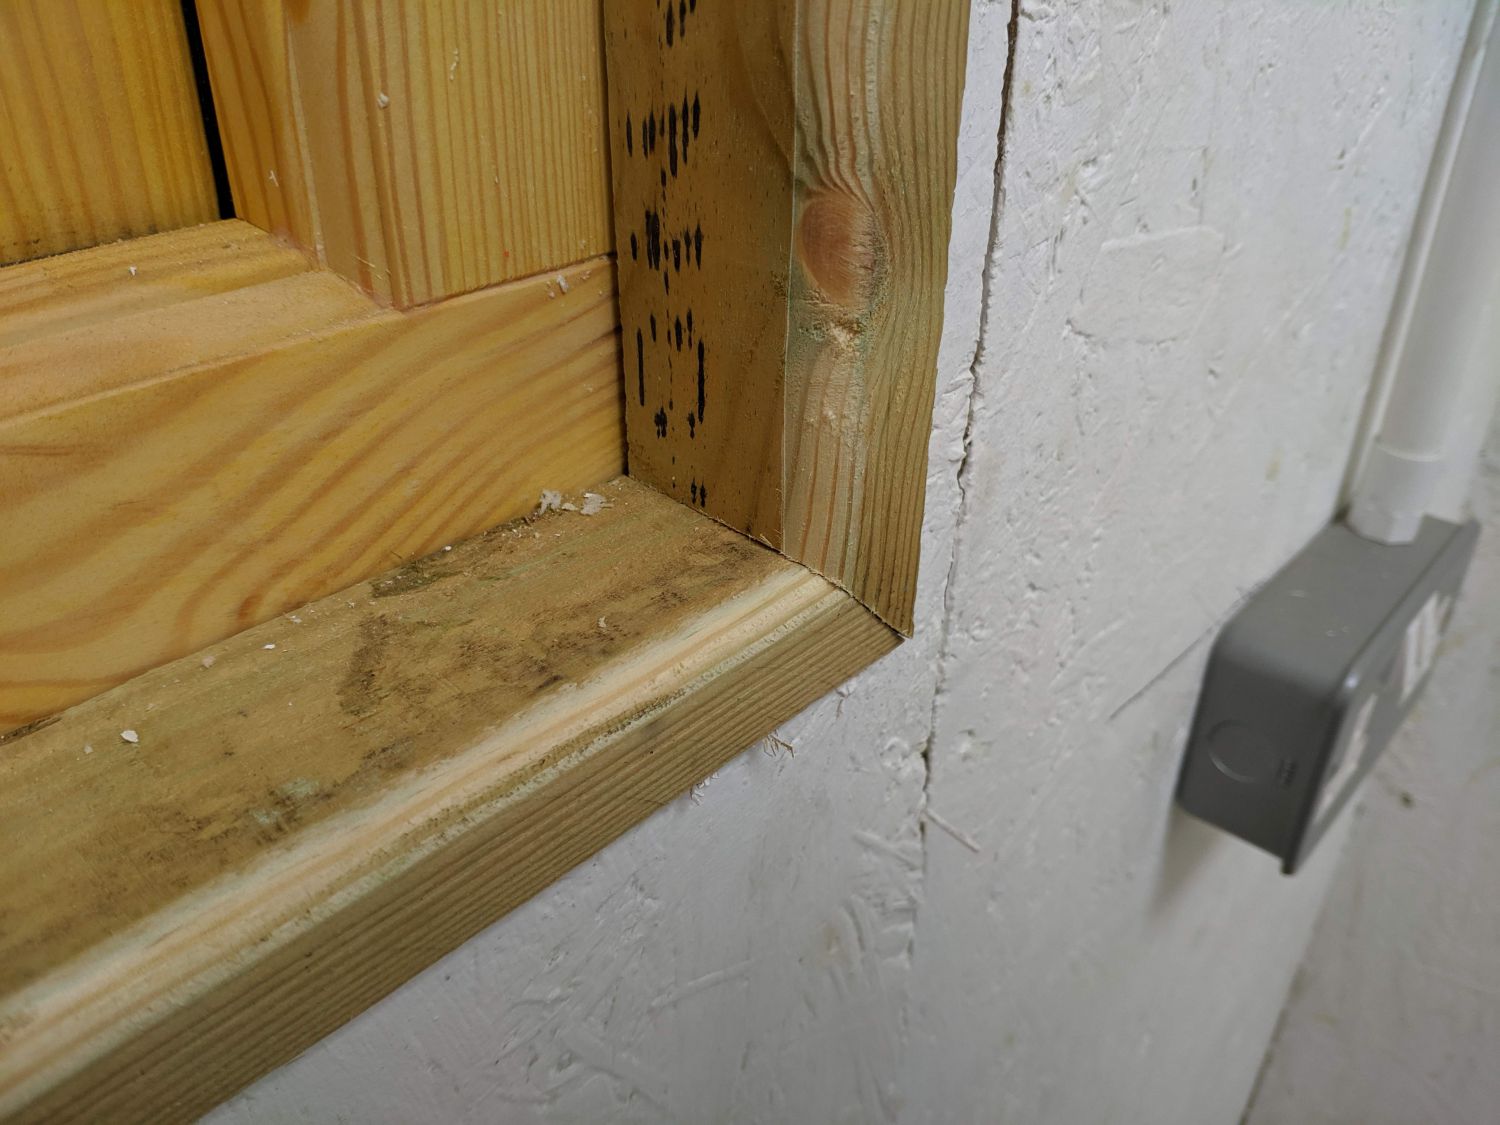
First, I cut the sills flush with the frame. Then I used some 3×1″ treated timbers to make vertical reveals to screw into battens around the window. These provide a termination point for cladding meeting the window and cover the void behind the cladding.
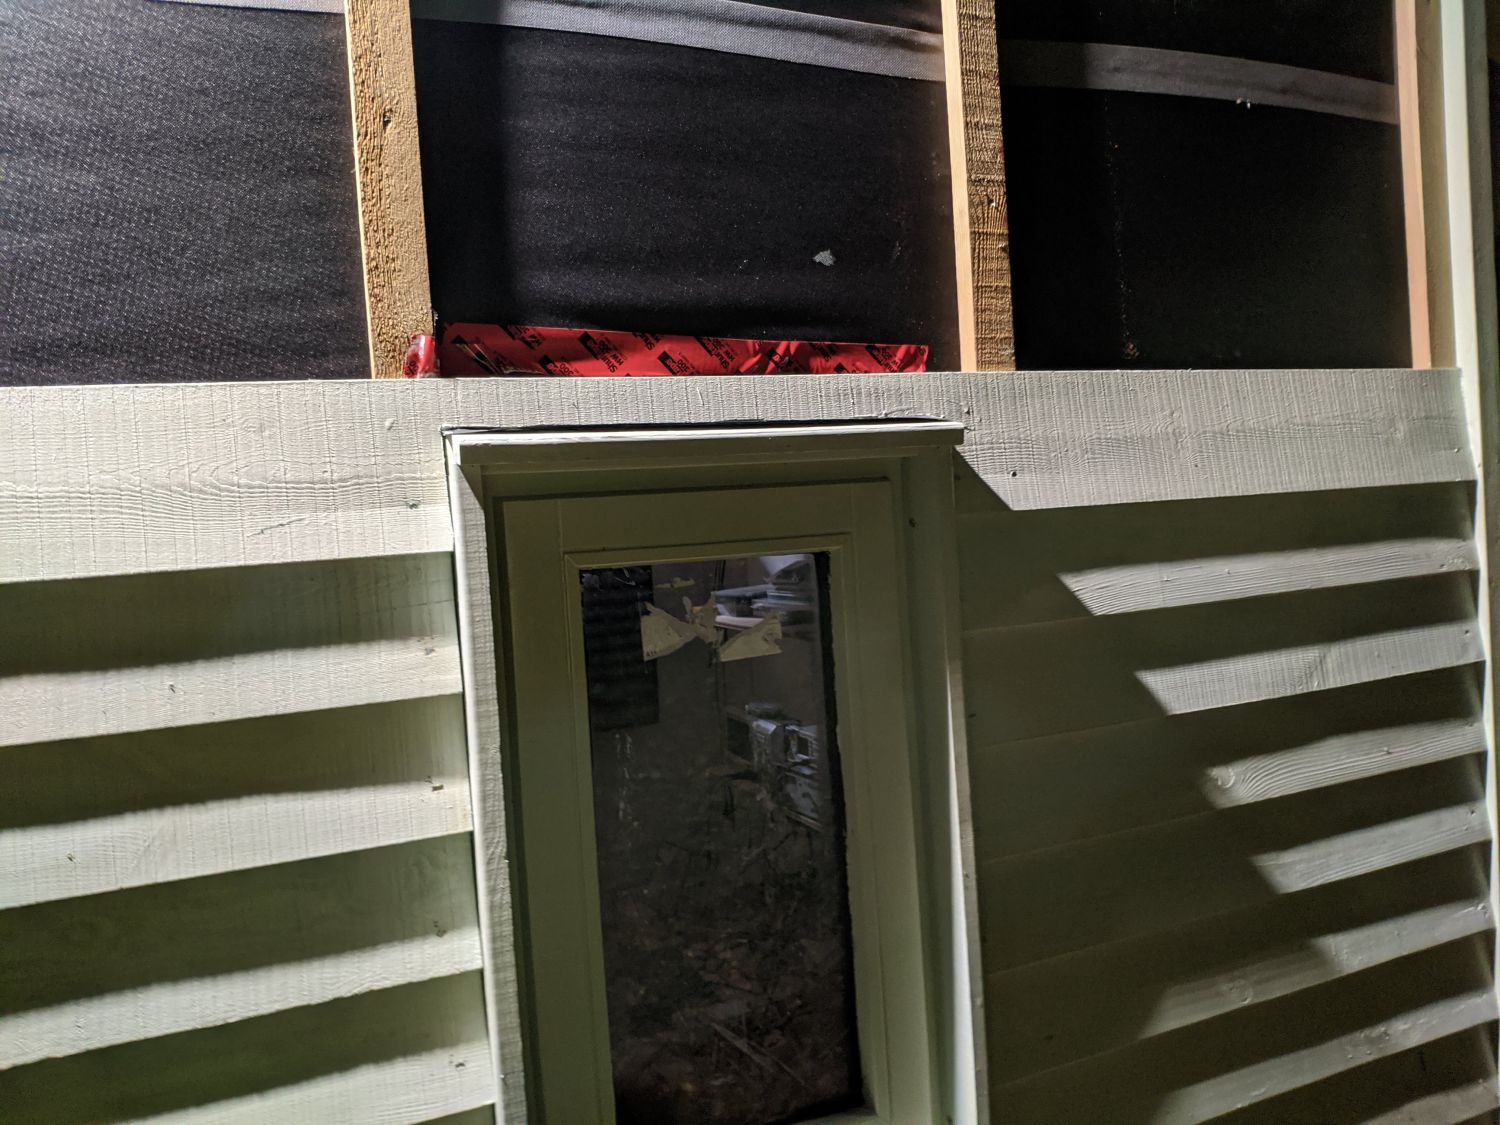
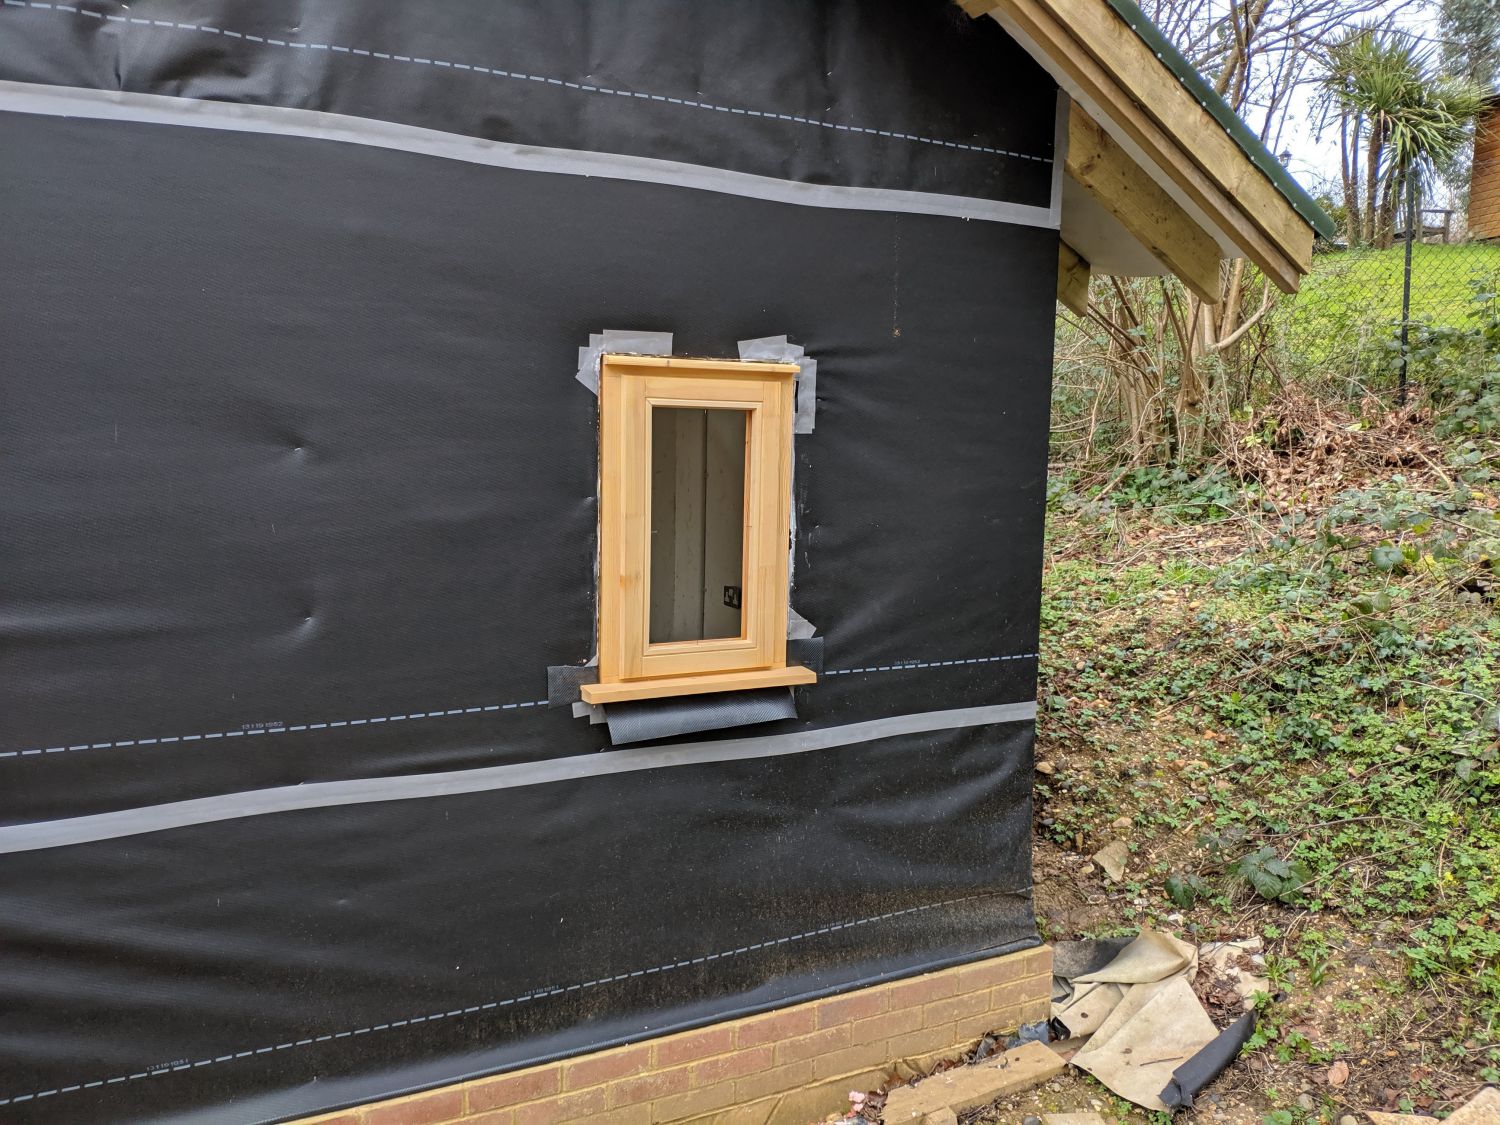
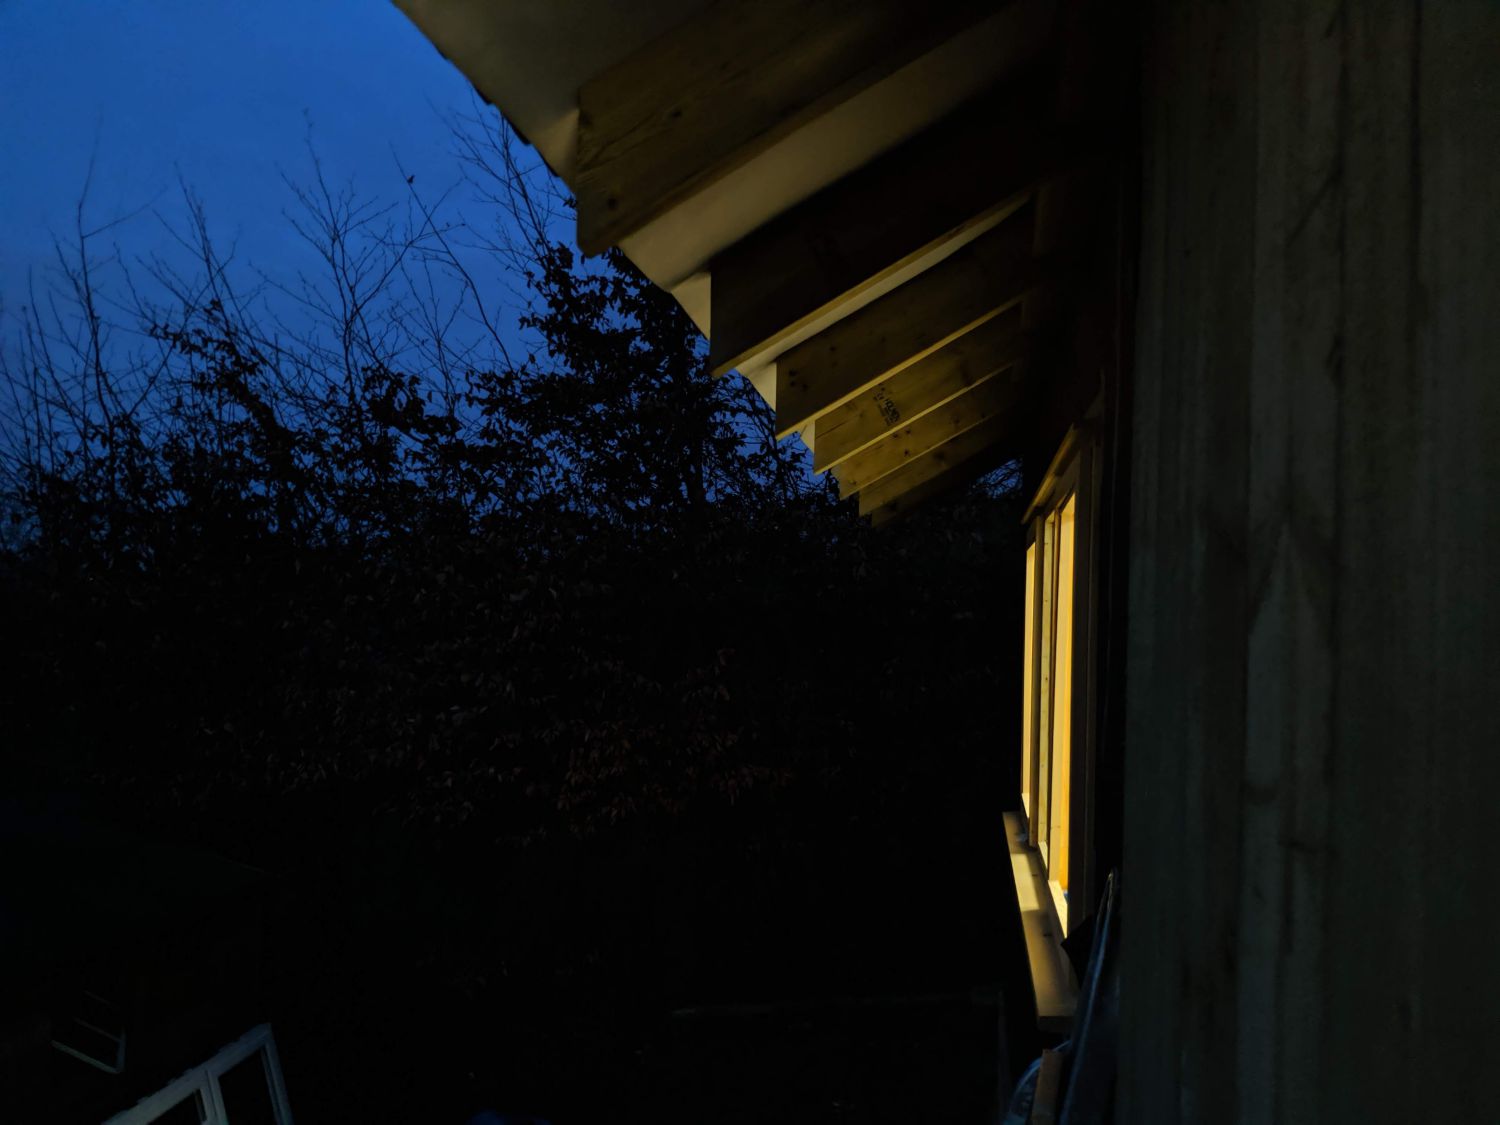
Water running down cladding above the windows must be redirected to avoid it sitting on the top of the window frame. A pentice board is a slanted timber above a window that serves to allow this. DPC tucked under the breathable membrane rests on the board so any water inside the wall structure can also exit it.
On the interior side I did consider adding full sills but decided keeping them flush with the wall would allow greatest flexibility. I rounded over the edge of a batten and screwed them in, covering the gap between the edge of the window and the wall.
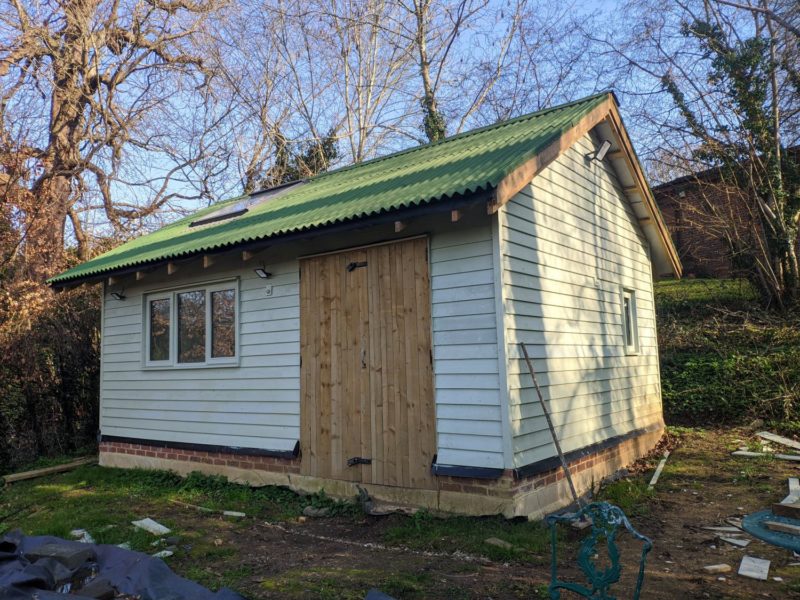
Conclusion
Timber windows are harder to install than uPVCs and require more maintenance. For a scenario like this though, with timber cladding being used, they fit in perfectly and definitely add to the interior and exterior of the building.