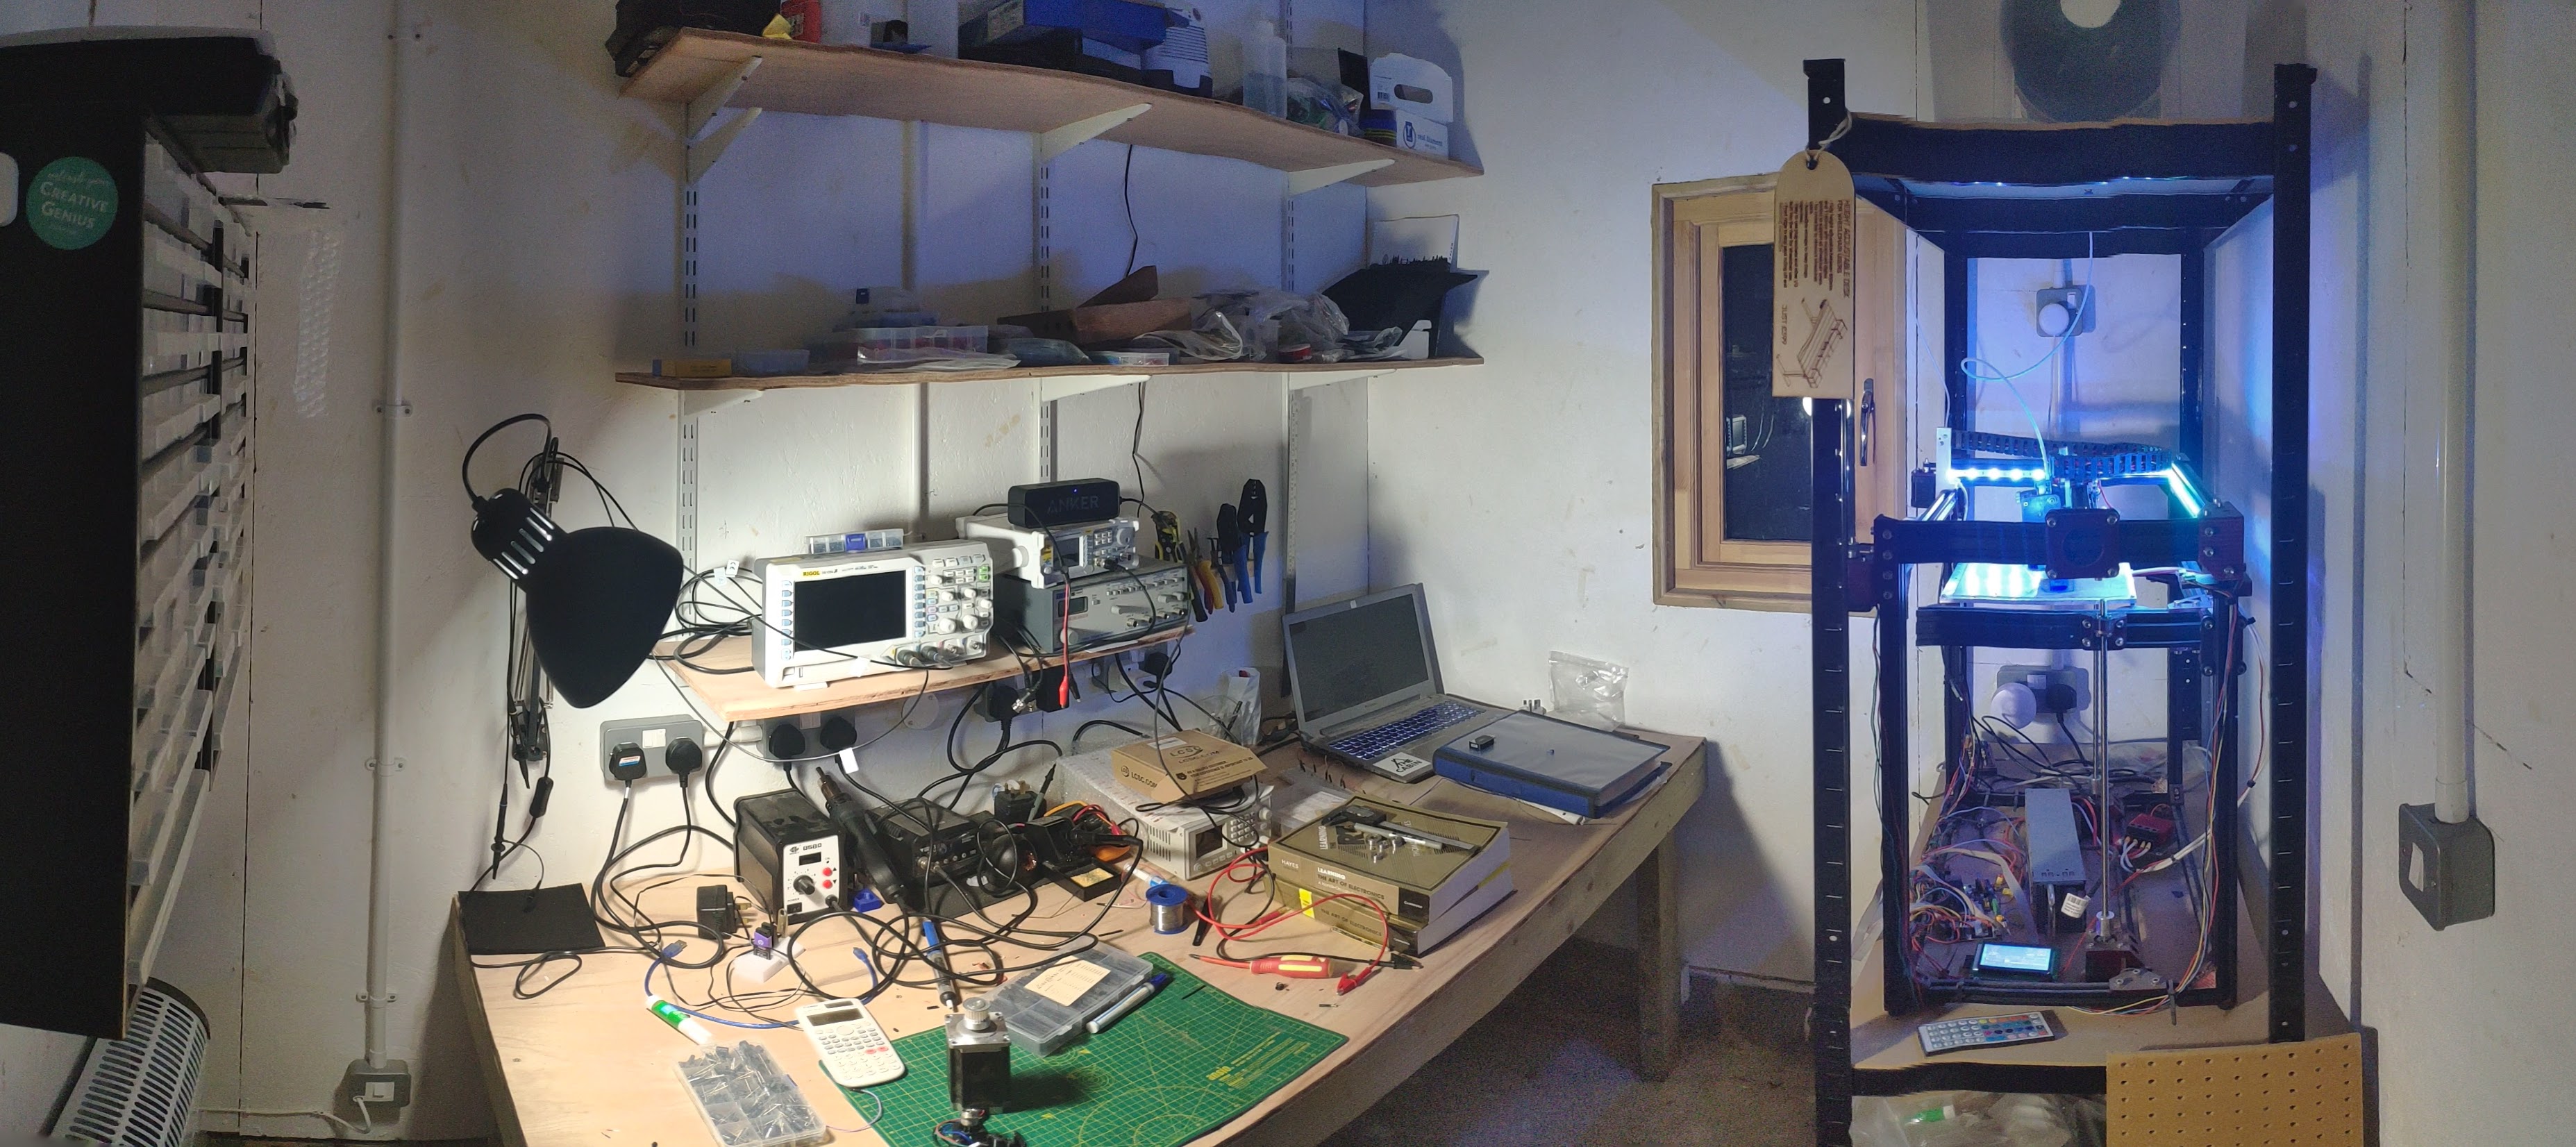

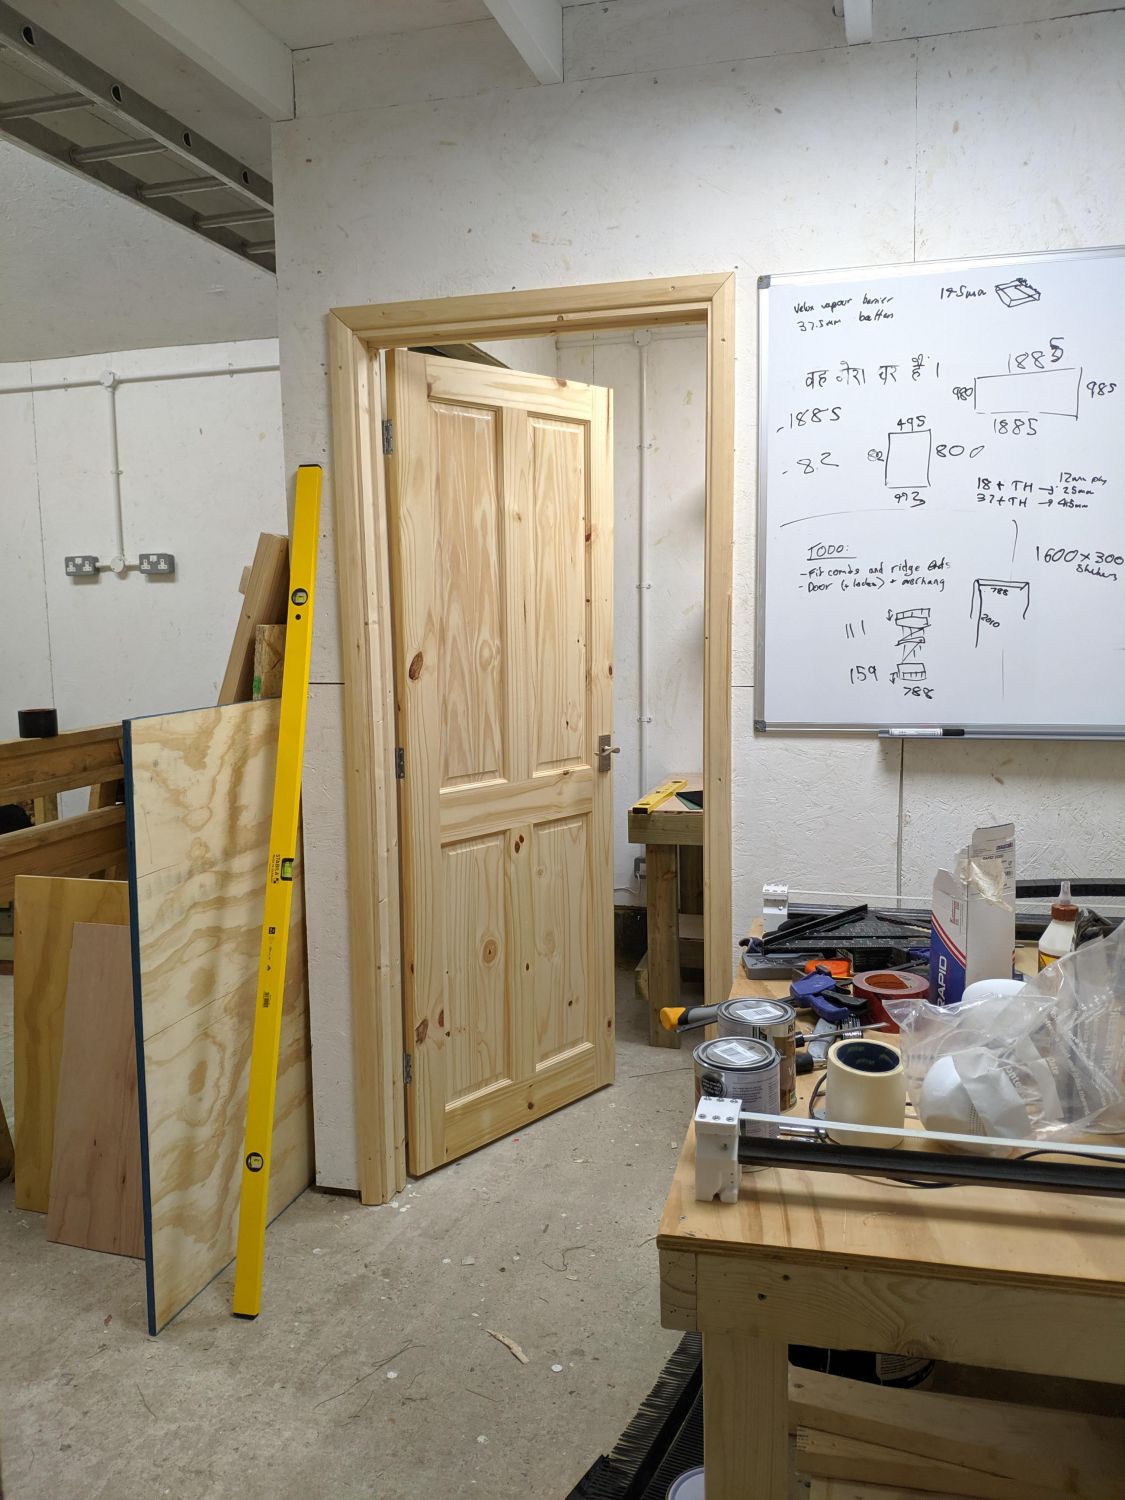
It was important the internal room of my workshop was closed to the outer room to prevent dust getting in any electronic test equipment. To do this I installed a standard internal door.
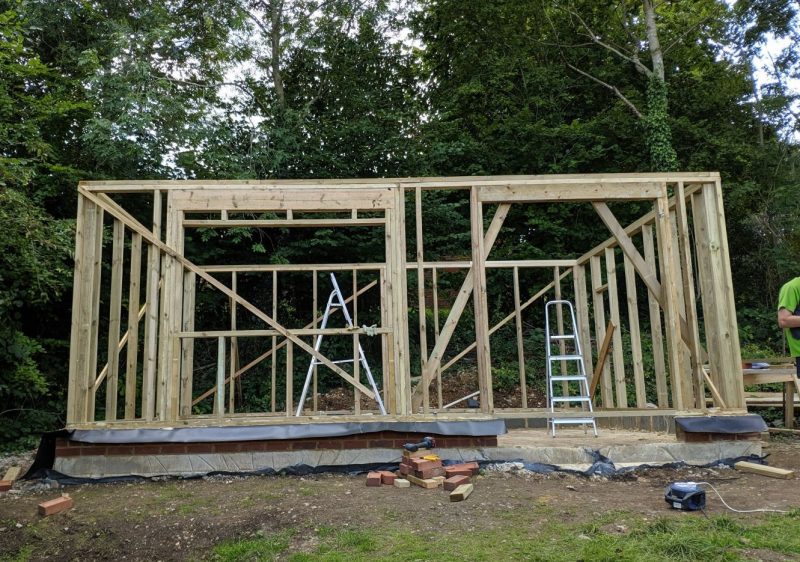
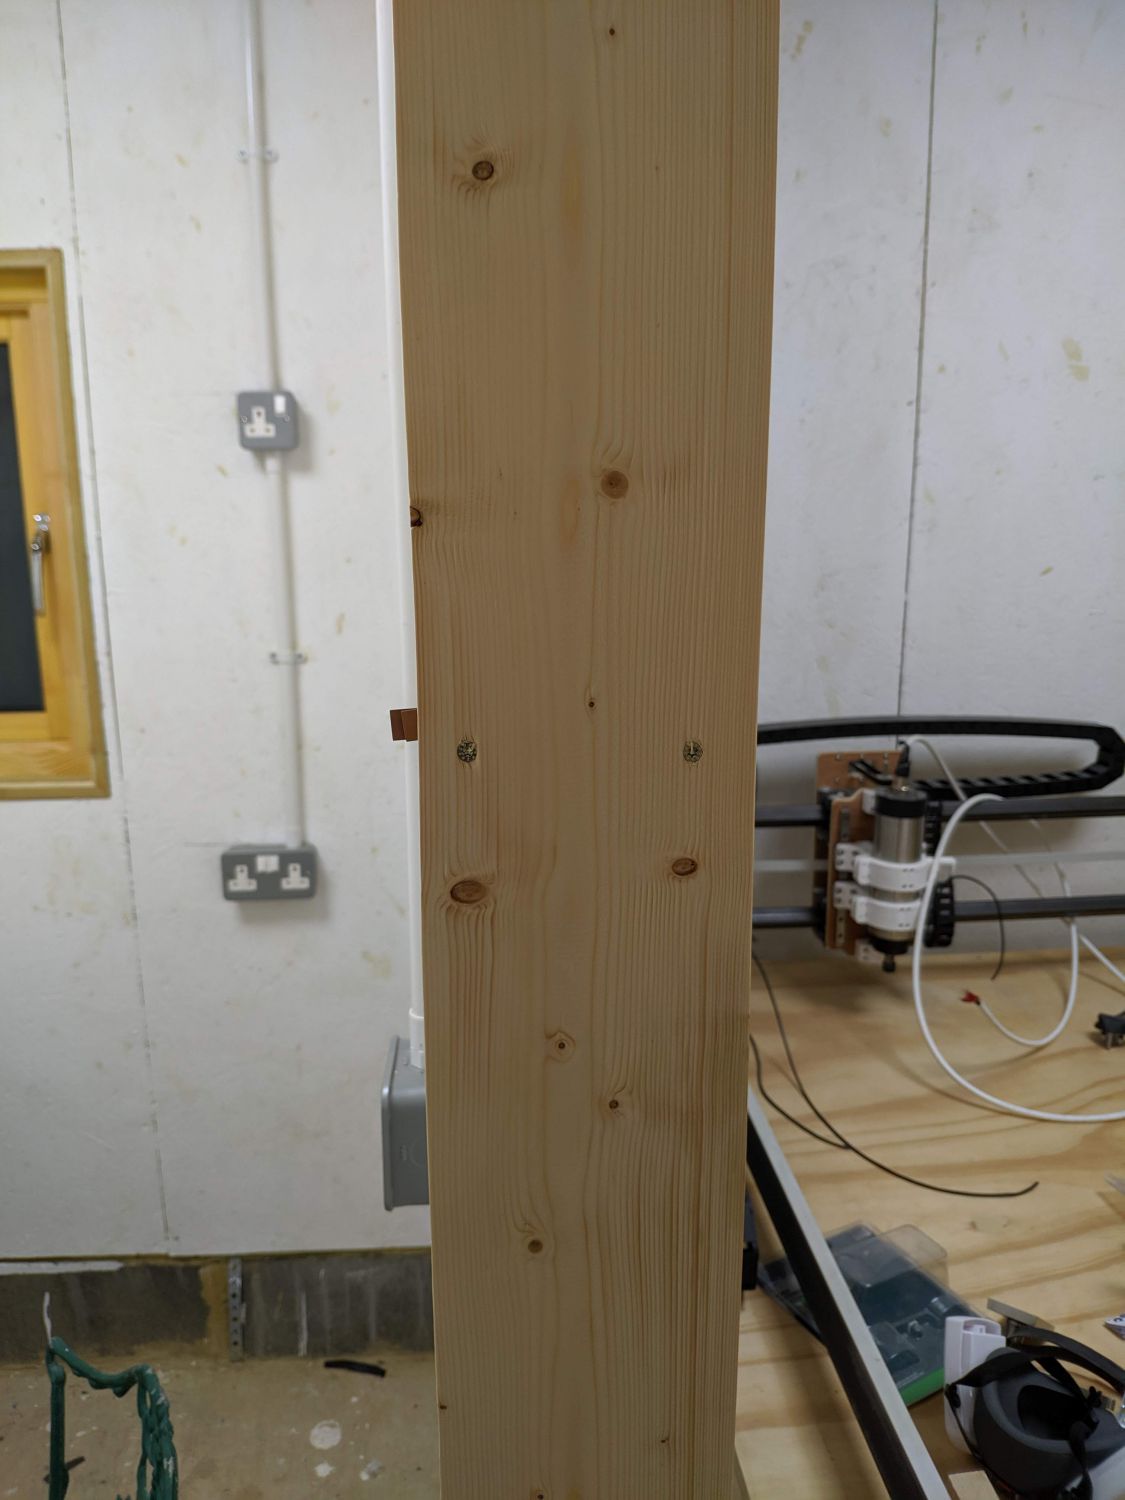
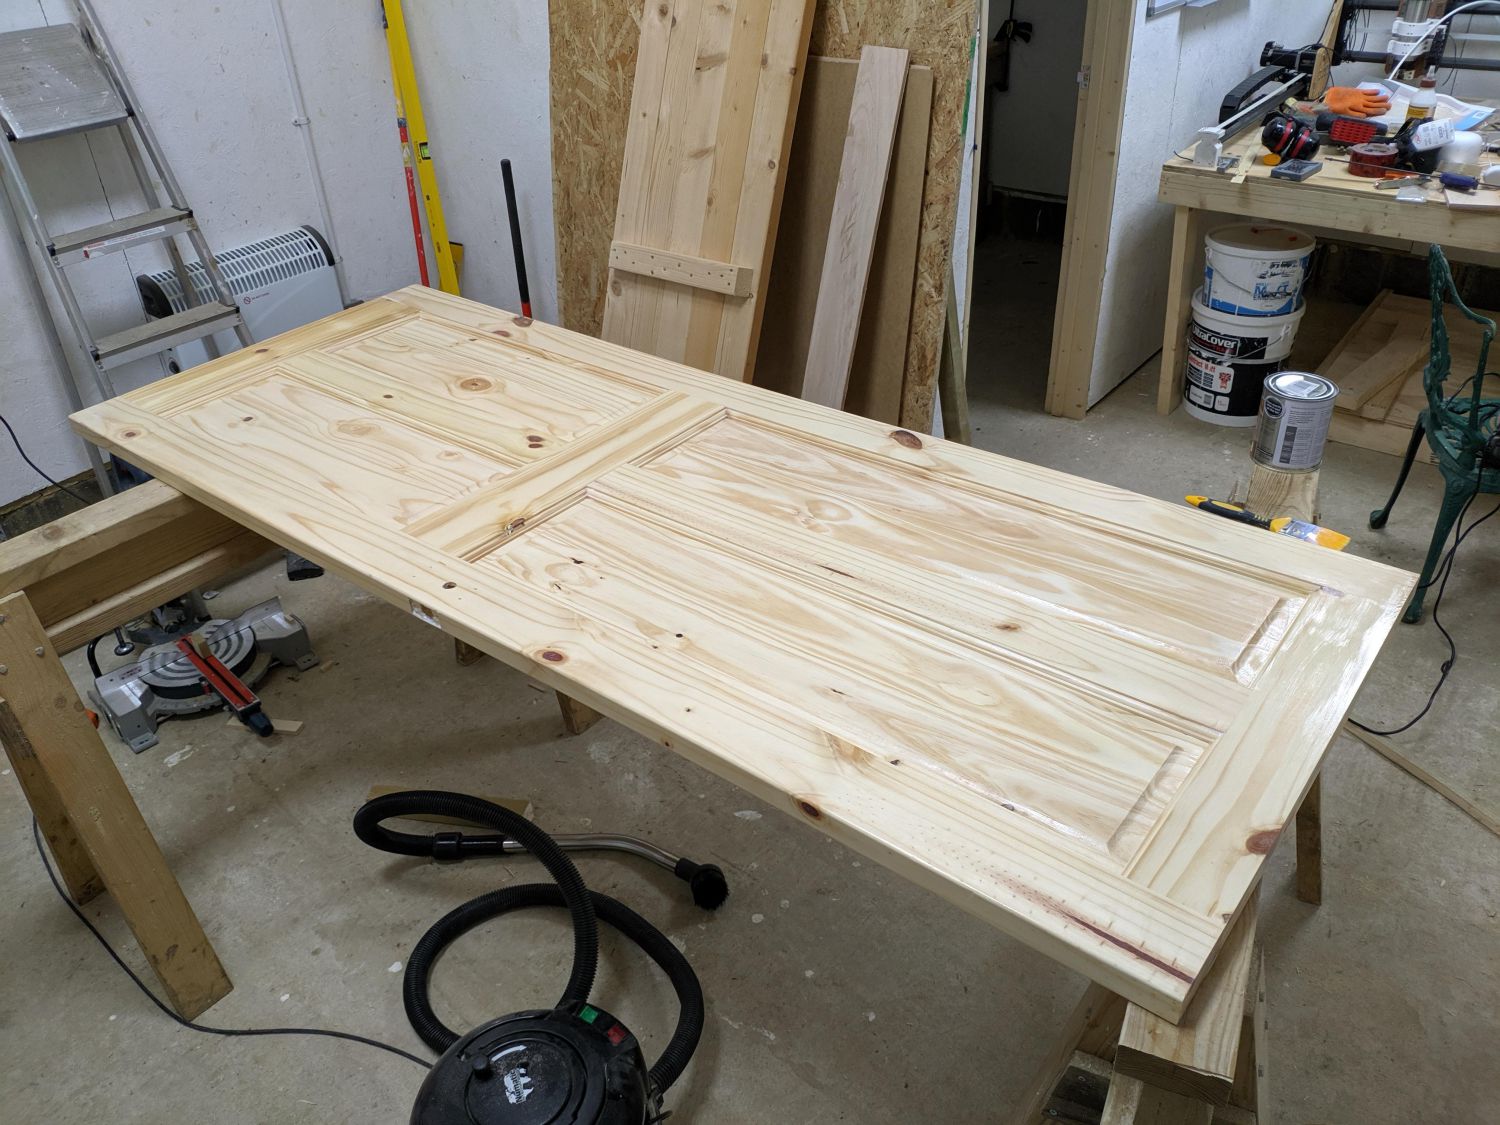
While framing I had created a ‘rough opening’ slightly larger than the size of the door and lining; this allows the lining to be fitted square and held in place with plastic packers. My chosen door was a standard 1981mm x 762mm (78×30″). Because it’s knotty pine it may be liable to warp so I installed 3x 3″ butt hinges and finished all timber with three coats of matt varnish.
Lining
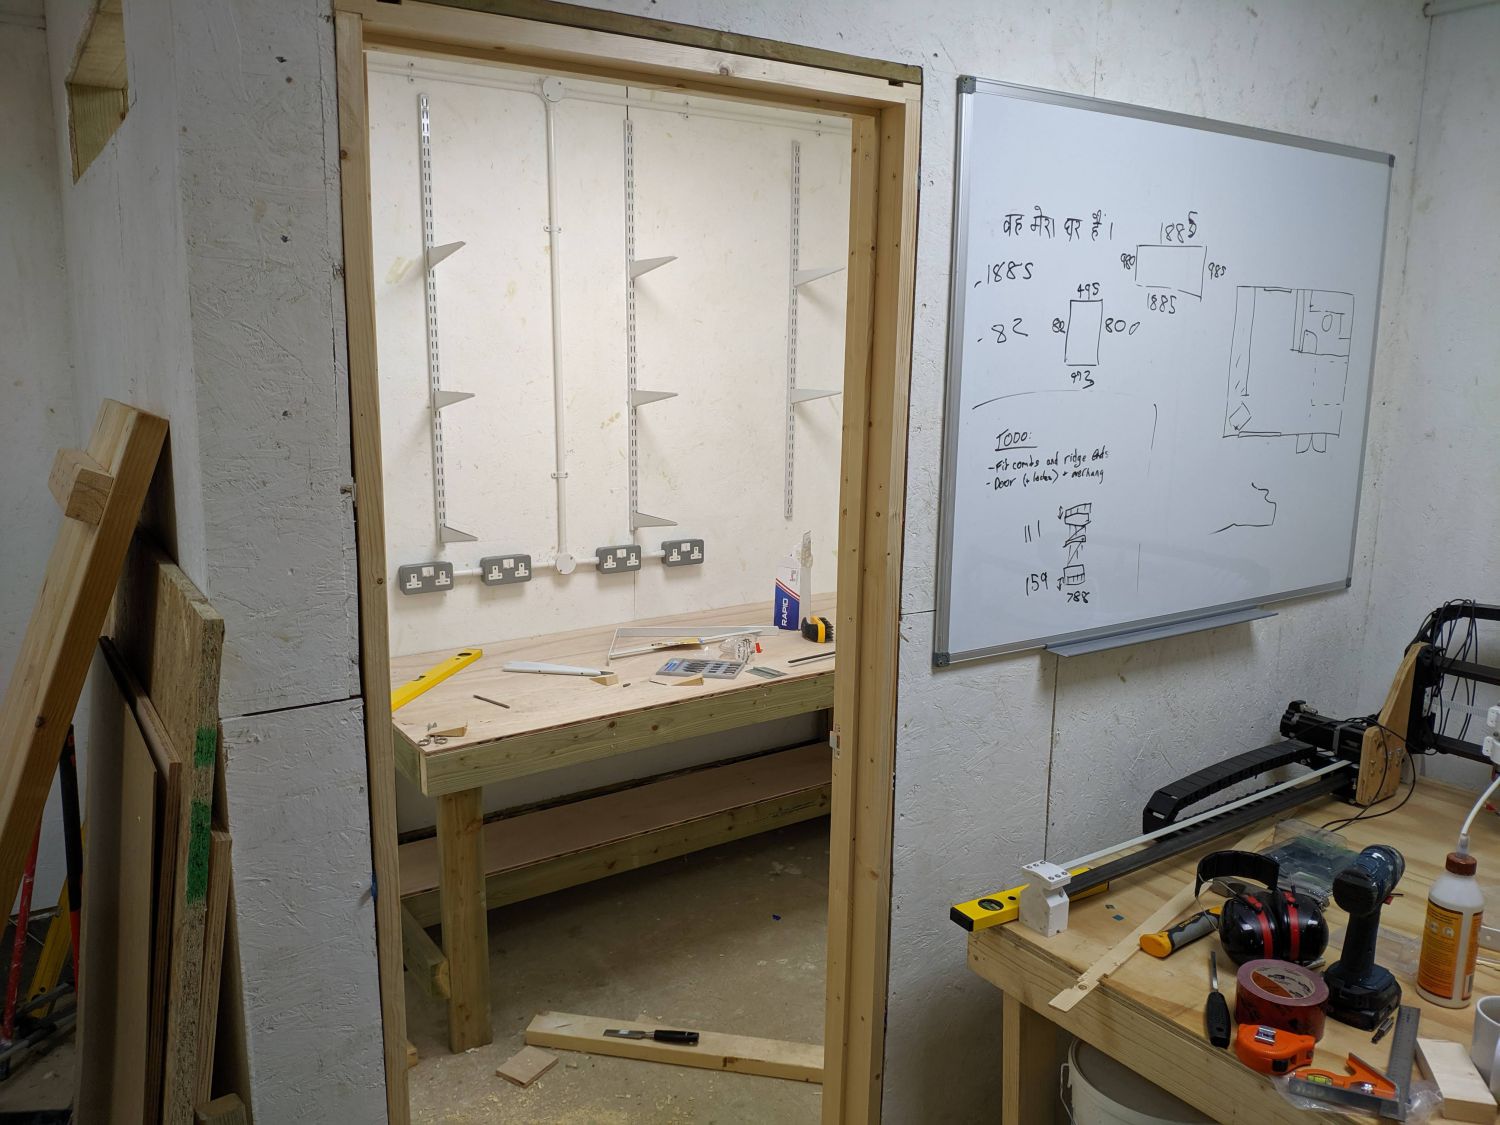
The first step was to assemble the door lining and square it in the rough opening. Because the depth of the rough opening was non-standard, I had to rip the lining to width with a circular saw so it lined up with the wall surface. The lining was notched for two sizes of door and after knocking the side timbers into the correct slots I secured them with screws though the top timber. I then used a hand saw to cut the overhang of the top timber flush.
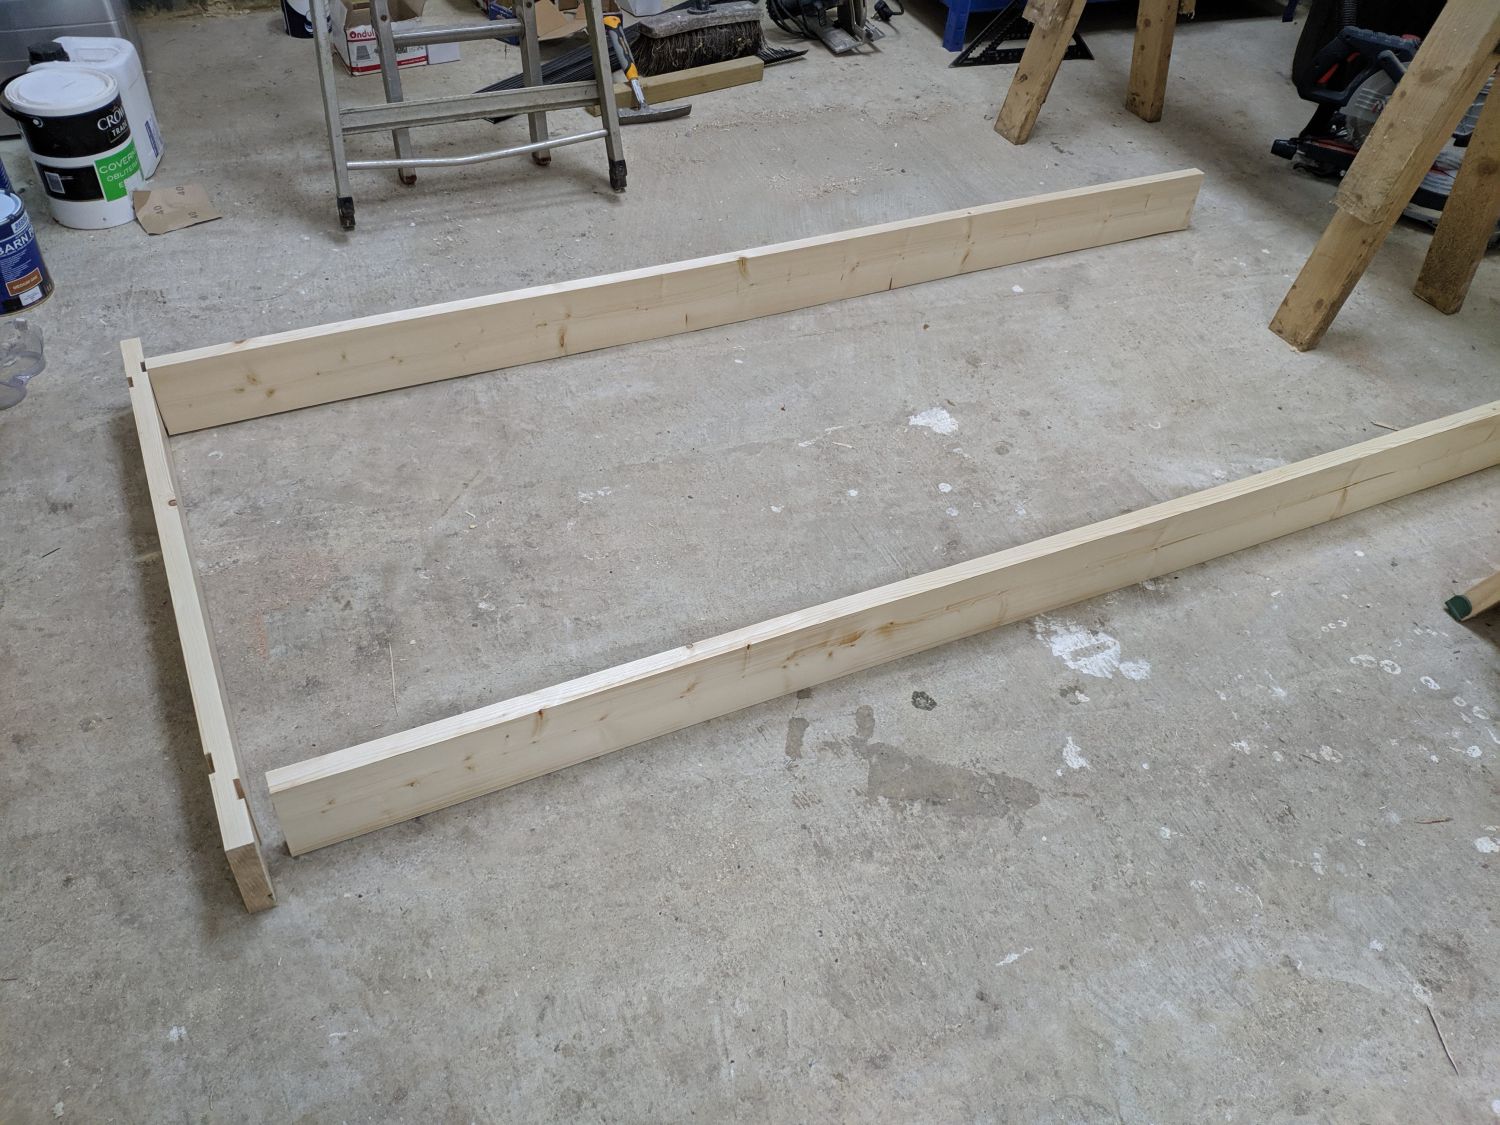
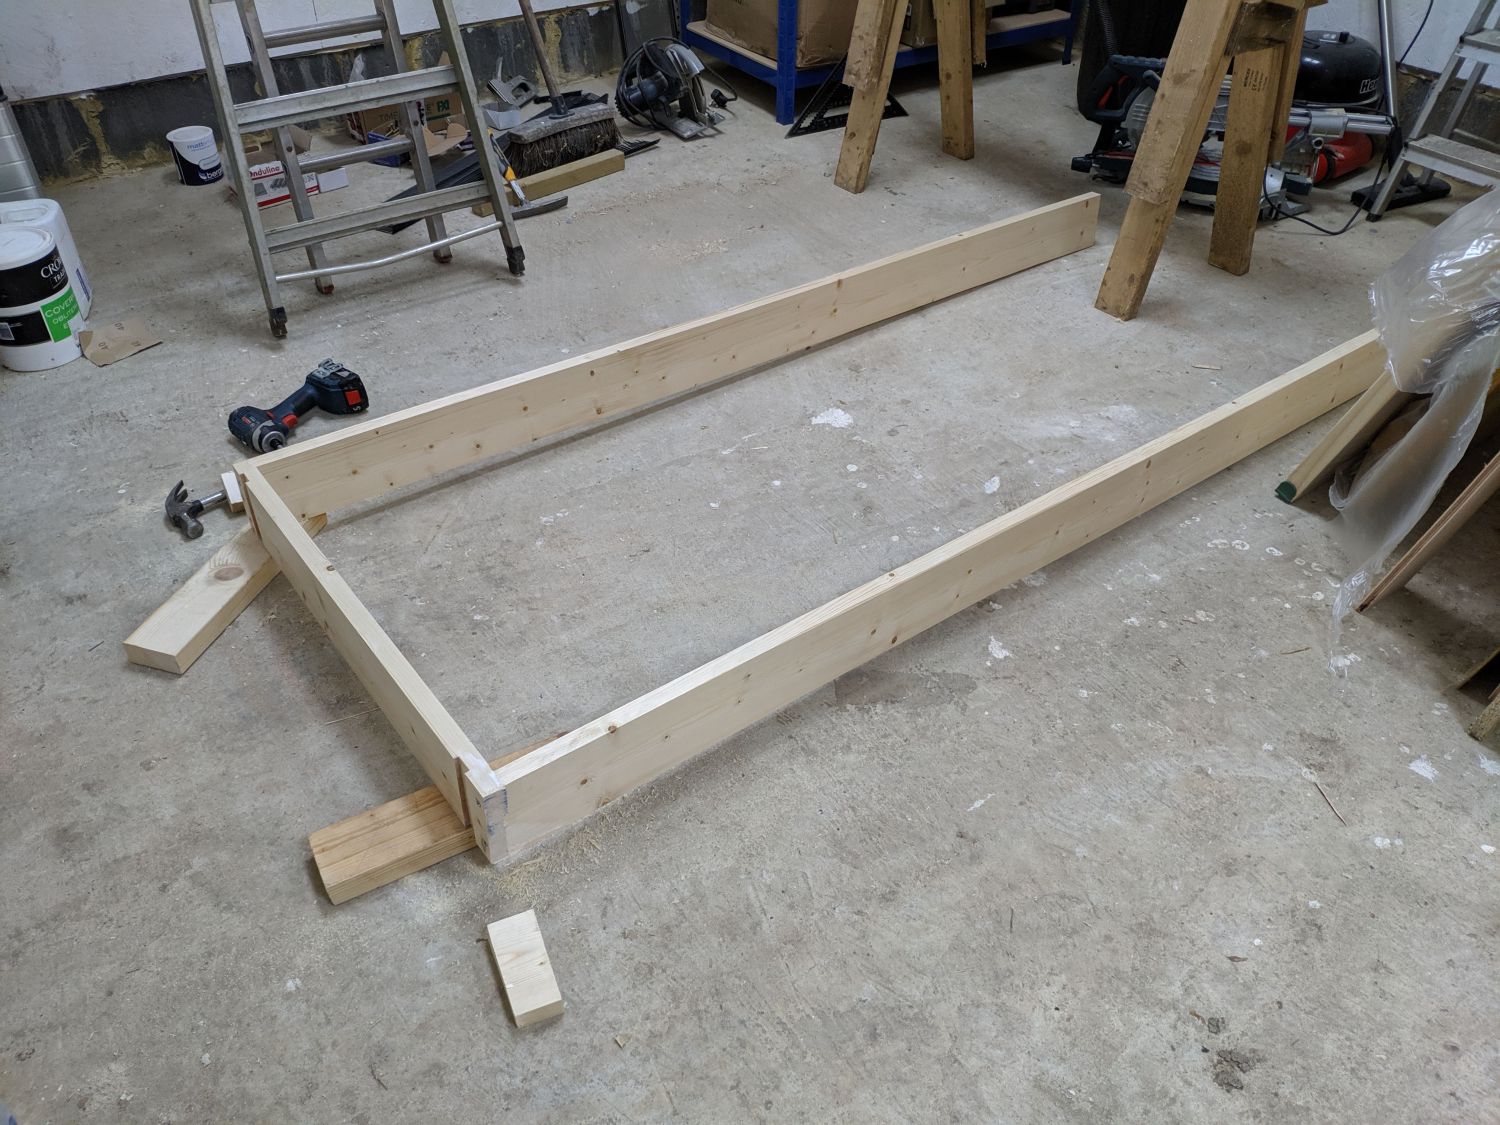

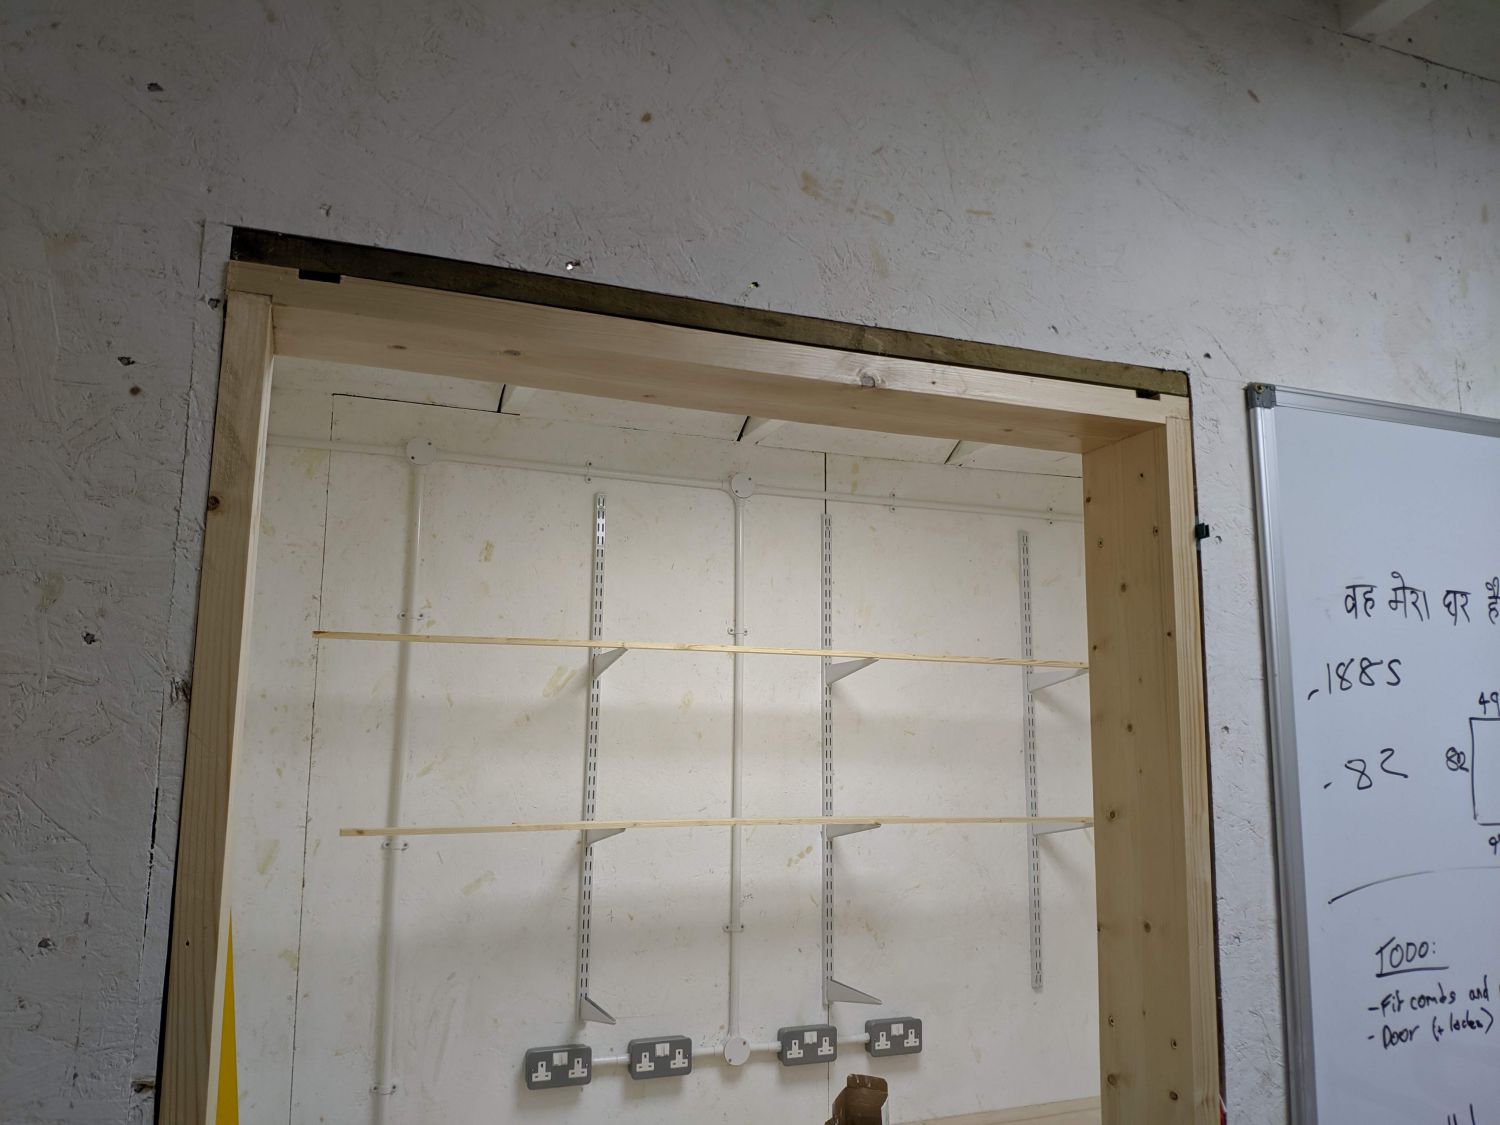
I installed a temporary spacing timber at the bottom of the frame to keep the sides parallel. By checking the diagonals of the lining I ensured it was square before adding angled braces.
After a test fit I finished the lining with three coats of clear varnish and screwed it into place, using a level and packers to keep the timbers straight.
Hinges and hardware
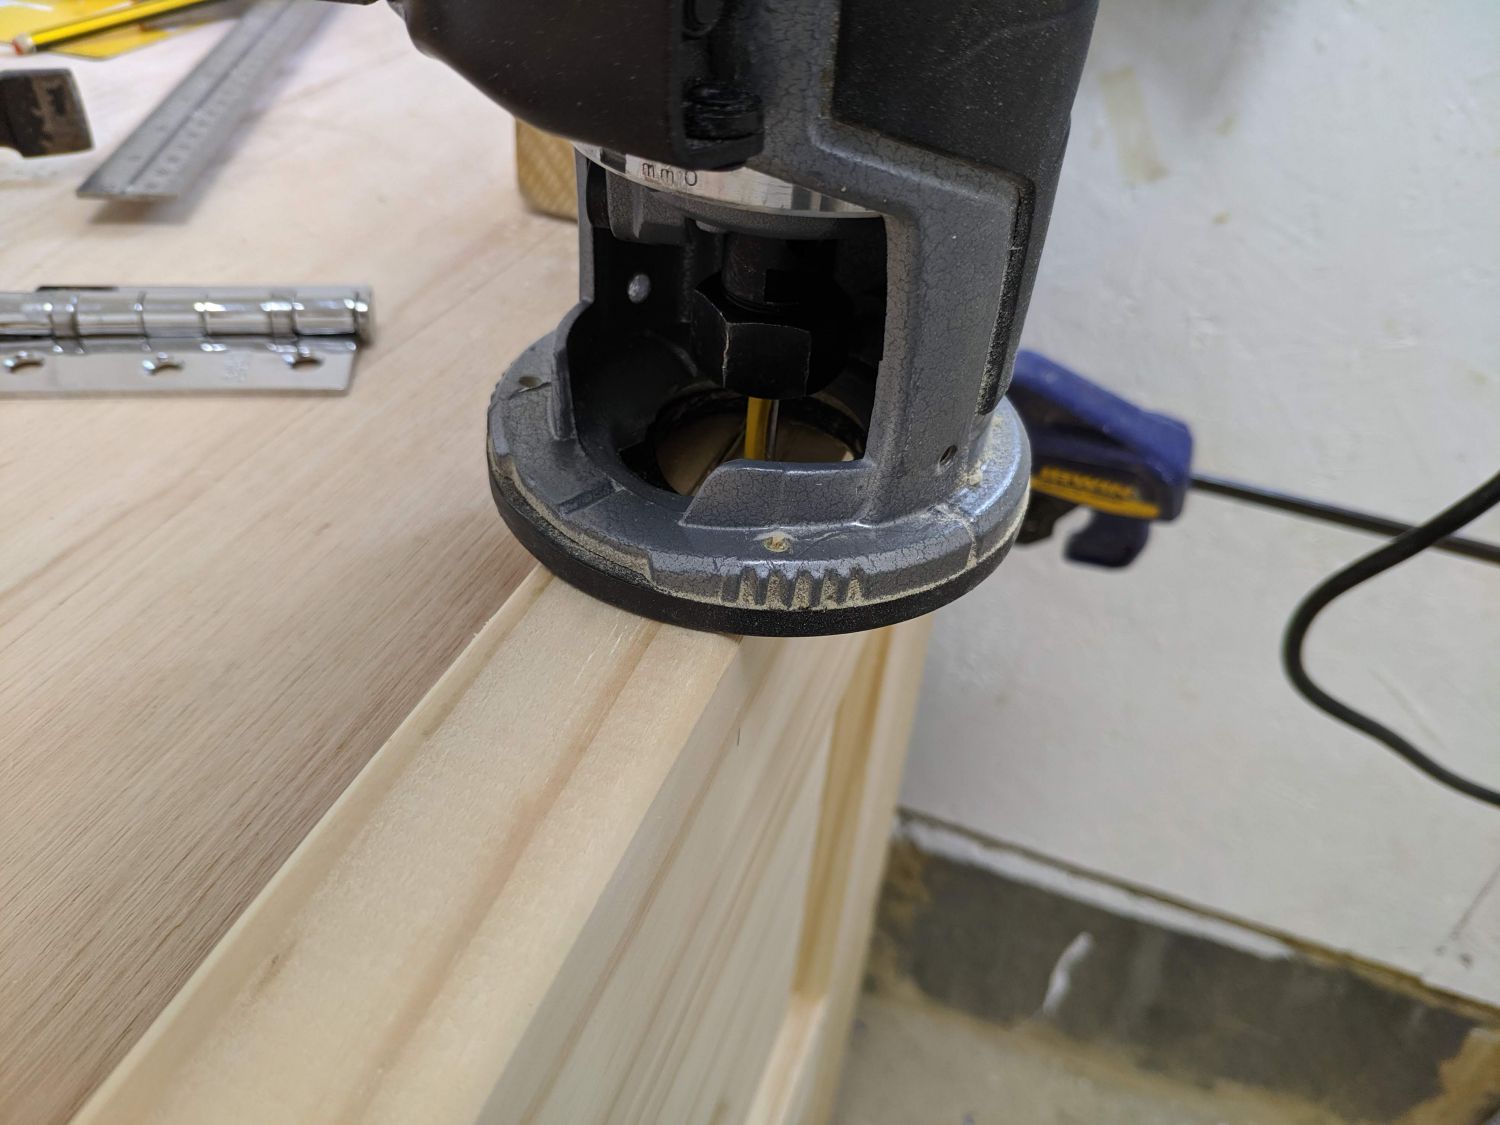
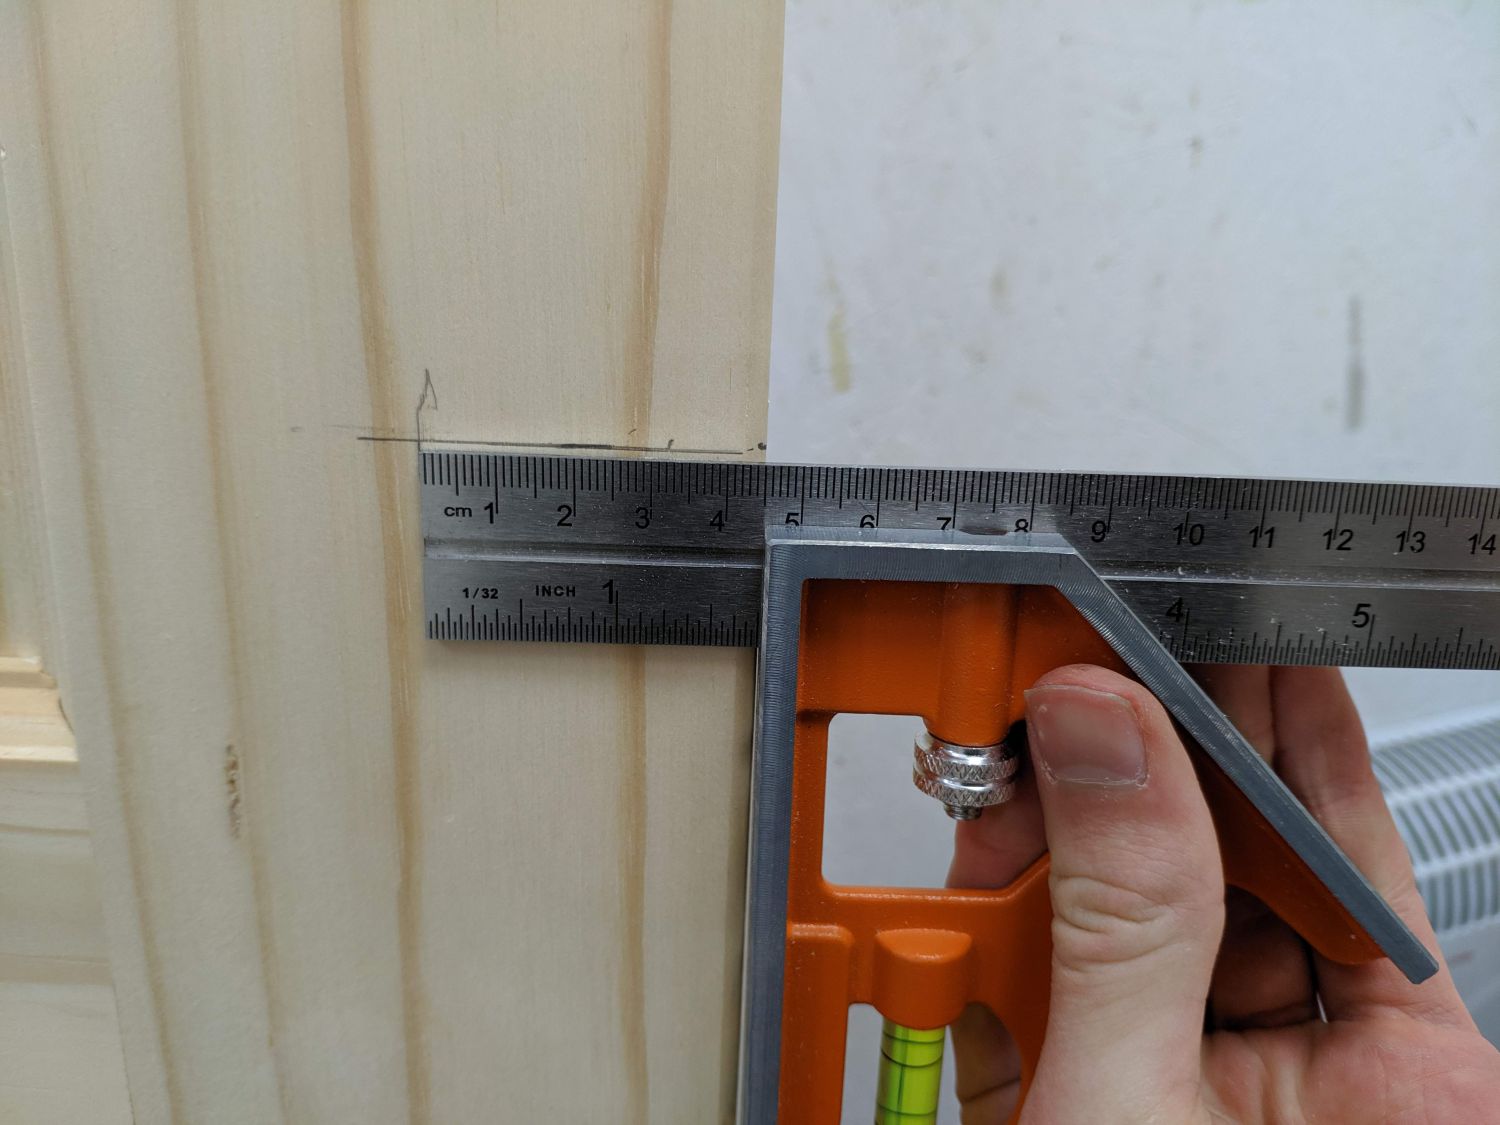
The door I purchased fit perfectly in my opening and did not need to be trimmed to size so I could move on to installing hardware. I marked out hinge notches on the side of the door with a combination square before cutting the outline with a sharp chisel. I could then finish the job with a straight cutter on my palm router.
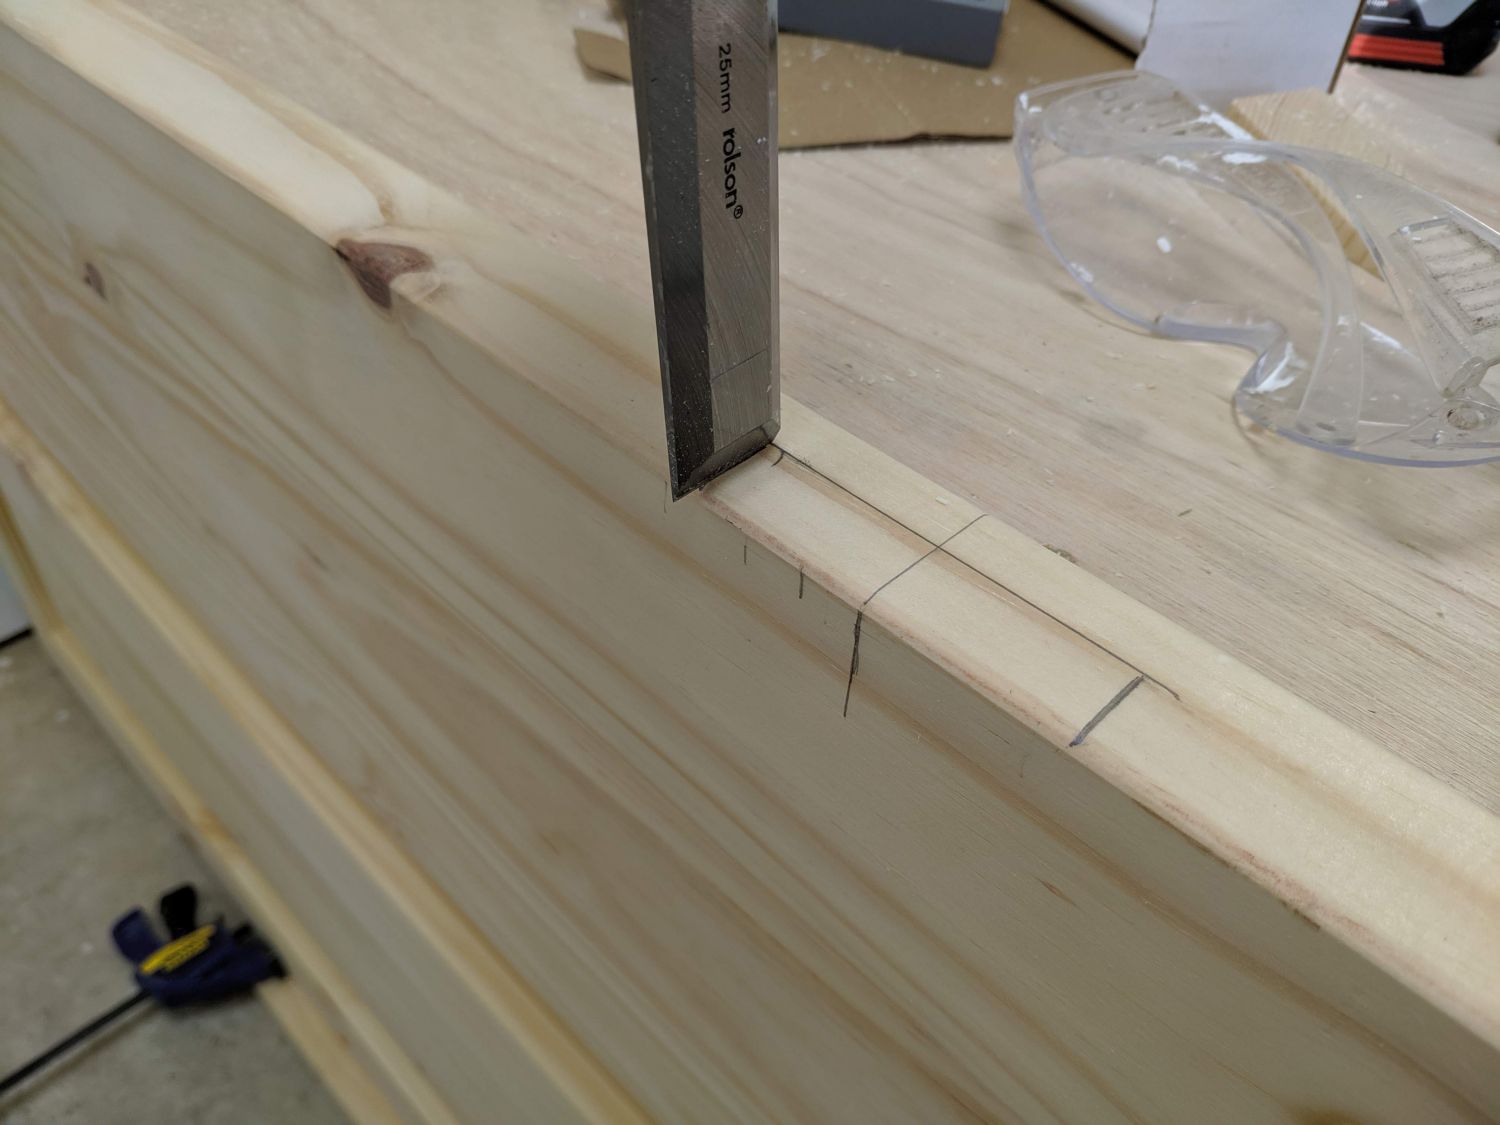
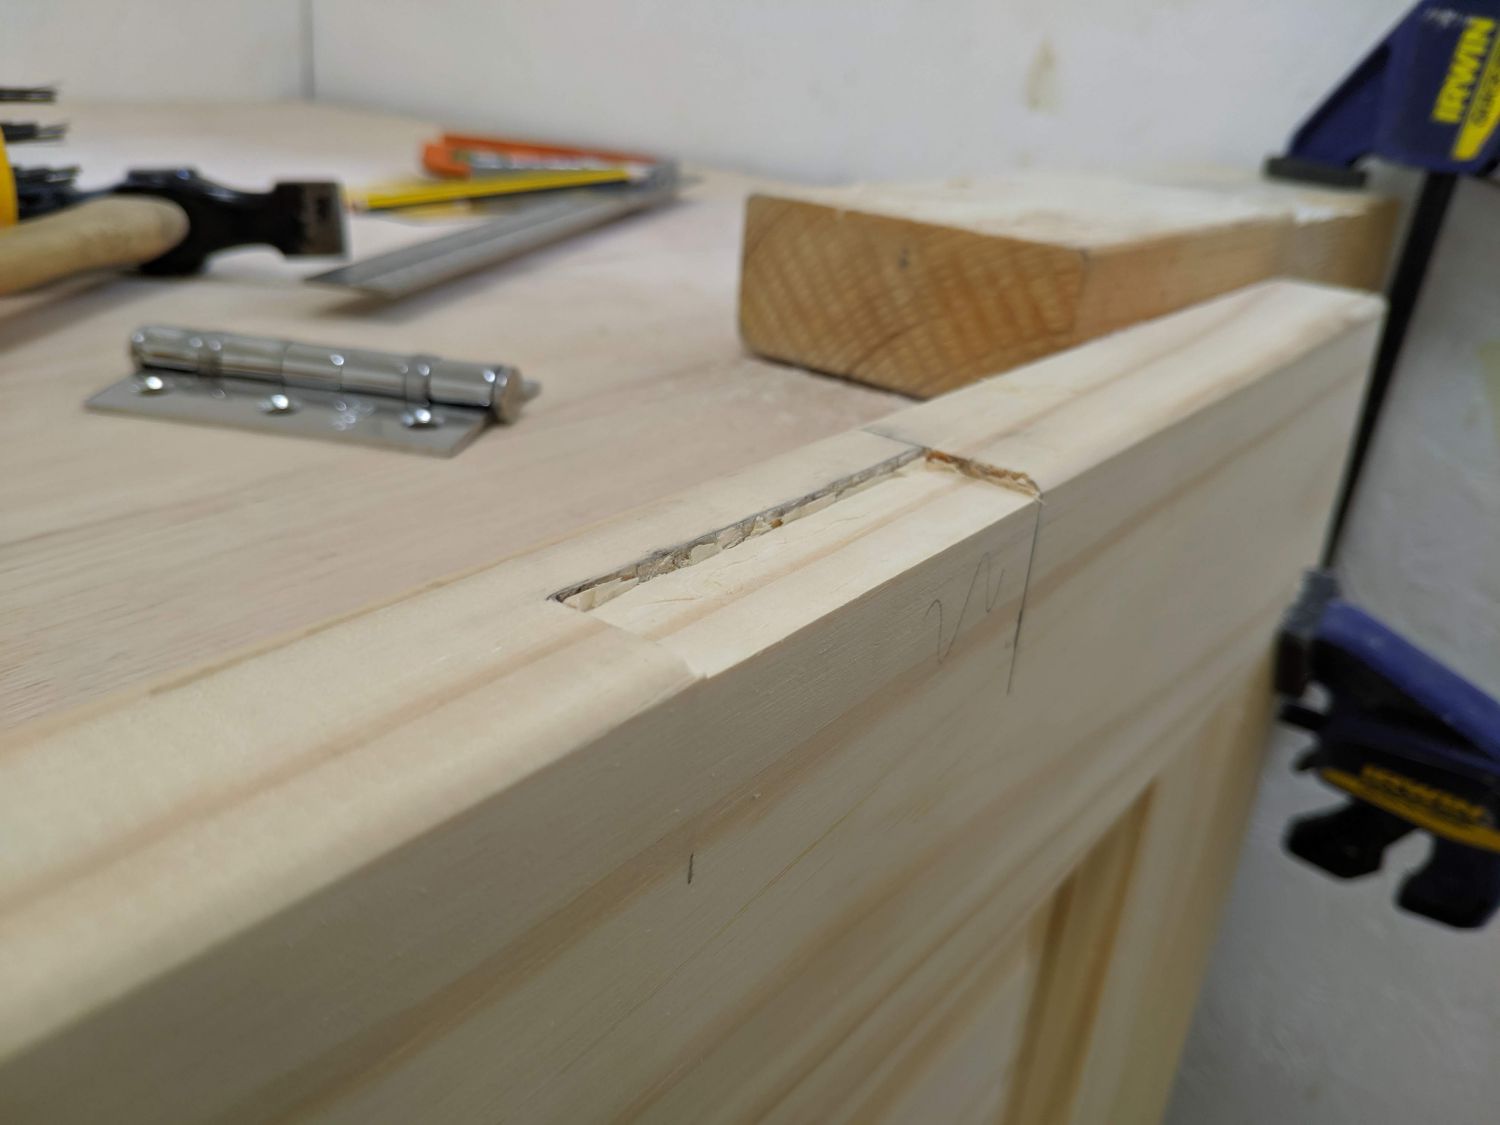

The top hinge is located 6″ from the top and the lower hinge is 9″ from the bottom to make them appear equally spaced when hung (and the bottom is further from the observer). I notched out a centre hinge slot directly between the top and bottom hinges.
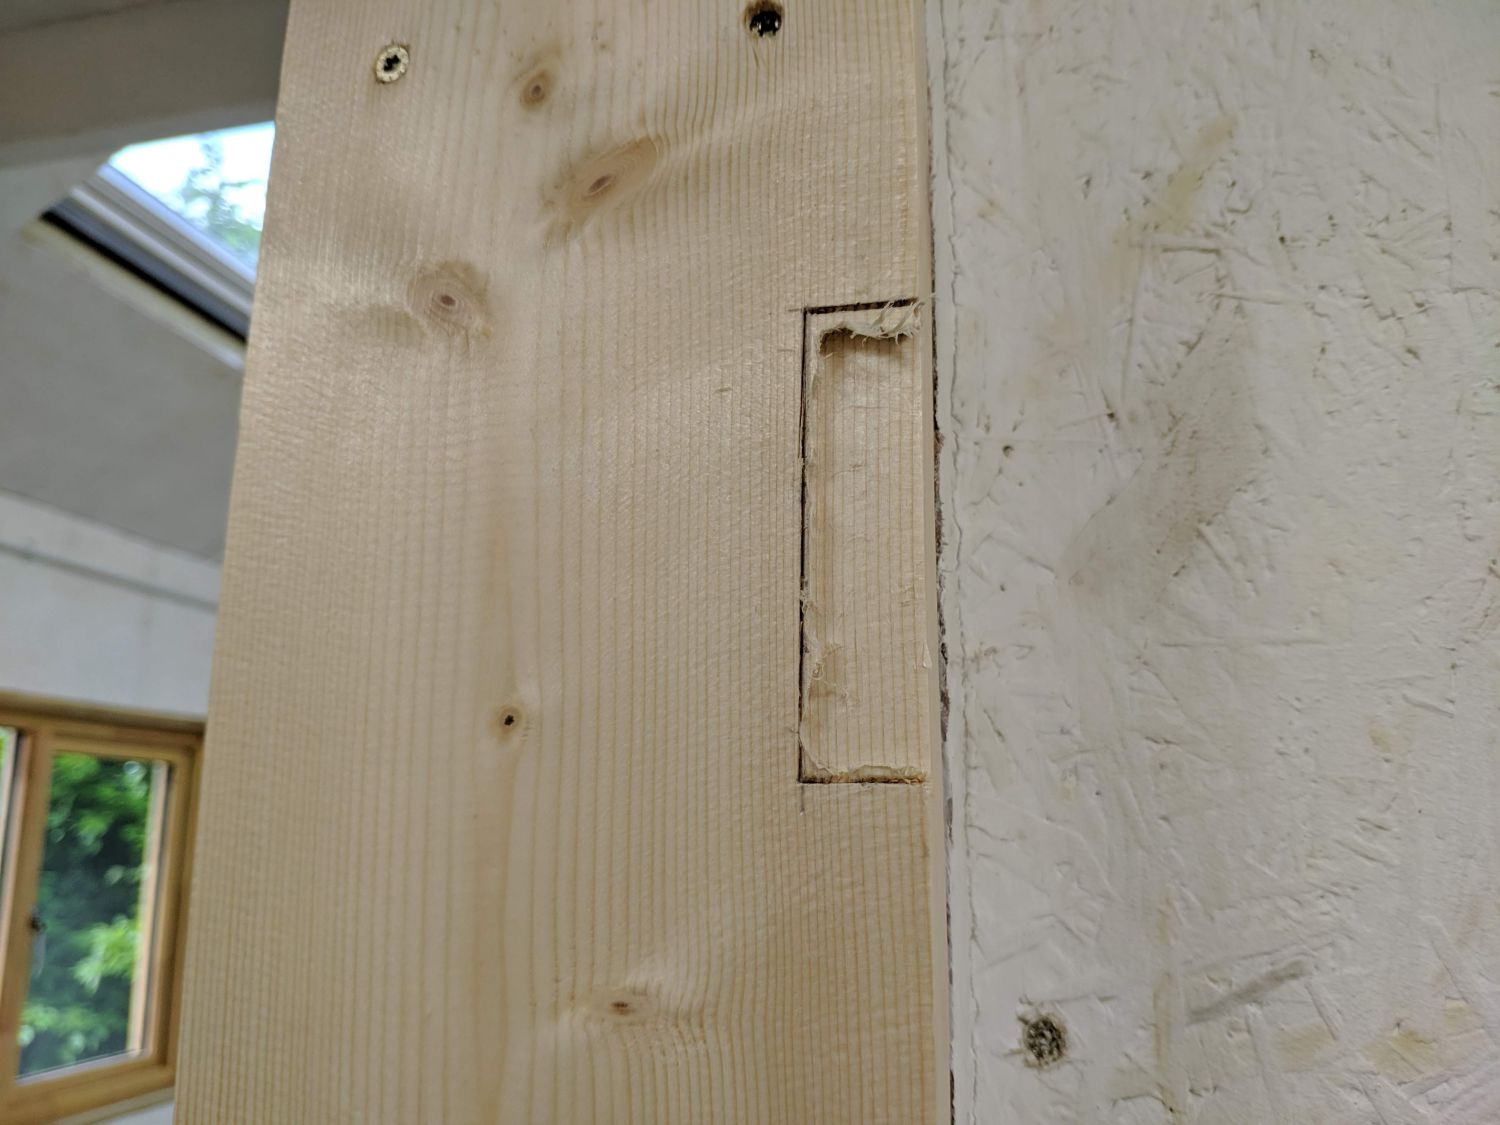
I copied the measurements over to the door lining and made more notches to accommodate the other halves of the hinges.
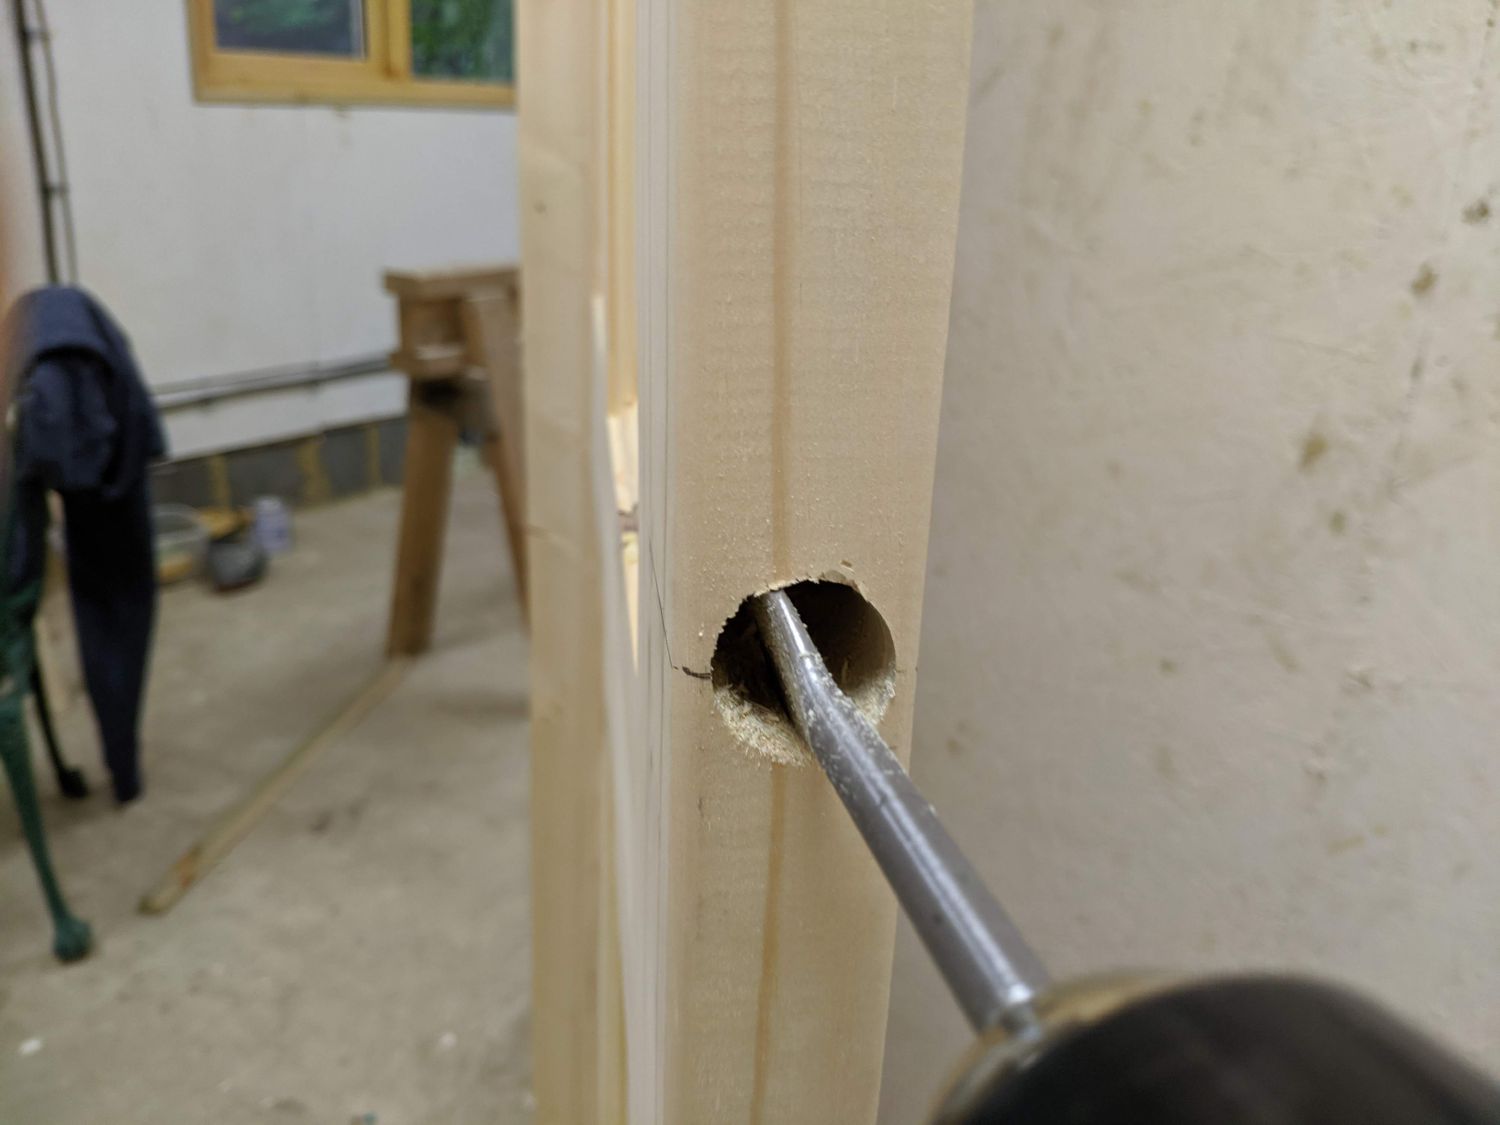
Next I moved on to handle and latch installation. I drilled a 24mm hole into the edge of the door with a spade bit, deep enough to accommodate the latch. I then drilled a second hole through the door where the spindle would sit. Finally I chiselled out a notch so the tubular latch plate was flush with the door edge and screwed in the handle.

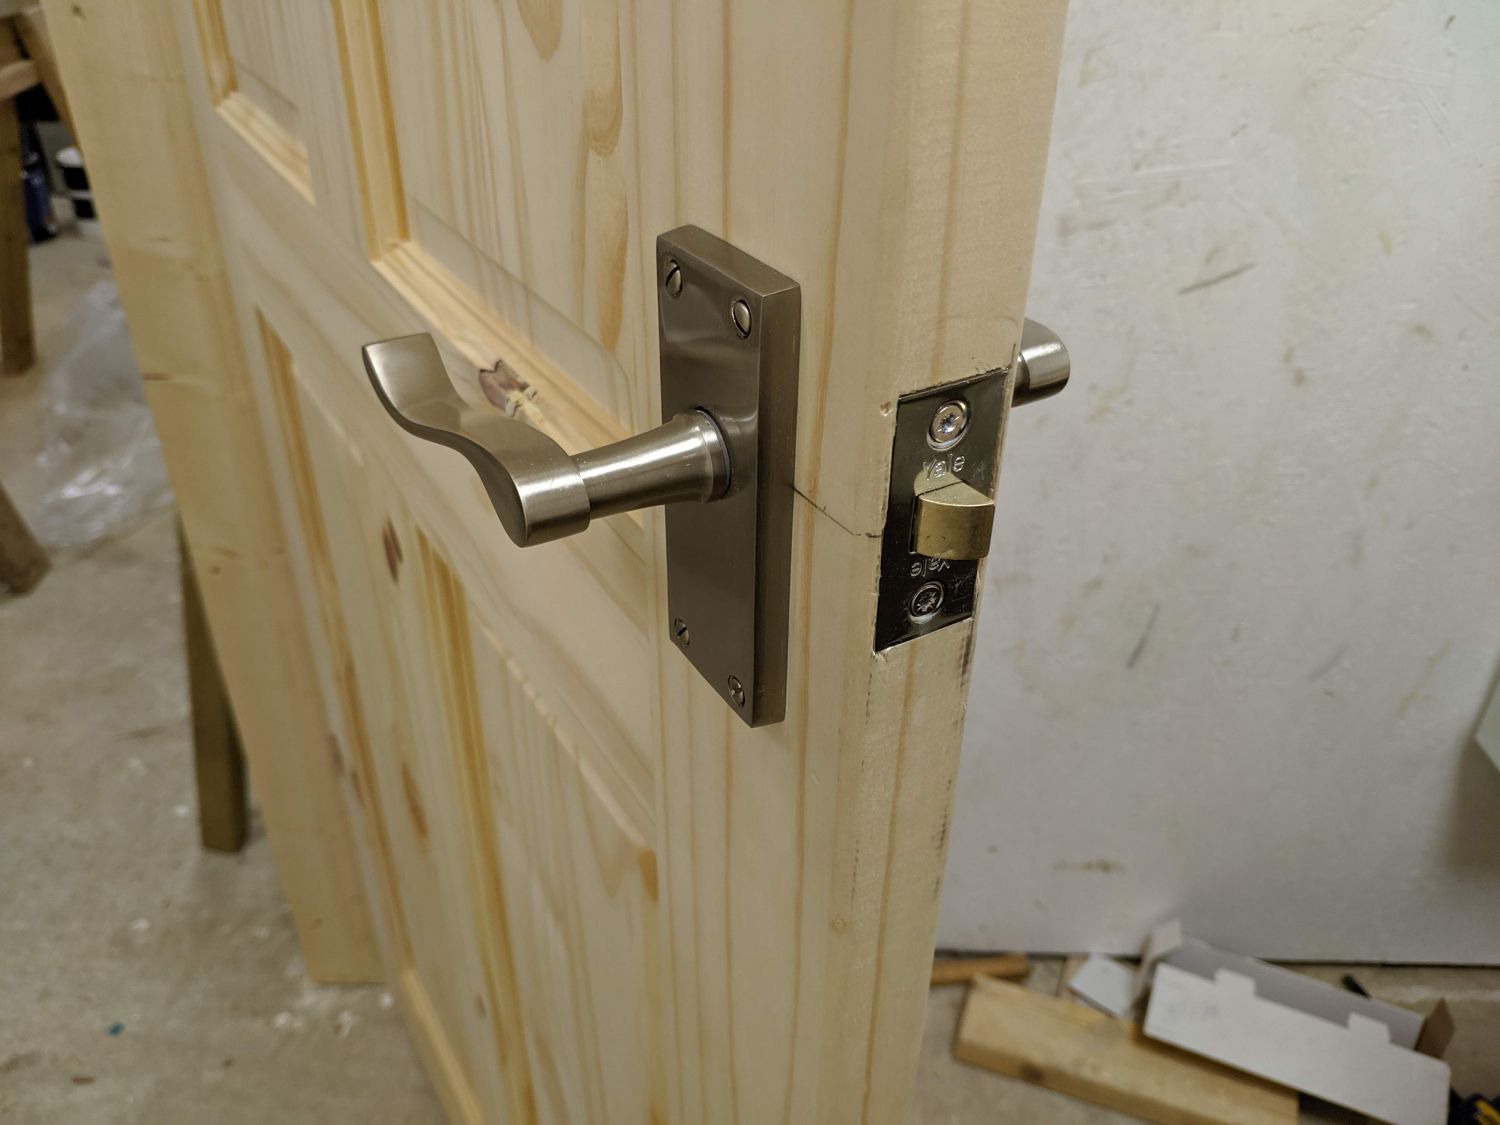
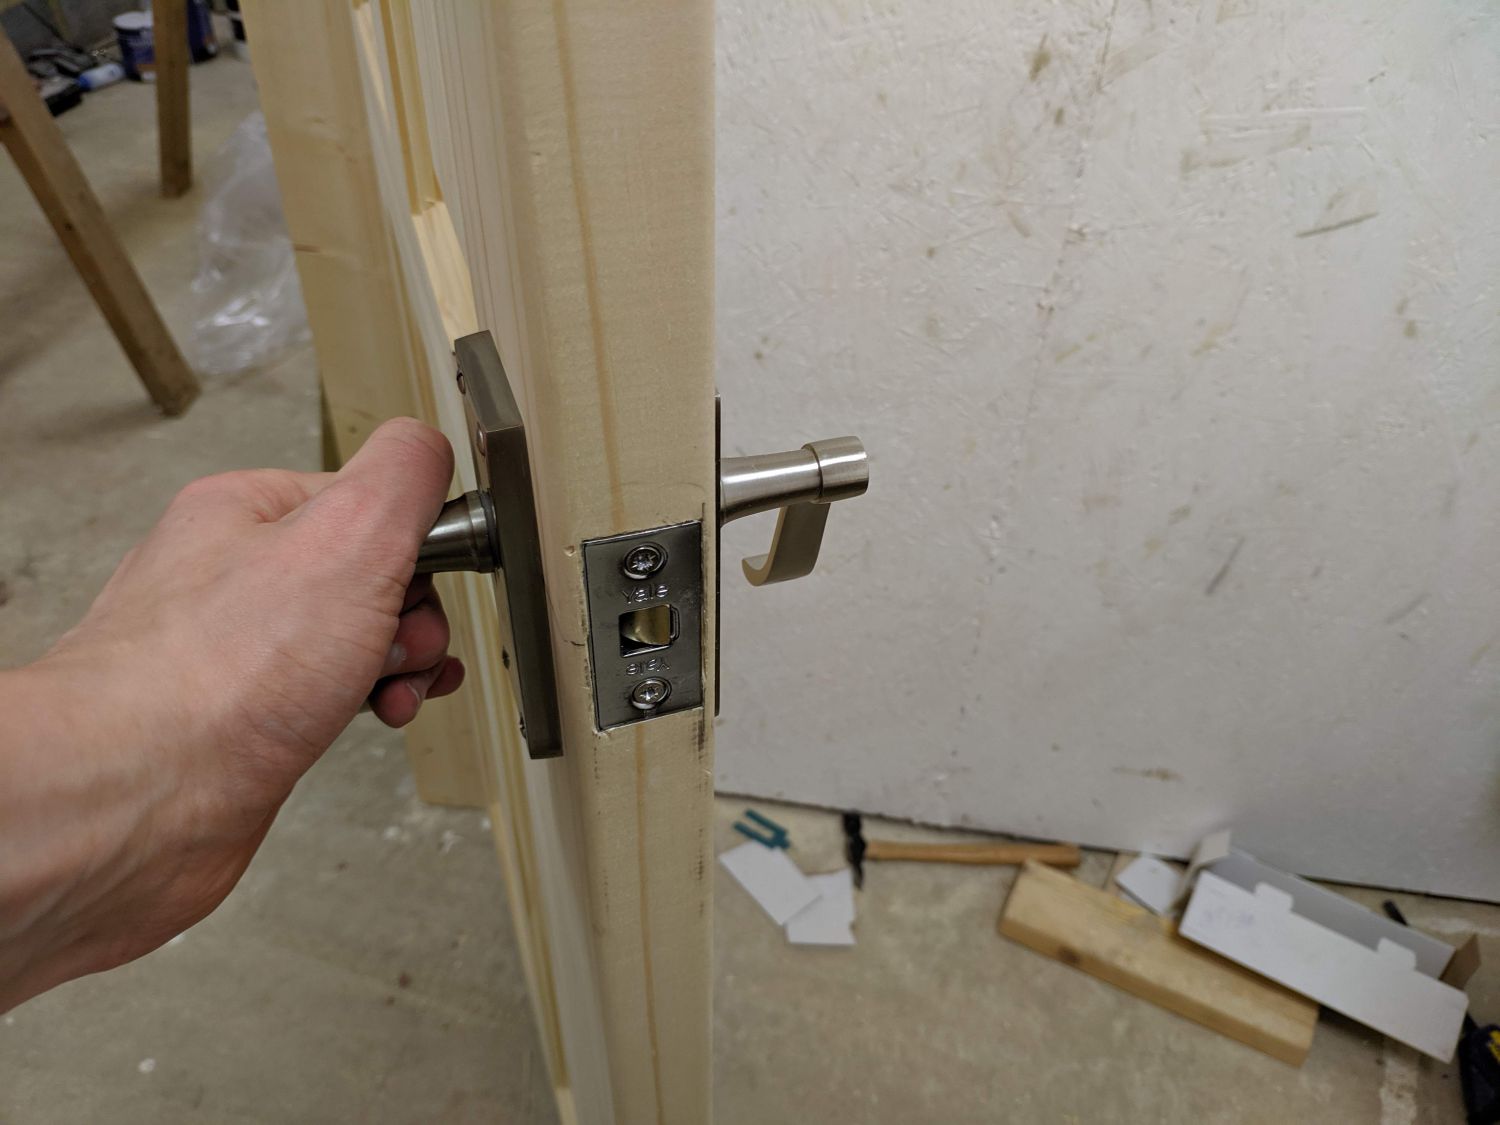
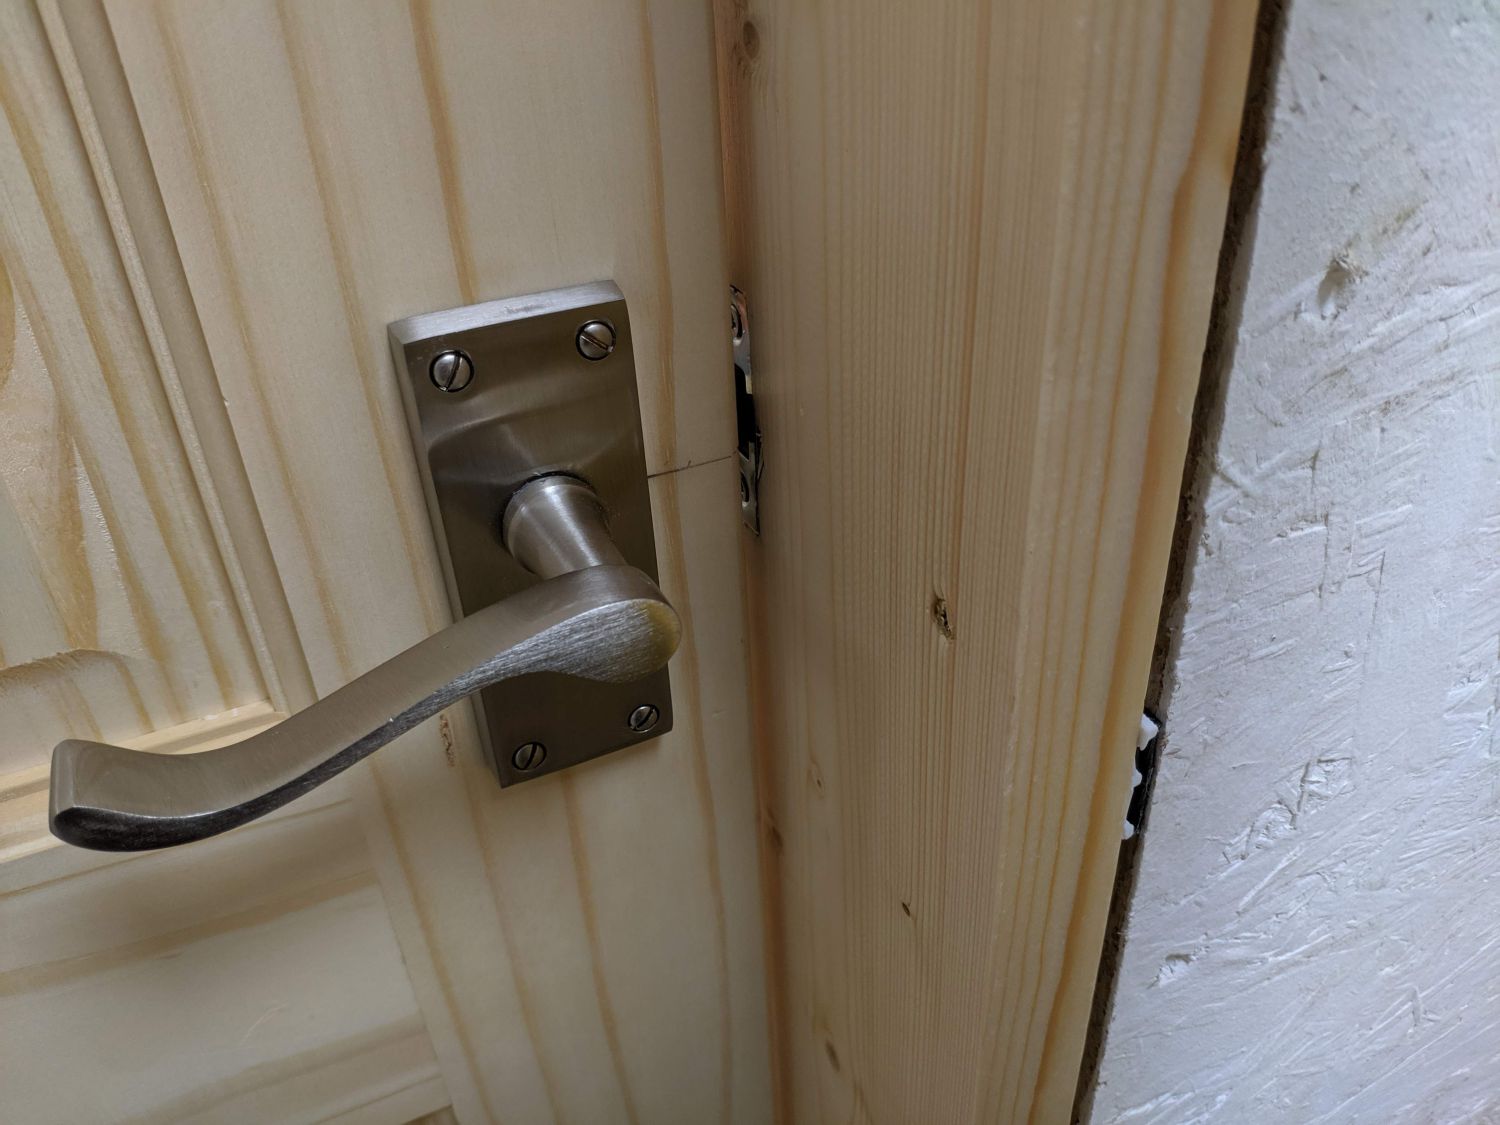
A similar process was used to create a notch for the strike plate.
Finishing and hanging
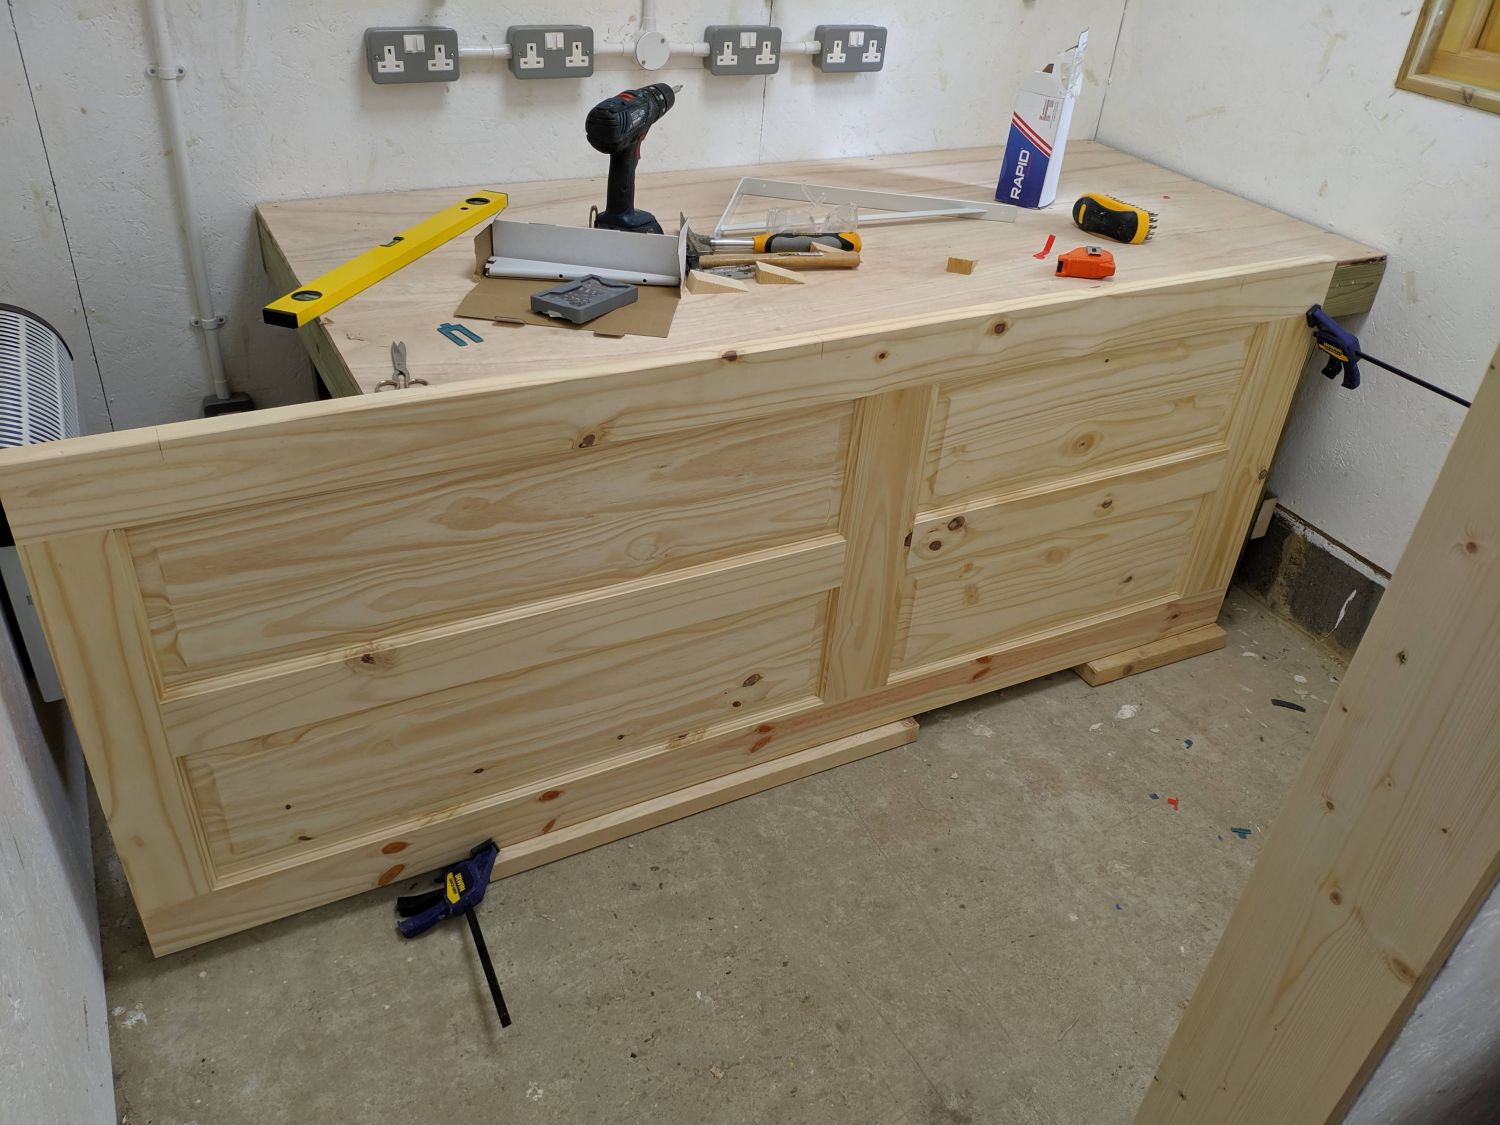
With all notches and screw holes made I unhung the door and removed the hardware for finishing. I brushed on 3 coats of varnish to the door, one side at a time. I also finished the stops and architraves.
After rehanging I screwed in the stops right up against the door with the latch closed – these timber strips cover the gaps around the door and prevent damage to the hinges in case of slamming.
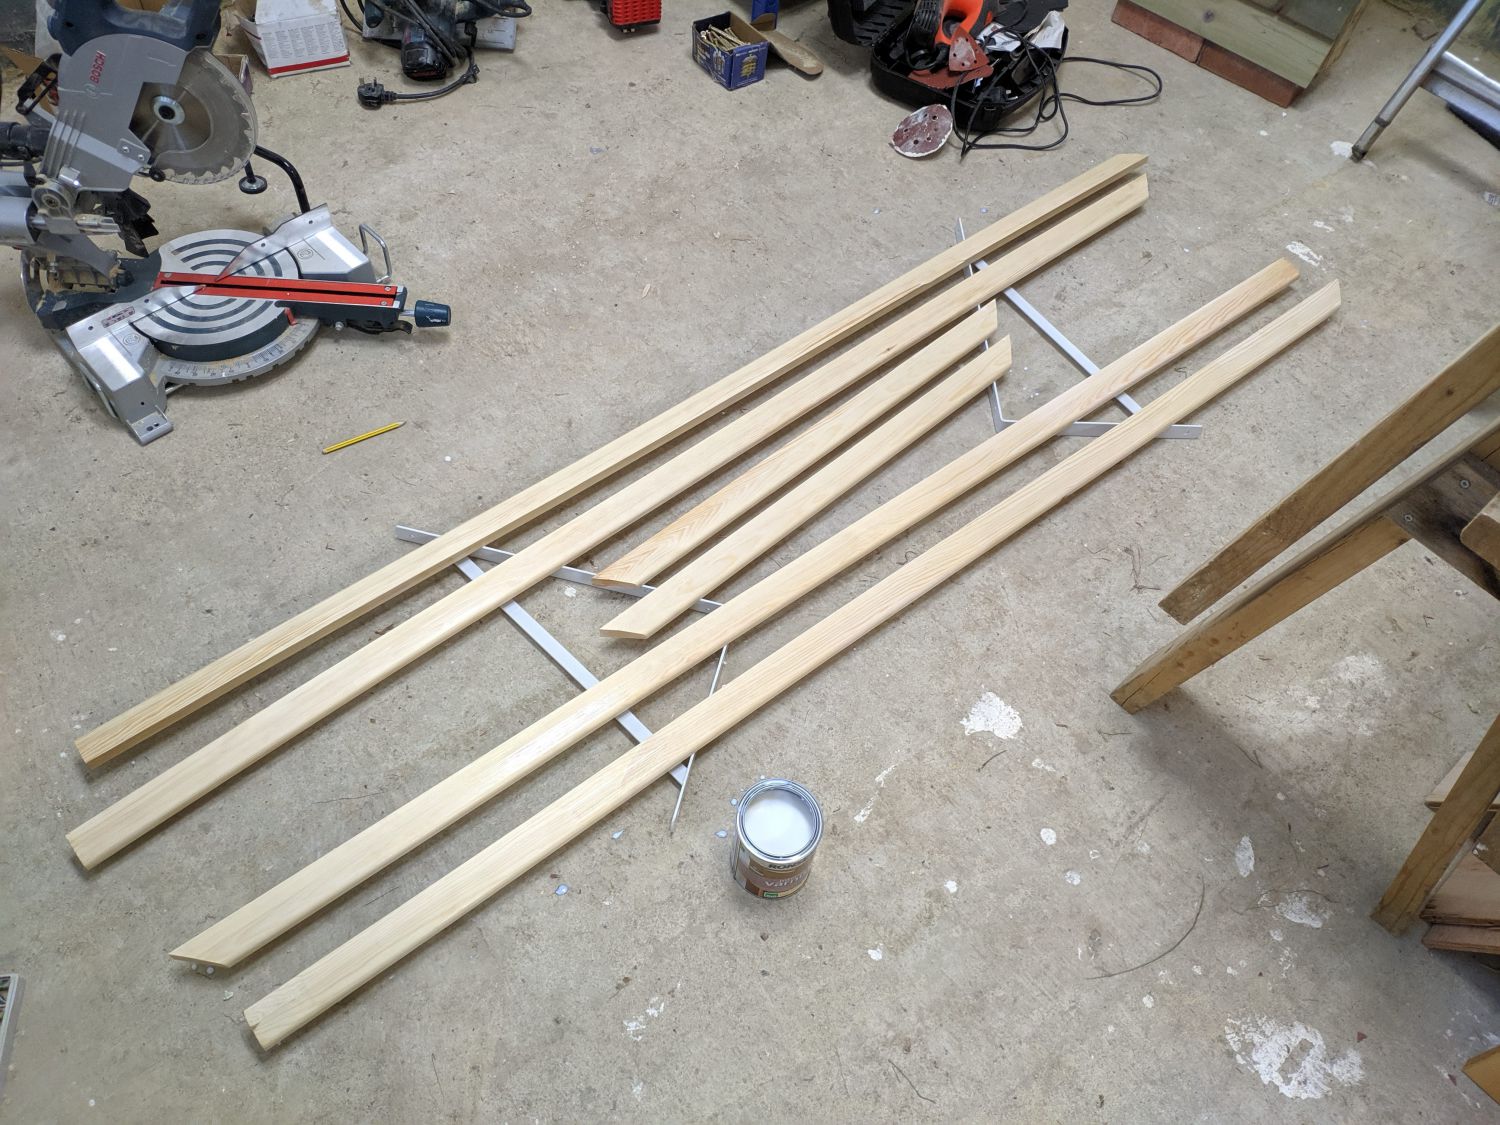
The timber architraves, also knotty pine, are fixed across the gap between the door lining and wall as a finishing touch to the door aesthetic. I mitred the top corners and ensured they were held a few millimetres off the concrete.
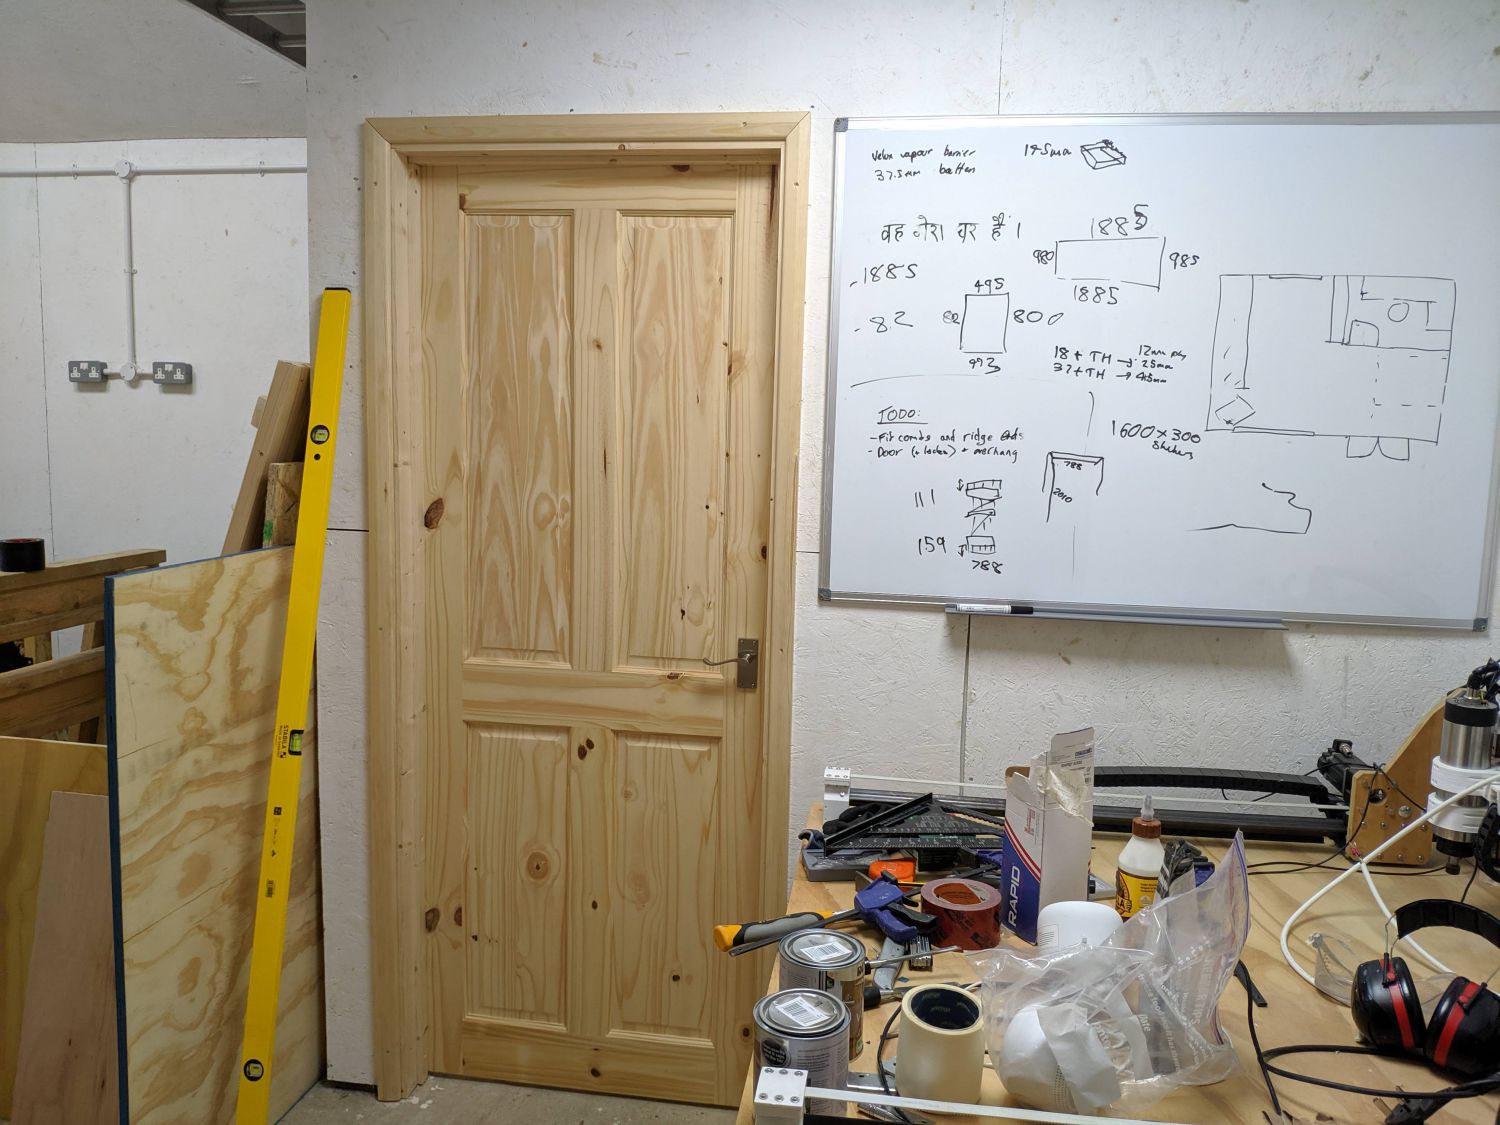
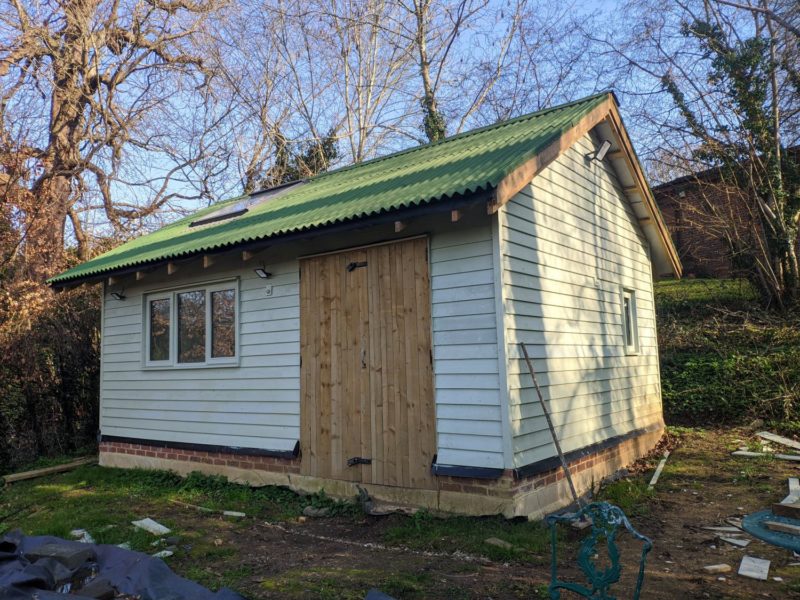
The internal door works well and makes the shed feel much more like a proper building; it should also help with dust management once the internal window is in place.