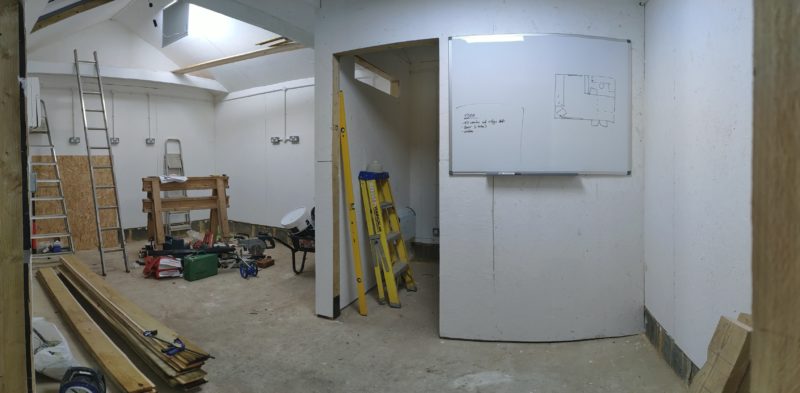
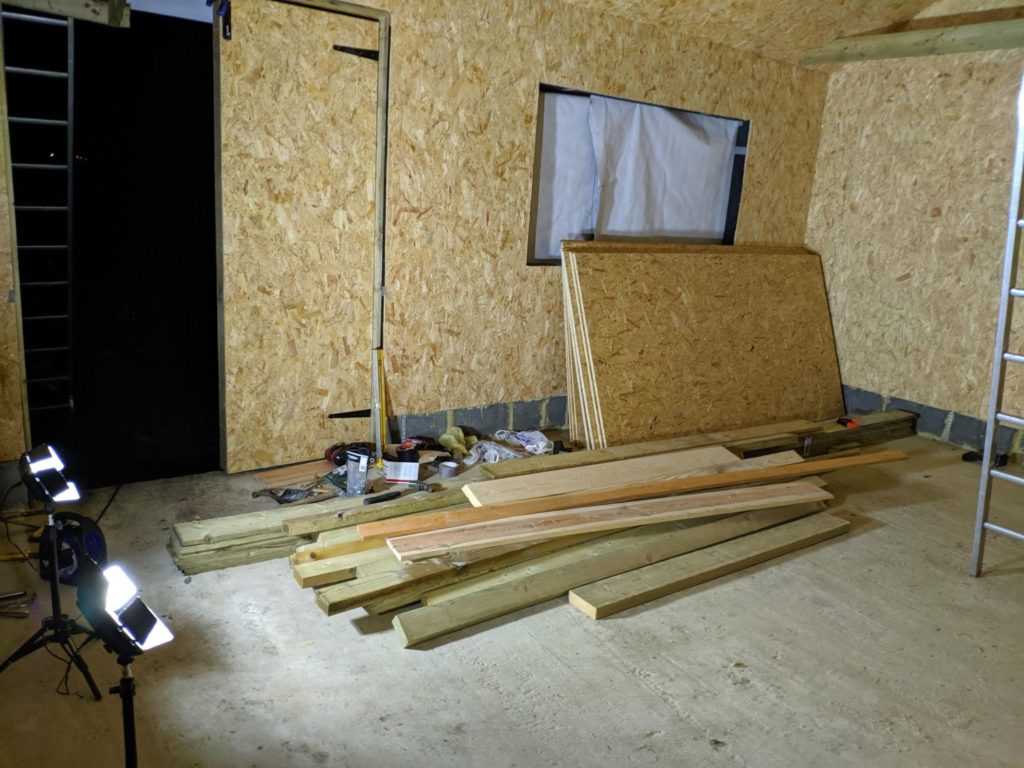
The inside of the workshop was finally beginning to feel like a proper building. At this stage I was ready to start work on the internals and painting.
To prevent dust from getting into and potentially damaging my electronics equipment, I decided an enclosed internal room was necessary. This will be the only part of the timber frame not on a plinth, which in this case I deem acceptable as it is set back from the edge.
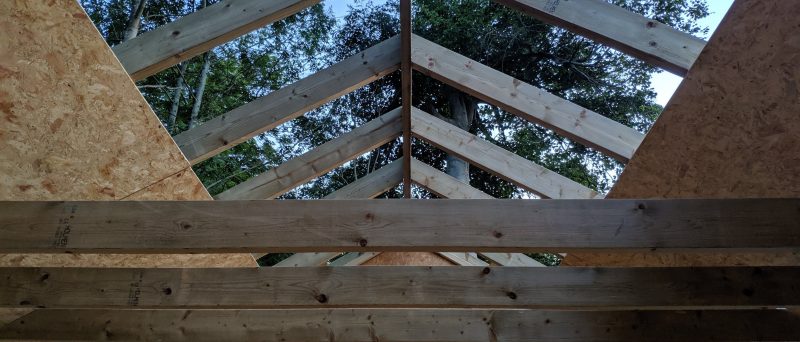
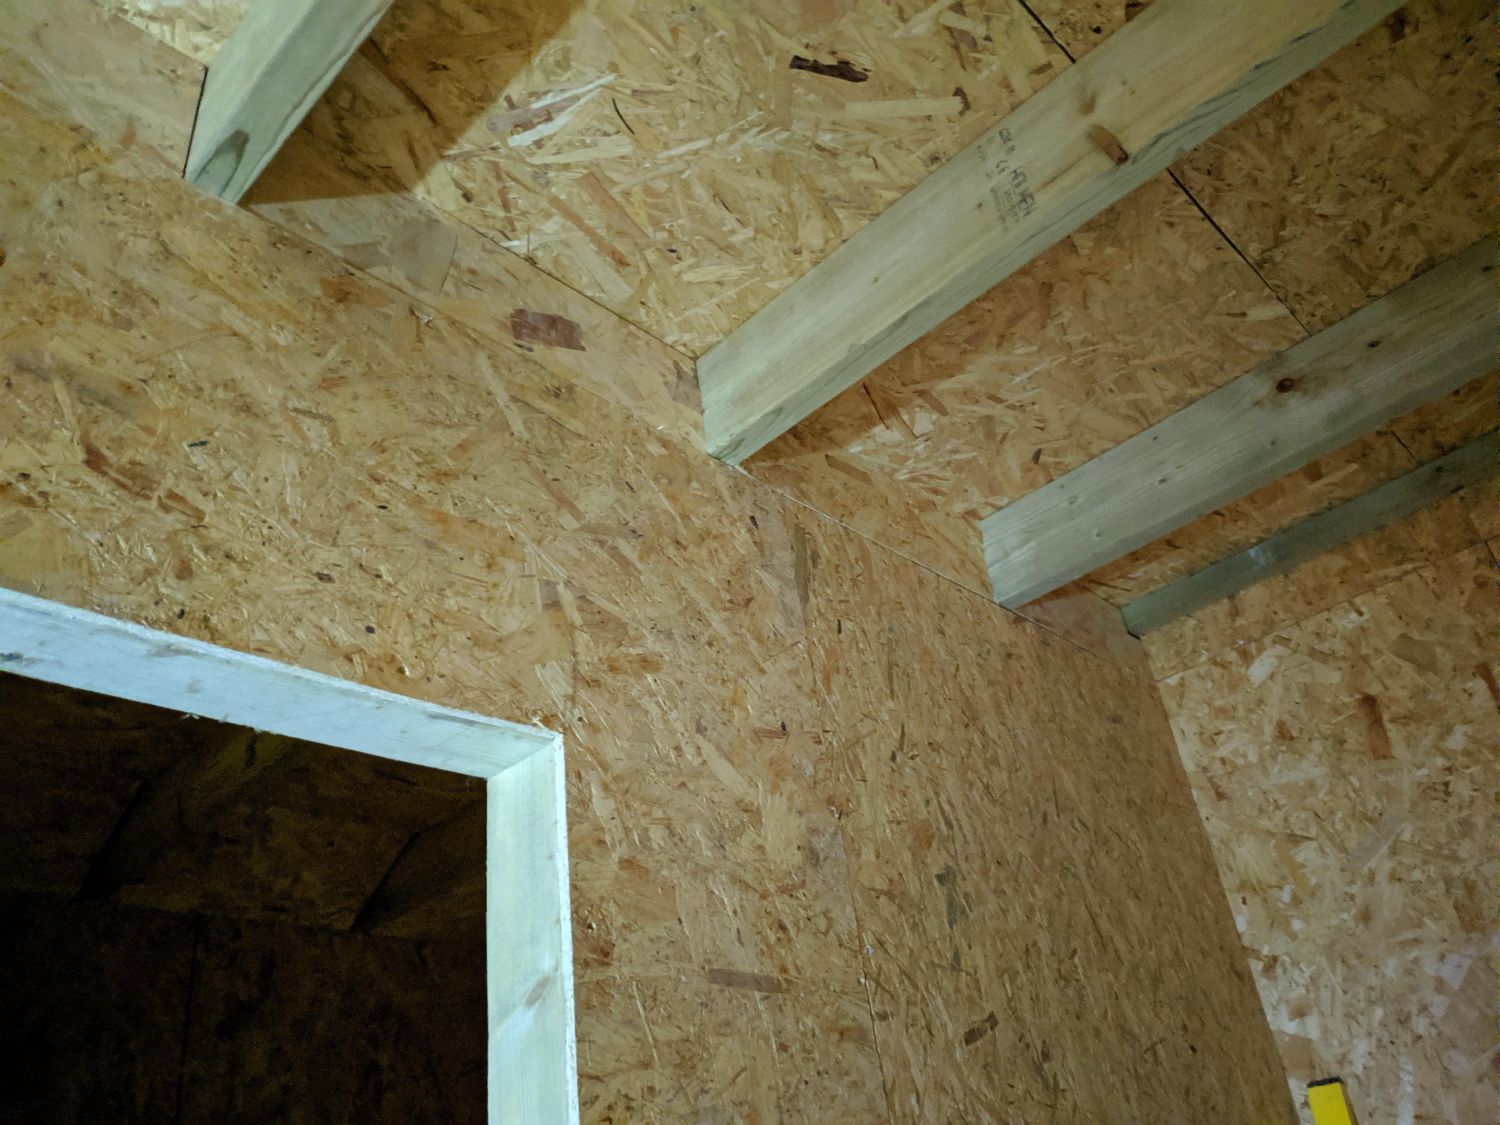
Attic
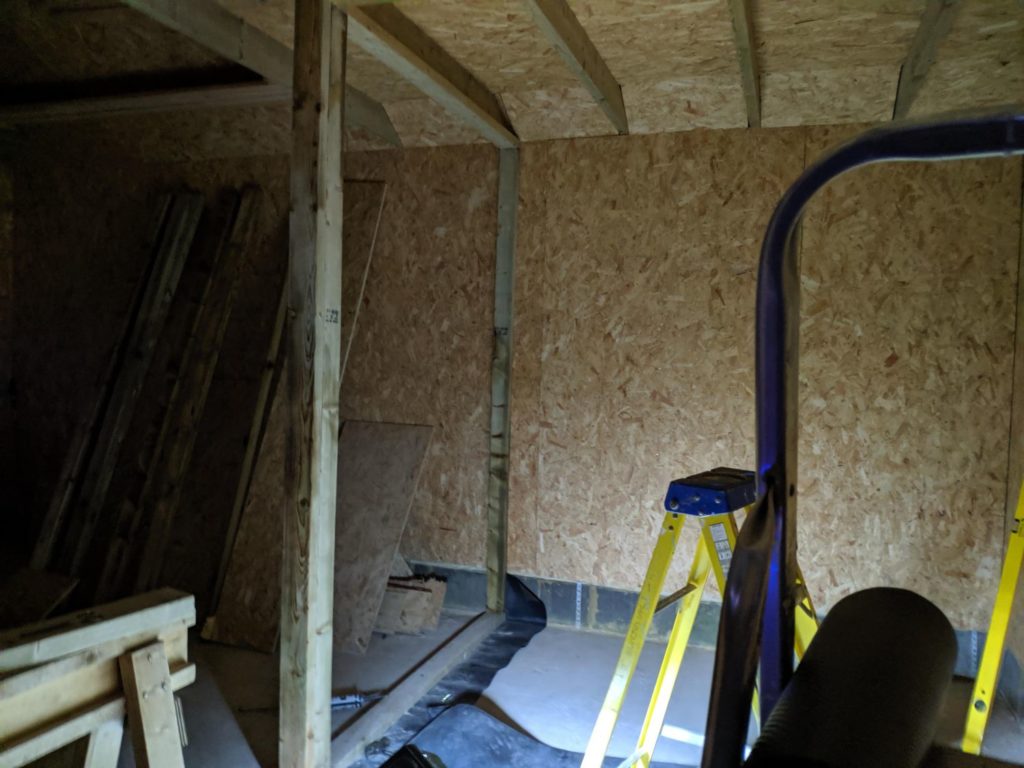
To make use of the space above the roofing joists I decided to board them with 18mm OSB. This will allow me to store smaller items in the gable and mean I can move across it without worrying about falling!
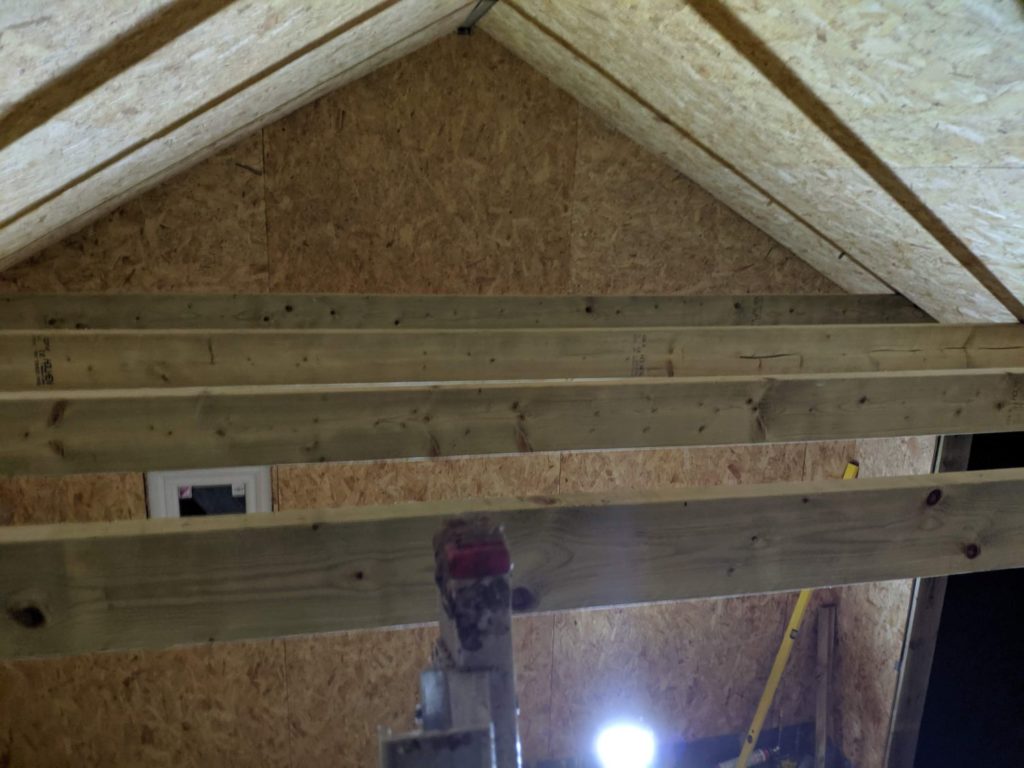
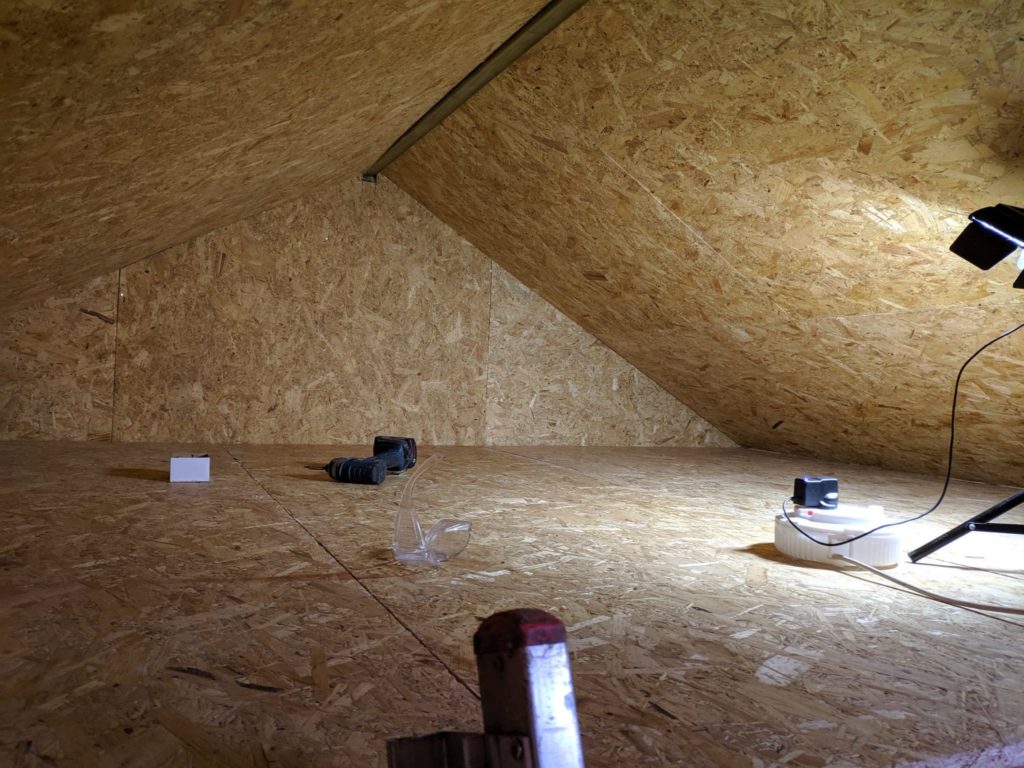
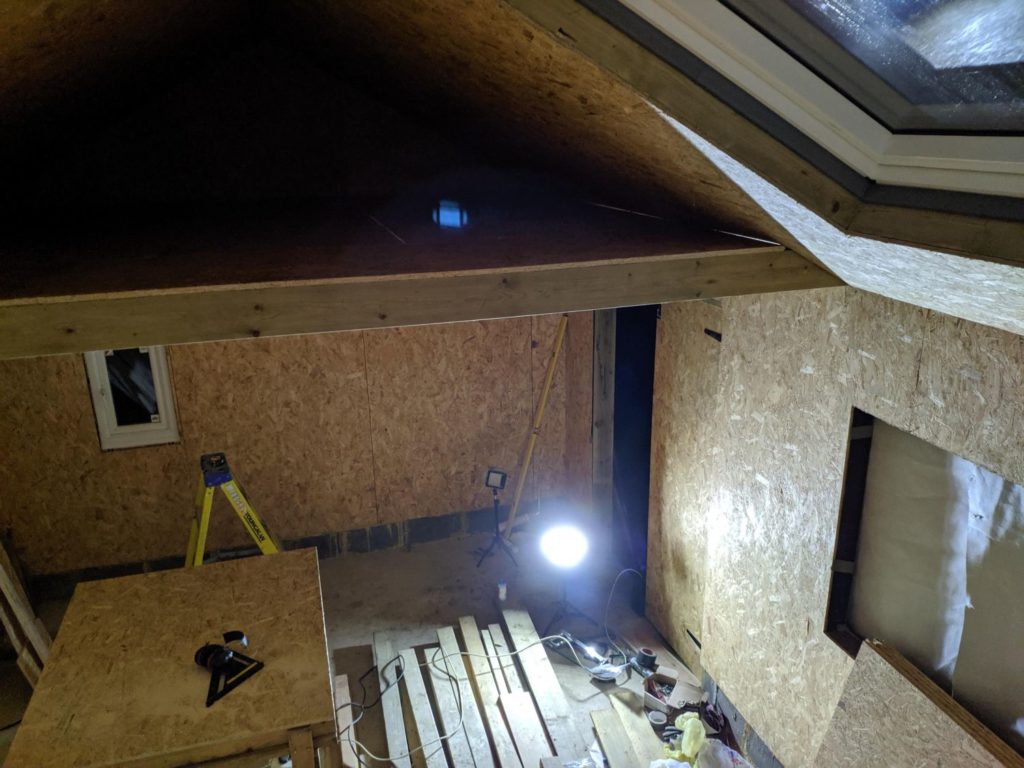
I simply cut the sheets to size with my circular saw and screwed them into the joists at 16″ intervals. These sheets will further strengthen the roof structure by distributing lateral forces across all the joists.
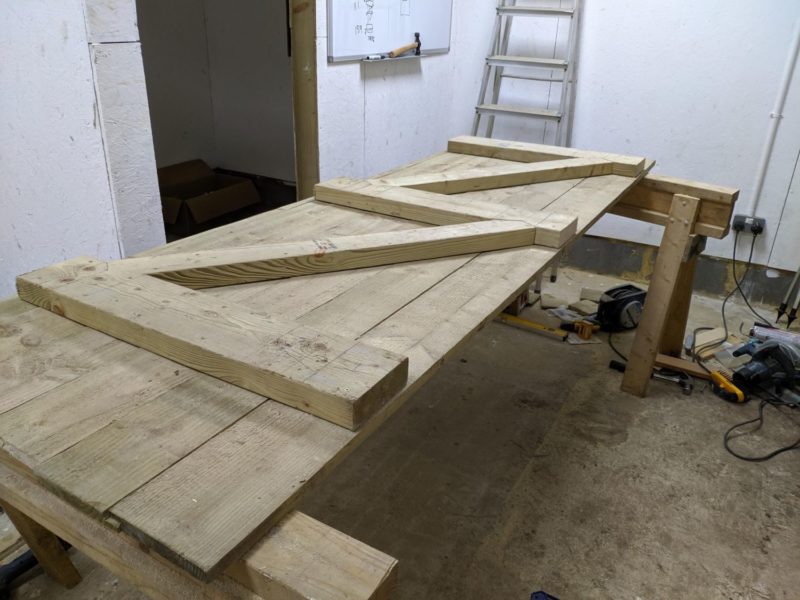
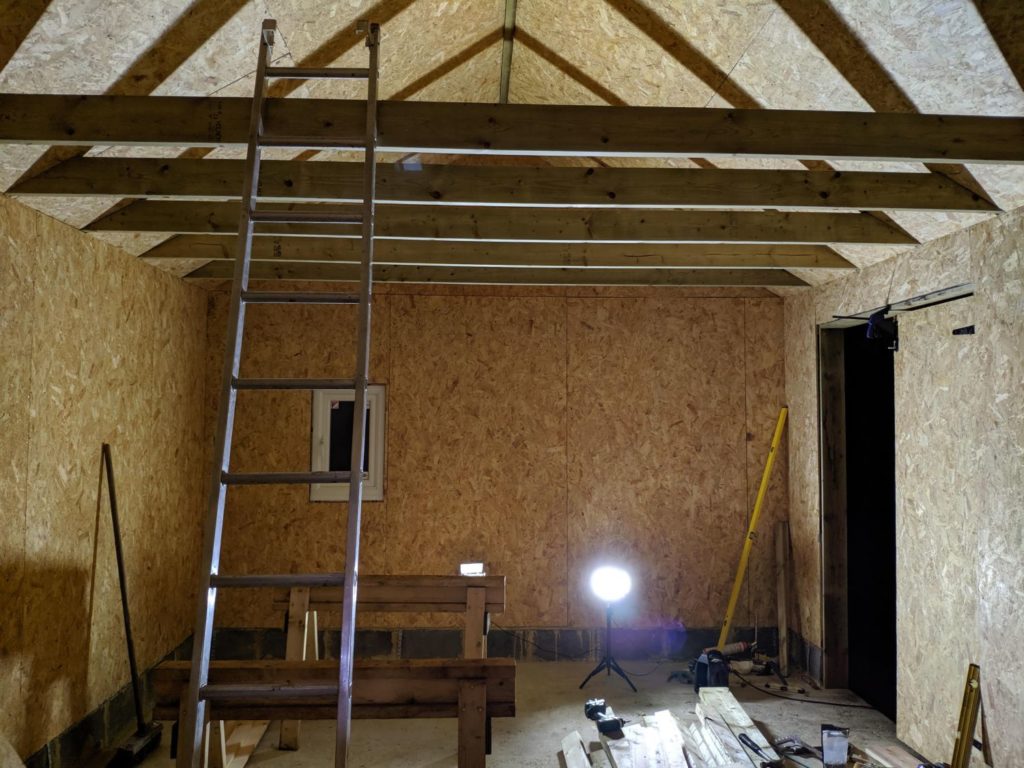
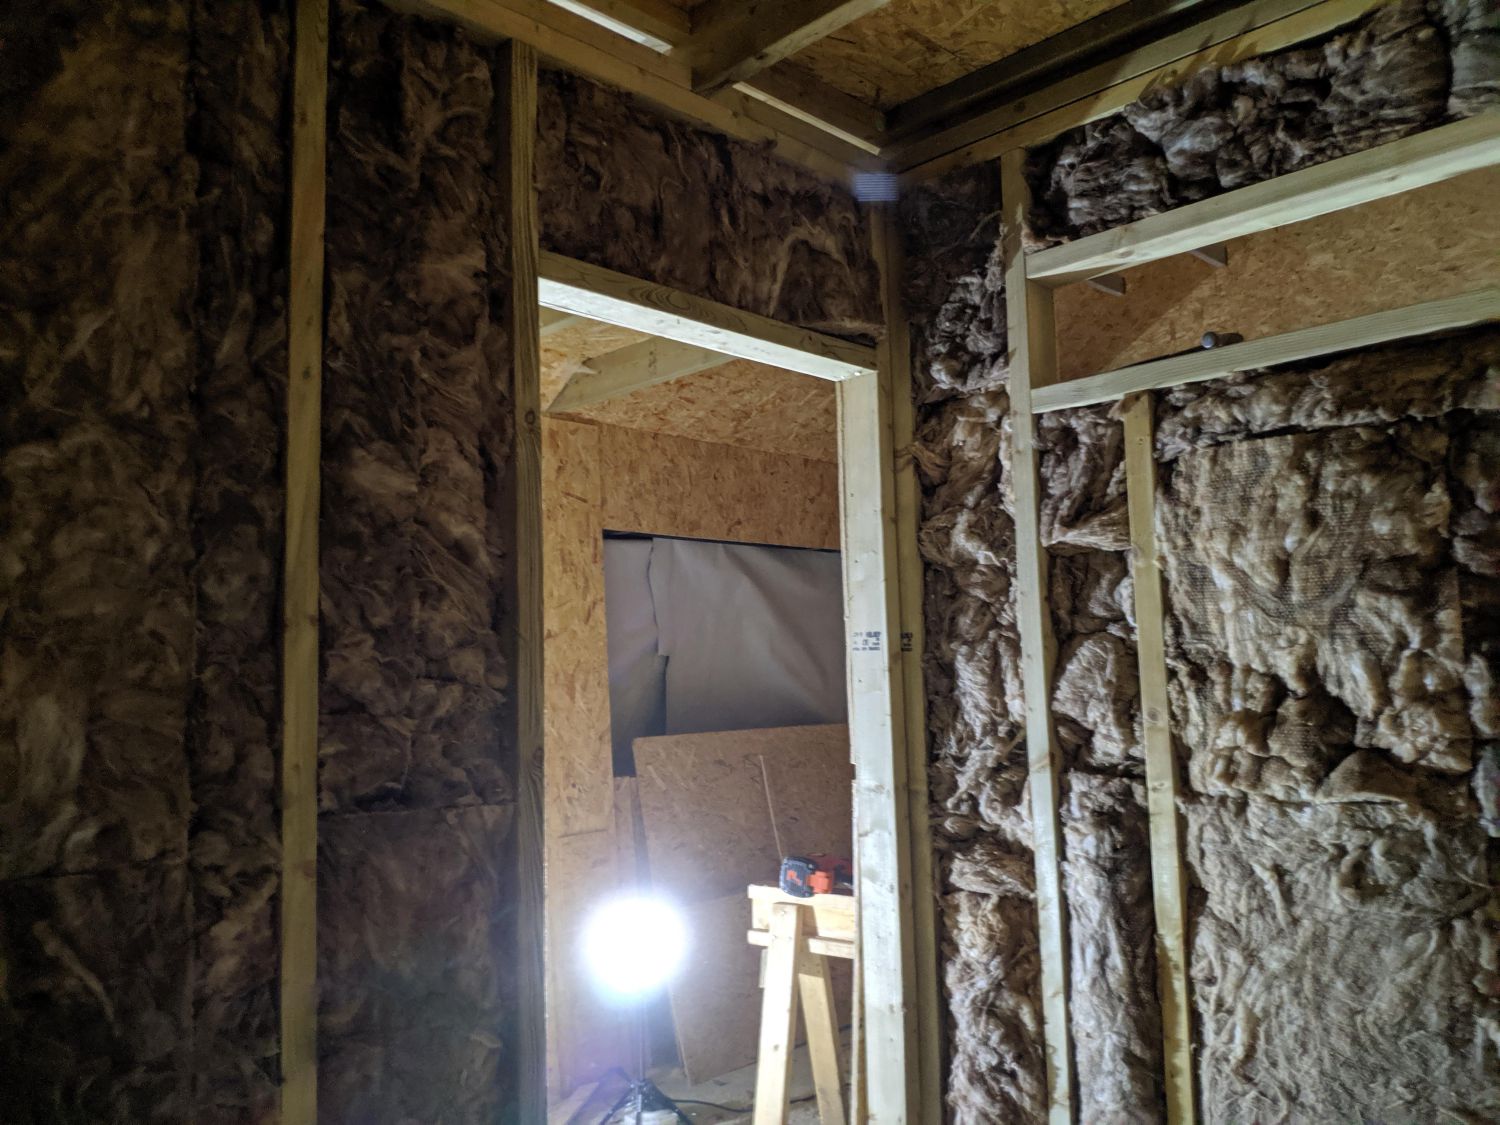
Inner room framing
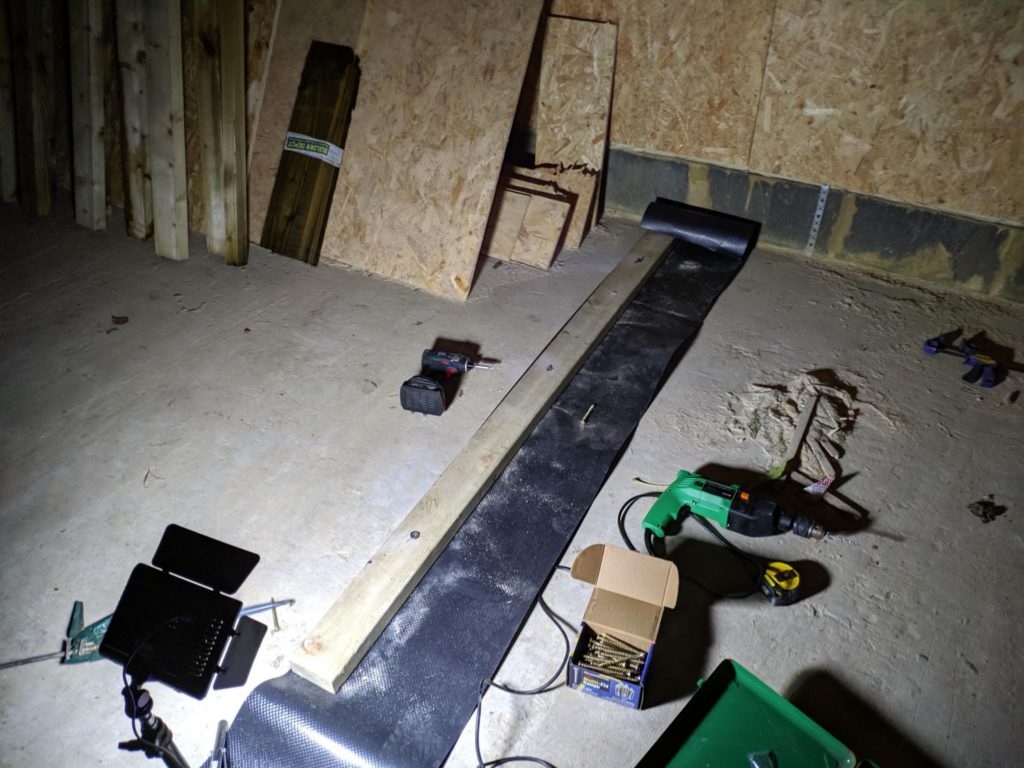
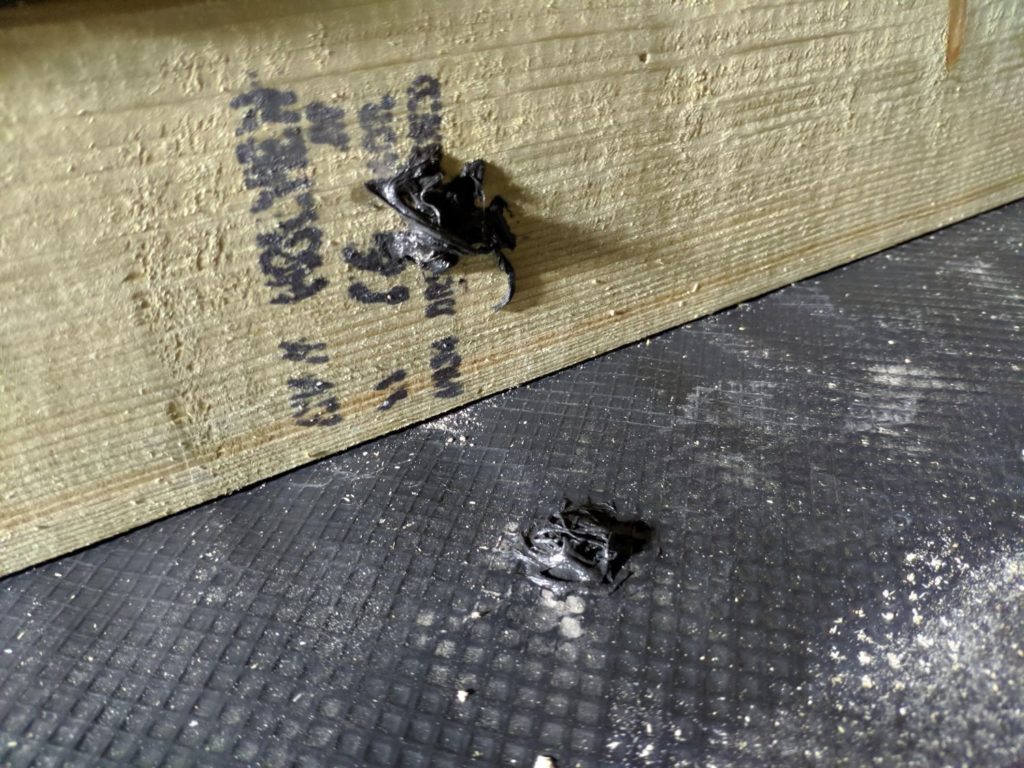
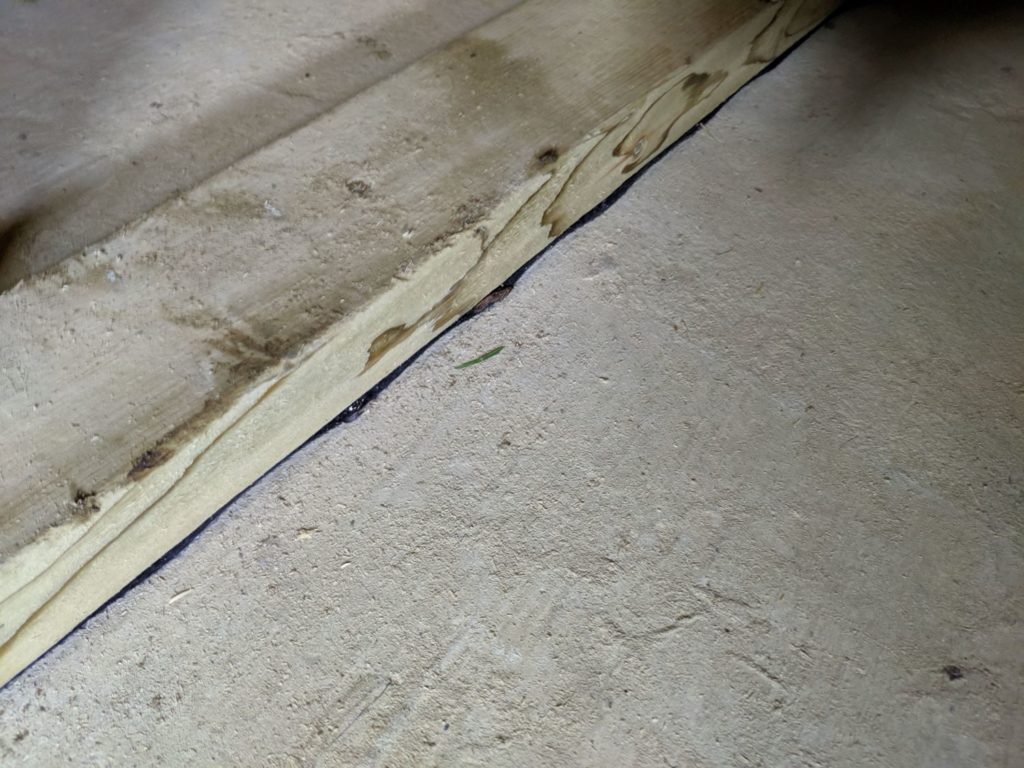
I decided it would be easier to frame the internal room with the sole plates and top plates in place: this way I could get a perfect fit by measuring each stud individually. First, I laid down a strip of DPC to prevent any damp rising from the concrete floor (this is unlikely due to ‘ventilation’ of the slab at the edges and a DPM underneath). I wrapped the DPC up all the way to the sheathing then used an SDS hammer drill to pilot into the concrete and secured the sole plates with masonry screws. Each screw hole was sealed with bituminous sealant.
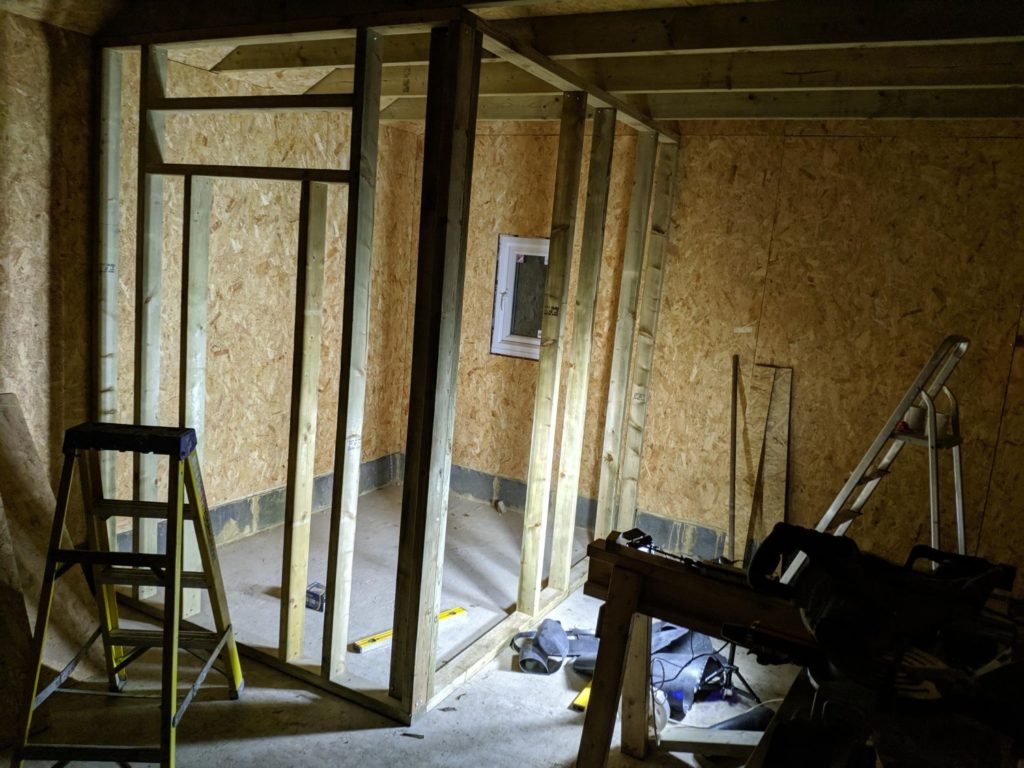
Next I cut and fixed the top plates in place. One of these butts up against a joist and I noticed a significant warp in the joist which had been placed ‘crown down’. To correct for this I cut the studs closer to the wall longer than those nearer the centre of the joist.
I nailed the end studs in first and then filled in along the walls. Because I didn’t have access to the outside of each plate, I couldn’t end-nail the studs through the plates. Instead I had to tosh-nail them: nail at an angle through the end of each studs into the plates. This is similar to how larger buildings are typically framed; the sole plate is fixed to the foundation, the studs tosh nailed in place and finally the top plate is affixed.
I framed a small window in to let some light from the skylight and large window into the small room. The window and door rough openings did not require structural headers as this is not a load bearing wall.
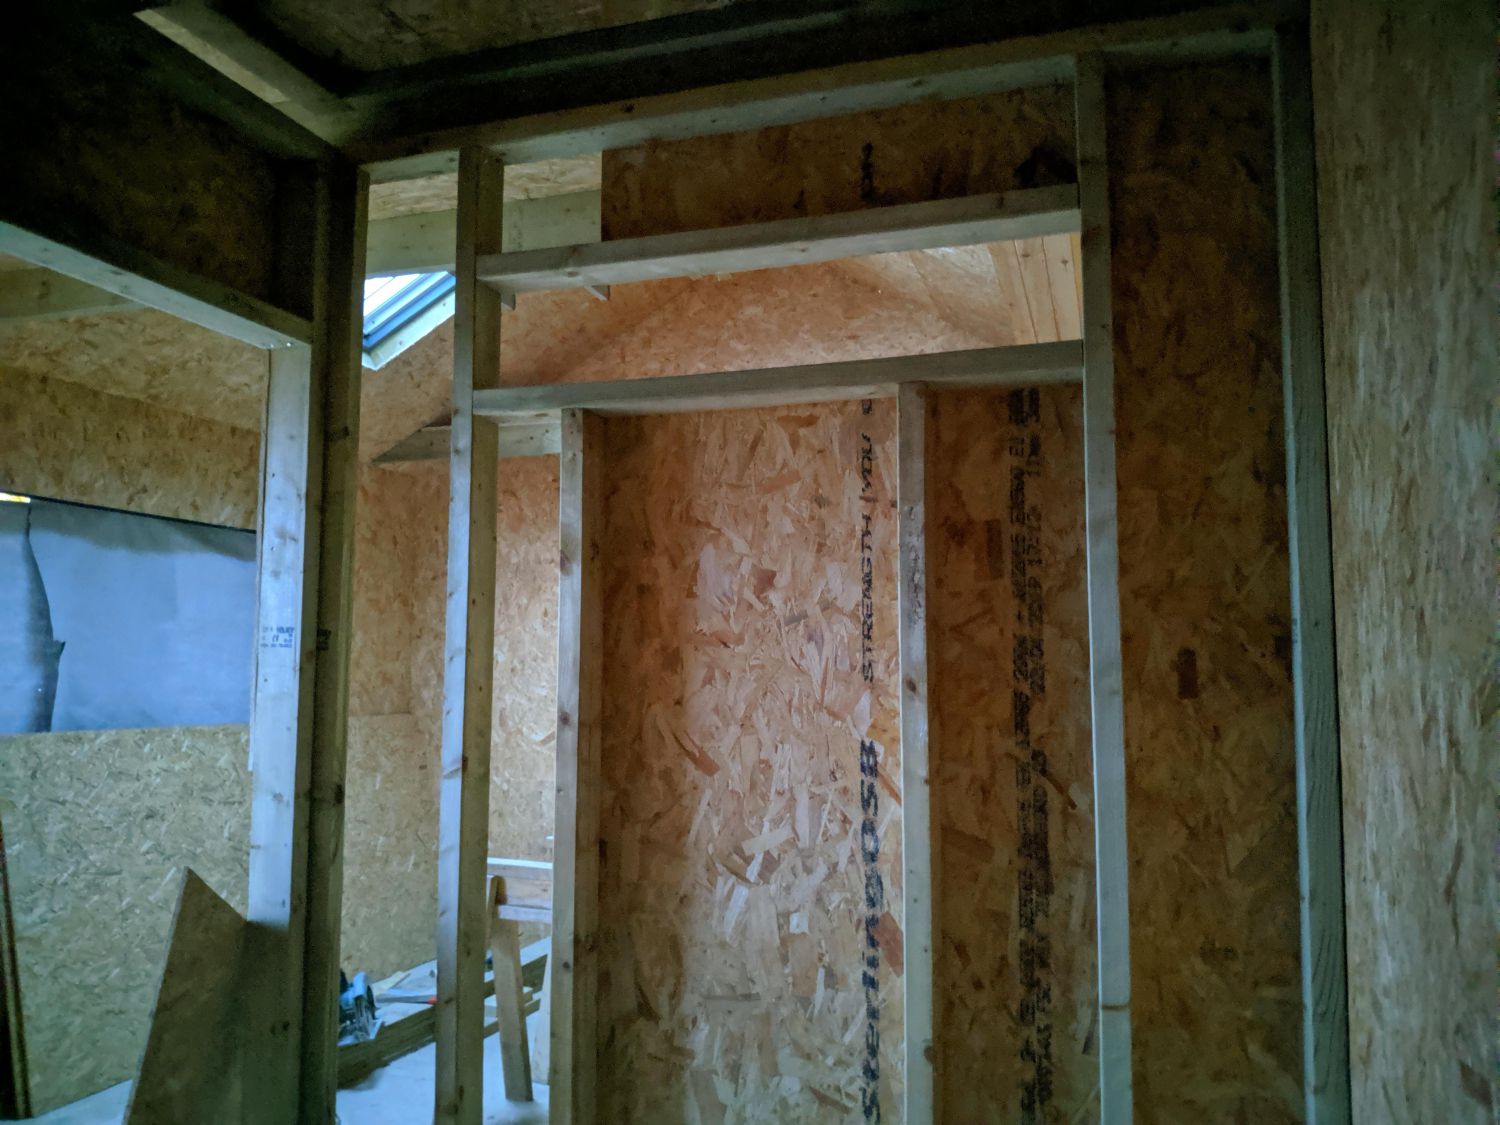
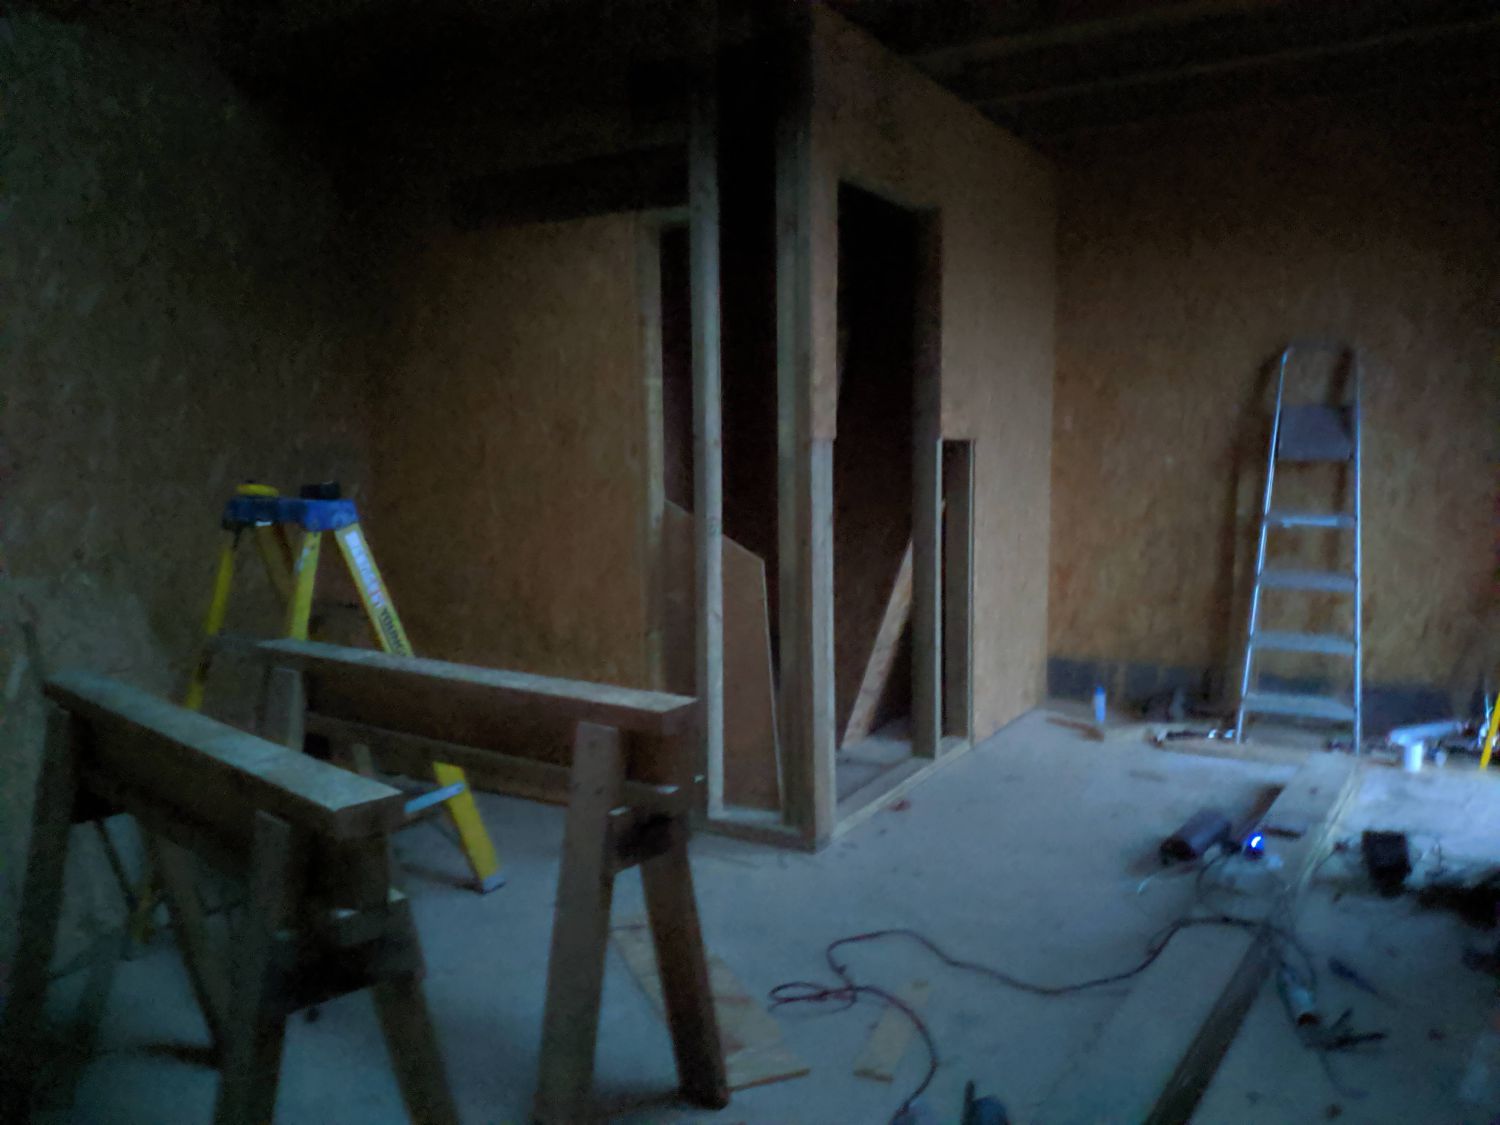

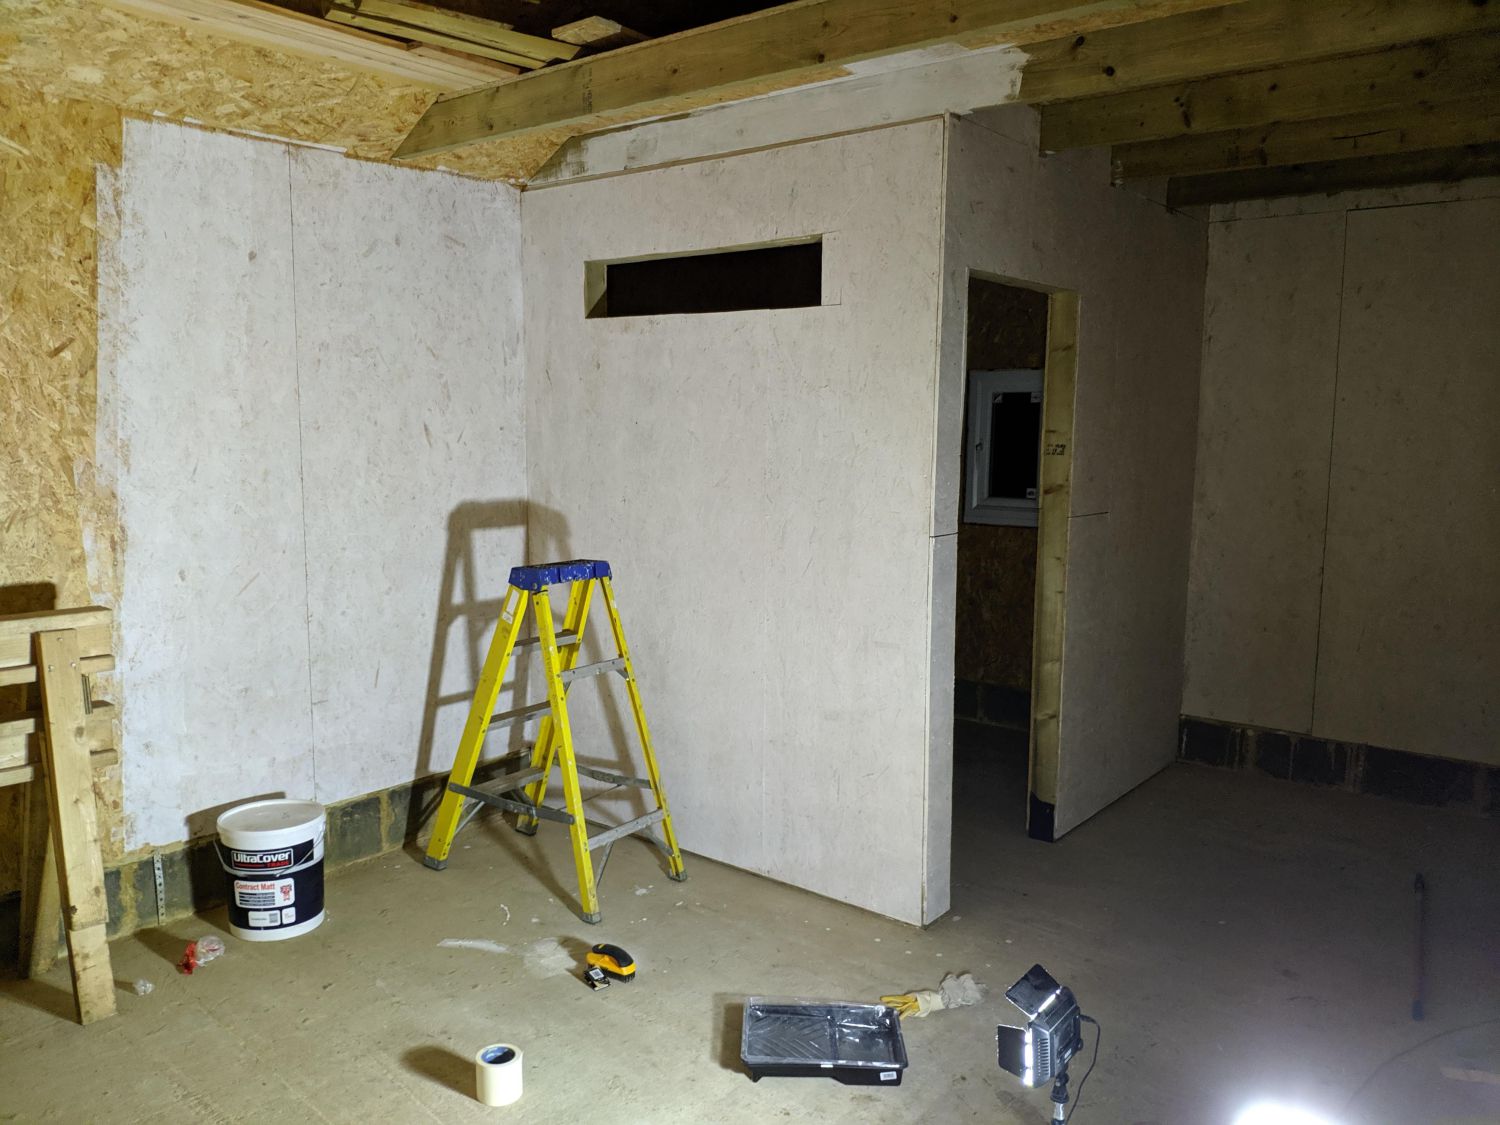
I sheathed the interior wall with 11mm OSB on each side and filled the interior with spare insulation, meaning the interior room can be heated independently. Between the joists I installed blocking and OSB to seal the room as much as possible.
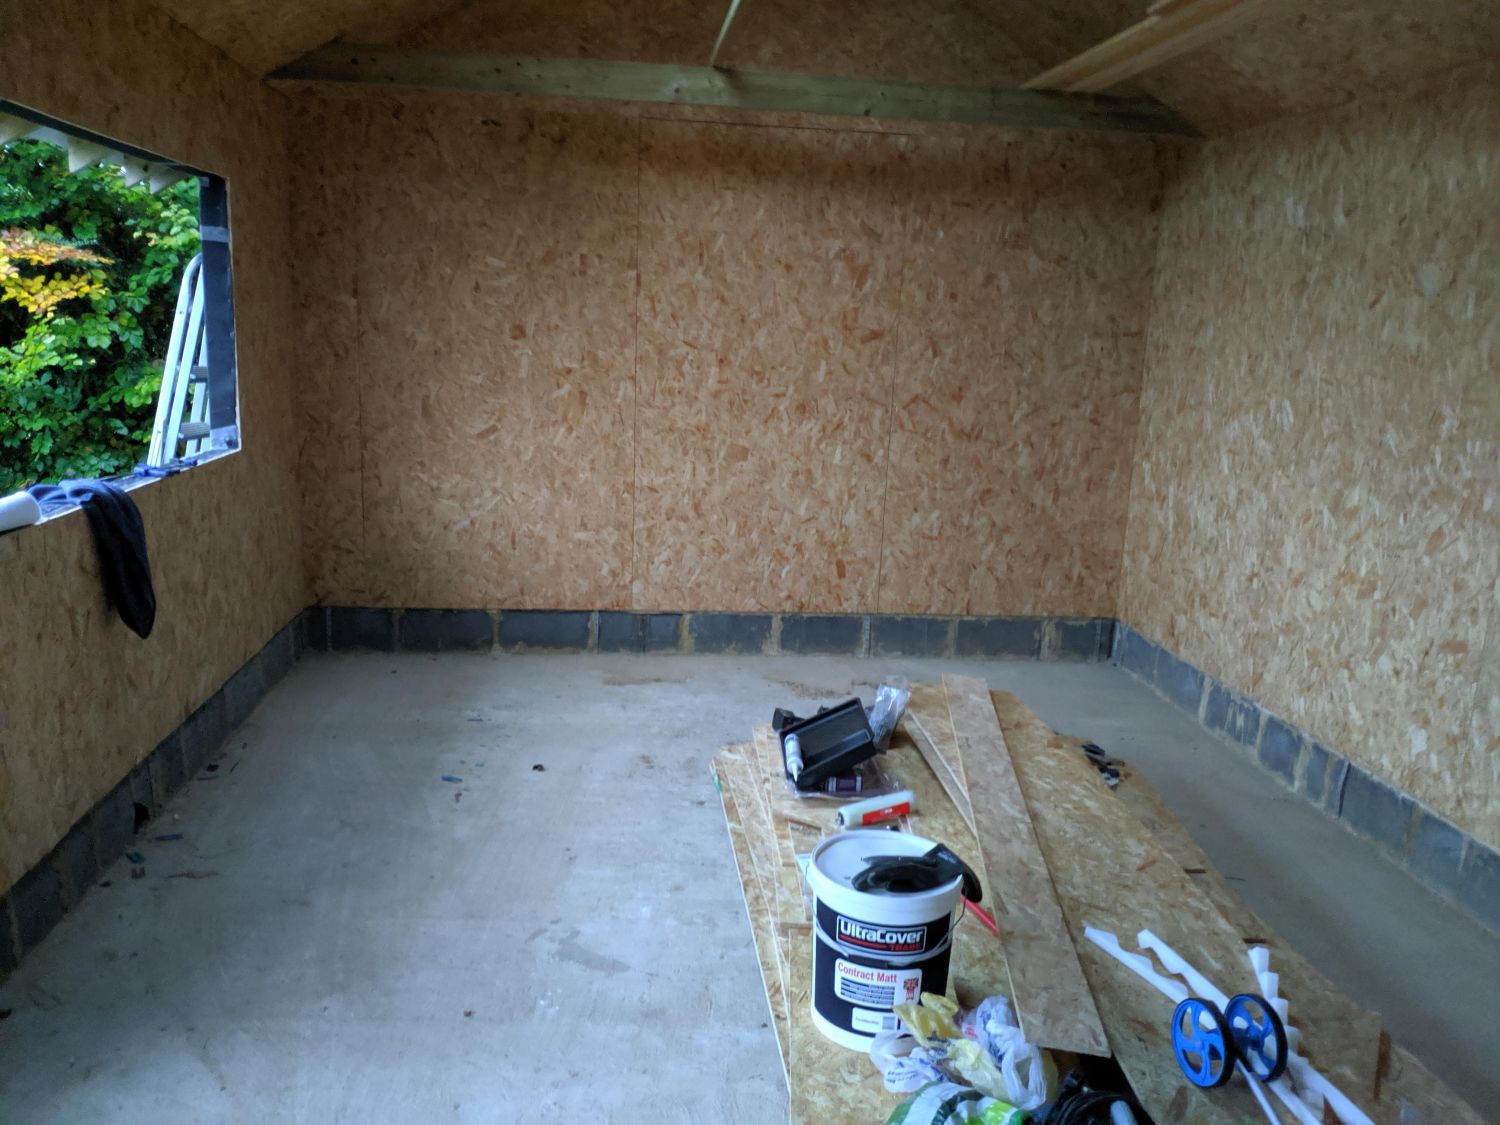
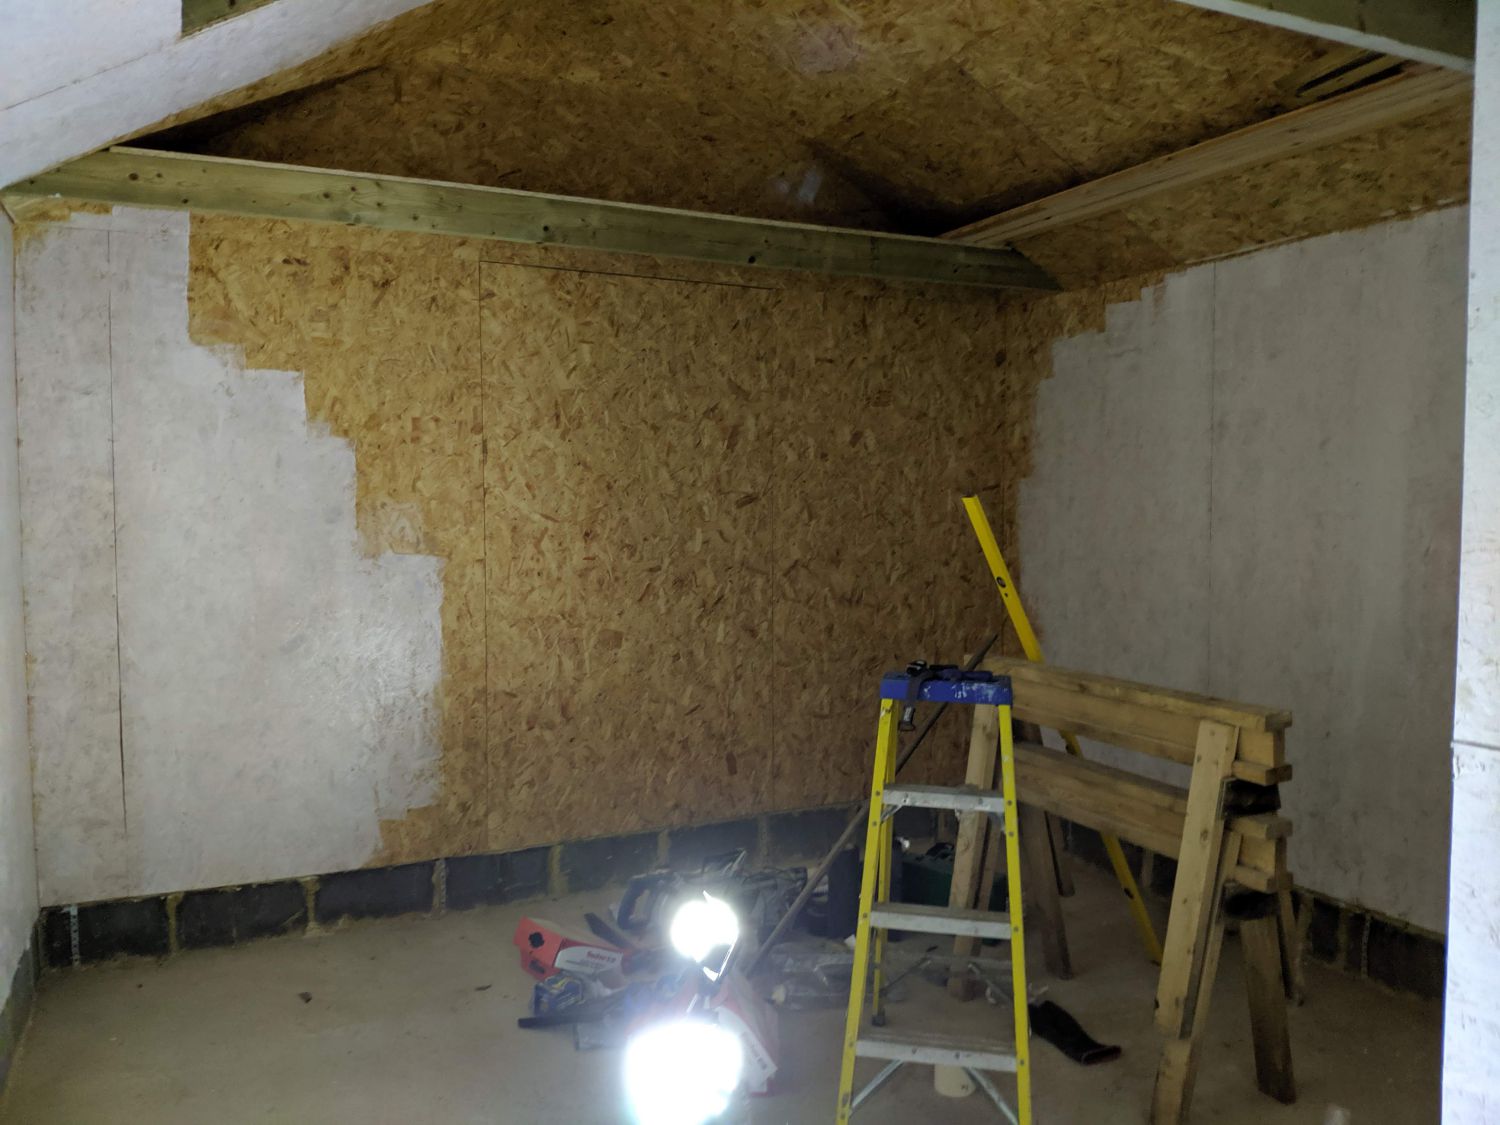
Painting
To make the inside of the shed feel larger and brighter I wanted to paint the walls white. OSB can be painted but its texture will always show through; this didn’t matter in this case. I used low cost matt emulsion and rolled on three coats.
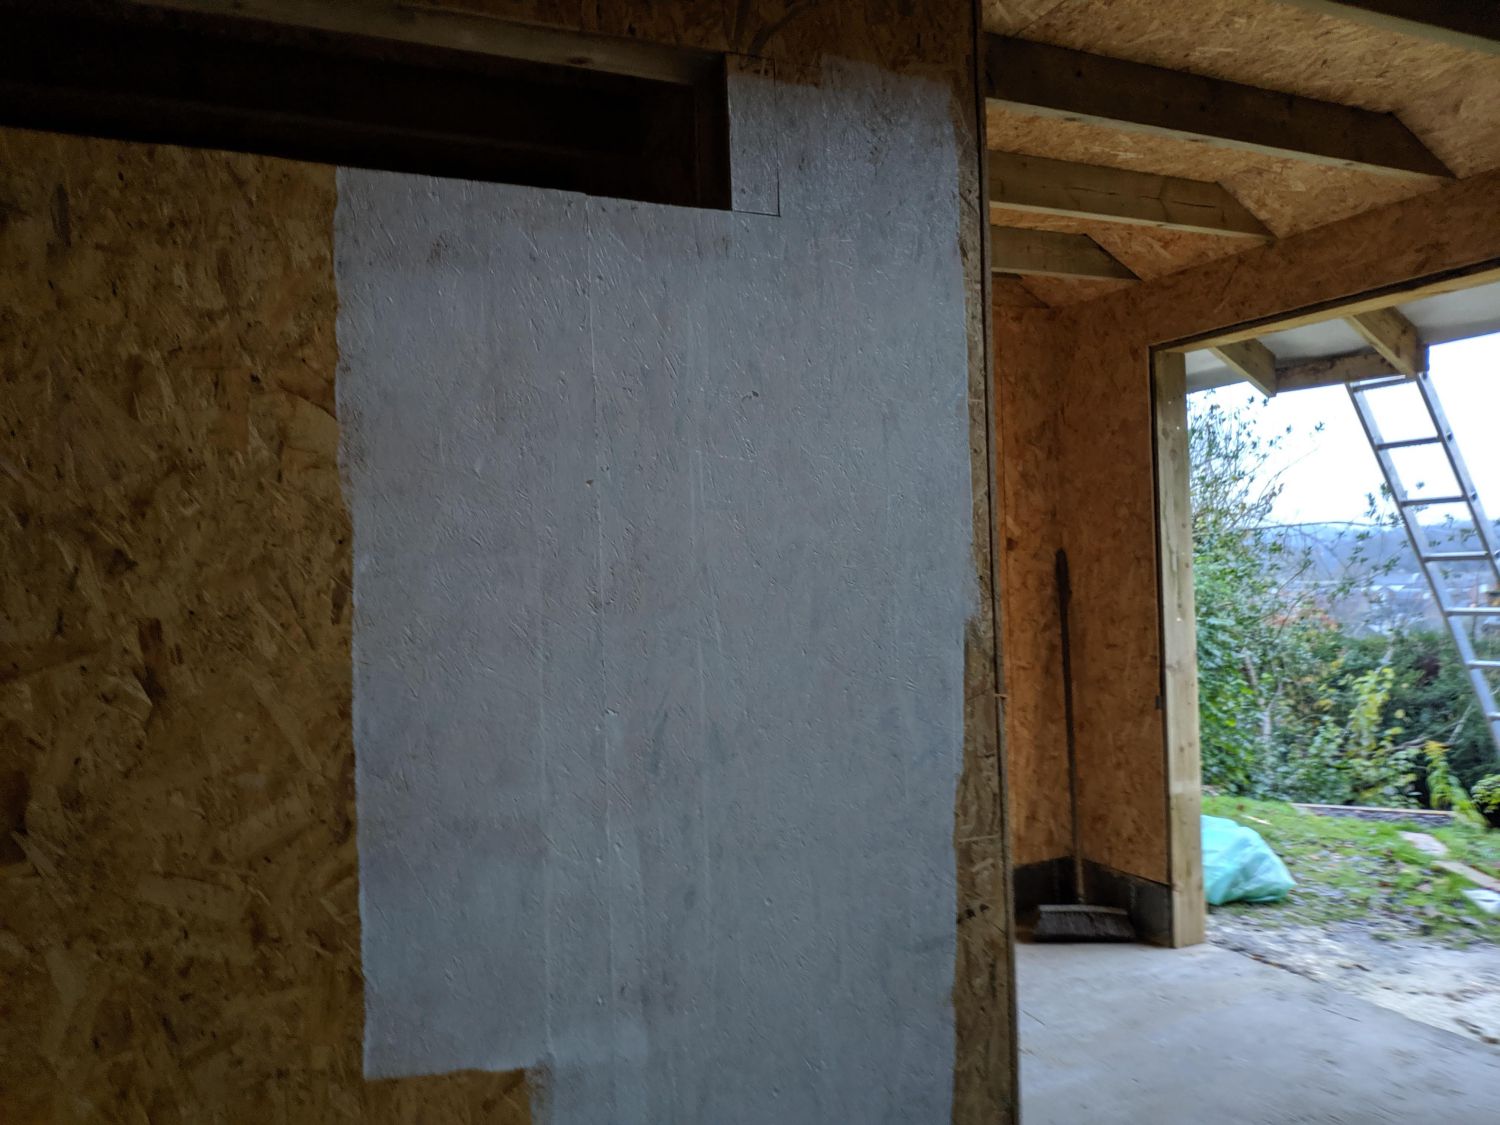
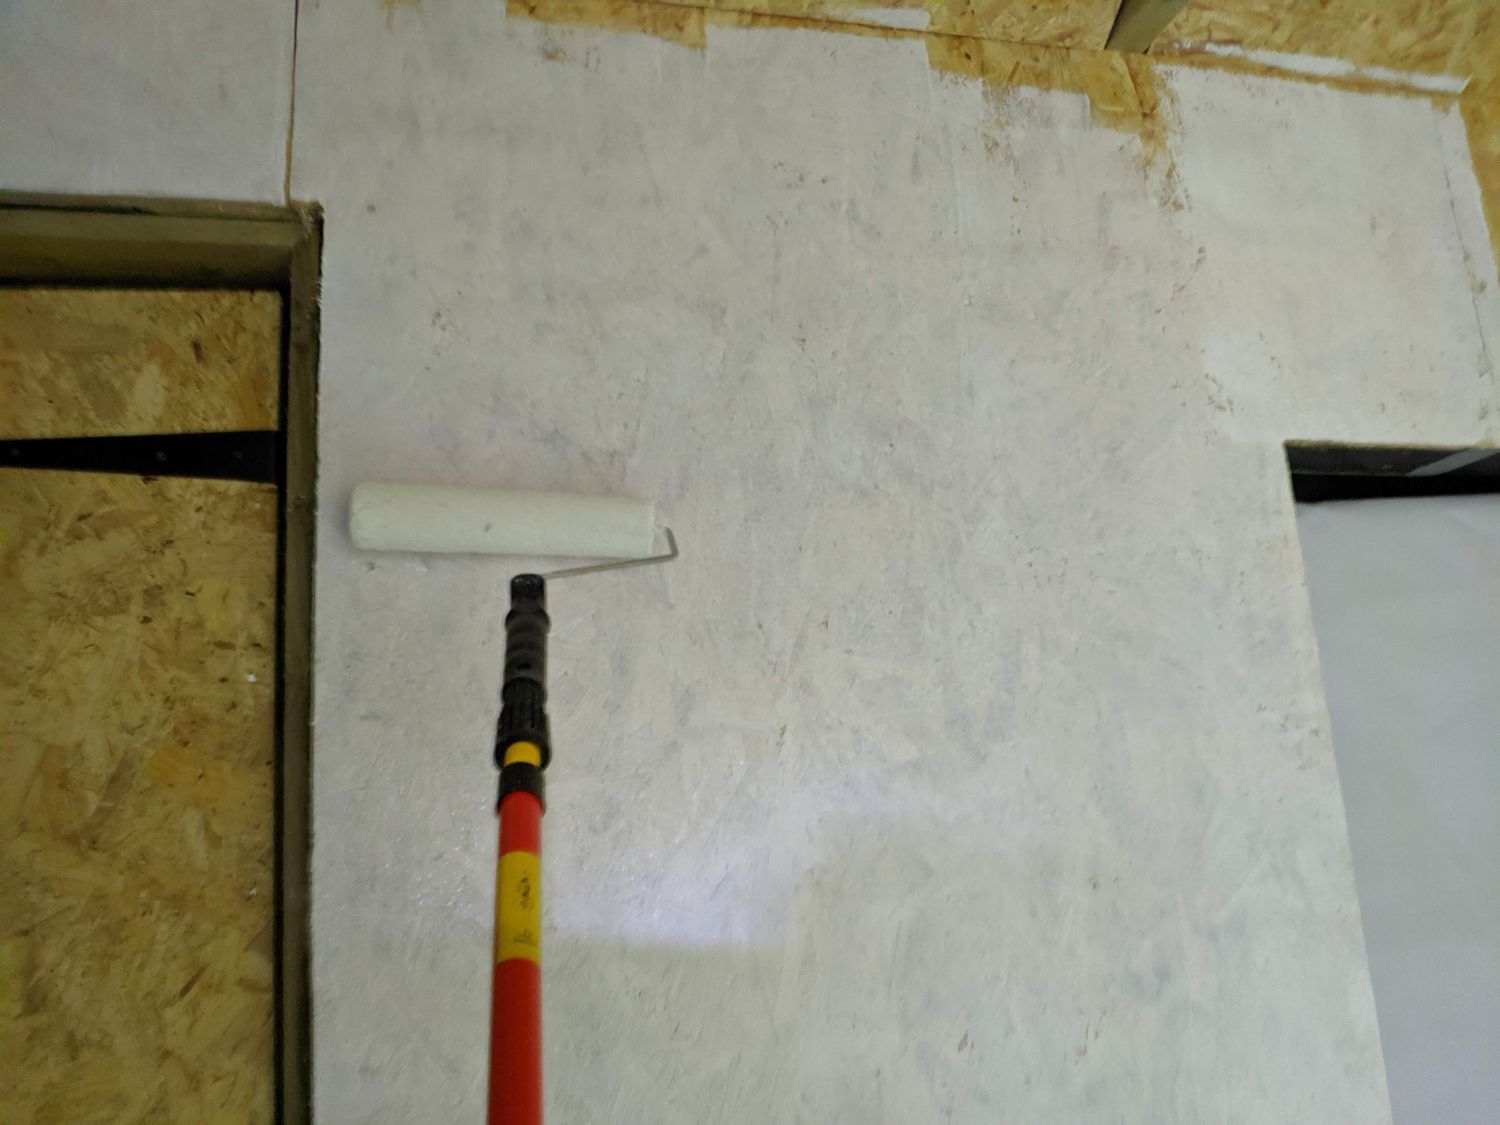
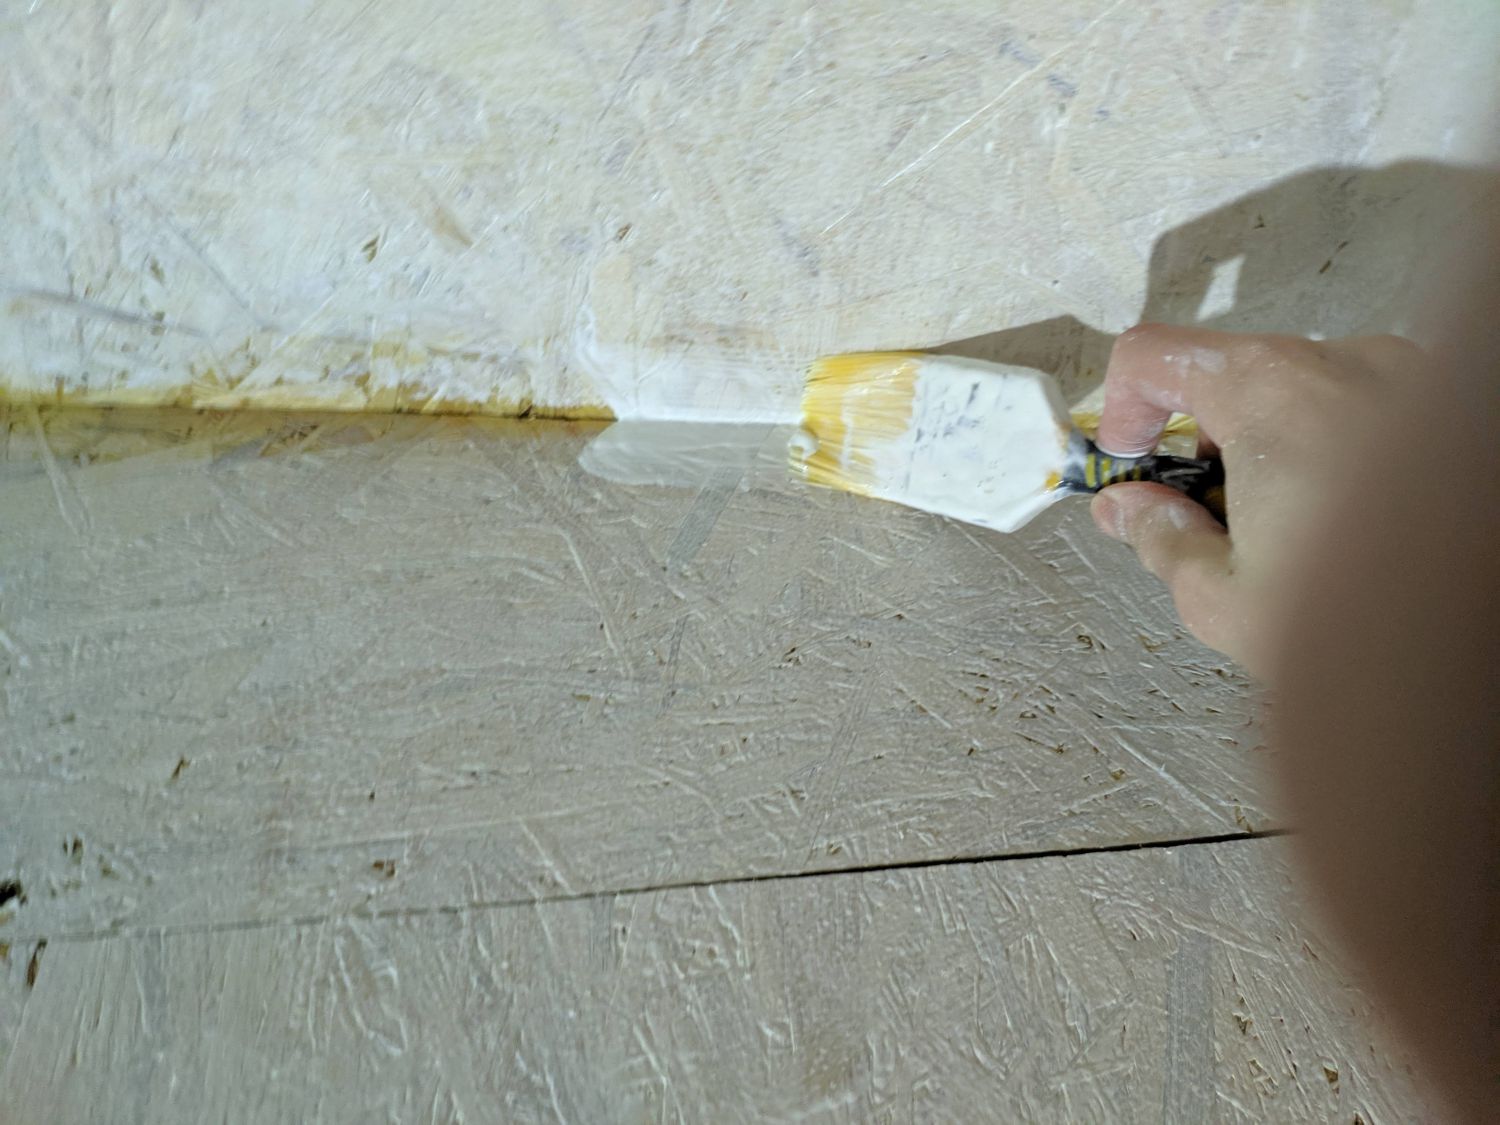
I watered the first coat to seal the OSB. The second two coats were full thickness.
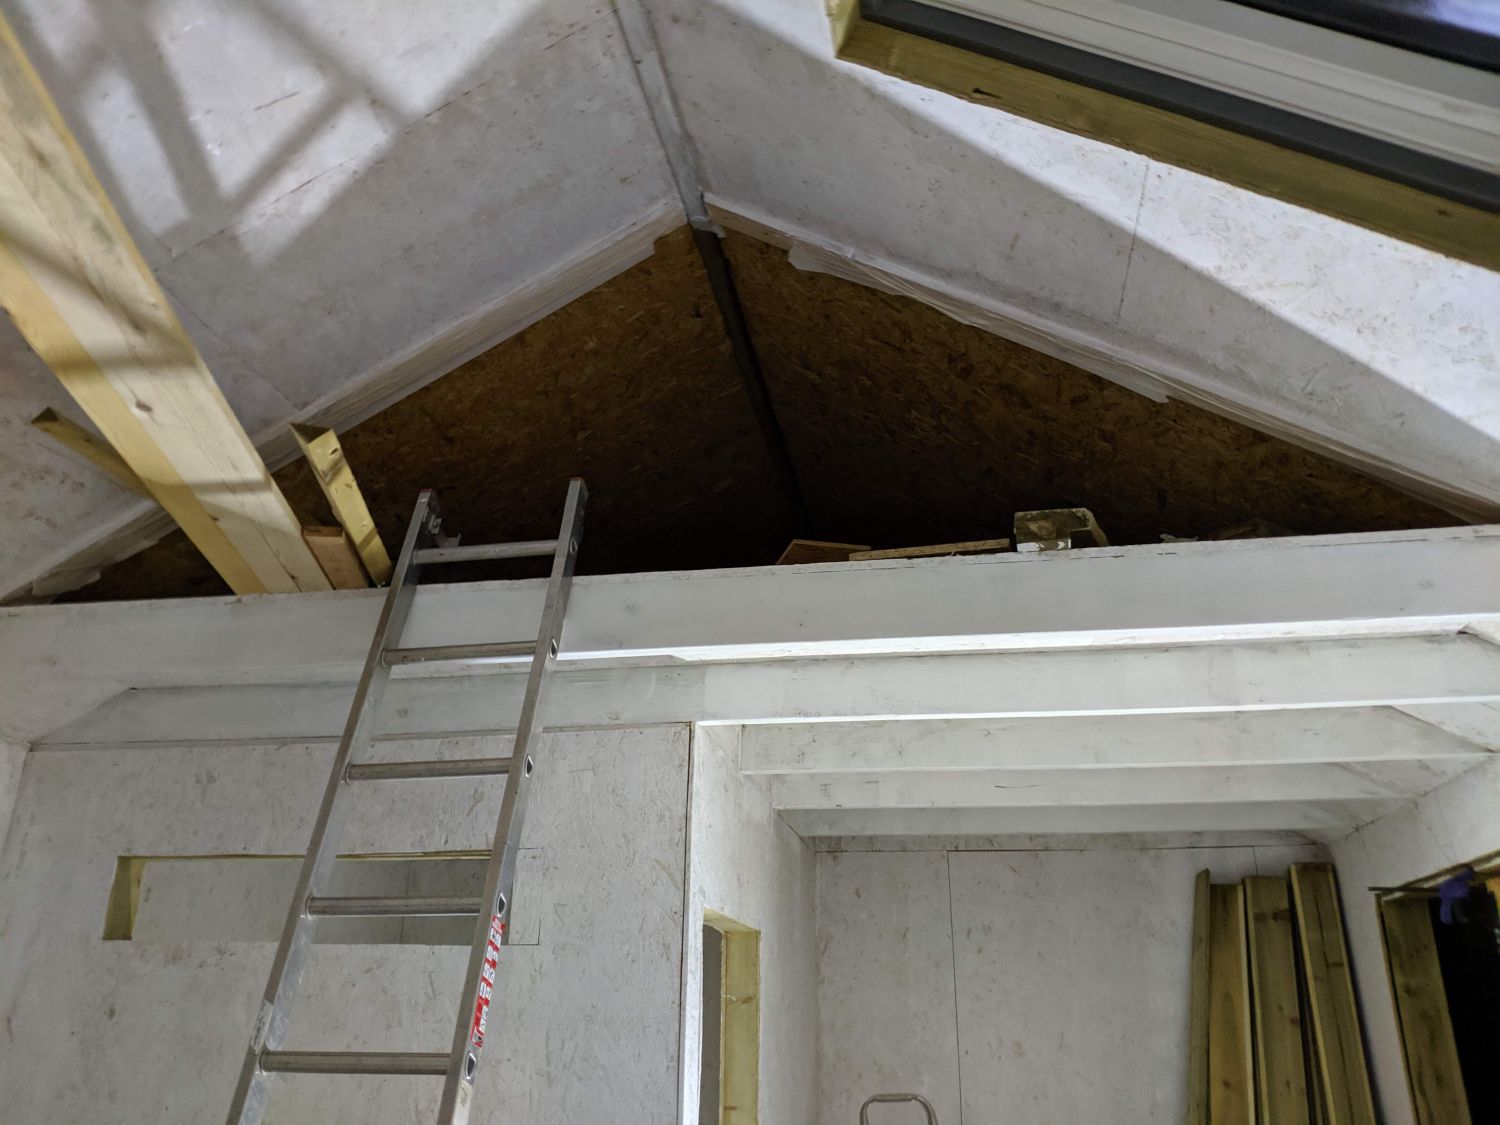
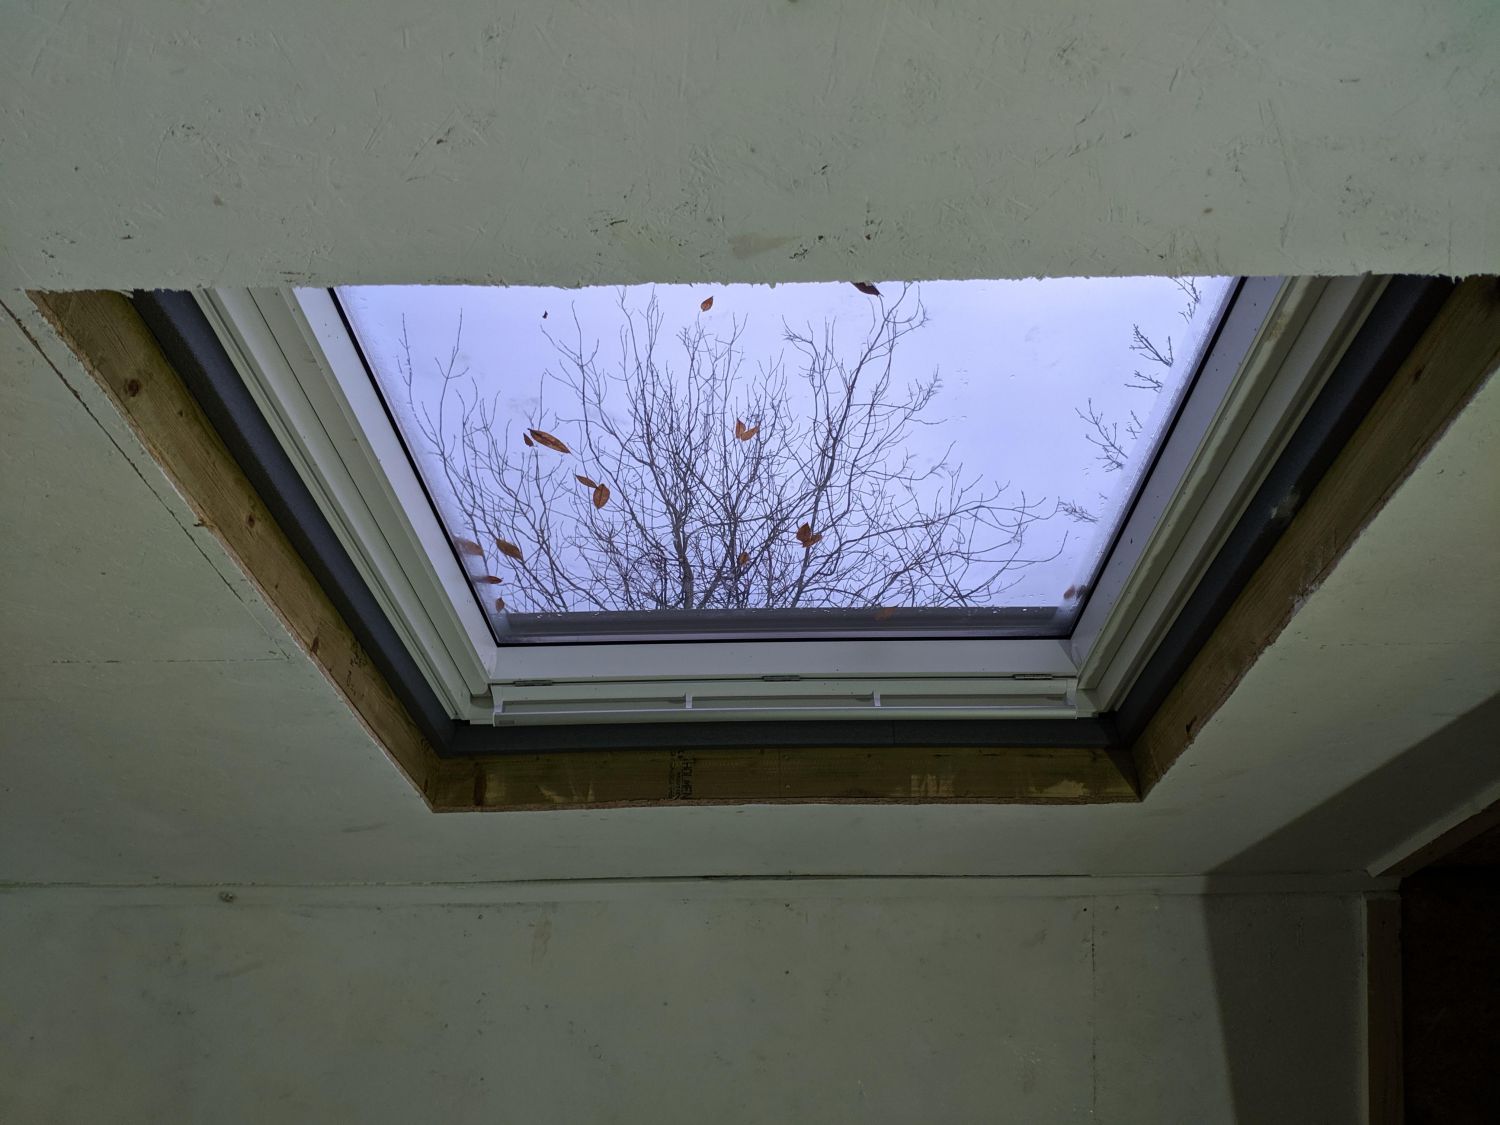
The roof was tricker to paint, particularly the first coat which dripped down while being rolled on. Instead of painting the entire ‘attic’, I added a reveal around the opening and painted up to it.

A few weeks after painting I encountered some mould growth on the surface of the sheathing: I’m unsure if this was due to the paint or was because there was no door on the shed at this point. I wiped it off with biocide and it has not returned. Mould growth on the inside does suggest the vapour barrier is working as intended, with water condensing on the inner face rather than moving through the wall.
And with the decade coming to a close, I finished the painting just in time for new year electrics!