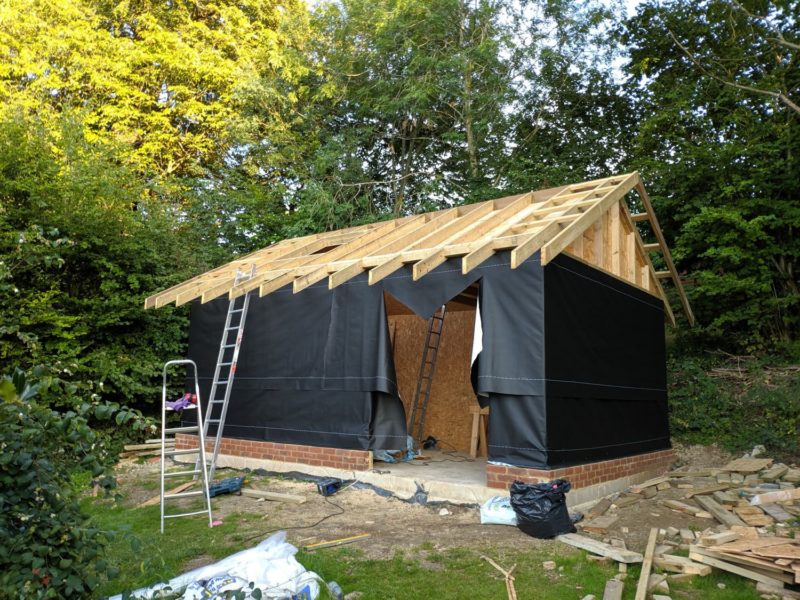
During roof construction, I decided I wanted a roof window to aid ventilation and increase natural light in the main room. There are various ways this could be achieved, but as installation speed was a priority, I decided a Velux window would be most appropriate.
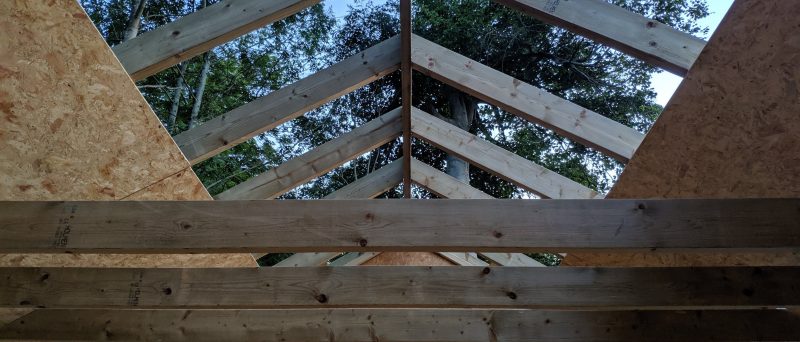
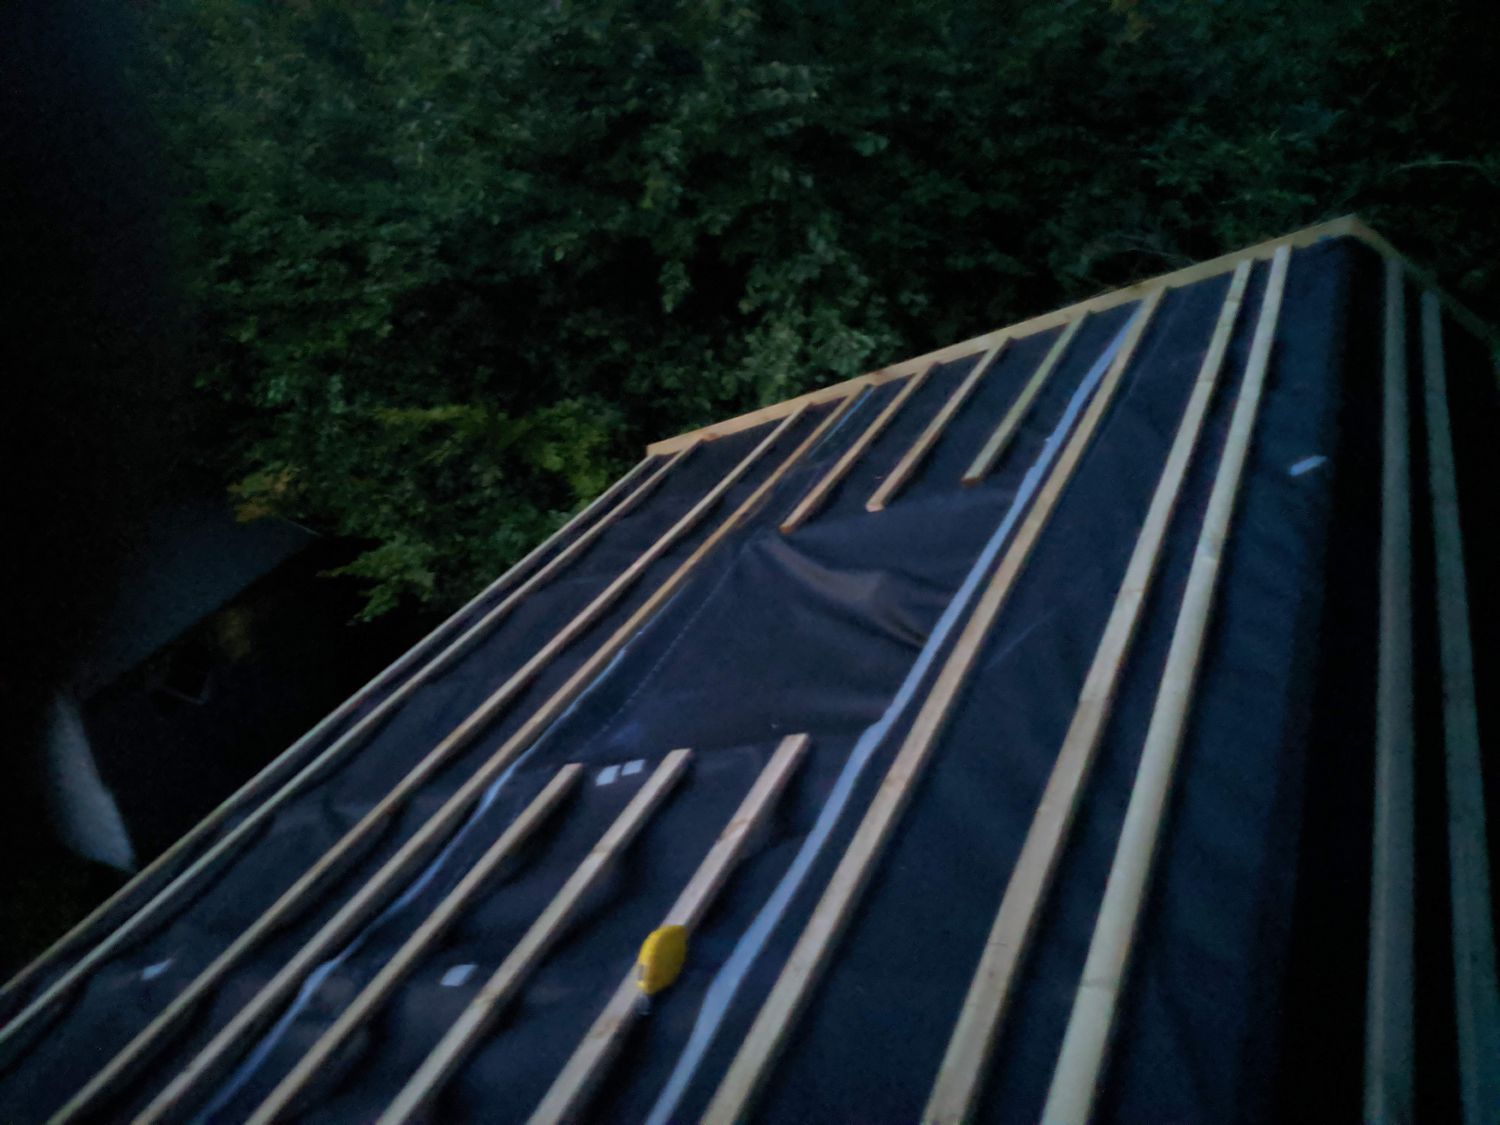
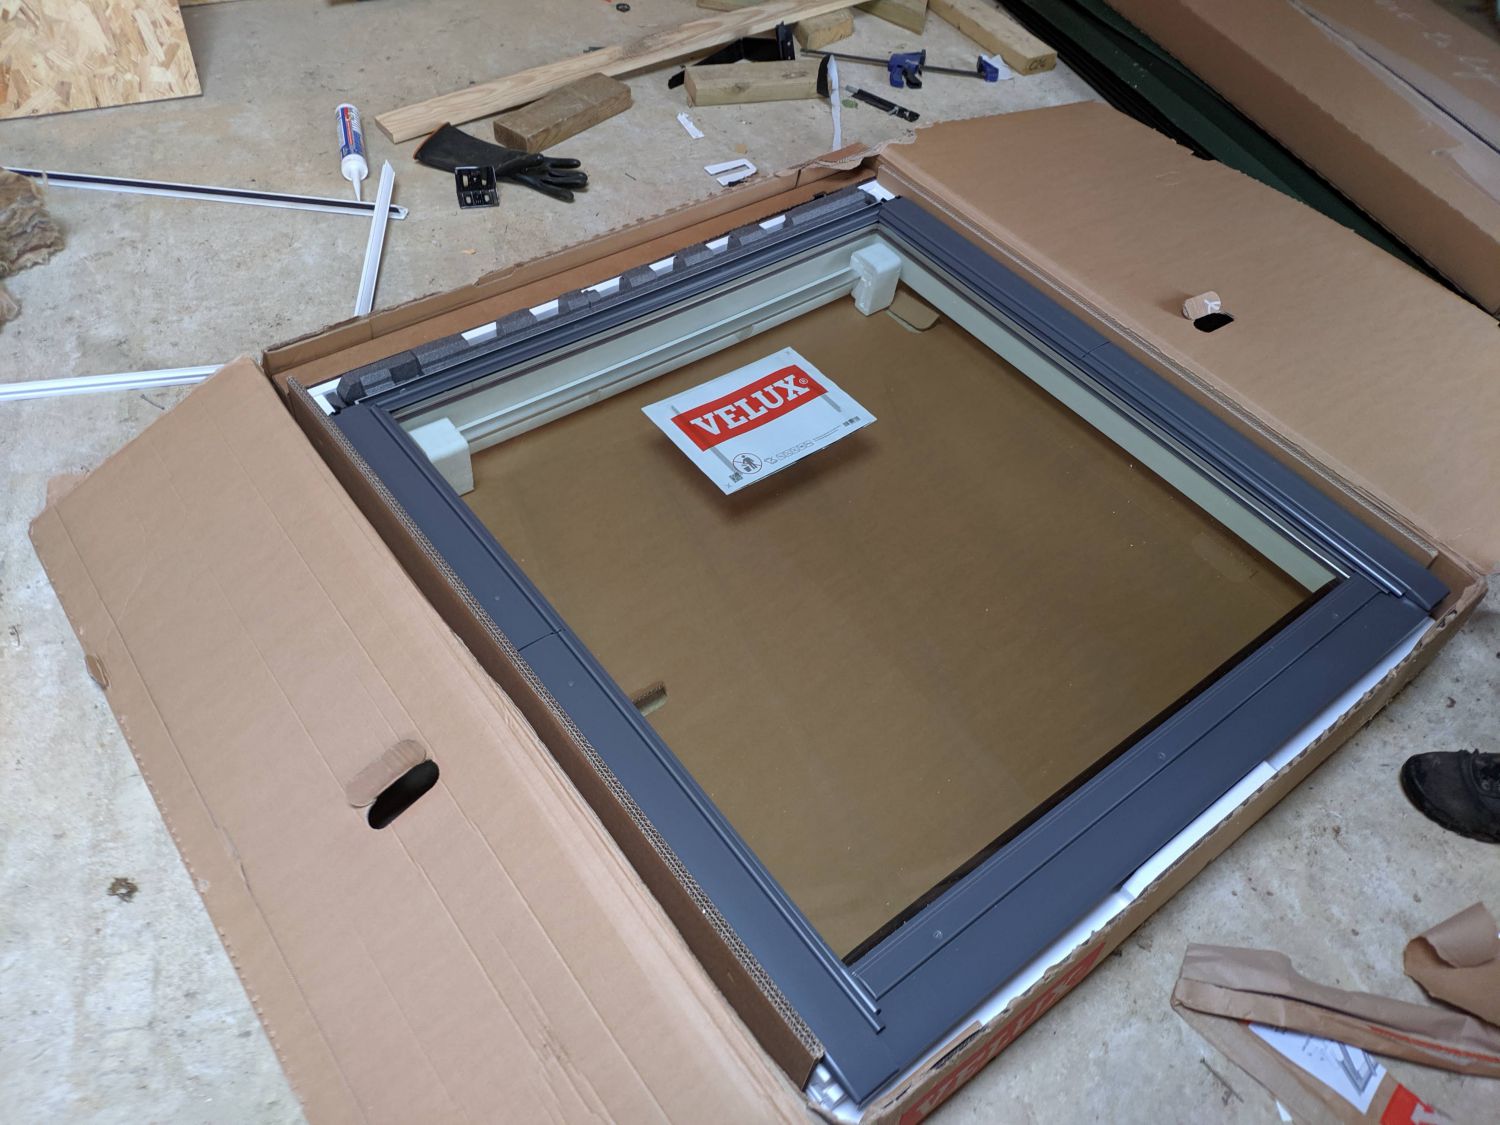
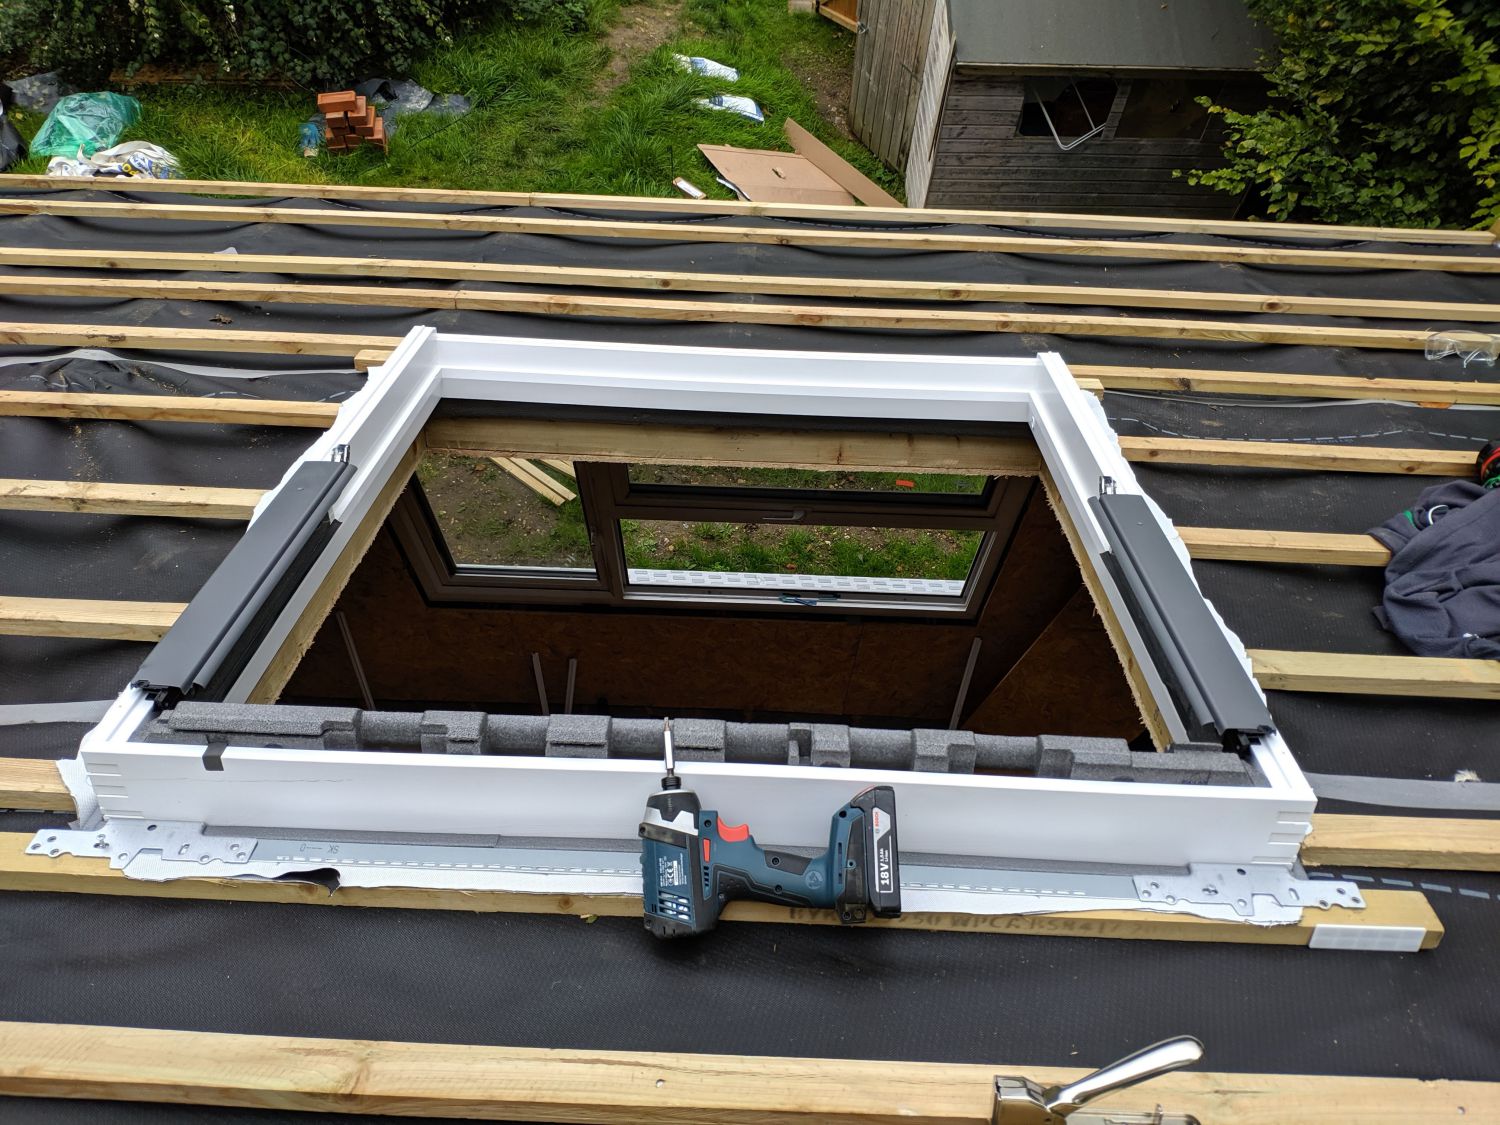
Velux roof windows come with in depth installation instructions and all the accessories required. I had cut one rafter in half and installed headers to form the void where the roof window would go, this was done to fit the SK06 size.
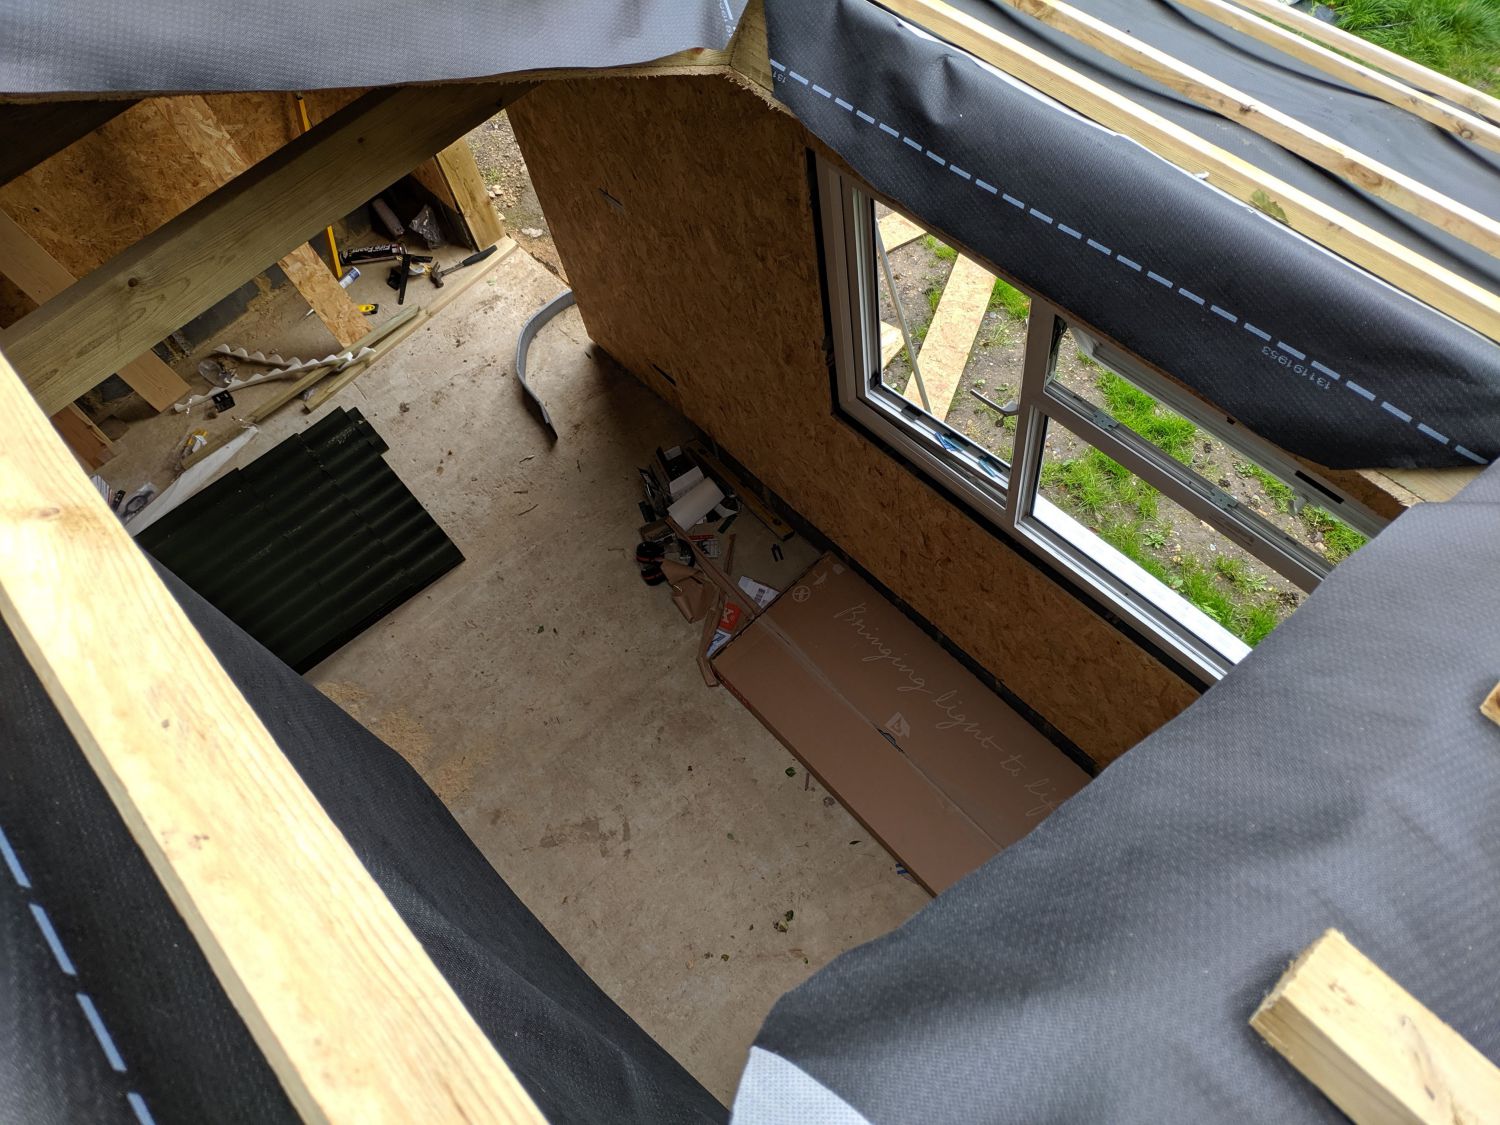
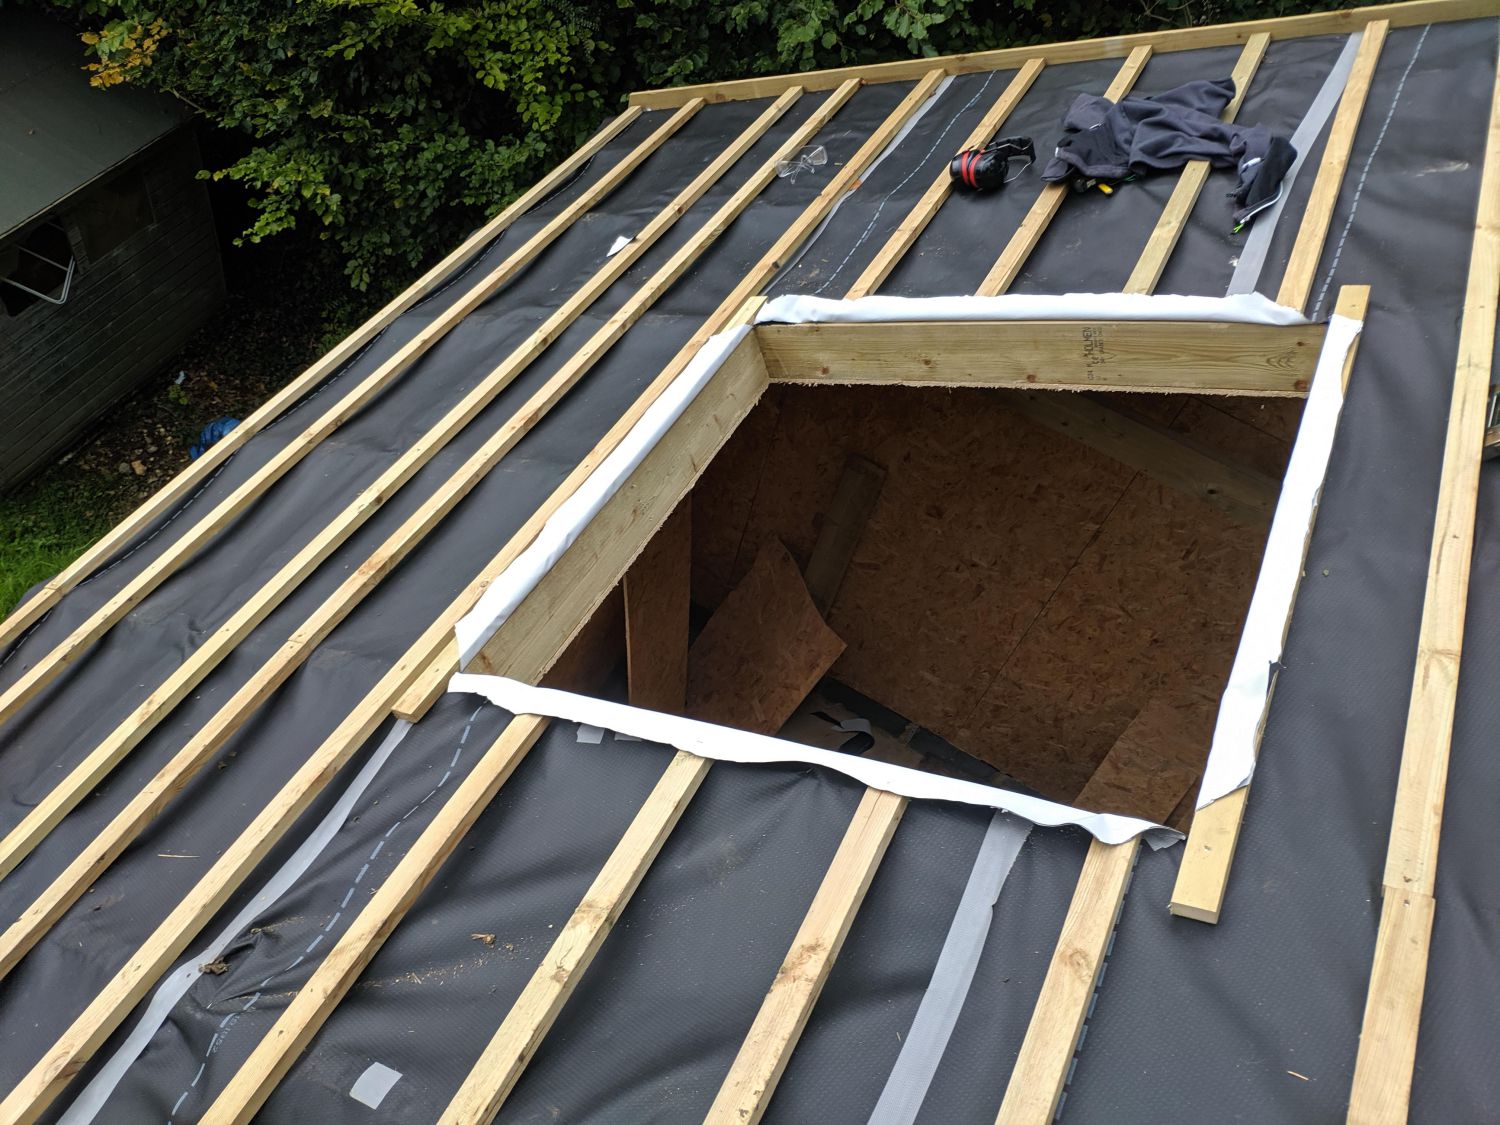
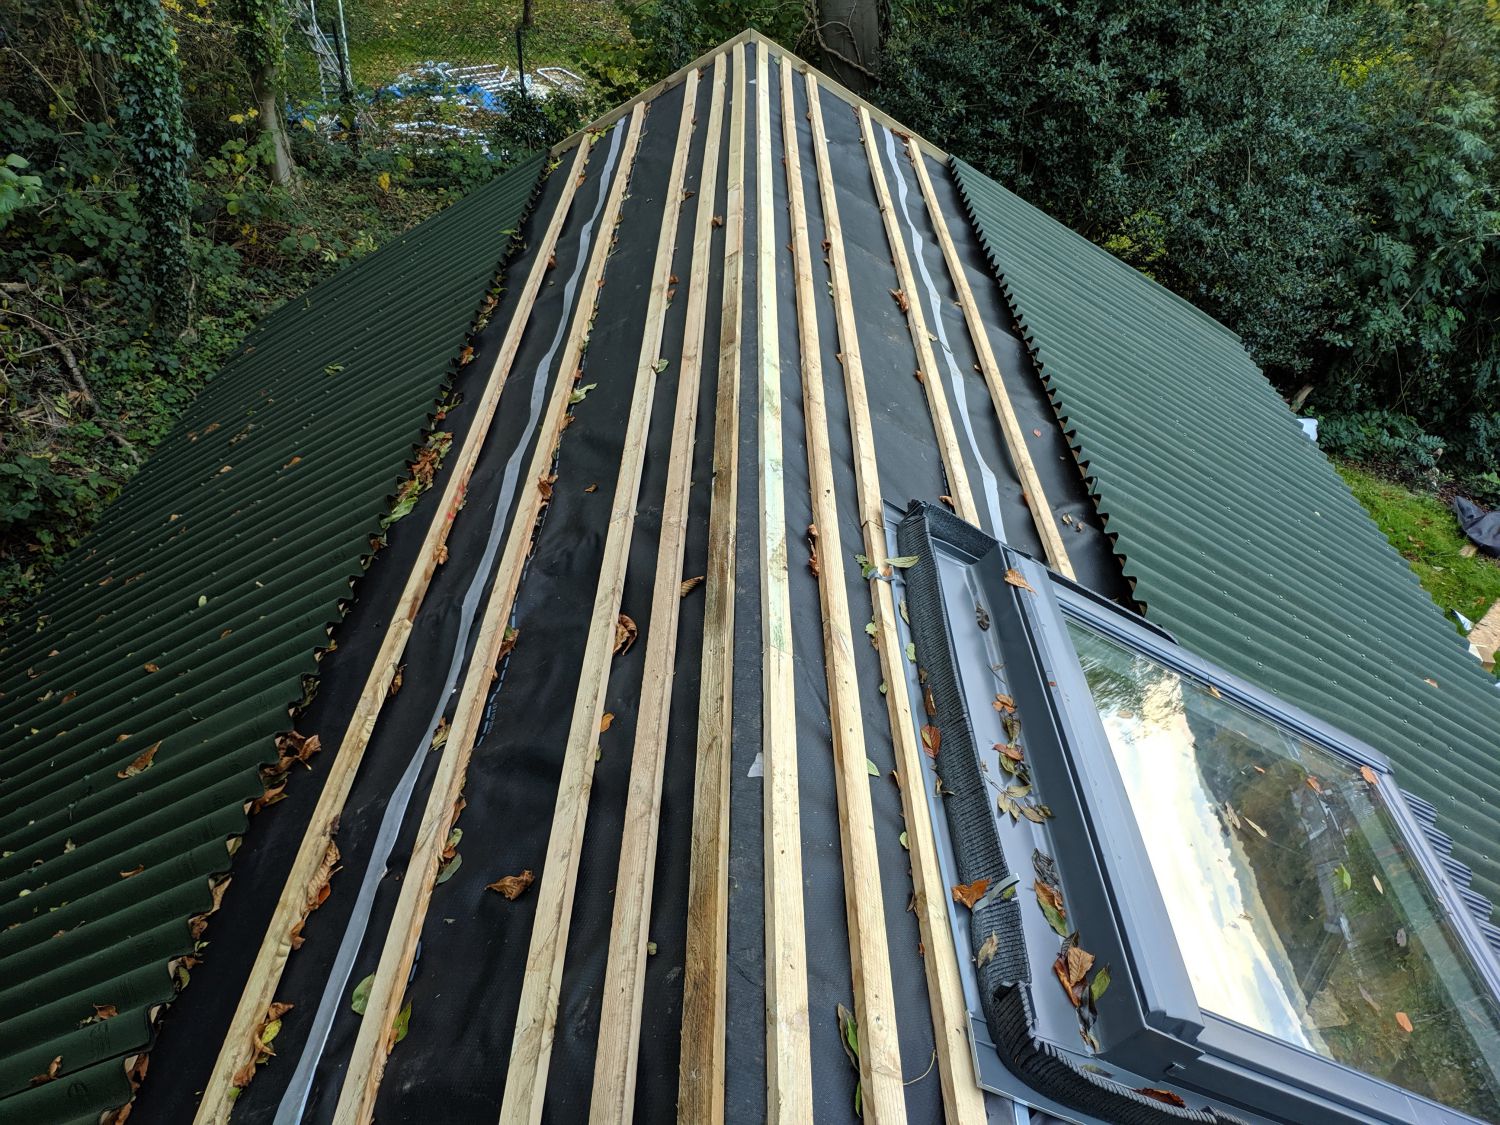
Void preparation
Before putting the window in place, I had to install battens around the hole where the frame would sit and screw into the rafters. I then cut the membrane, leaving enough excess so it could be folded and stapled to the battens: this forms a final line of defence to prevent water entry.
Frame install
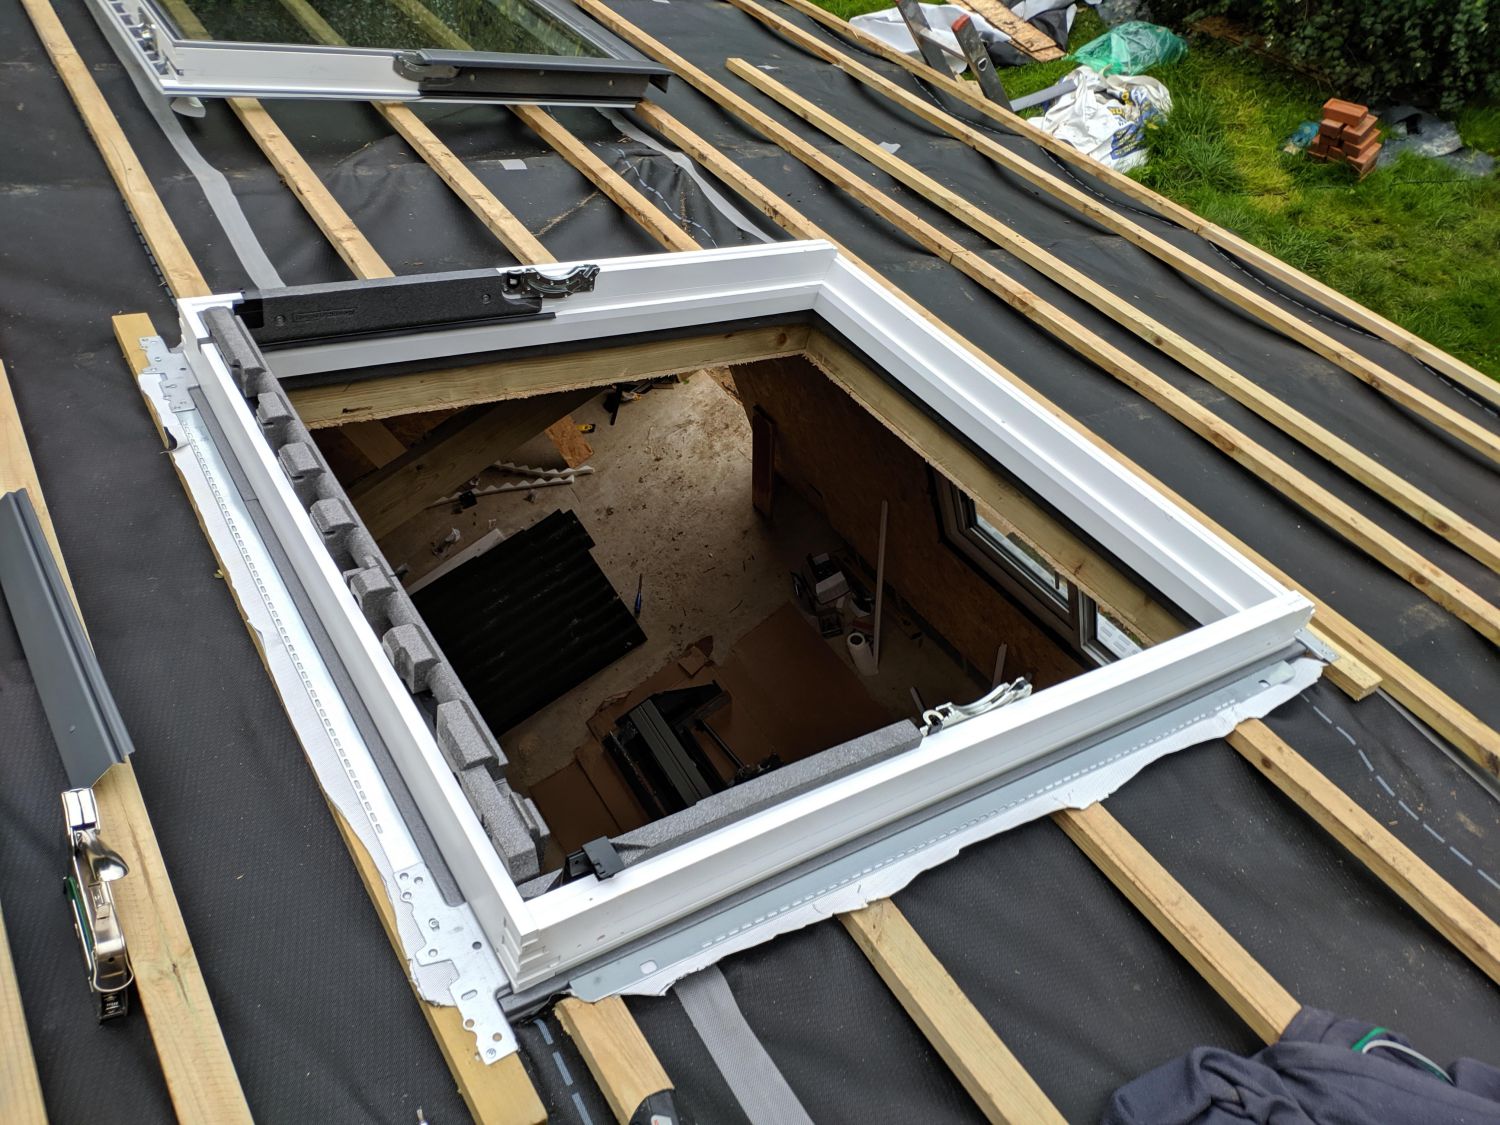
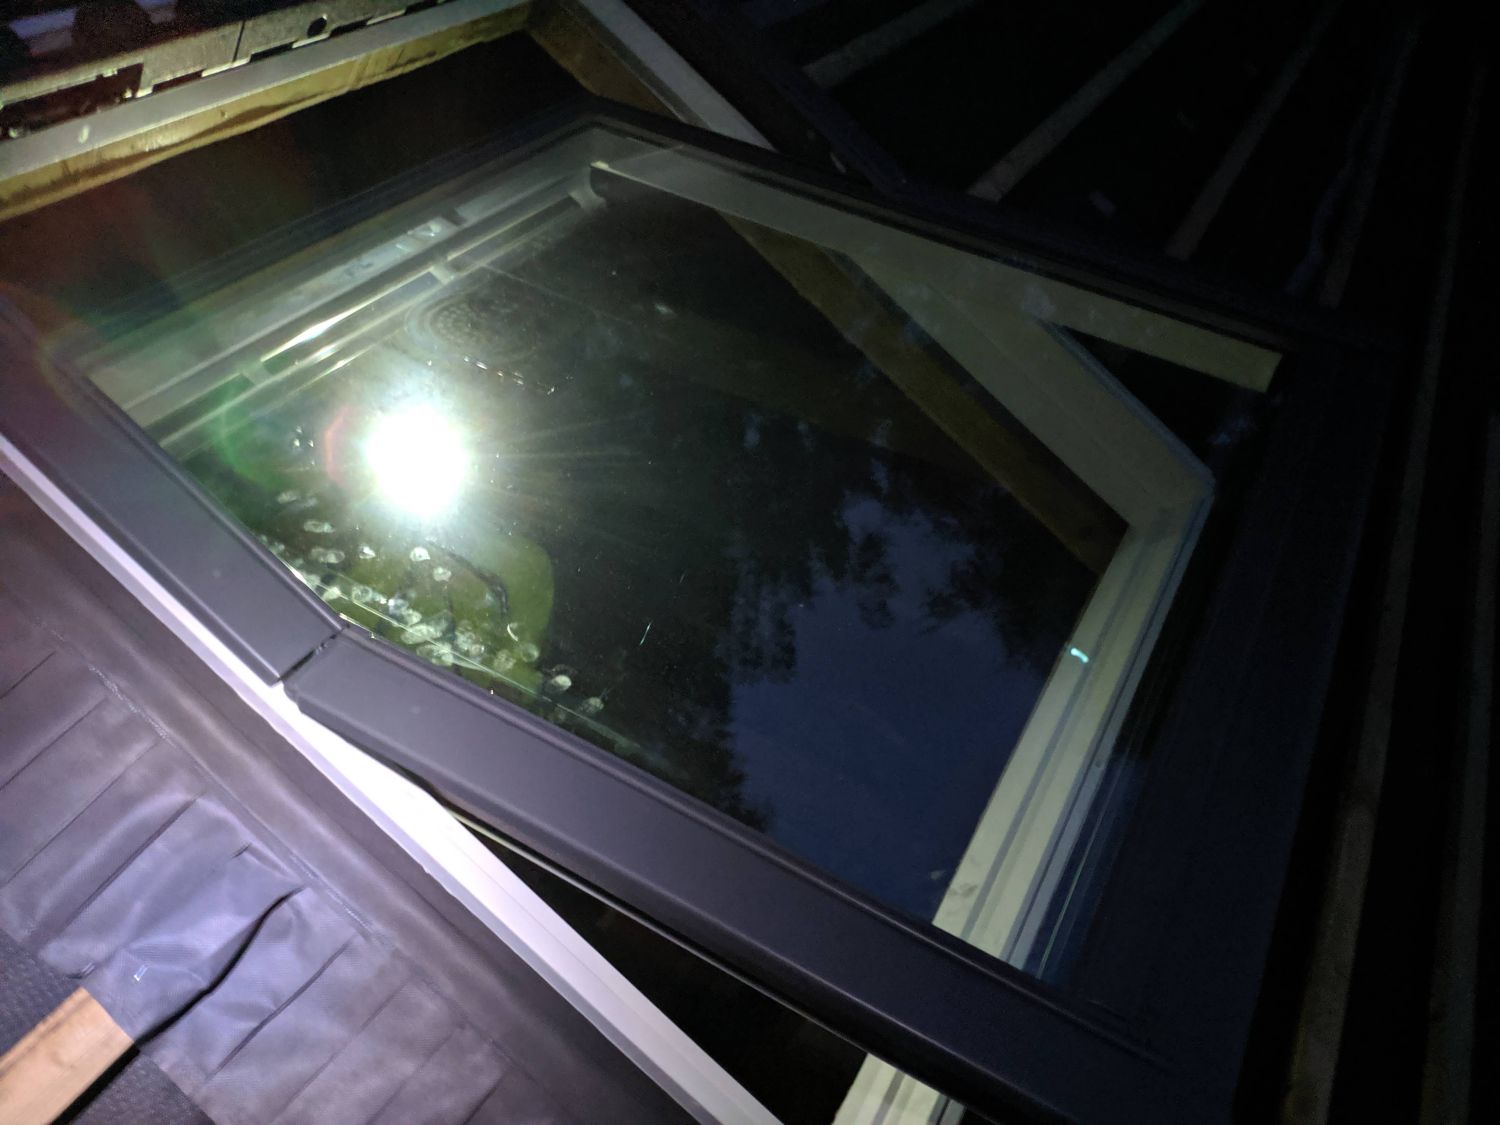
I opened the main window and followed the instructions to screw in the metal support brackets. The window frame was then simply be lowered into place and secured with screws. As I chose a centre pivot window, the glass unit is held in a metal track at each side of the window.
Underfelt collar
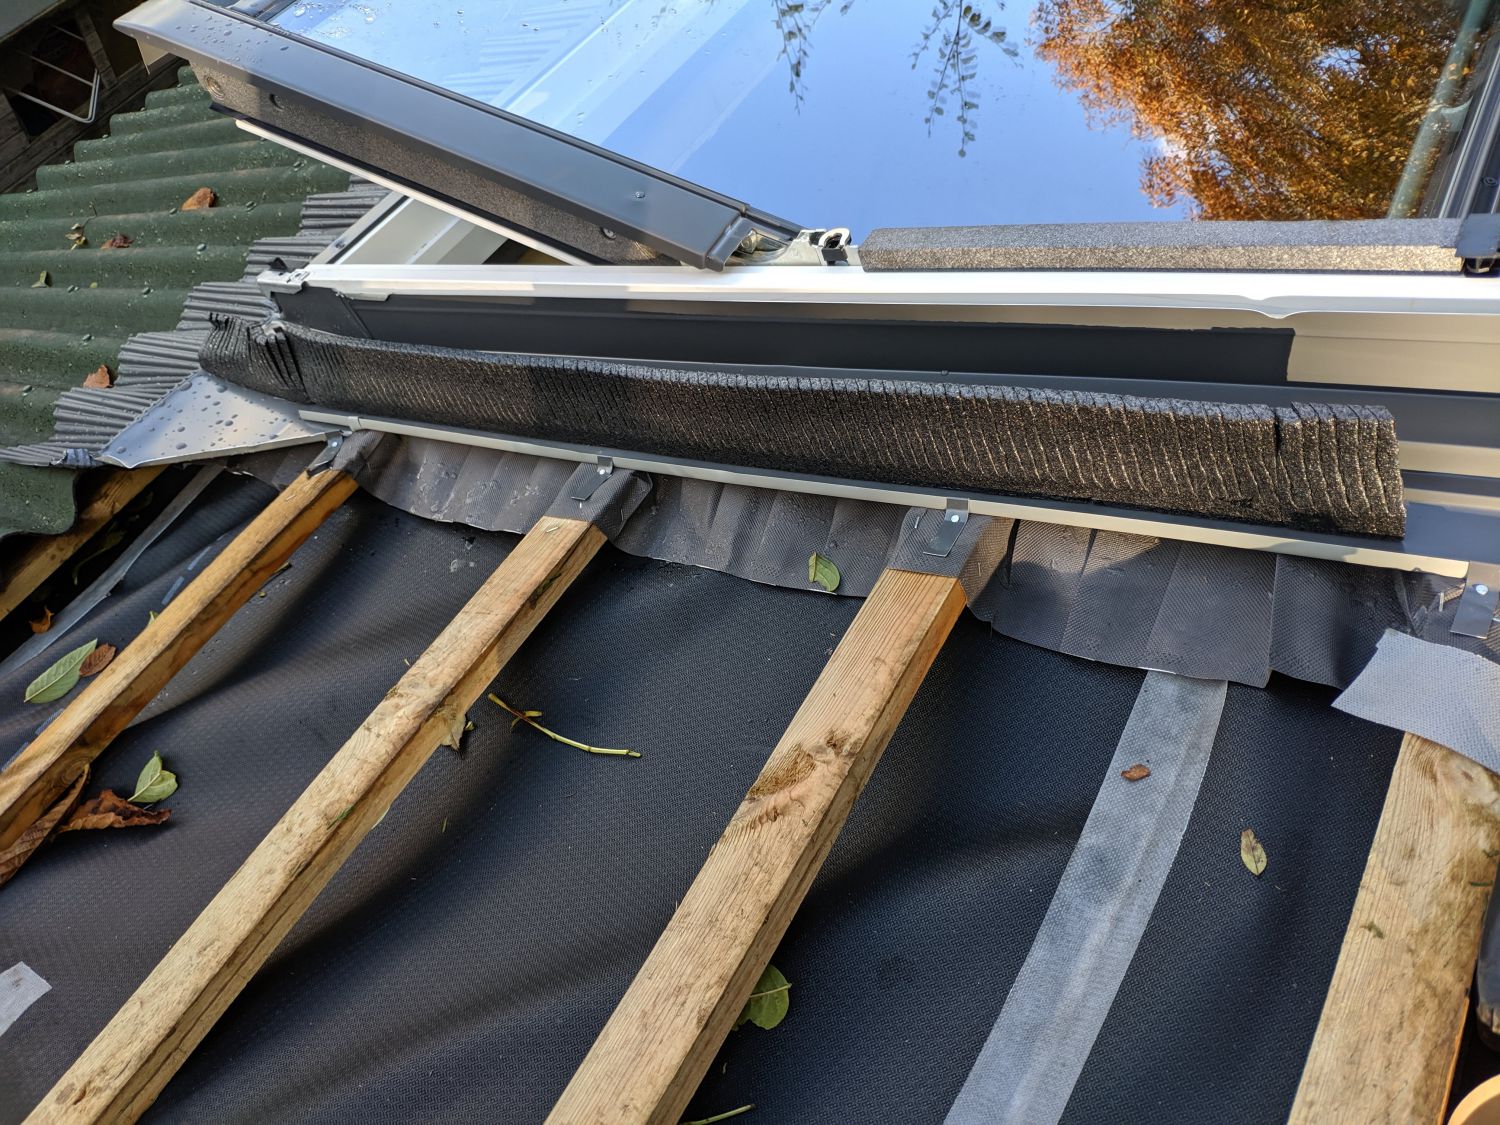
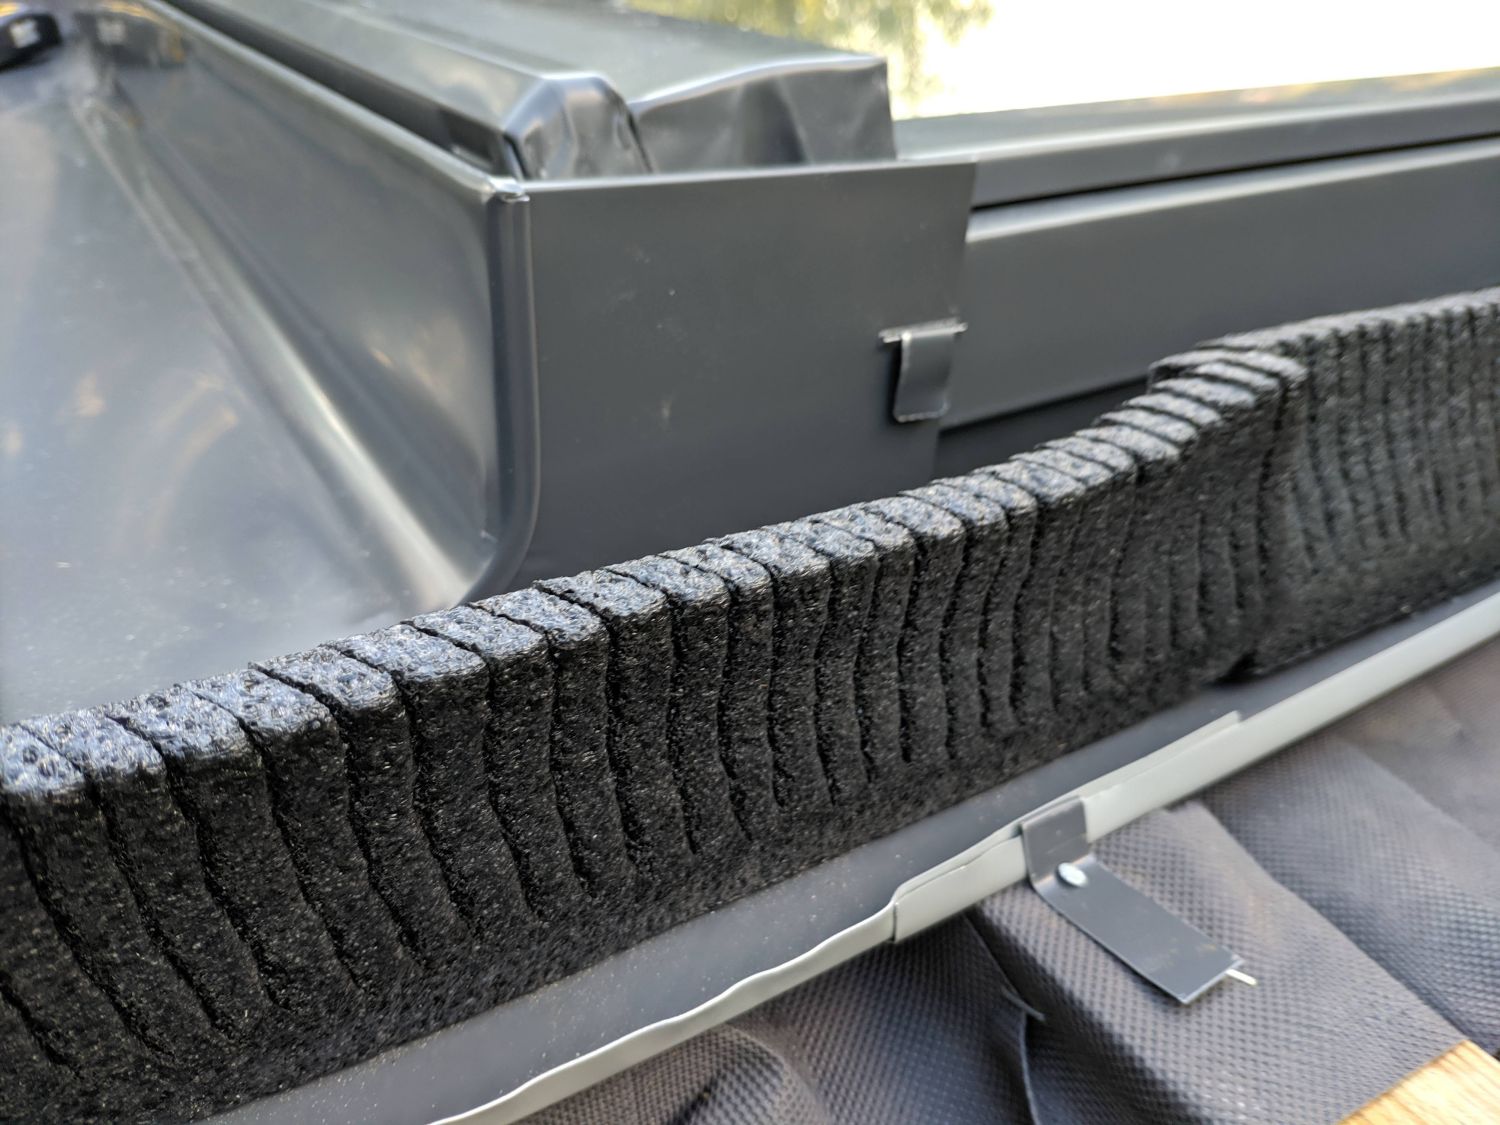
Next, the window collar needs to be installed. This is more complex than a standard window as consideration needs to be made for a significant amount of water running down the roof membrane. Velux windows redirect this water with a metal gutter, which is slipped under the roof membrane under a cut above the window. Two butyl strips at each side prevent water running along and into this cut in the membrane.
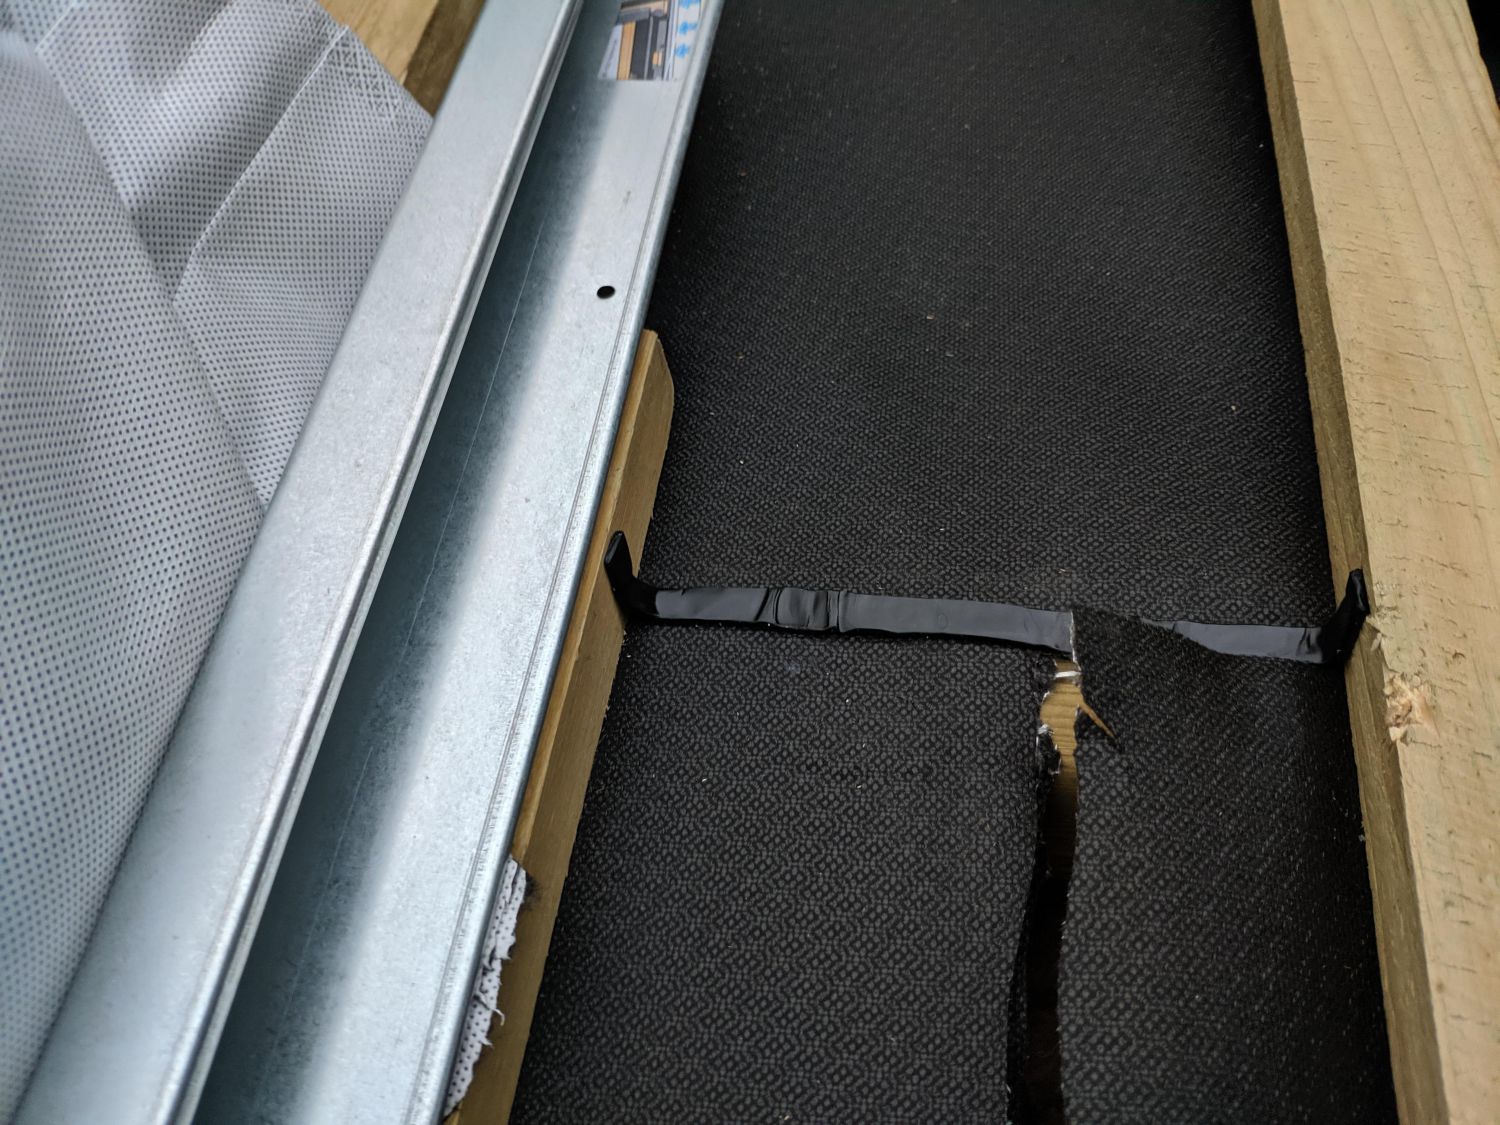
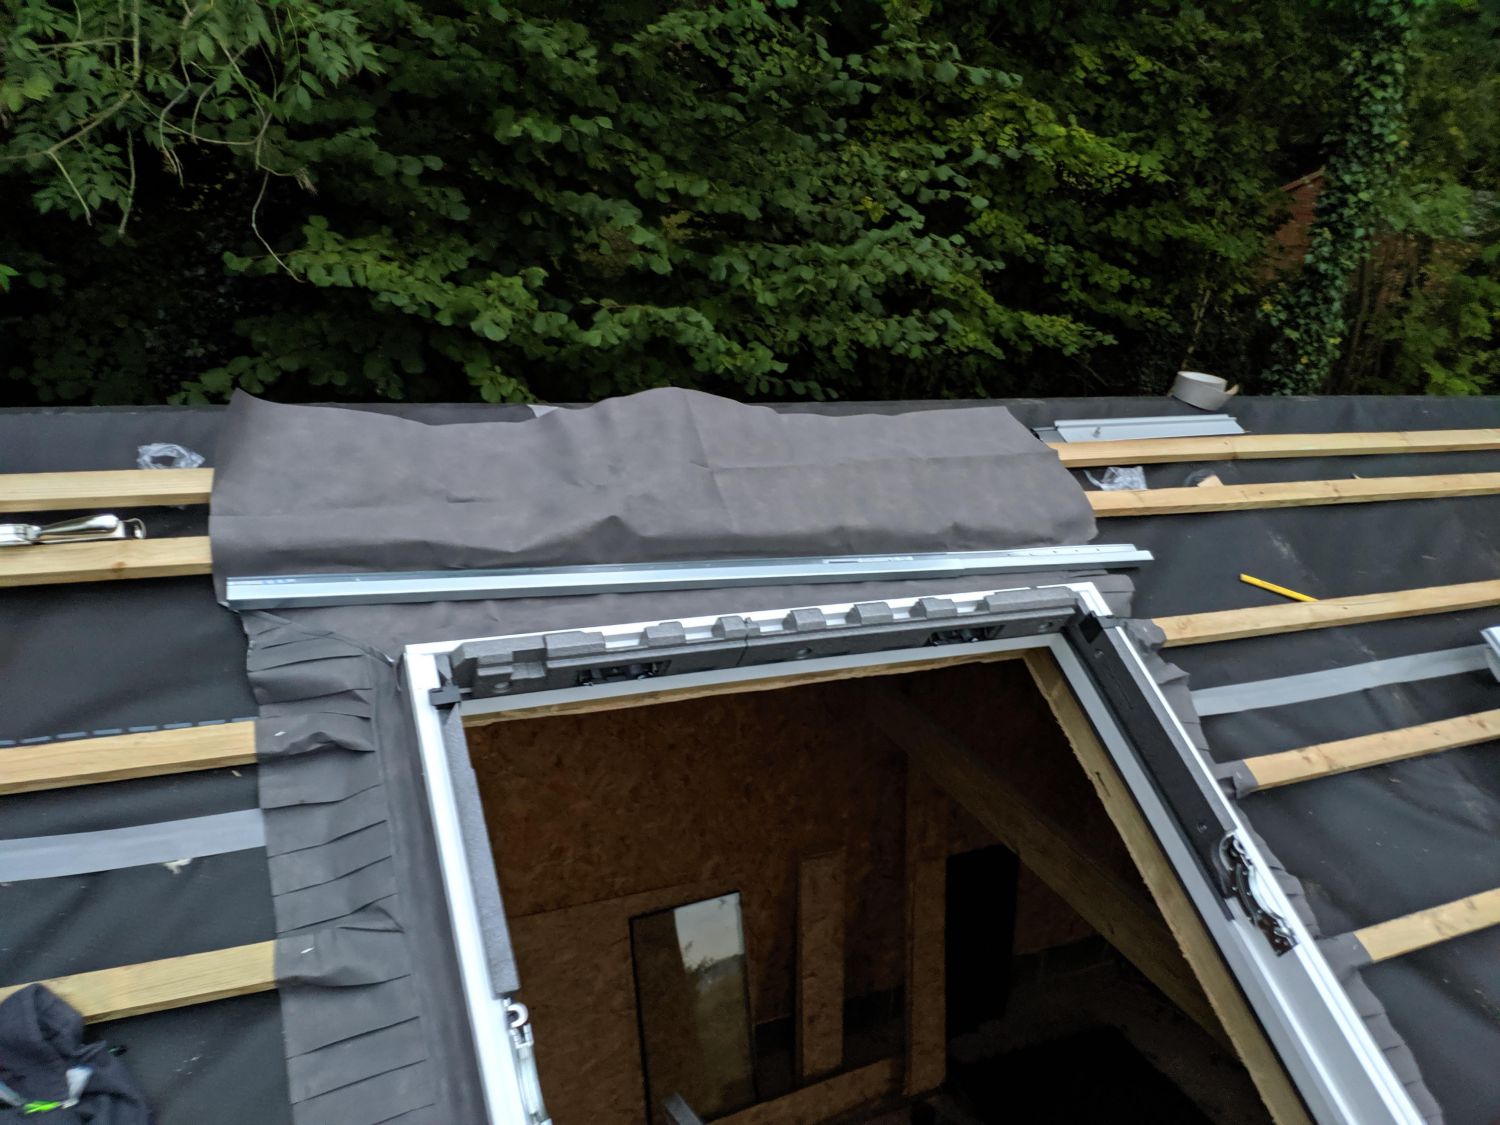
The main underfelt collar, made from a similar material to the roofing membrane, is installed first. Adhesive strips form a seal with the window frame and the pleated edges are stapled around the battens. The upper collar sits under the gutter and is folded back on itself and held into the gutter with clips.
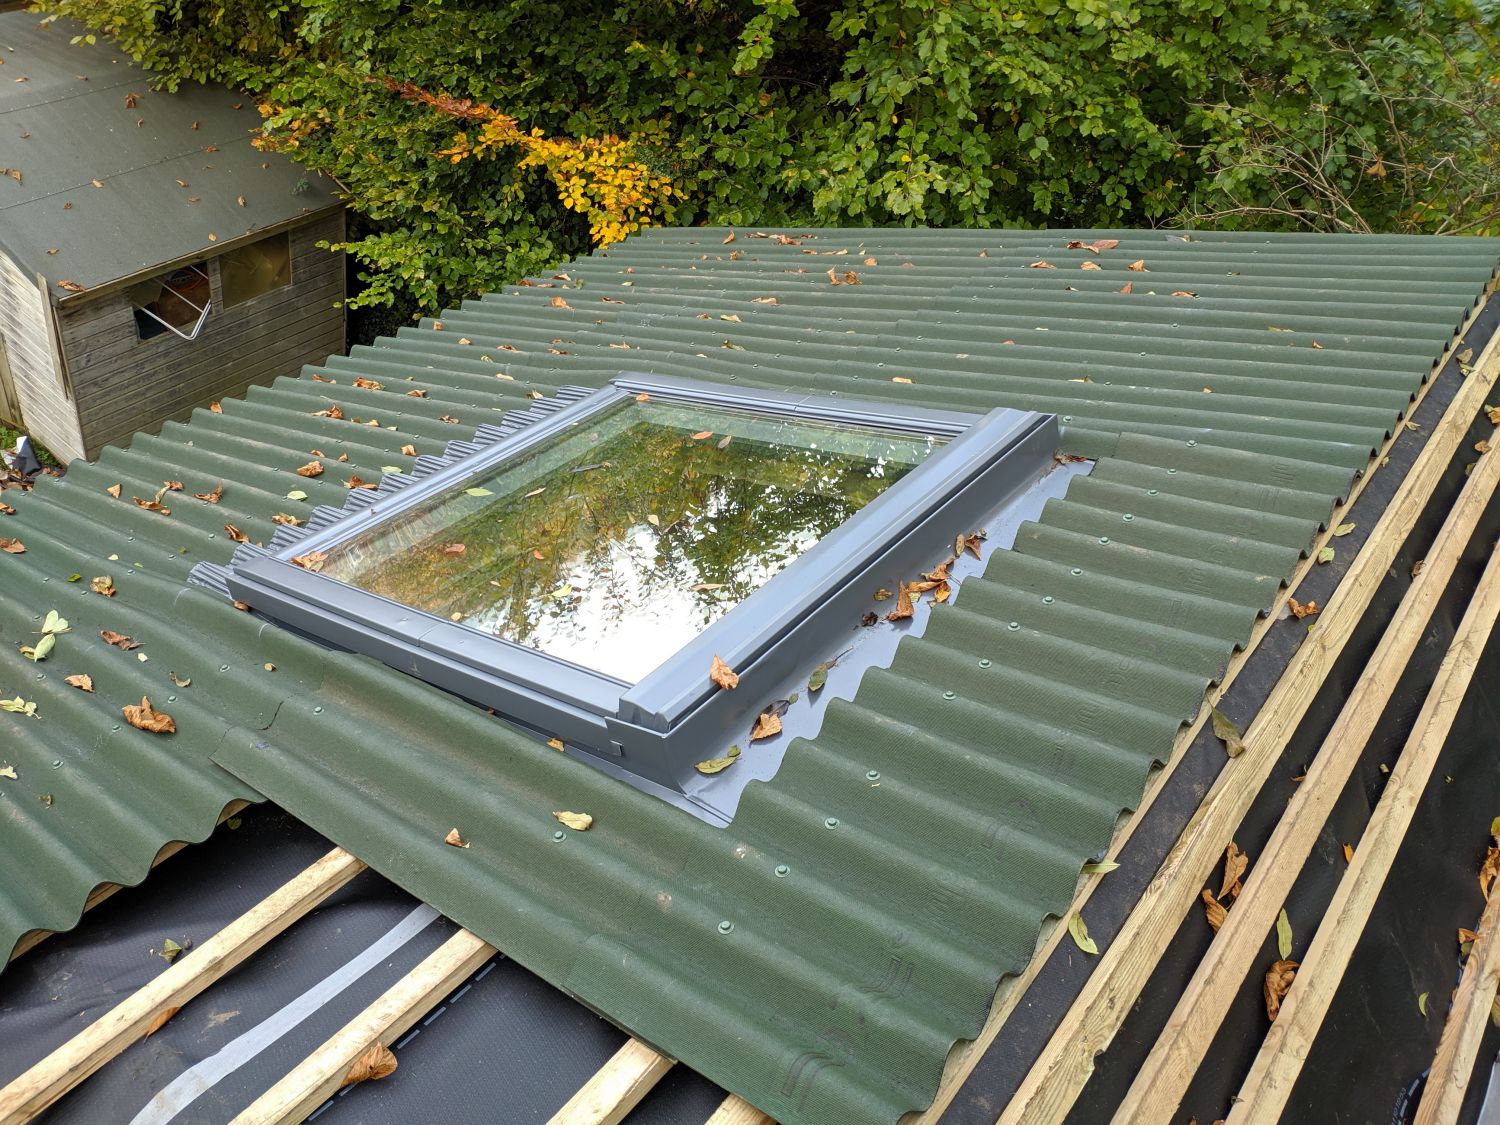
Flashing
Finally, I moved on to the flashing. This is a thin impervious metal assembly that surrounds the window and redirects water onto the rest of the roof. I used a tile flashing which worked well with my profiled roofing sheets. Before installing the flashing, I placed the glass unit in position and closed the window.
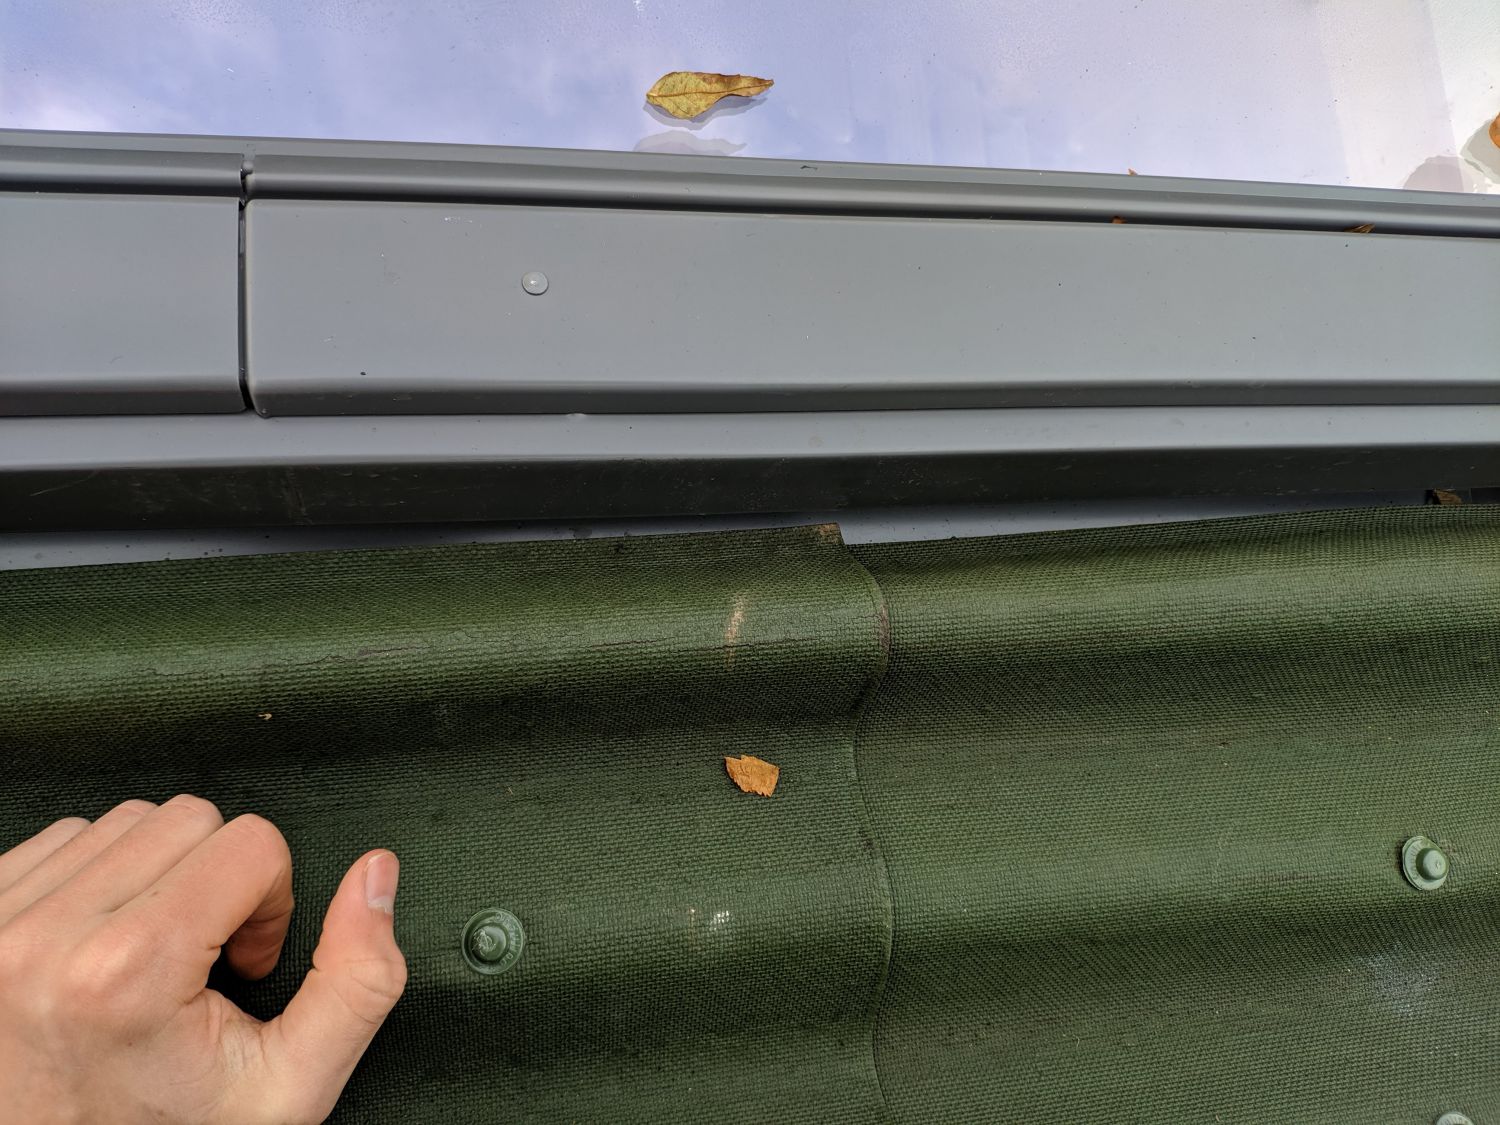
Once the roofing sheet below the window had been nailed in place, I could install the bottom section of the flashing. This is the exit route for water that has entered the flashing’s gutters. I moulded this around the roof sheet below.
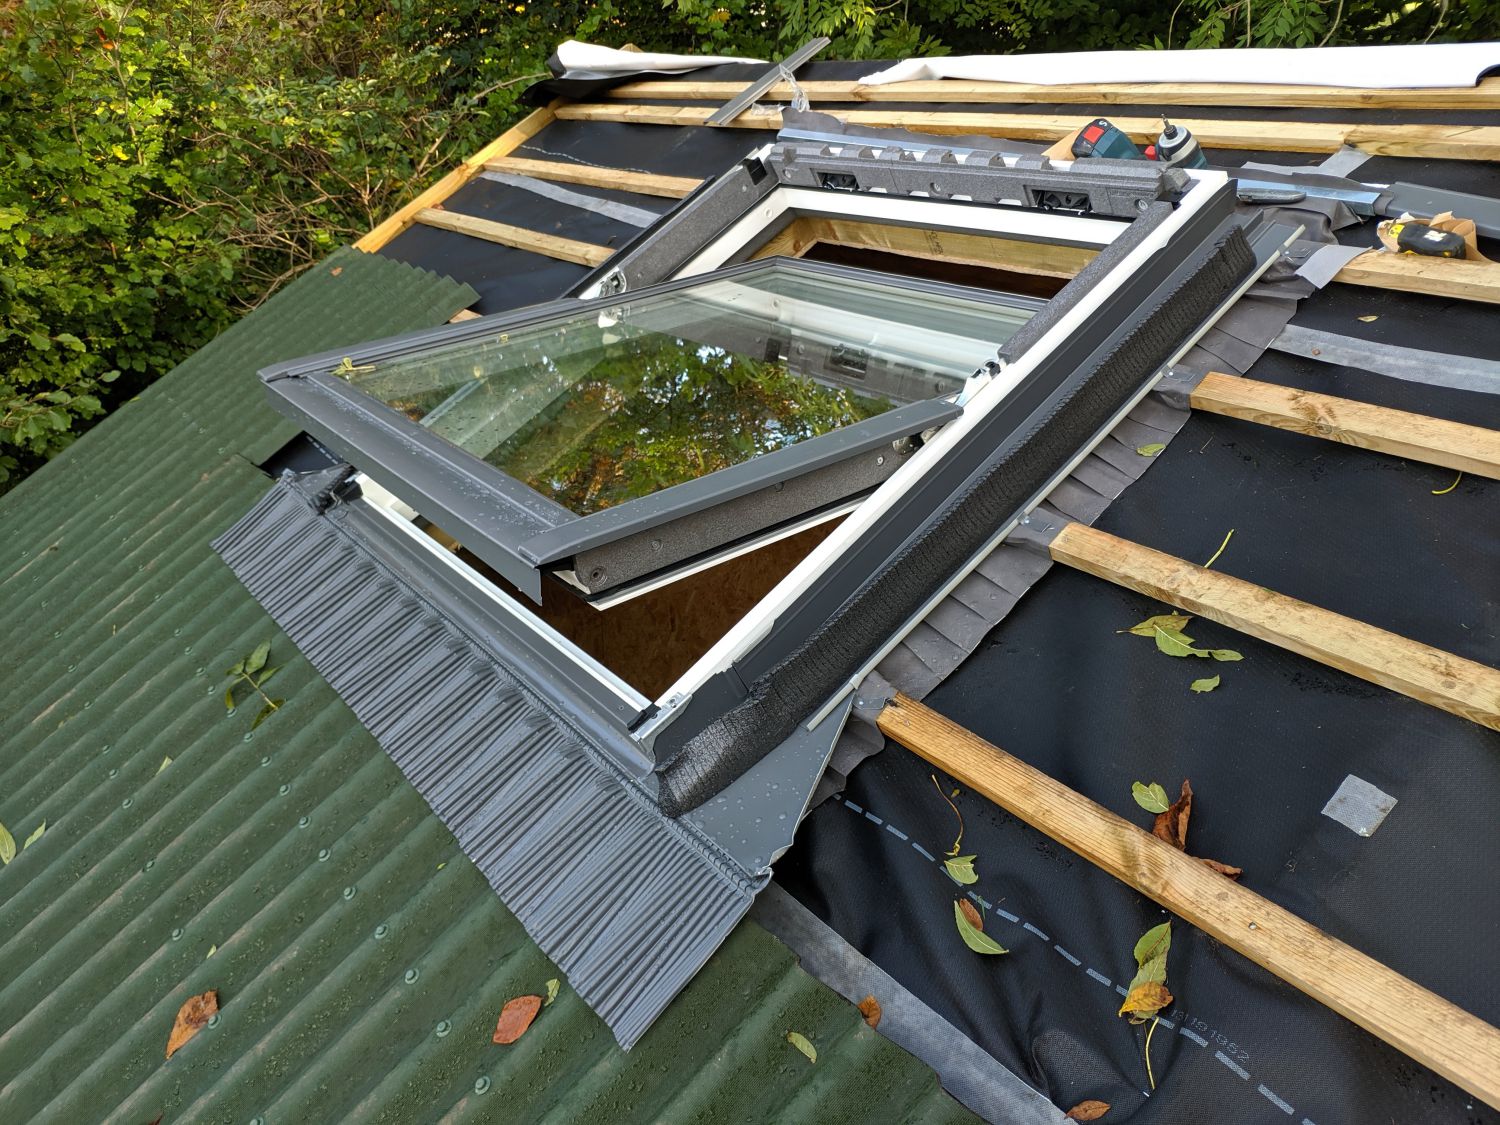
The side sections came next. Foam fillers line each gutter to prevent animal entry to the roof and I nailed the roofing sheets into place over these. I had to extend my sheets beyond the bottom flashing to prevent the sheet lifting: this would have allowed for blown water to enter the roof and also looked ugly.
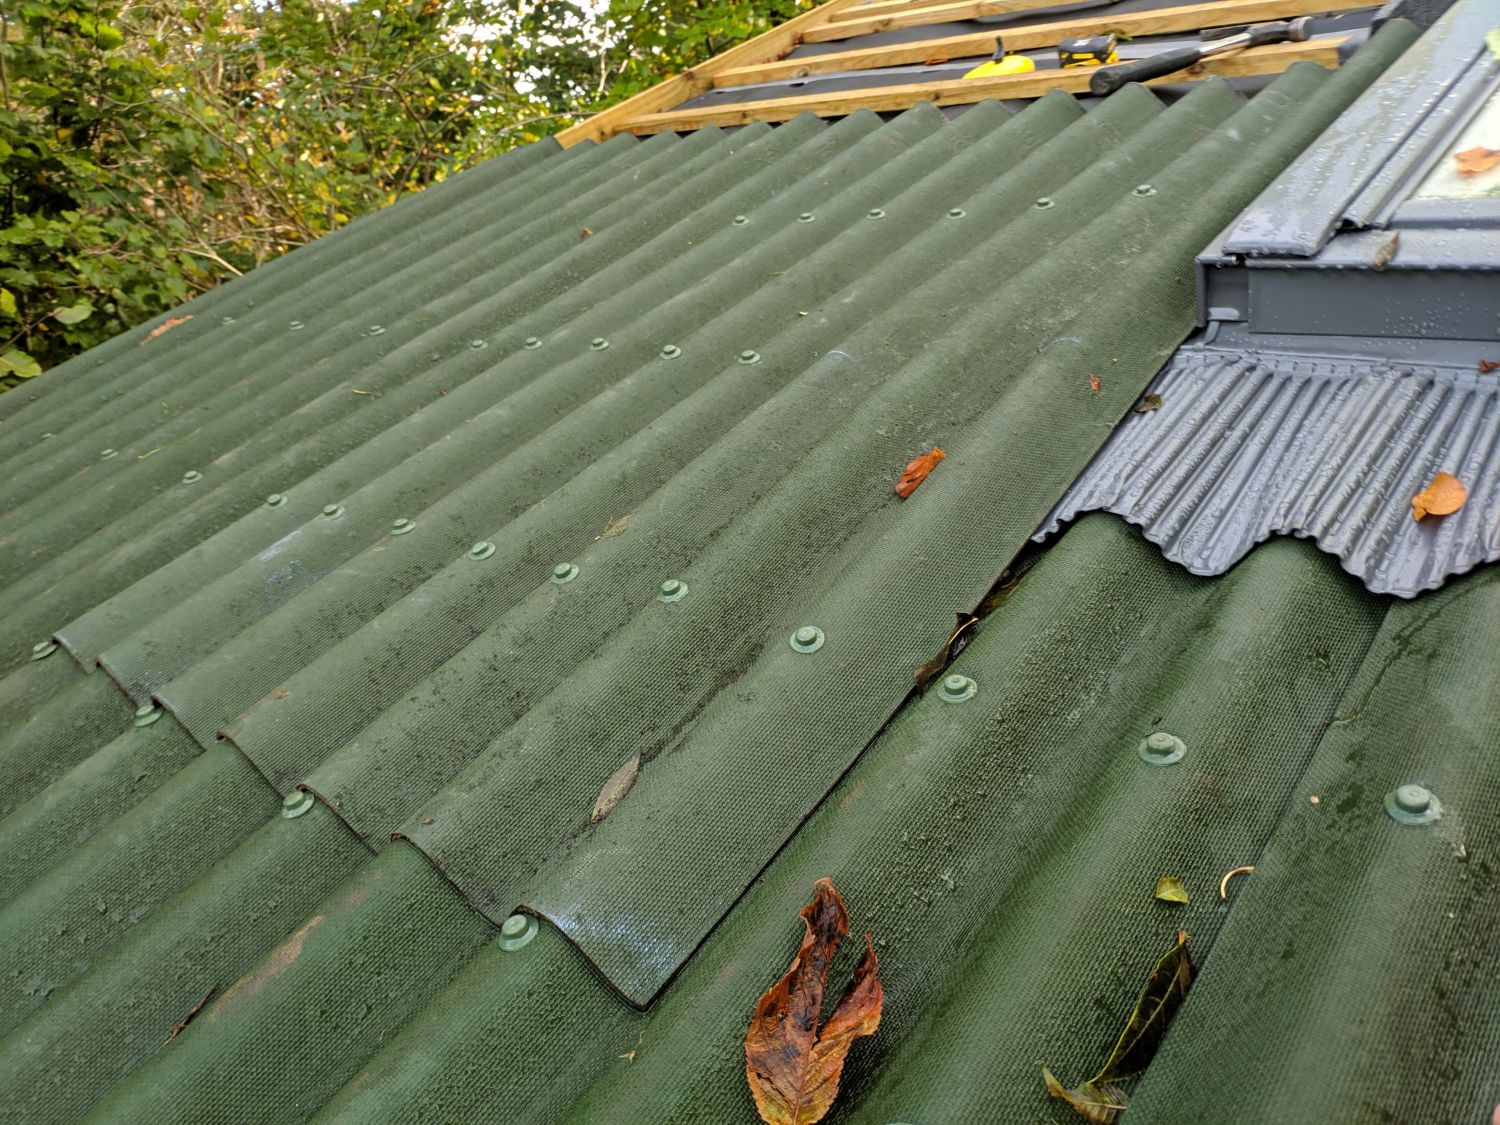

Finally, I nailed the top flashing in place and fitted a corrugated profile above it.
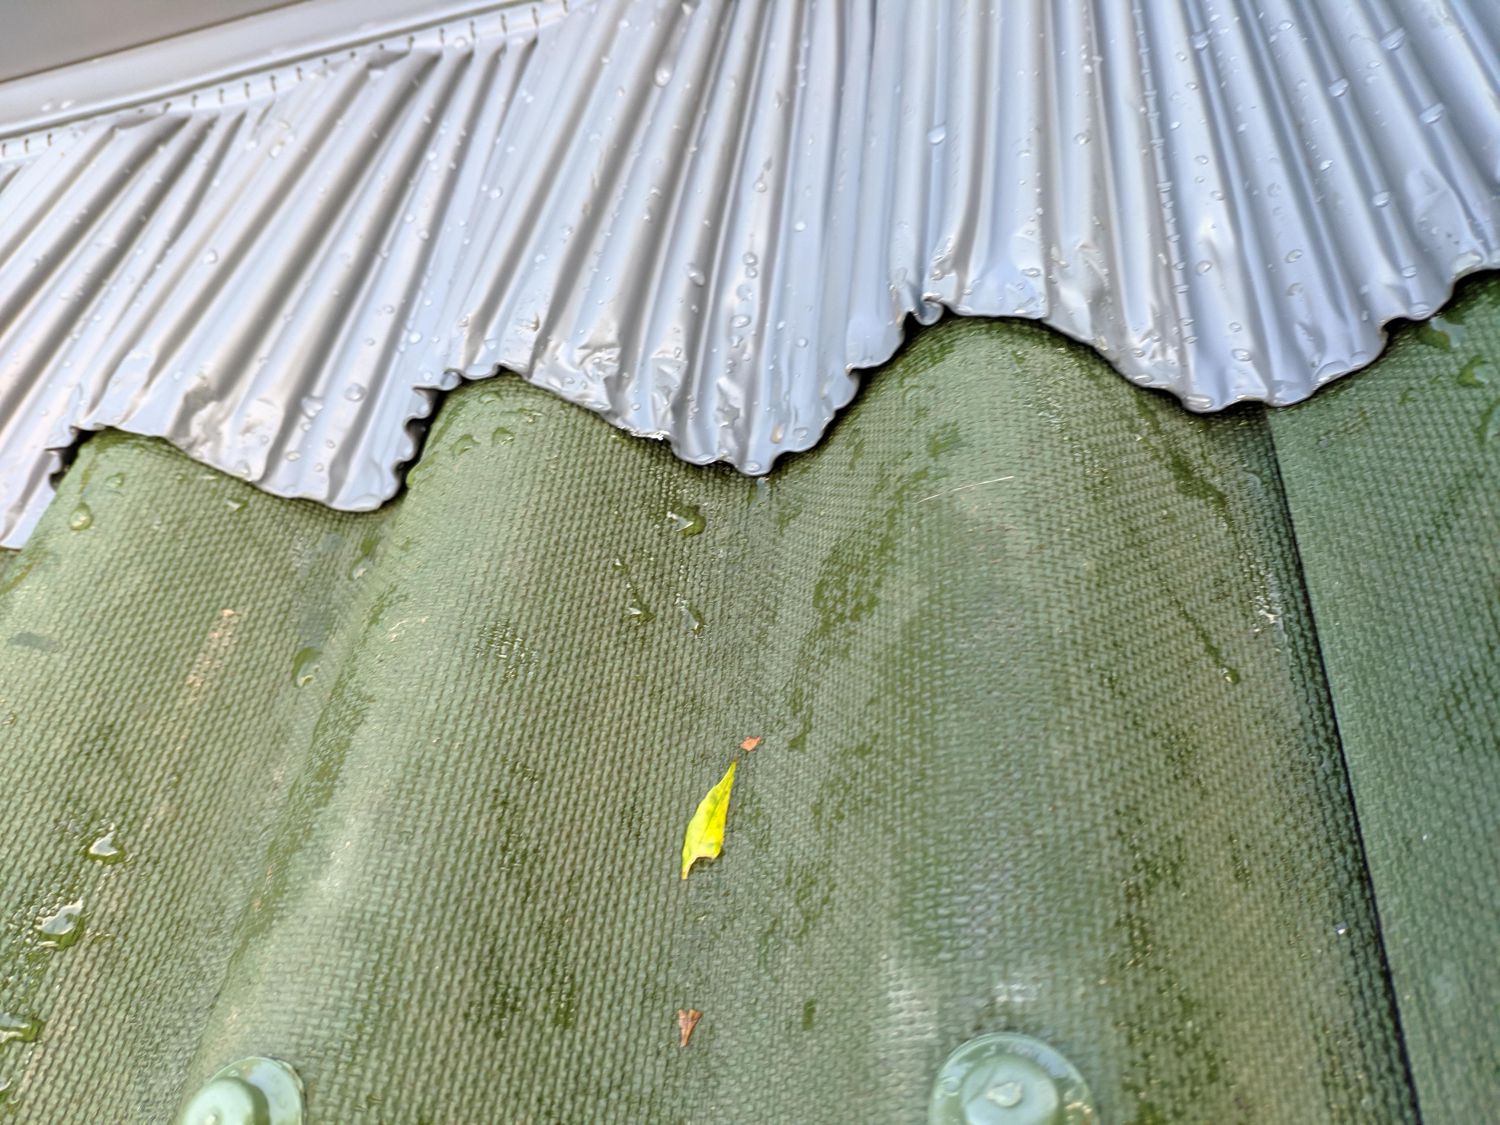
Due to the way the corrugation lined up, some of the roofing sheets get too close the the edge of the window. I will need to ensure that this does not cause clogs with leaves but don’t think it will cause issues.
Conclusion

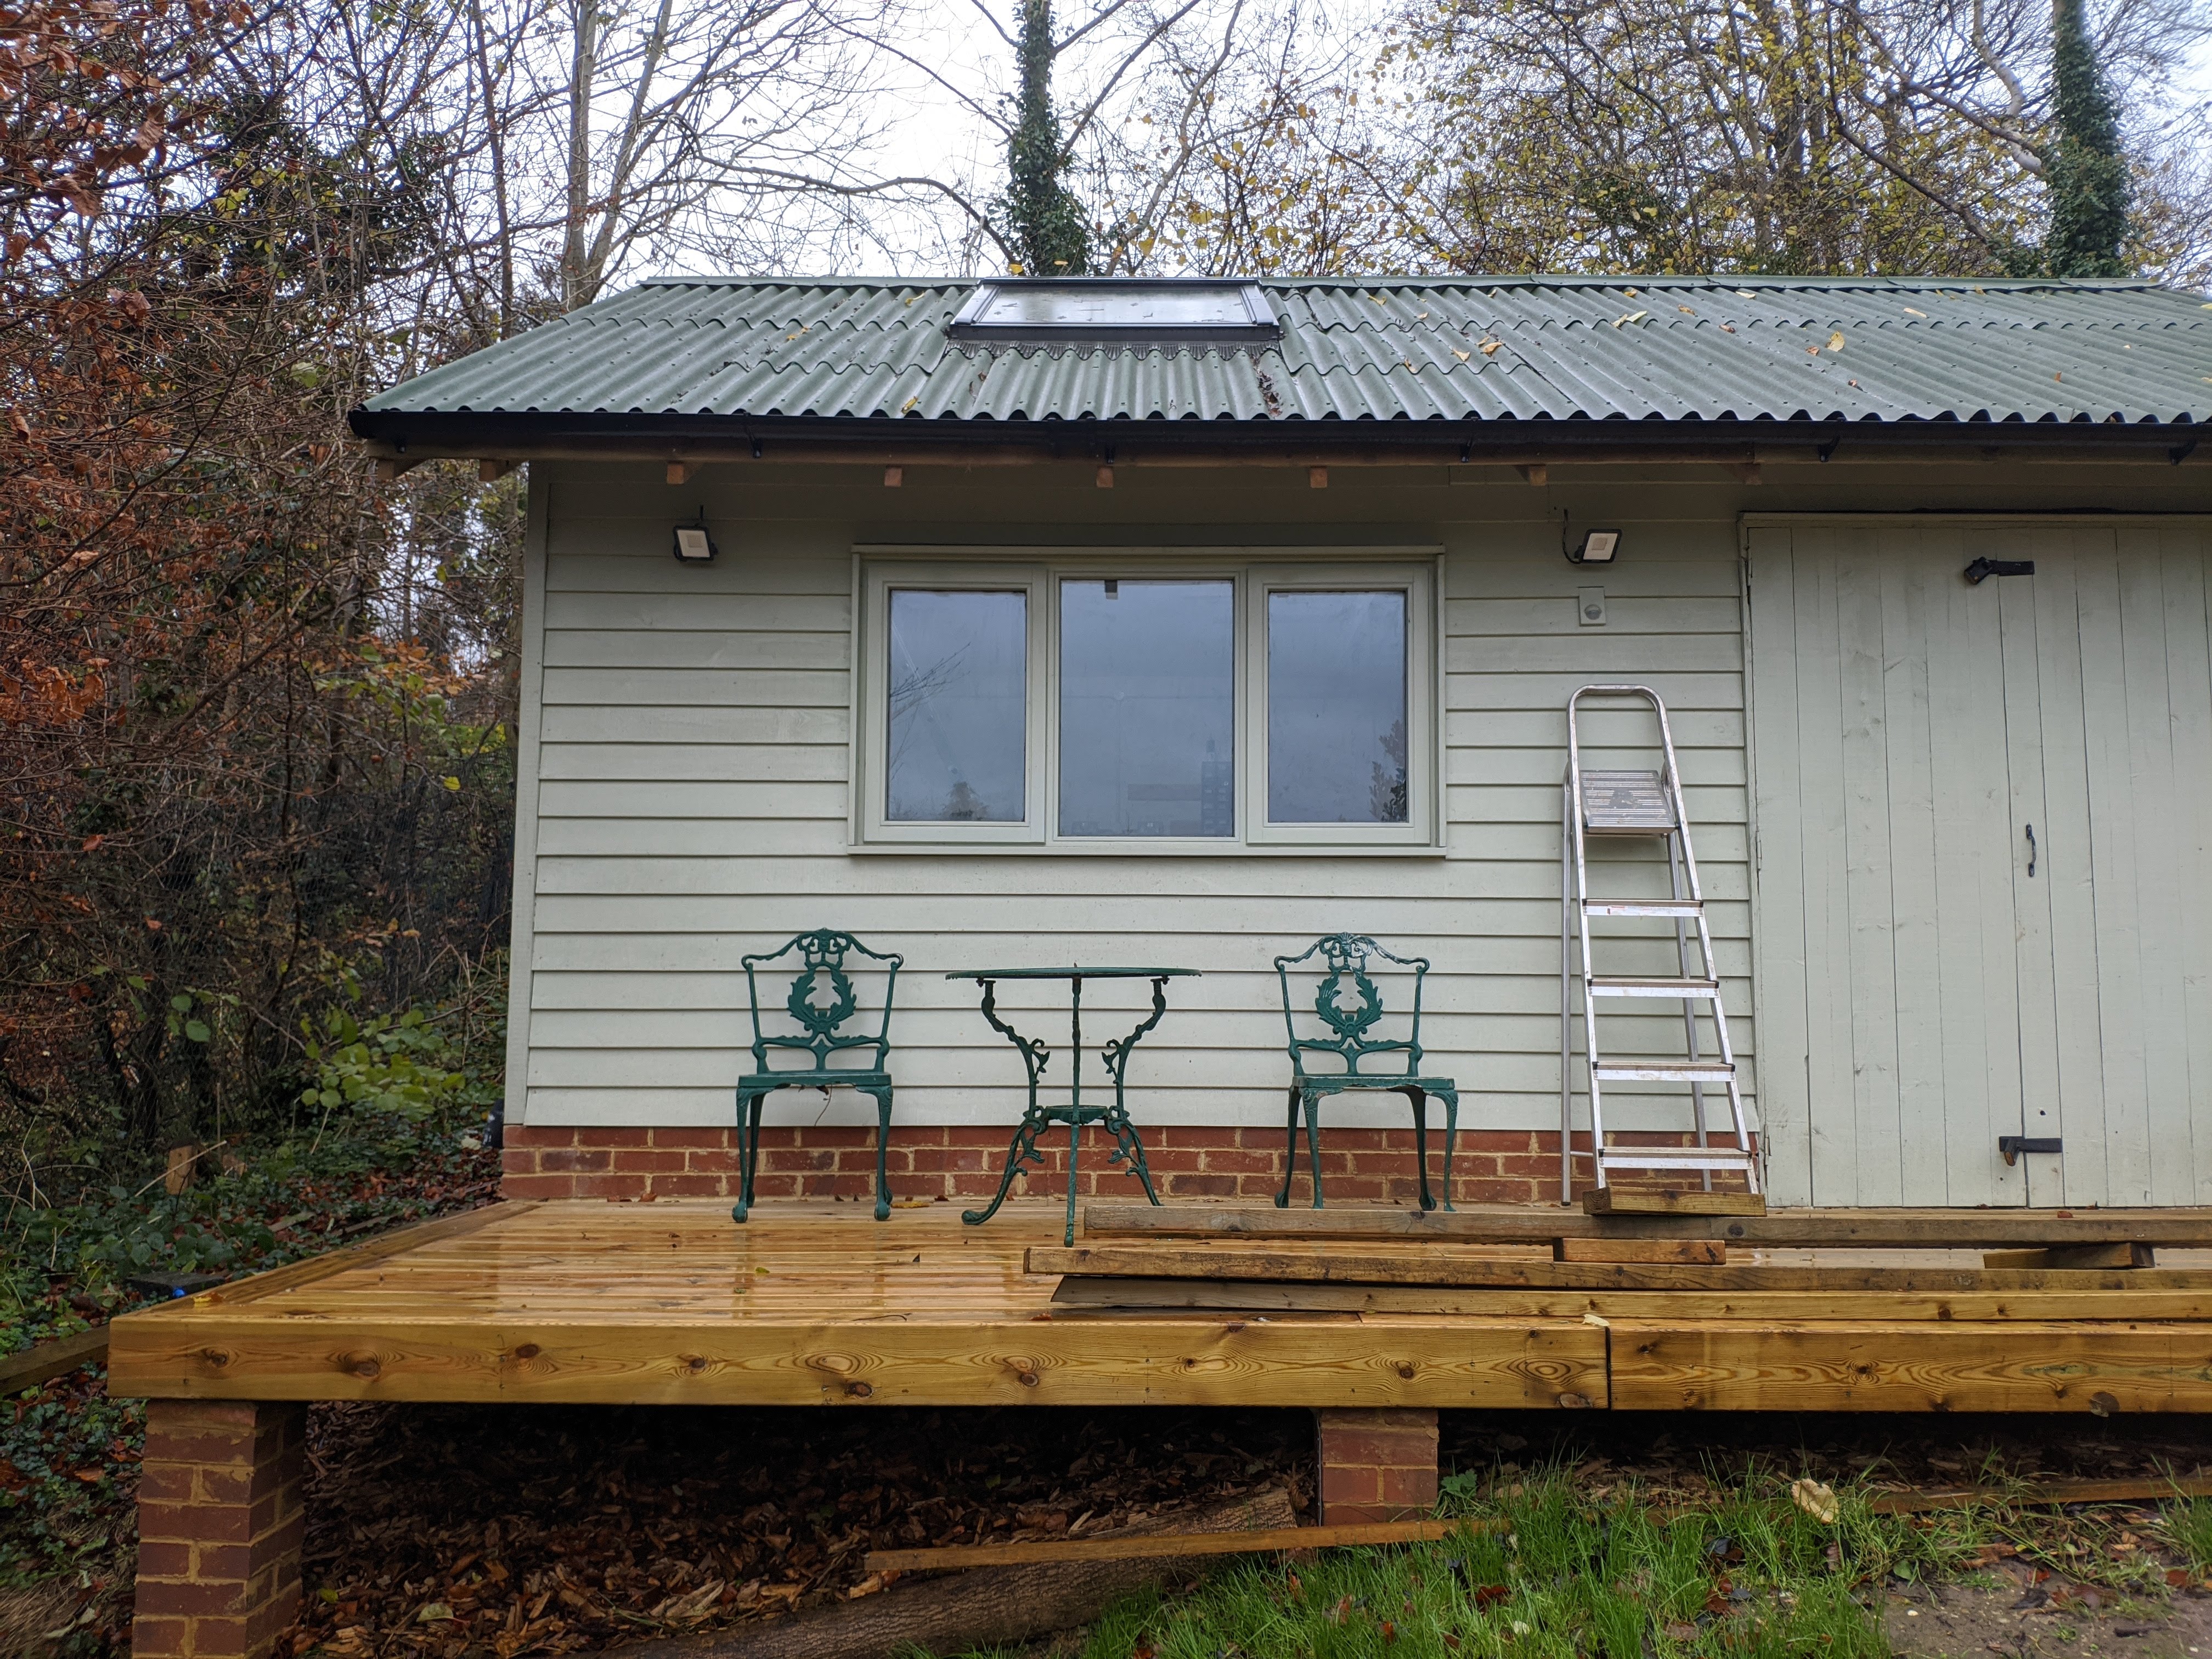
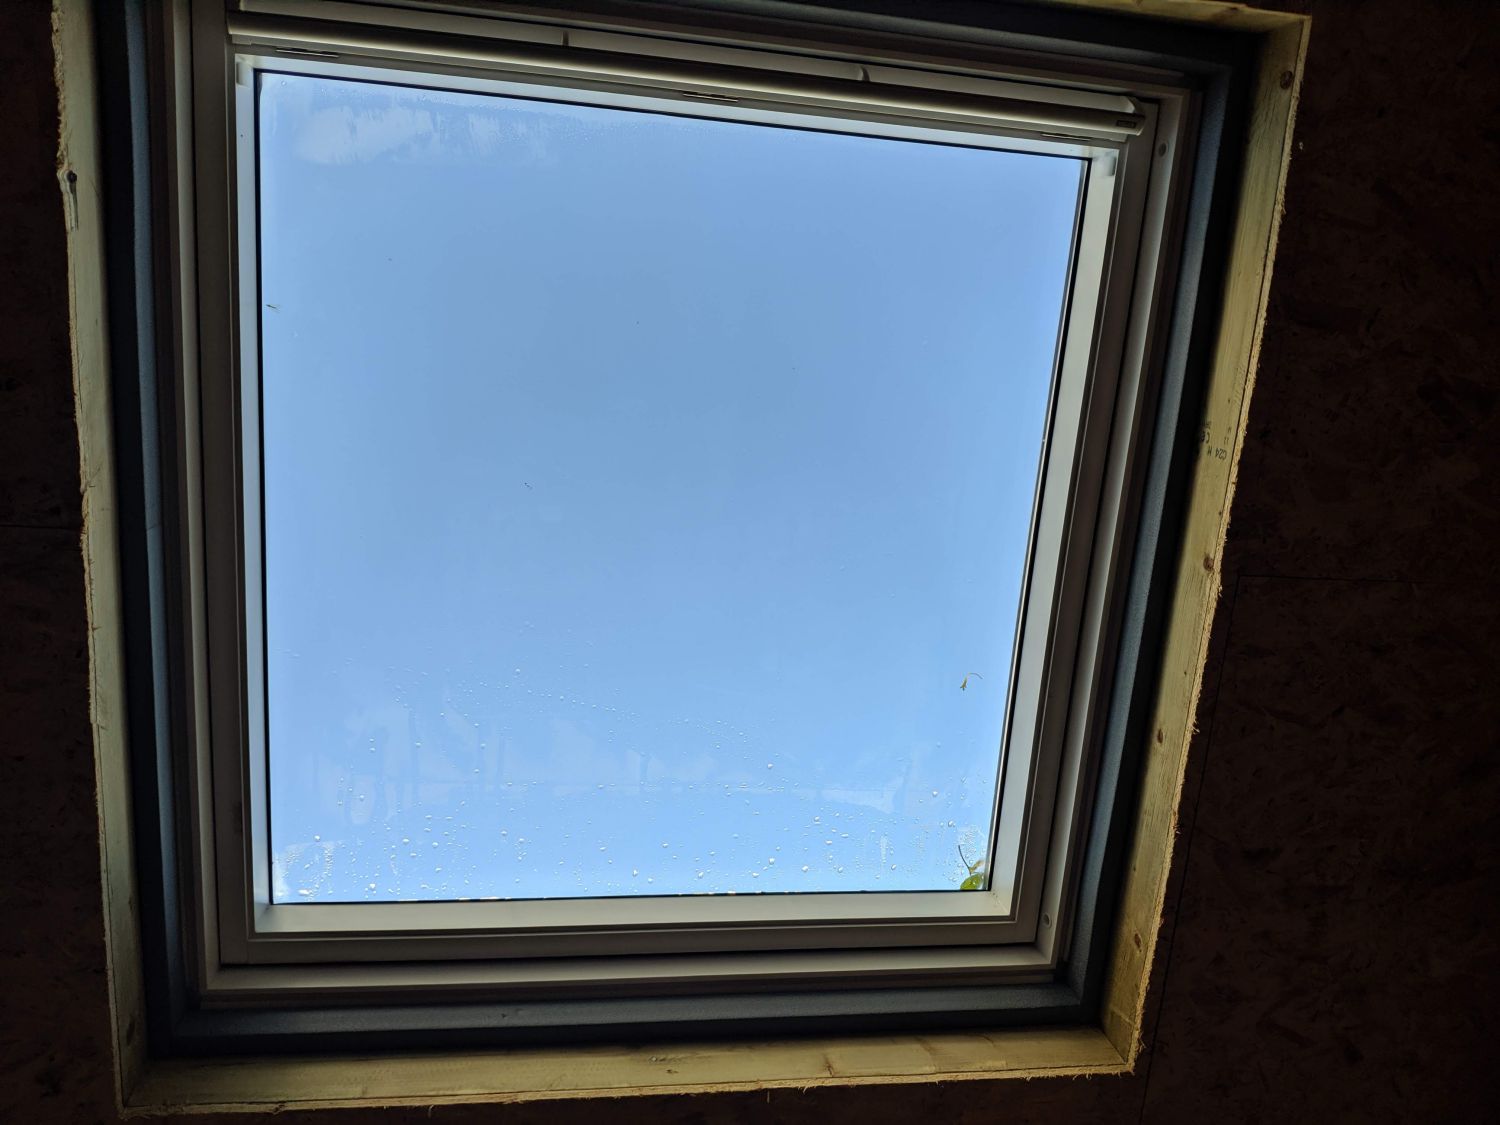
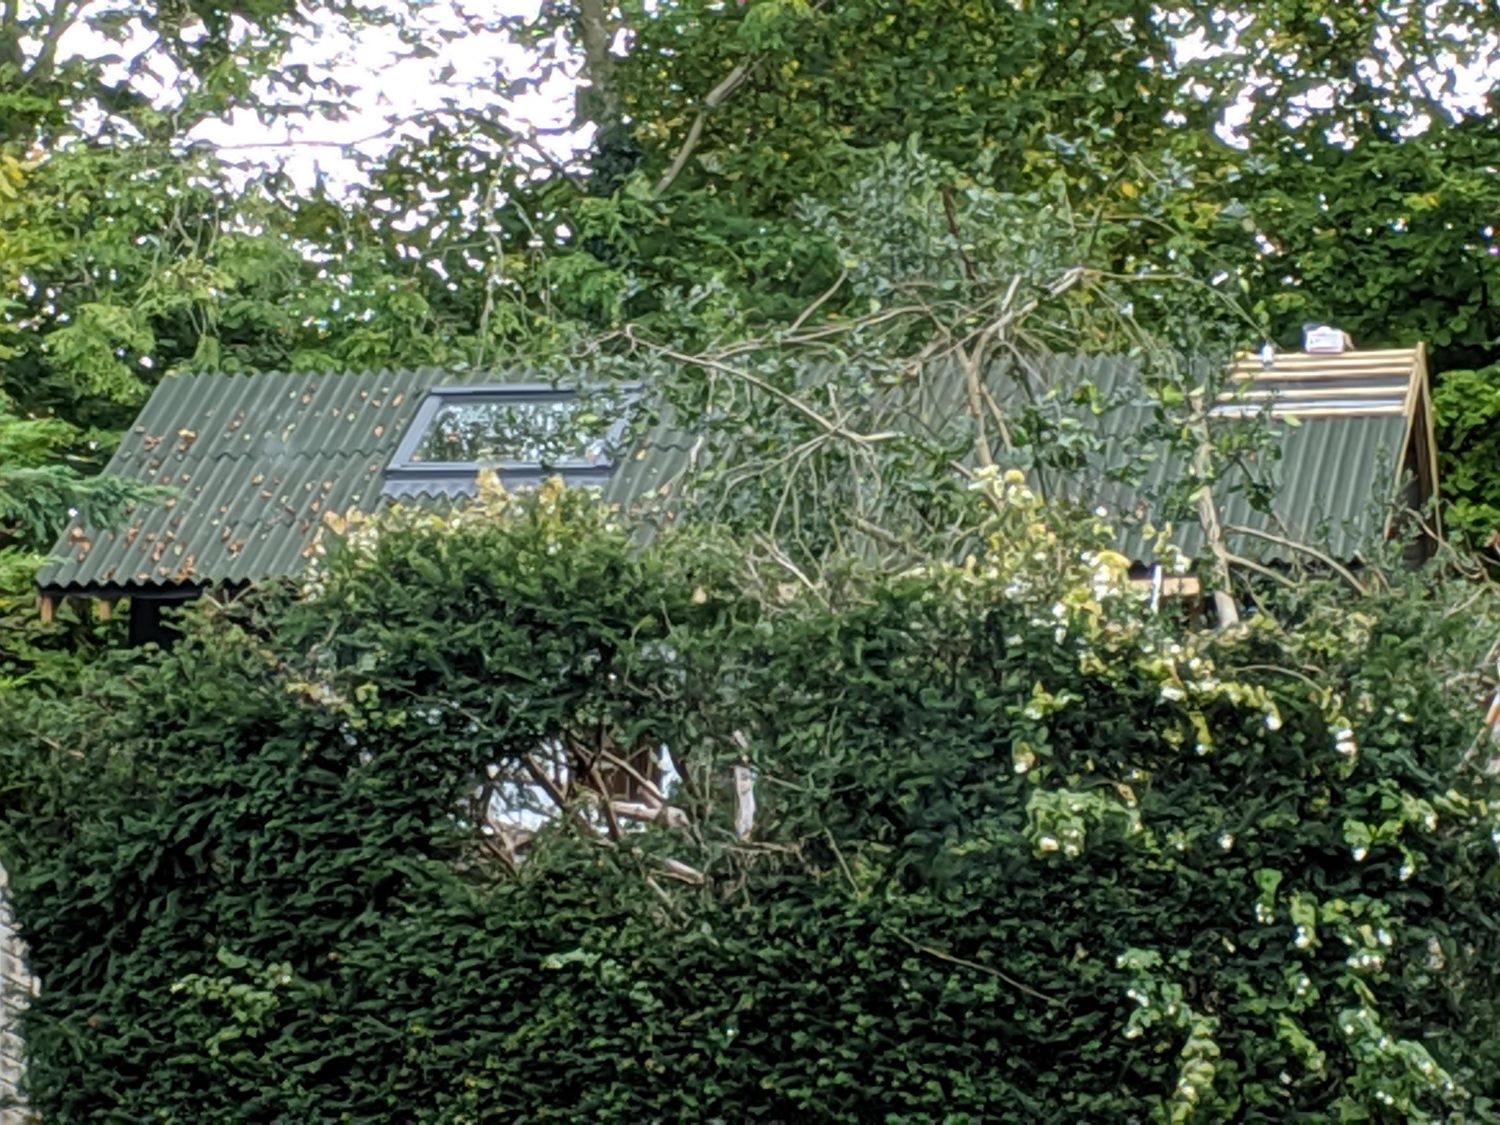
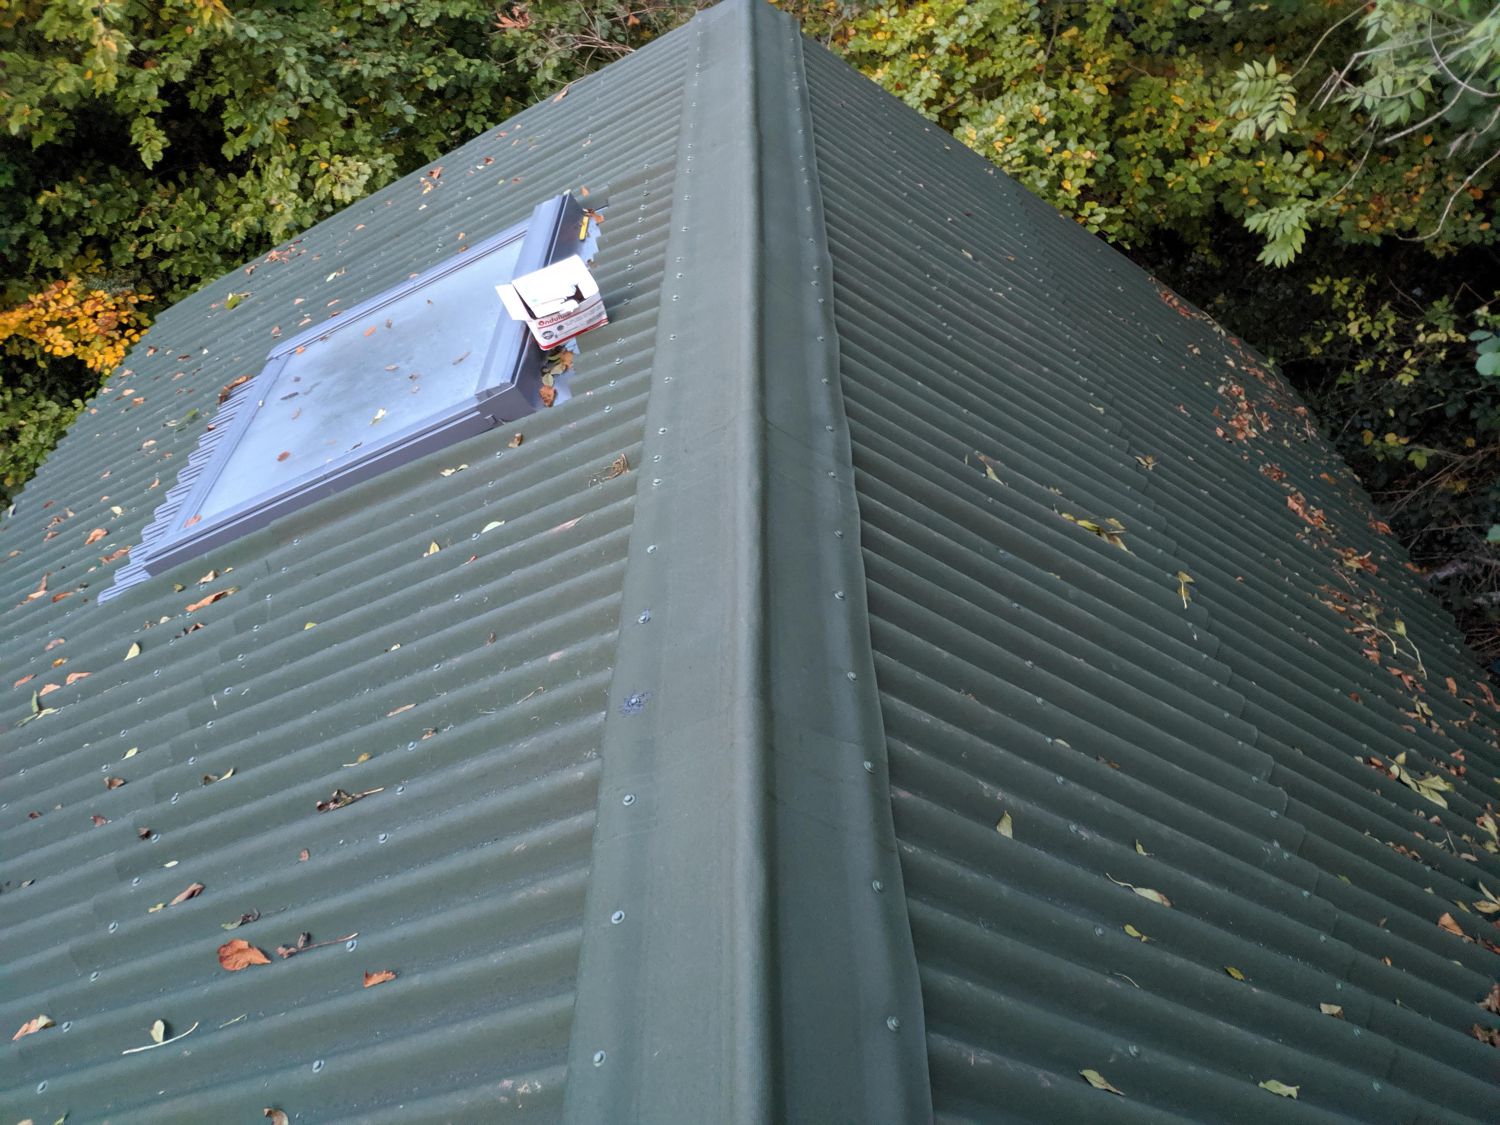
Since installation over a year ago, the roof window has proved a fantastic addition to the workshop and lights the main room all day. It also looks good on the roof.
The excellent thermal properties of the workshop mean I have not had to open the windows to lower the temperature, but some fresh air once in a while is no bad thing.