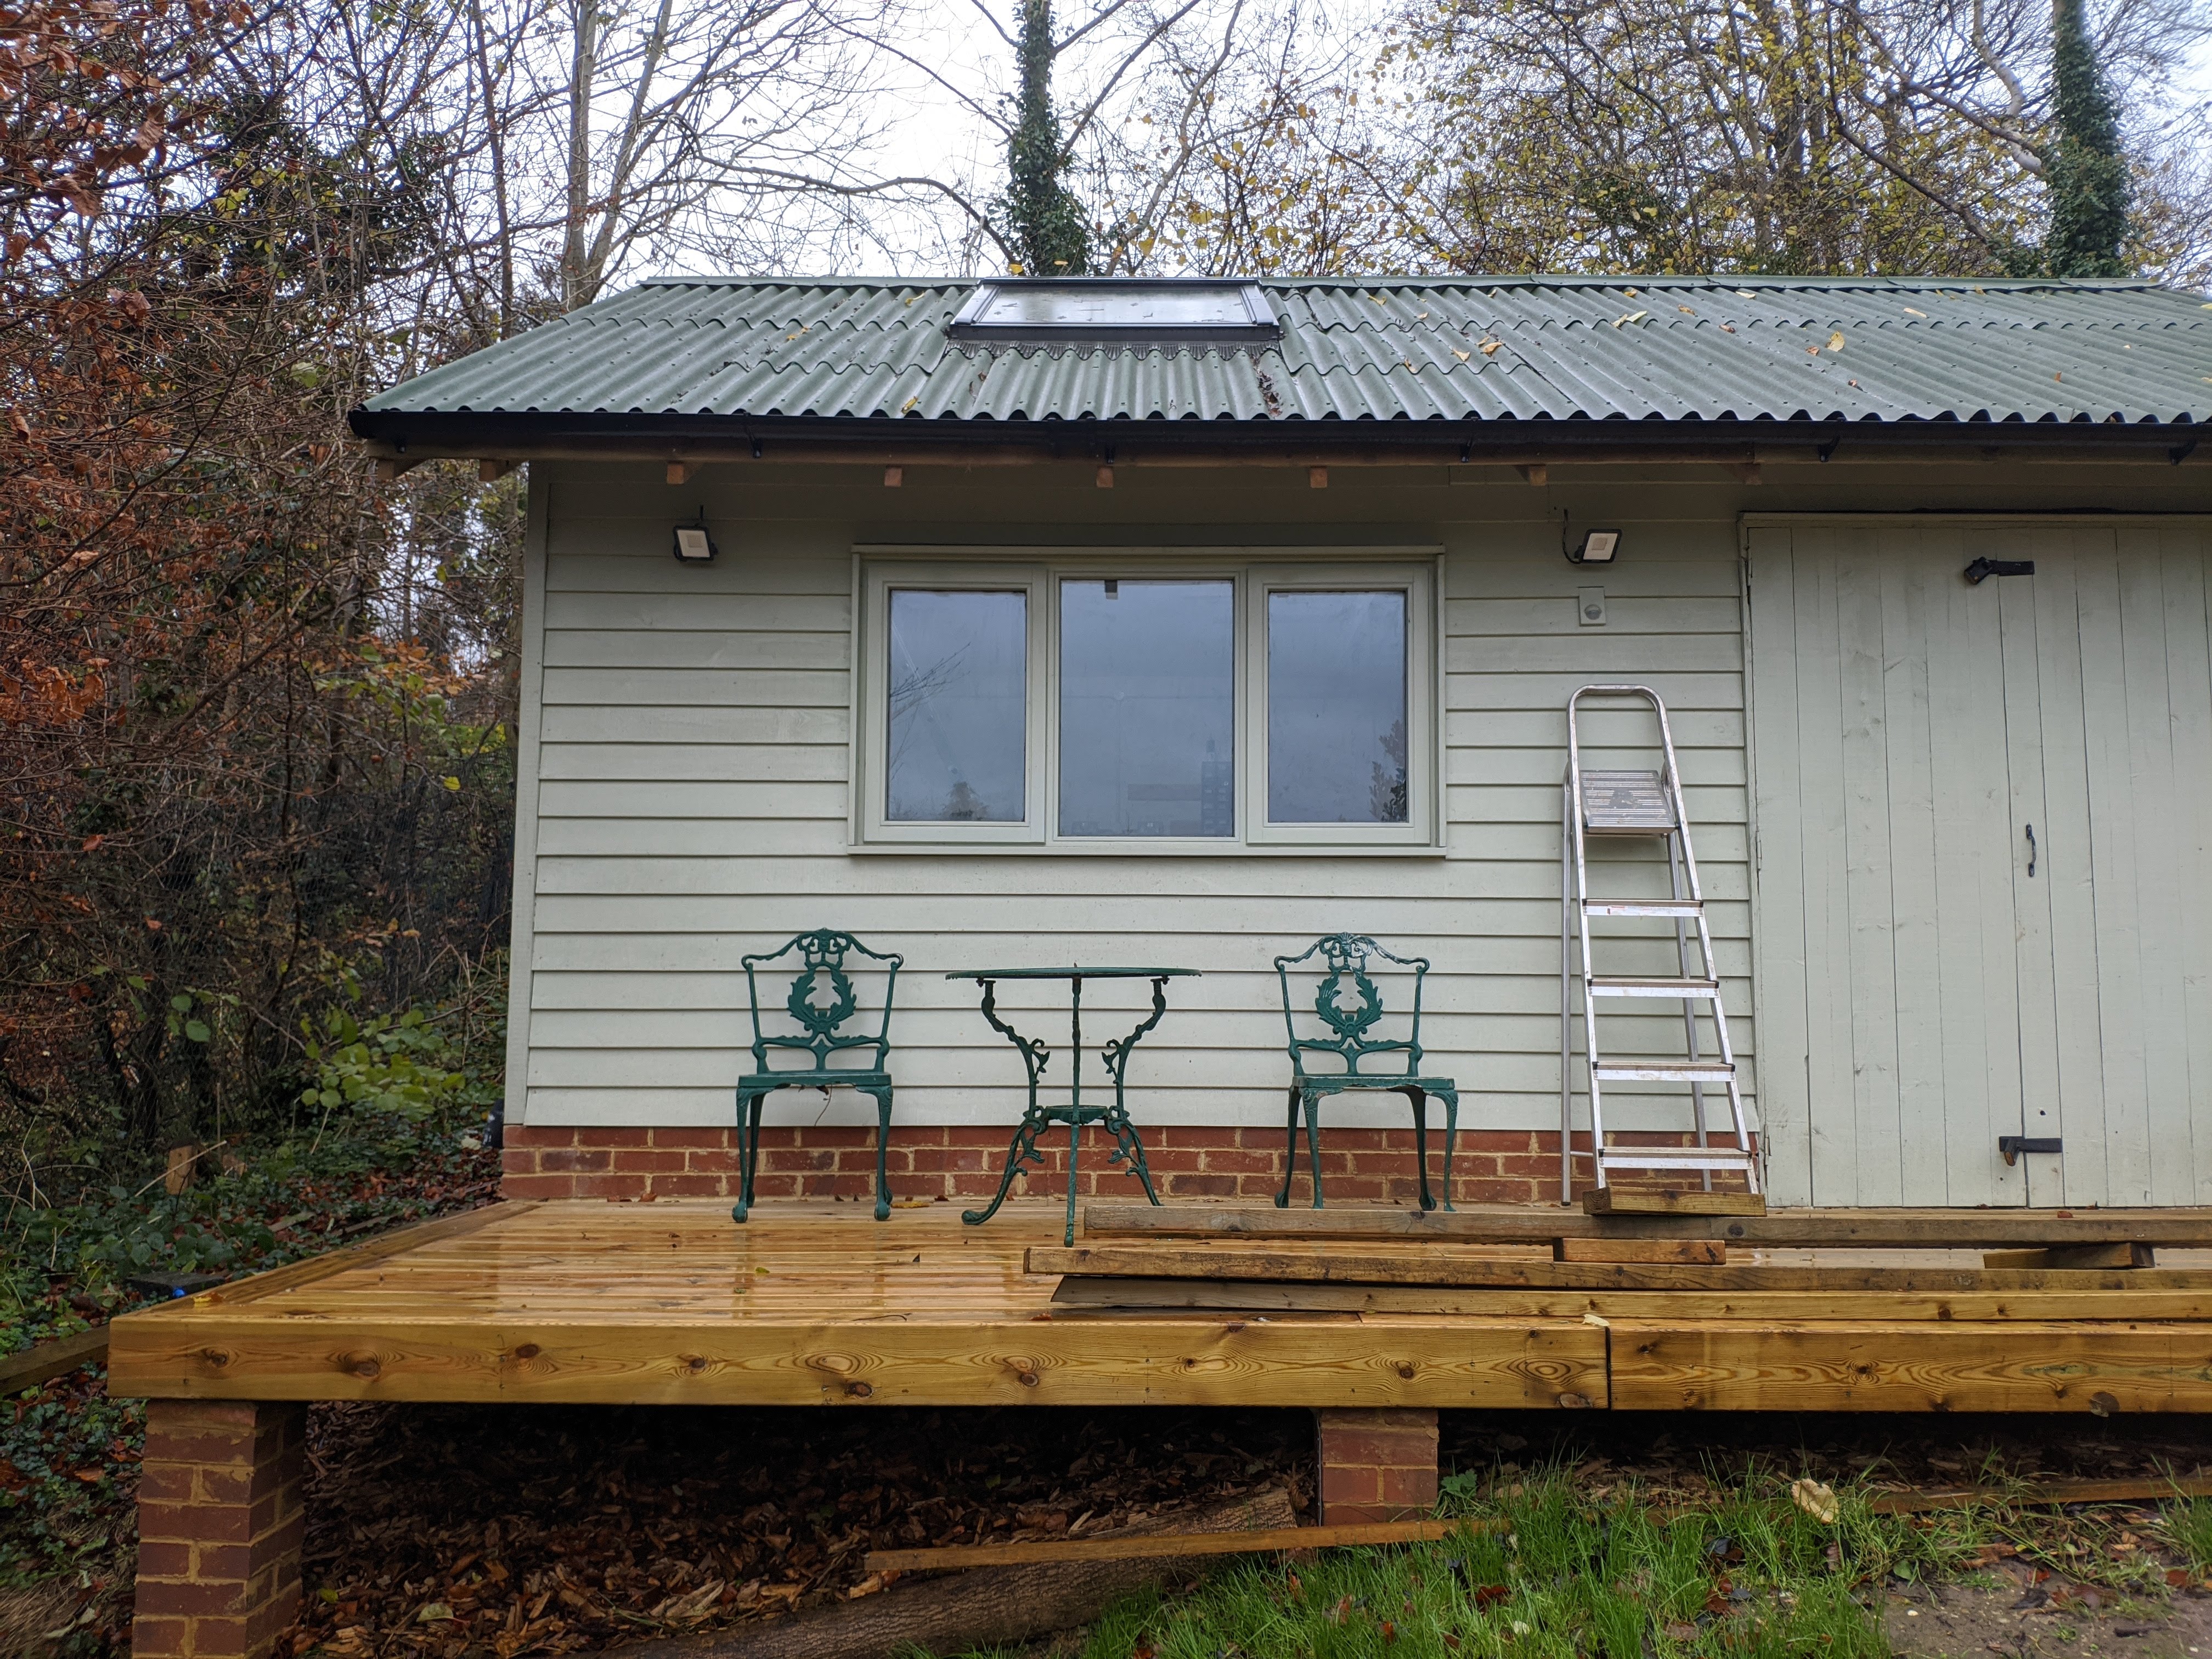
I considered various different roofing materials including slate, clay tiles and steel box section but eventually settled on green Onduline bitumen roofing sheets. These have a shorter lifespan than other options, but are quick to install and blend in well with the surrounding trees. This design features a ventilated roof, standard on houses, which allows moisture in the roof structure to evaporate and escape; it also means there is a second layer of protection against water penetrating the roof.
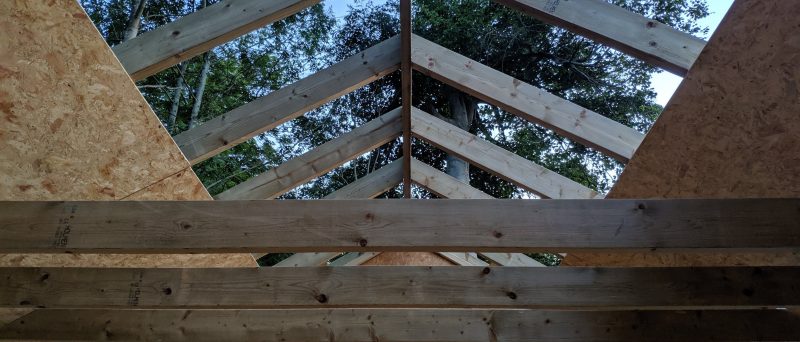
Battens
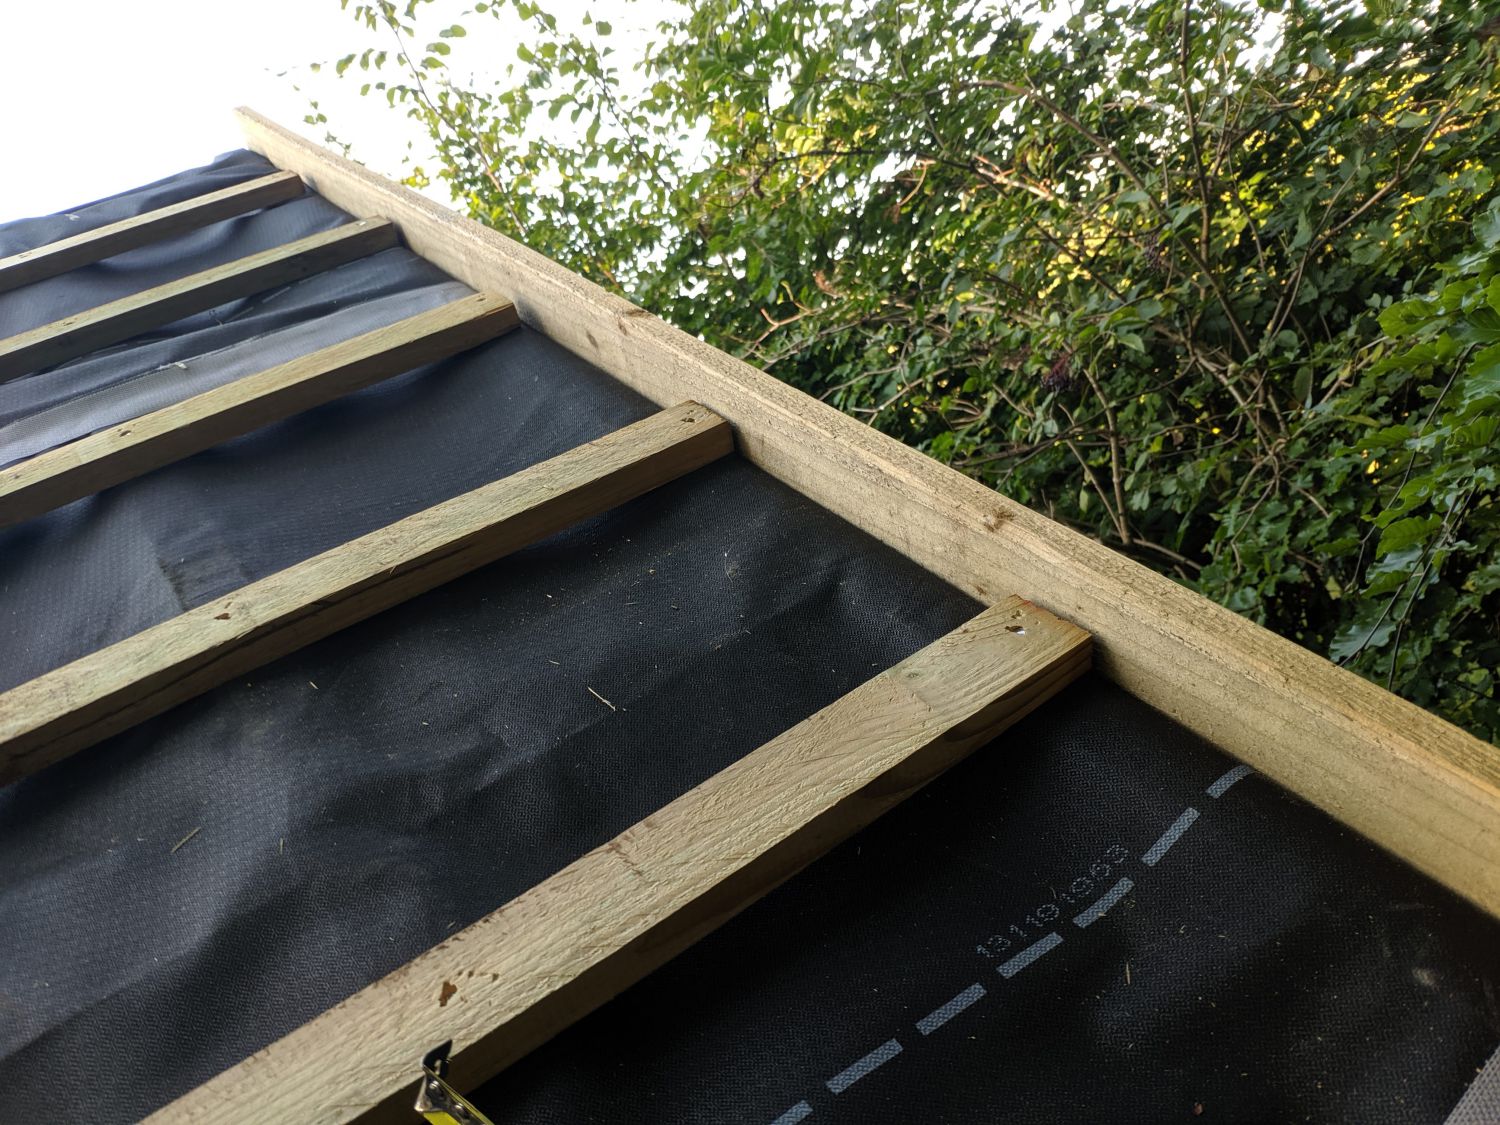
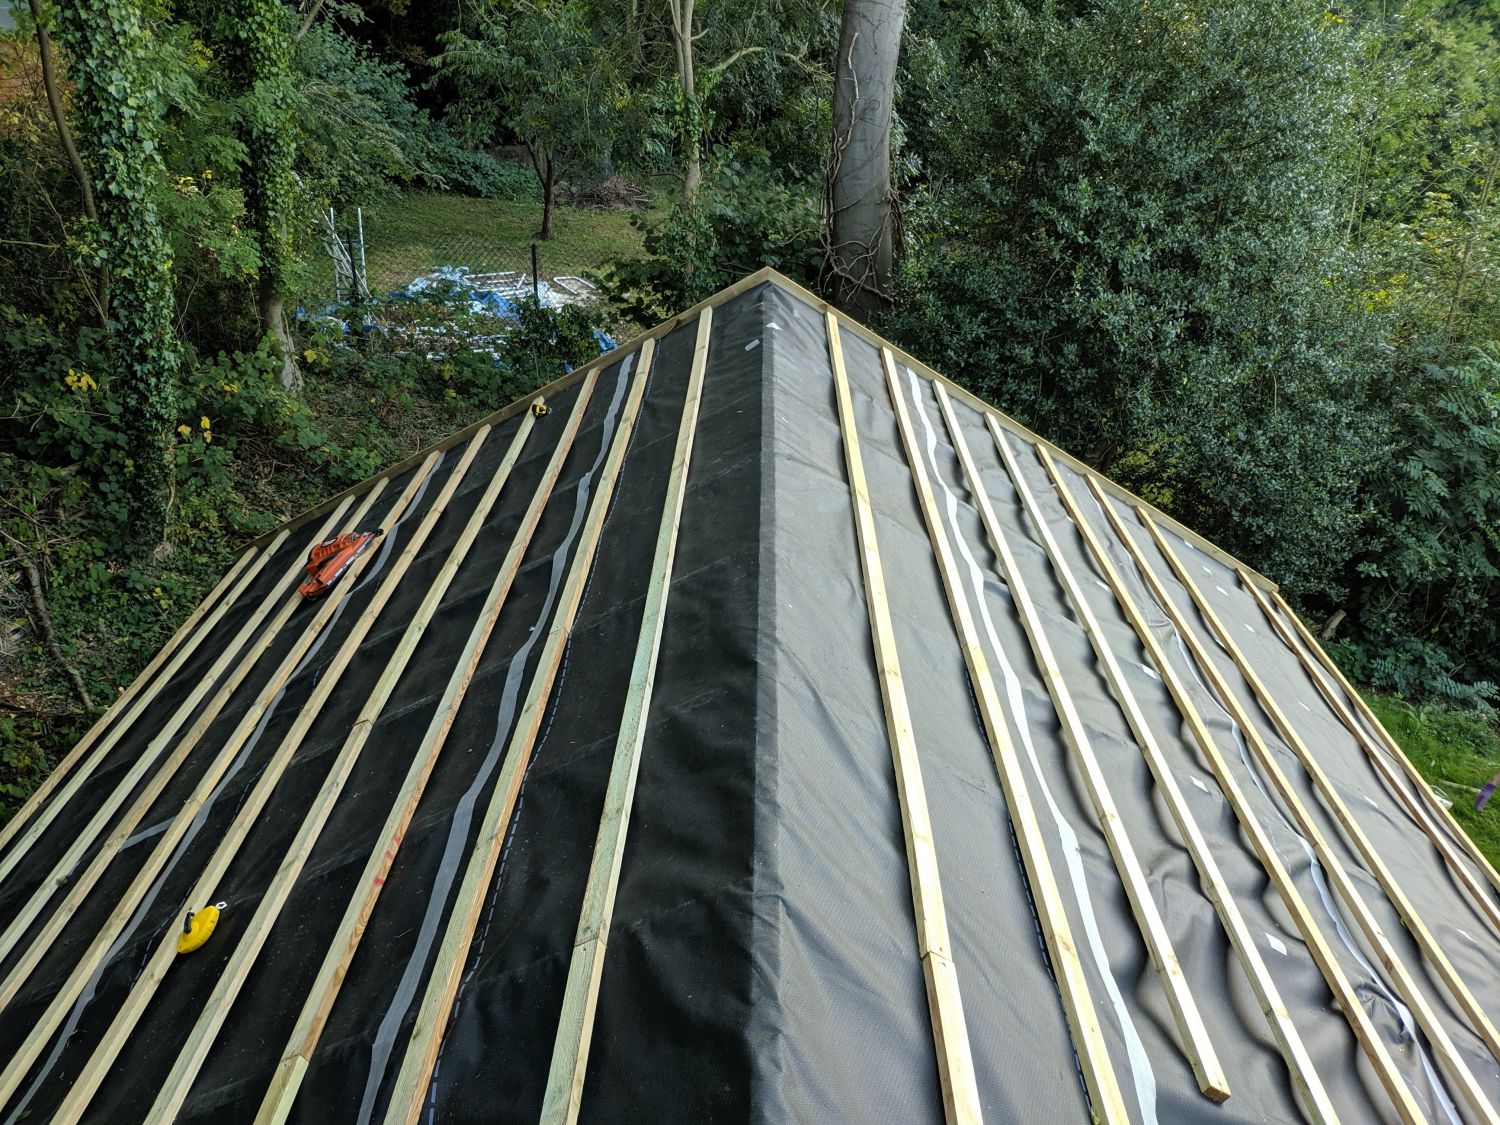
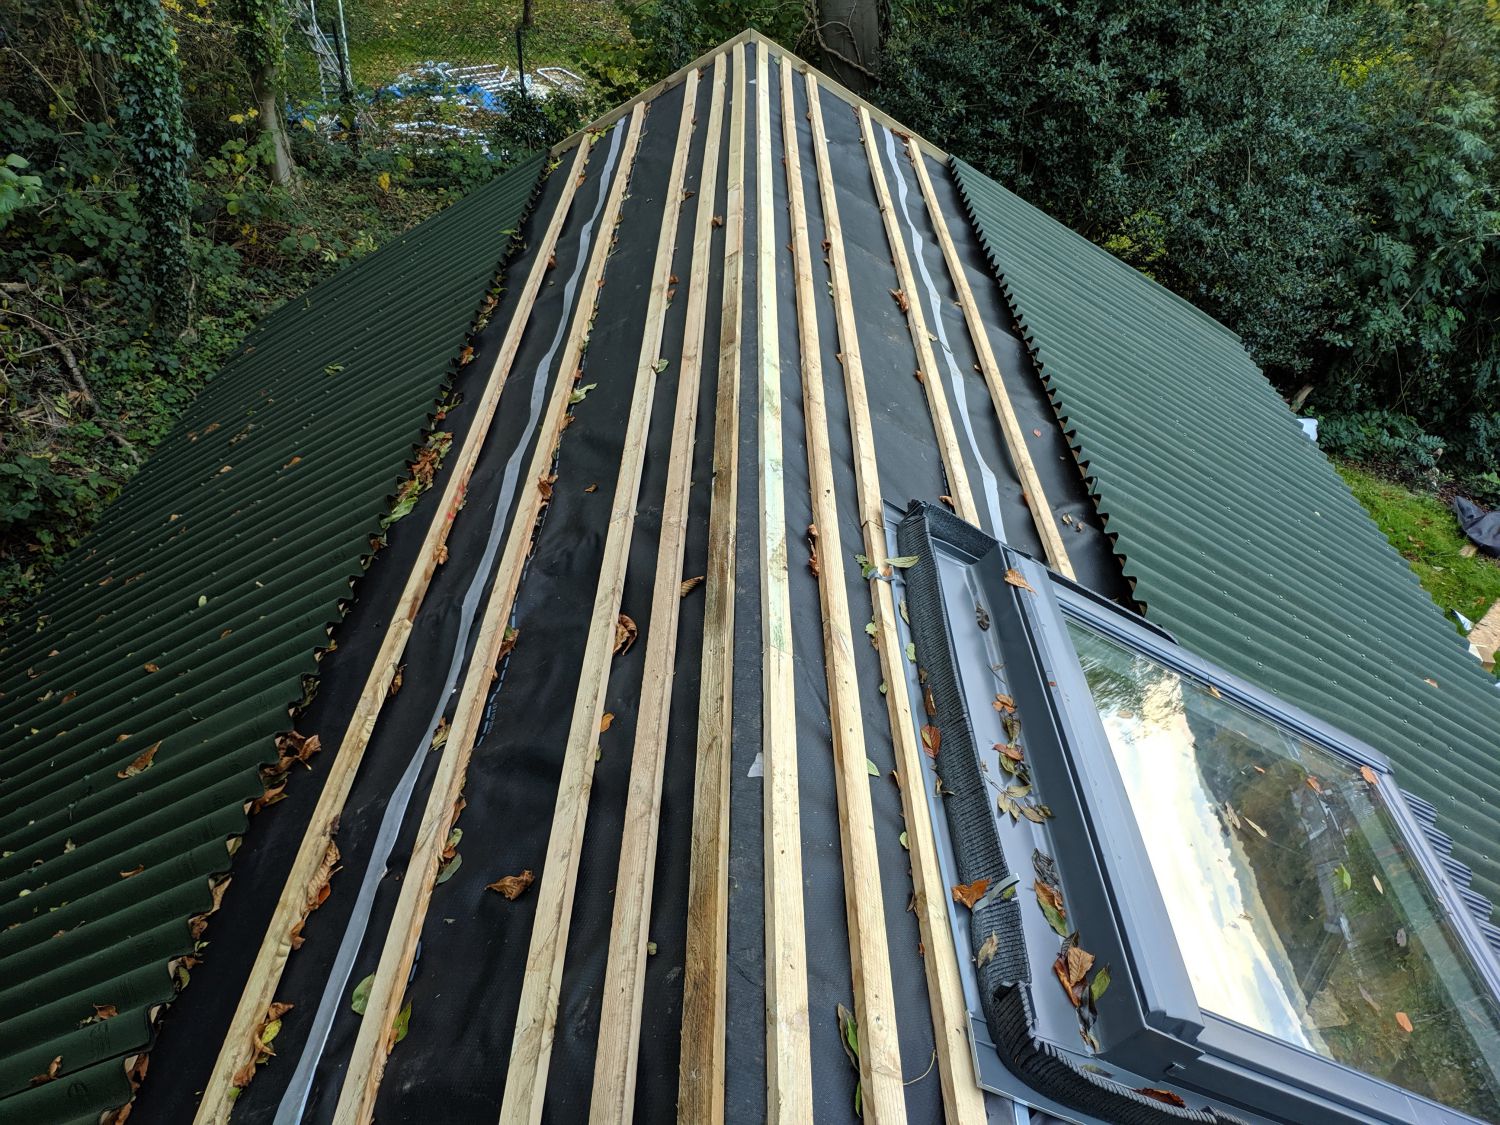
Battens create the void required to properly ventilate the roof. They also serve to hold the breathable membrane in place (against strong winds) and provide a fixing material for the roofing sheets. Water can escape the void by running down the sag created between the rafters: I was careful not to fix a batten over the blocking as this would have blocked the water exit point.
I used standard 50x25mm treated battens at 305mm centres which satisfied the requirements in both the Onduline and breathable membrane data sheets. To ensure the battens stayed parallel I regularly measured their pitch and used a chalk line to guide the initial placement. They were nailed into the rafters with 63mm ring shank nails; one nail per rafter for each batten. Extra battens were required at the top to ensure the ridge profile would have a timber below it.
Onduline installation
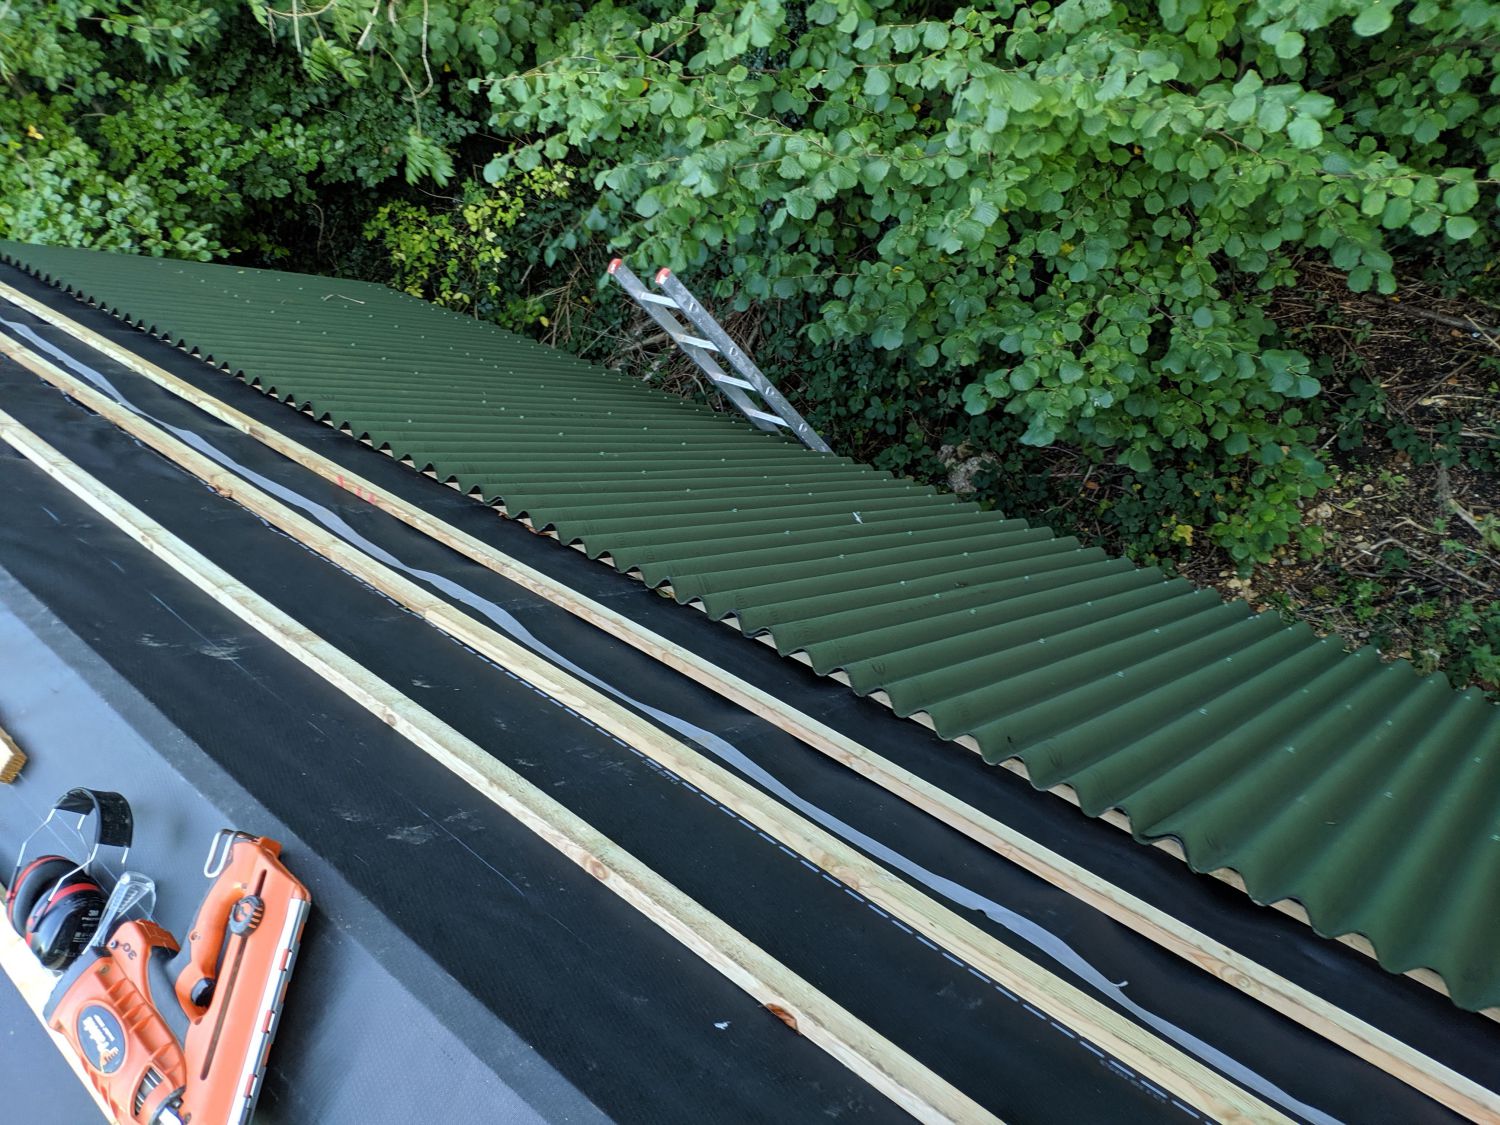

With the battens in place all that was left to do was fix the sheets. Plastic capped nails form a seal with the bitumen roofing, preventing water from running into the holes. By fixing through the peaks of the corrugation, potential for ingress is further reduced as rainwater quickly runs into the trough of the corrugation.
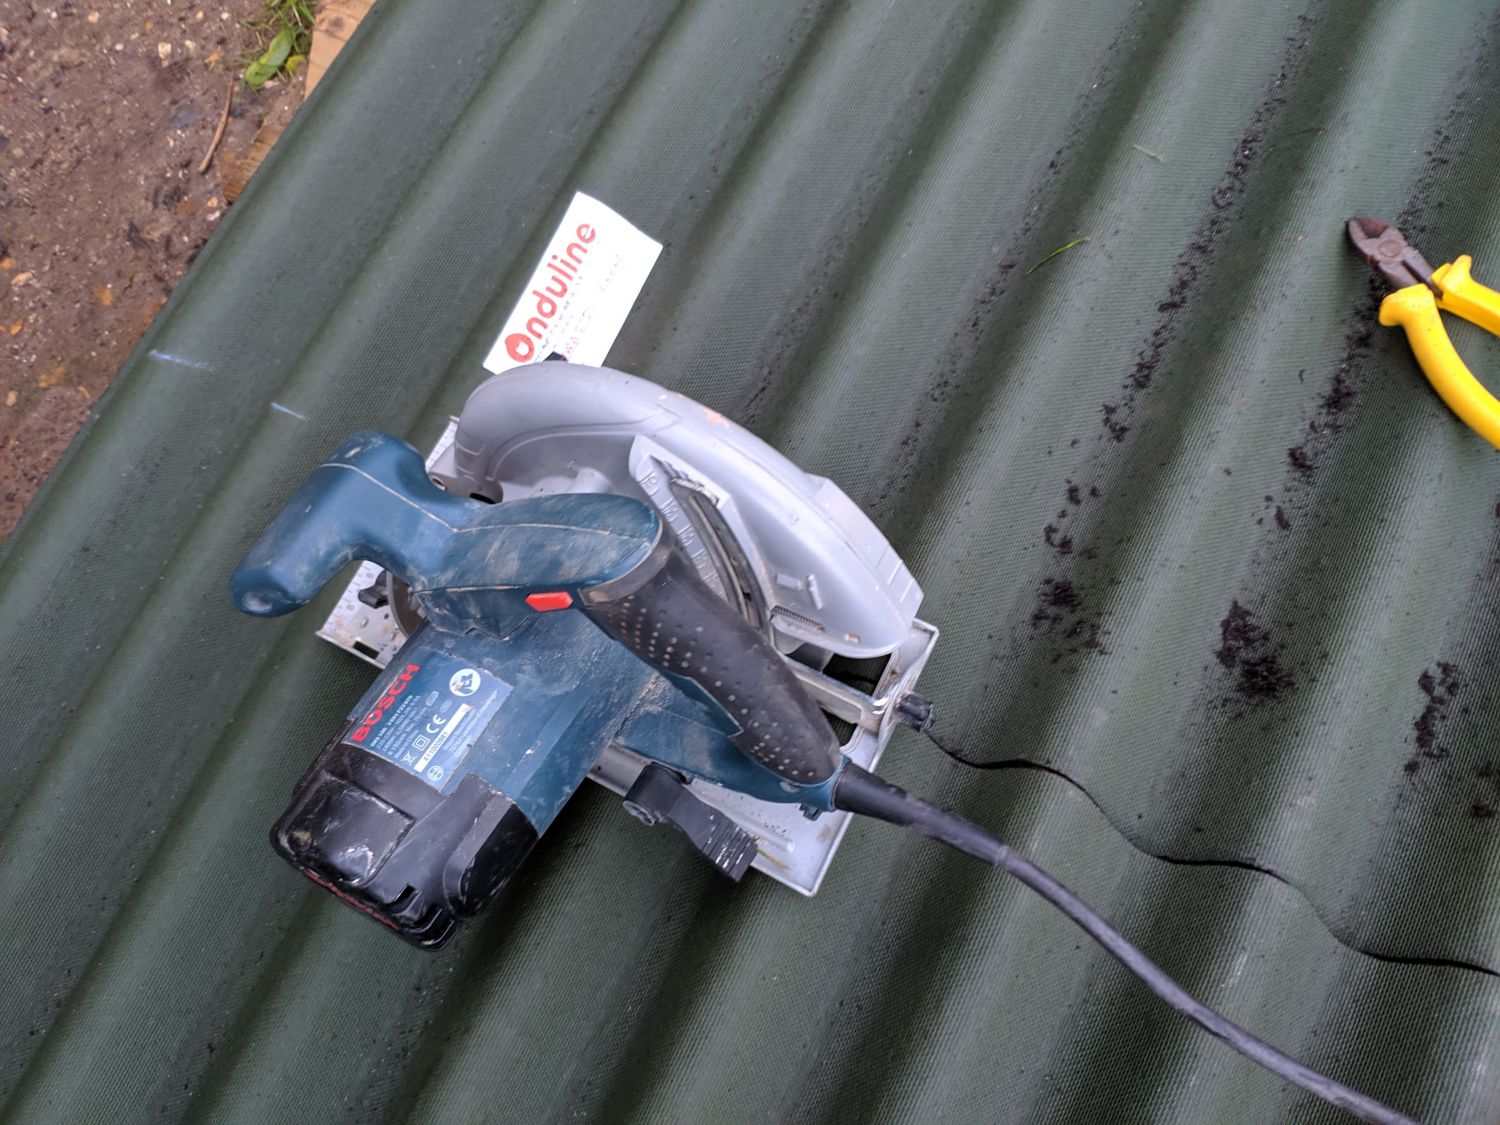
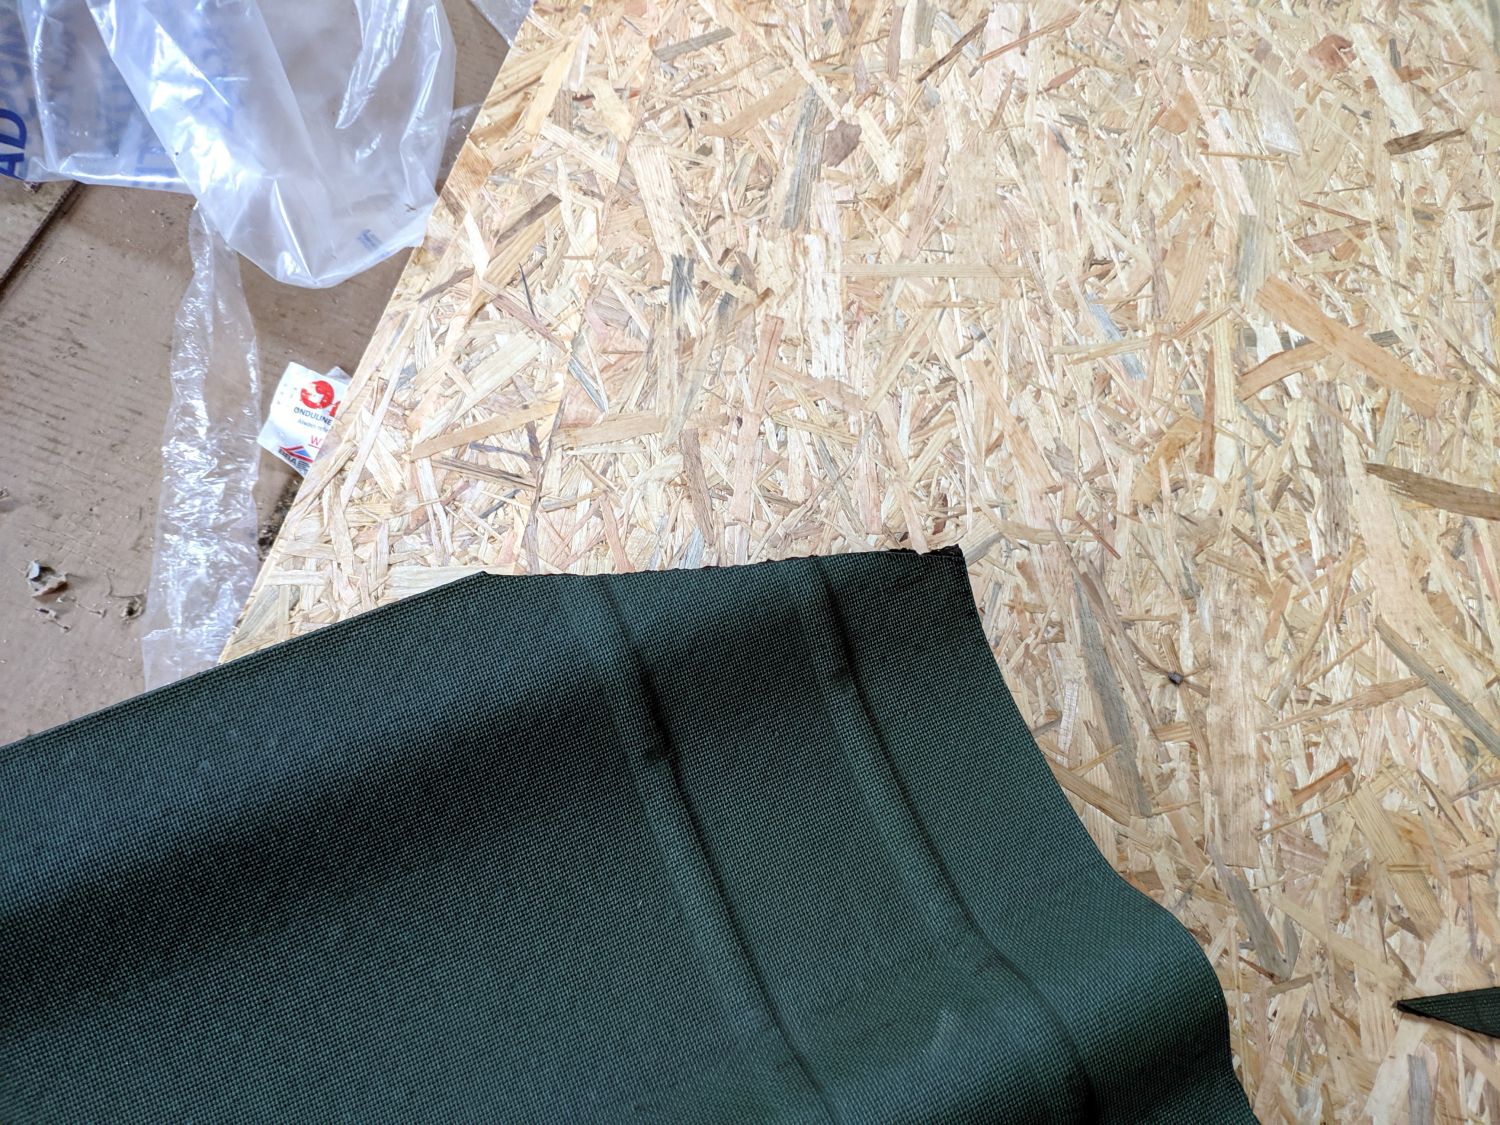
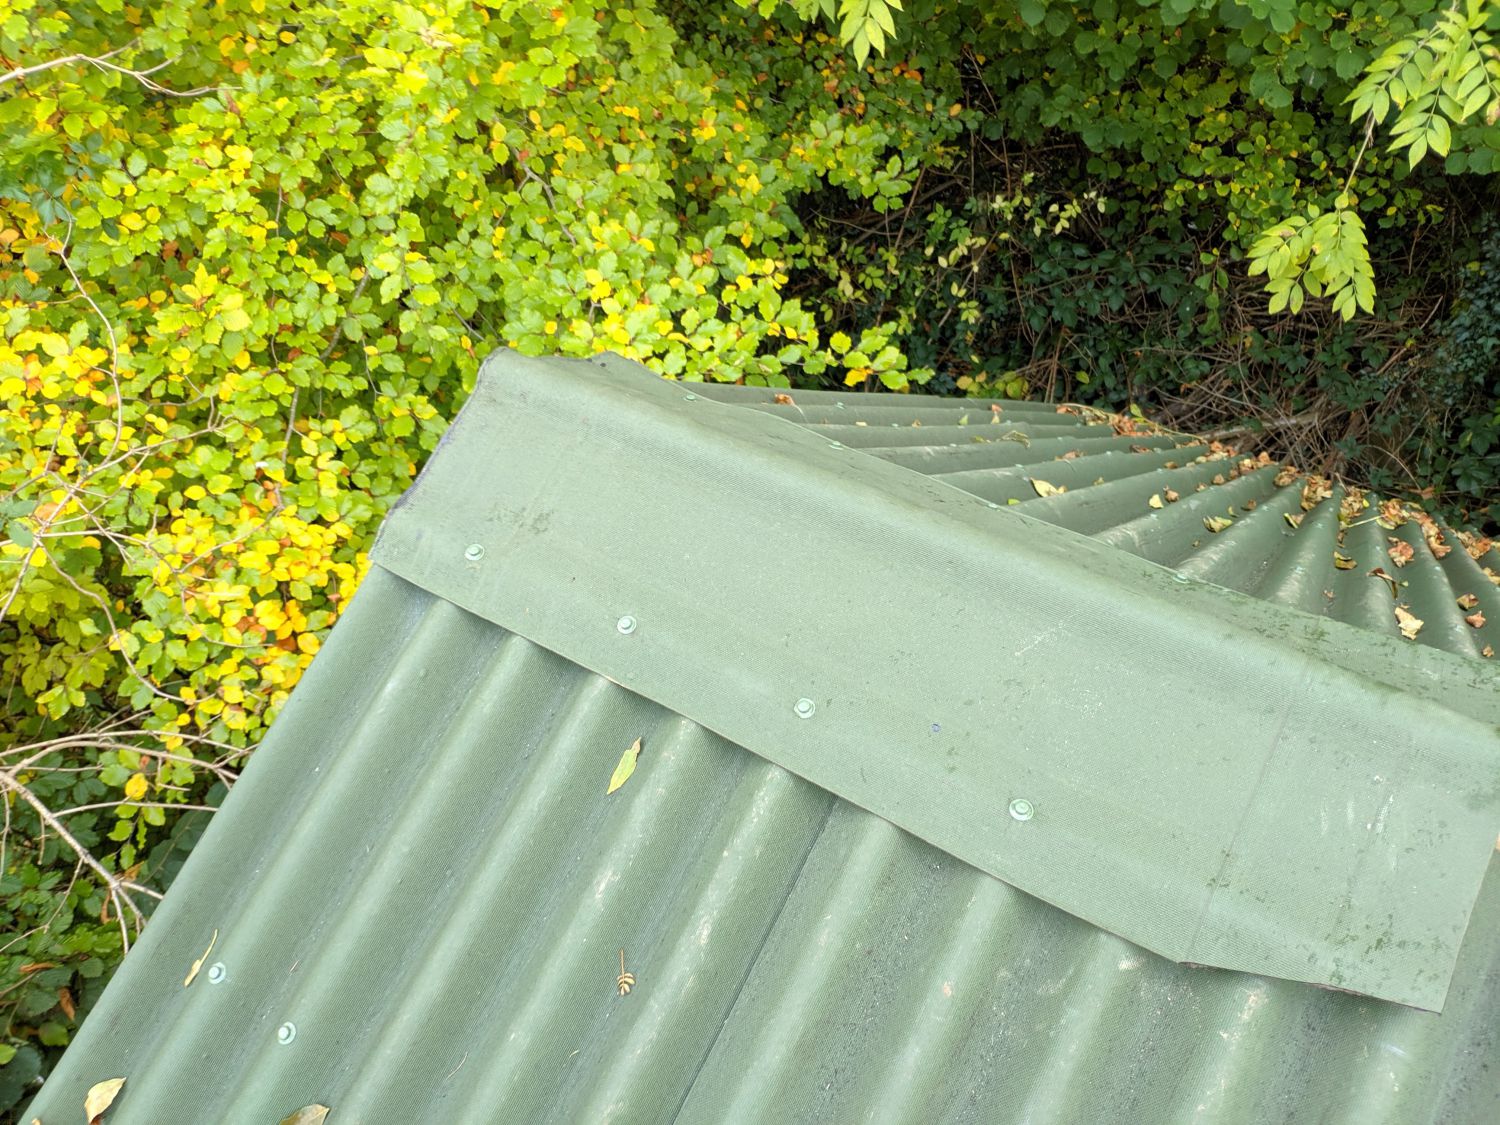
Each sheet is fixed every corrugation at the bottom and top and on alternate corrugations in-between as specified in the fixing guide. The sheets are overlapped at joins. On the second course I had to cut the sheets to size and did so with my circular saw. Some mis-hits during fixing led to holes in the Onduline sheeting: these were filled with roof and gutter seal. Where the sheets reached the end of the building, I used clout nails to fix the overlap to a bargeboard, itself fixed to the flying rafter.
I also installed my roof window at this stage, which will be detailed in another post.
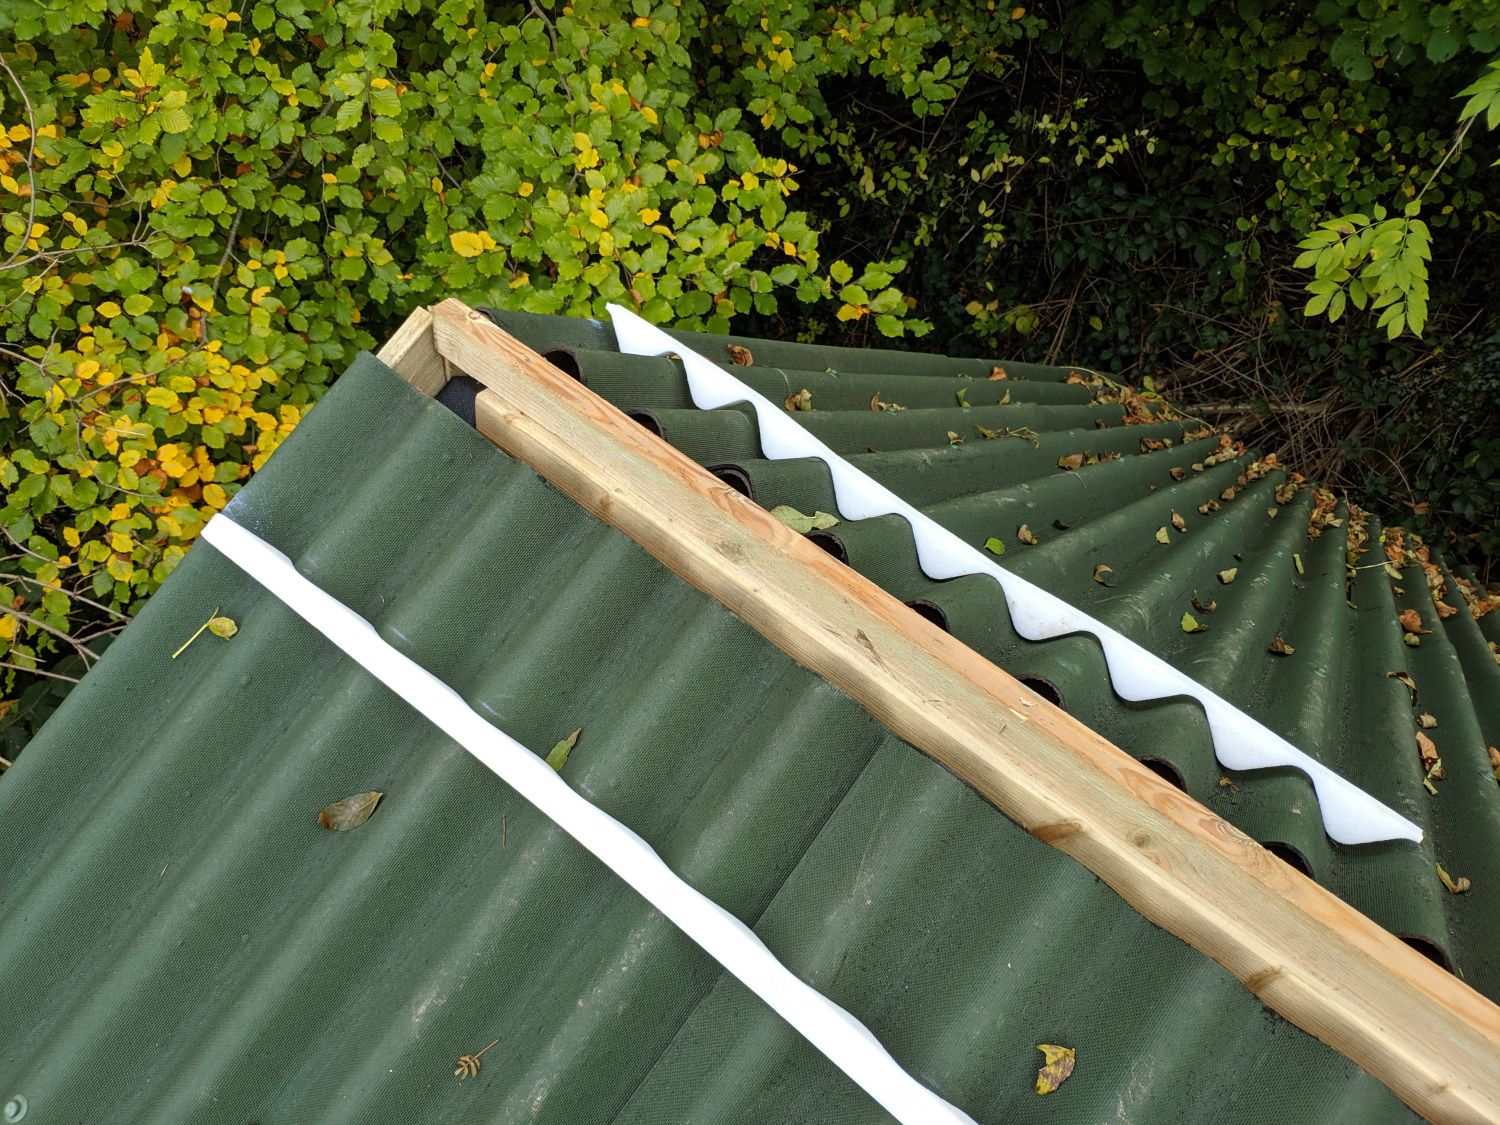
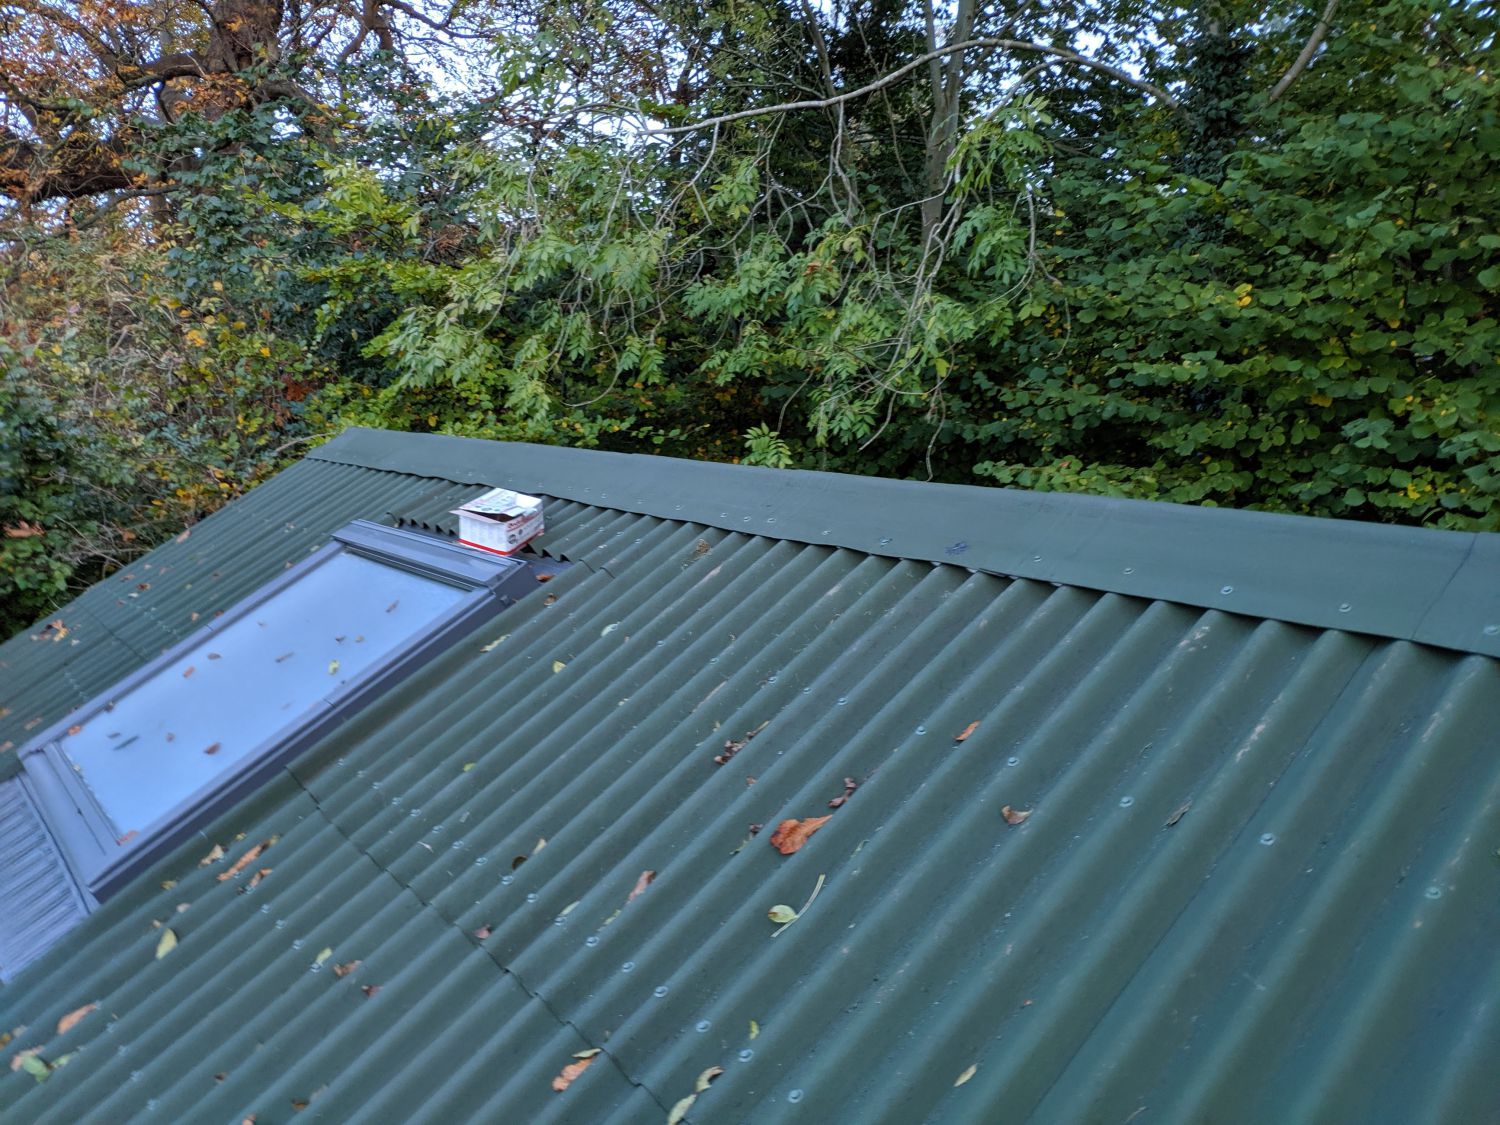
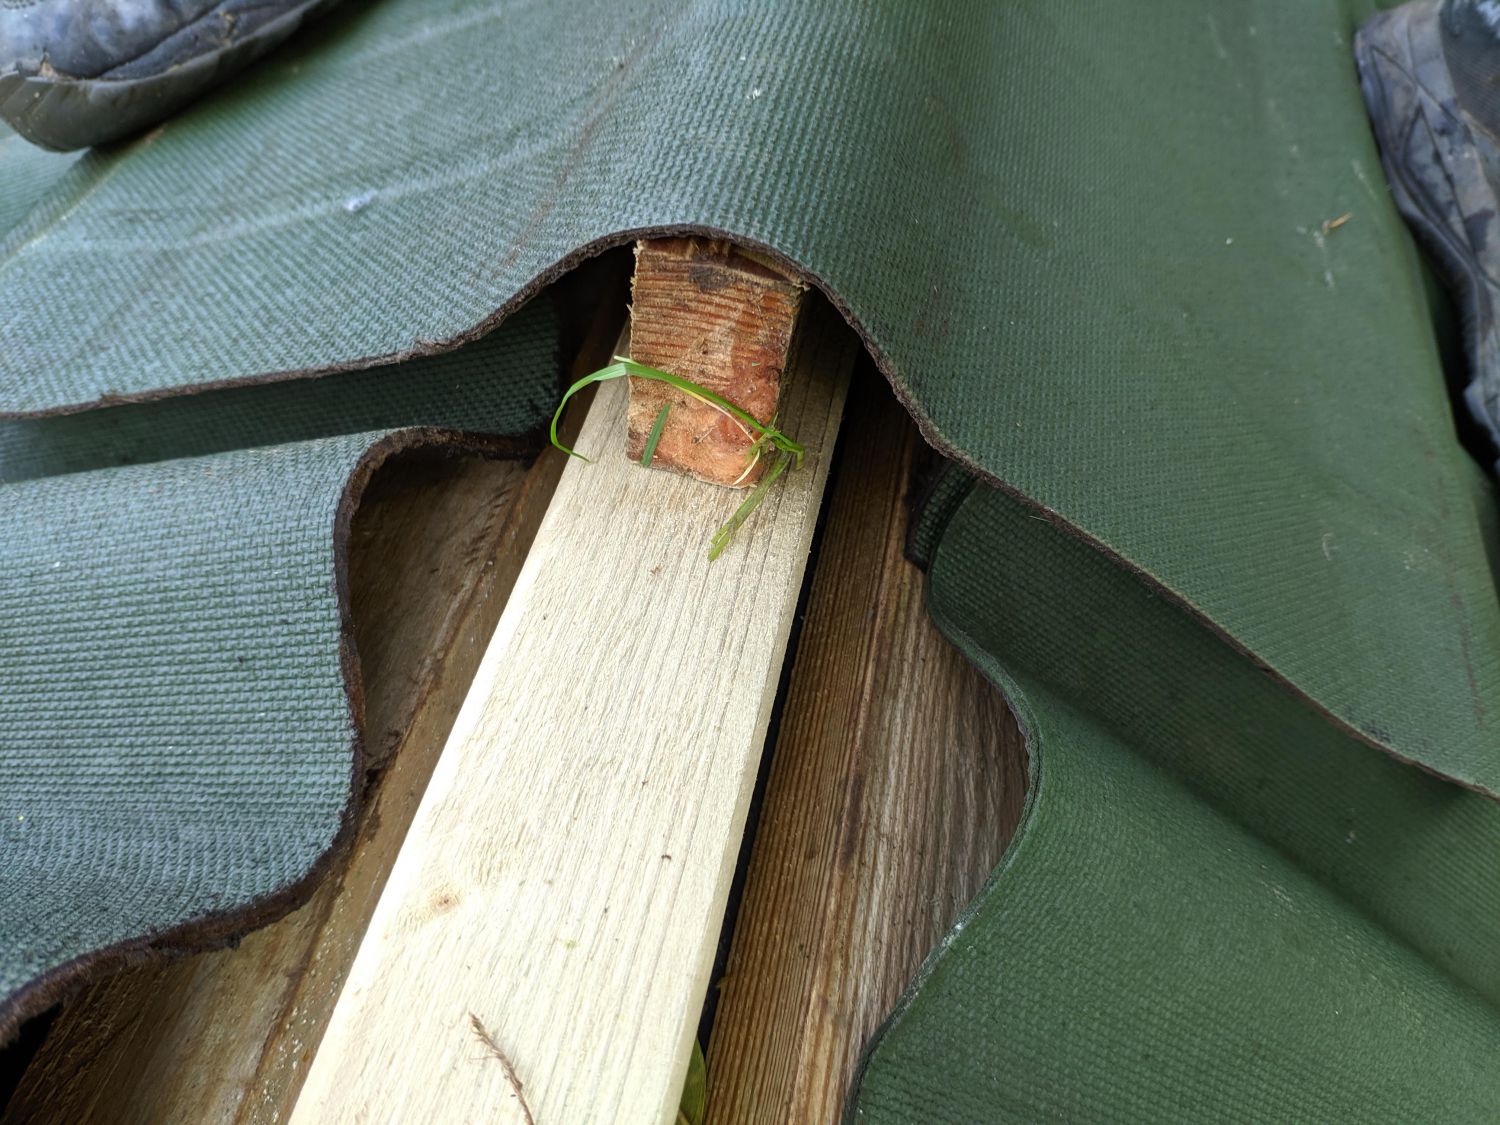
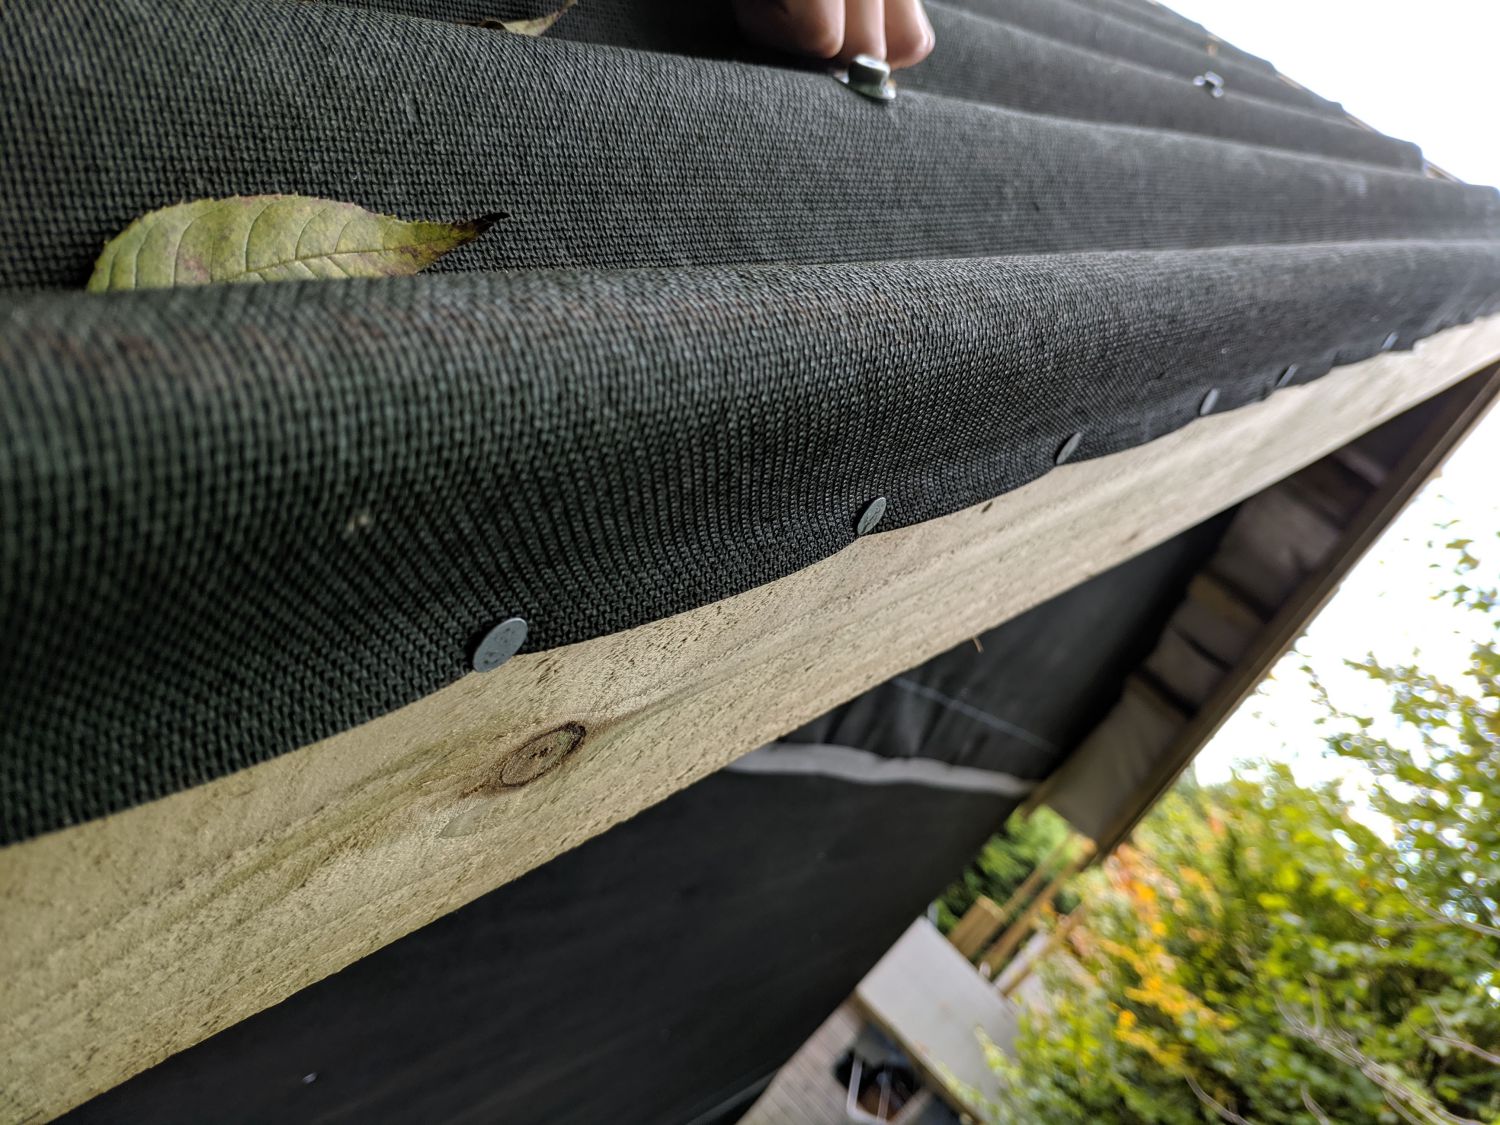
To complete the roof I nailed in Onduline ridge pieces along the length of the building. These sit on top of a ridge board formed from a 2×2 and a batten. I cut angles at the under-lapping end of the ridge pieces to give a cleaner look. Foam fillers prevent insects and rainwater from entering at the ridge and roof ventilation is provided through combs at the eaves.
Just as I finished the roof a rain shower moved in. I took shelter in the workshop – confident that no water would get in!