The next stage of construction was insulating the building and making it watertight. Good insulation was a priority to allow year round use and I ended up deciding on rockwool for the best price to performance ratio. A rigid PIR insulation may have been more effective at a given thickness but this was outside my price range.
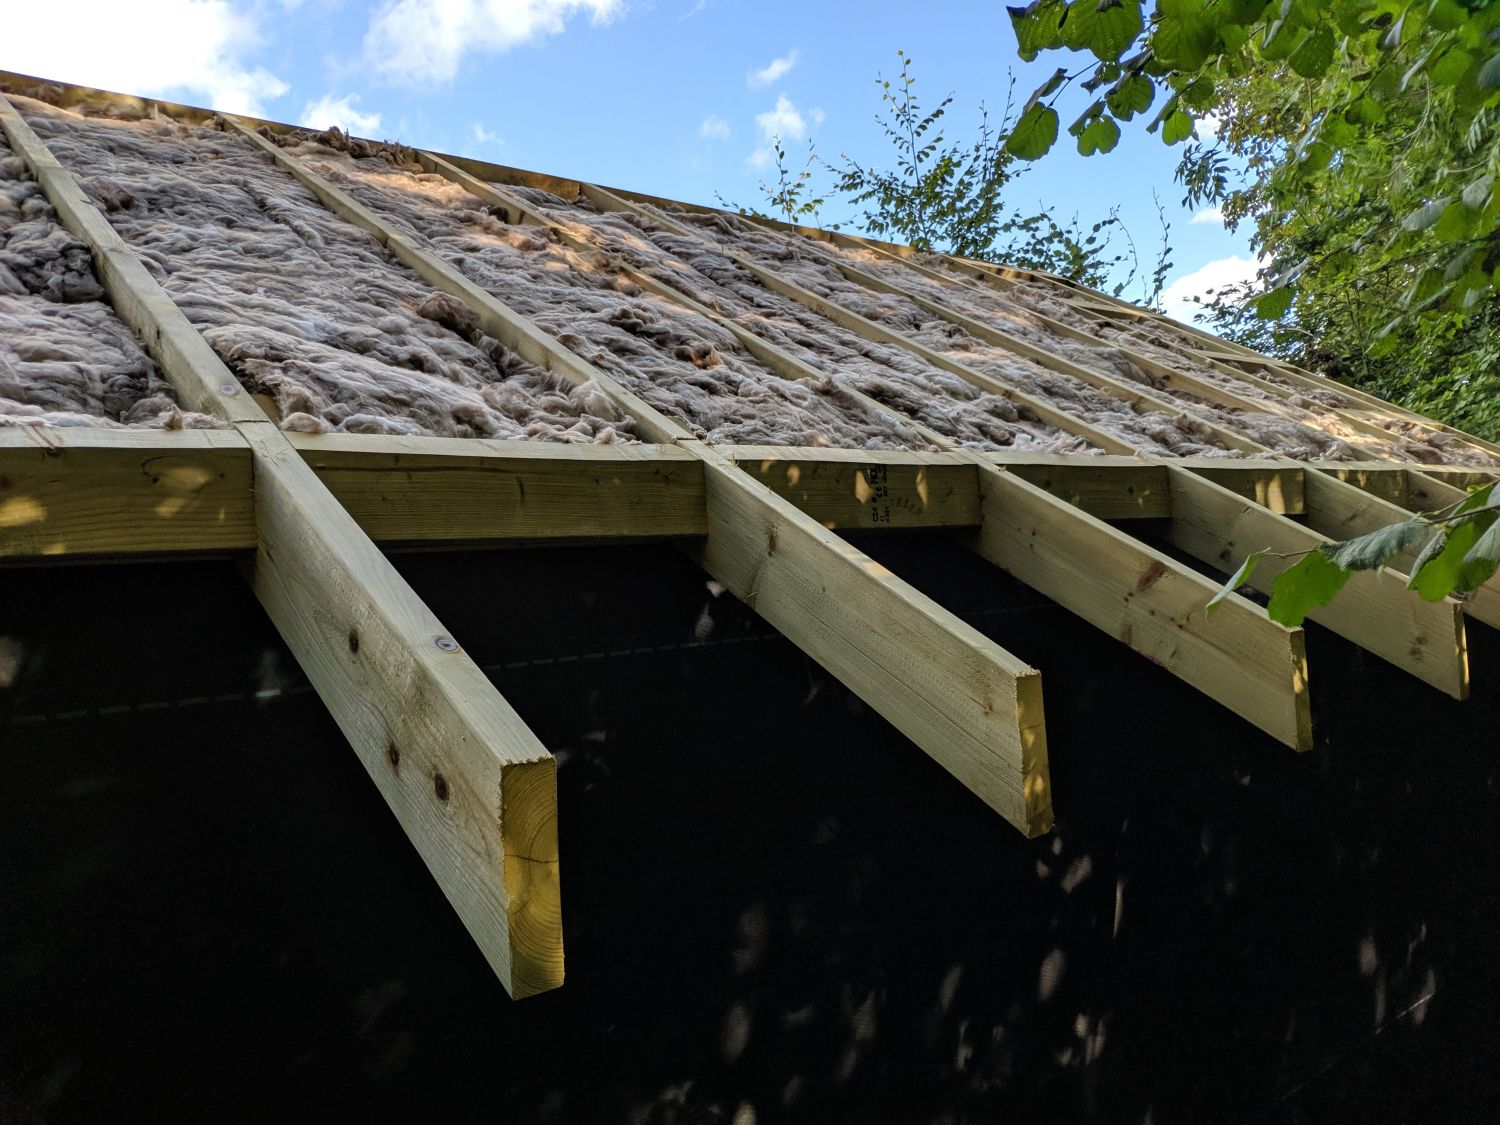
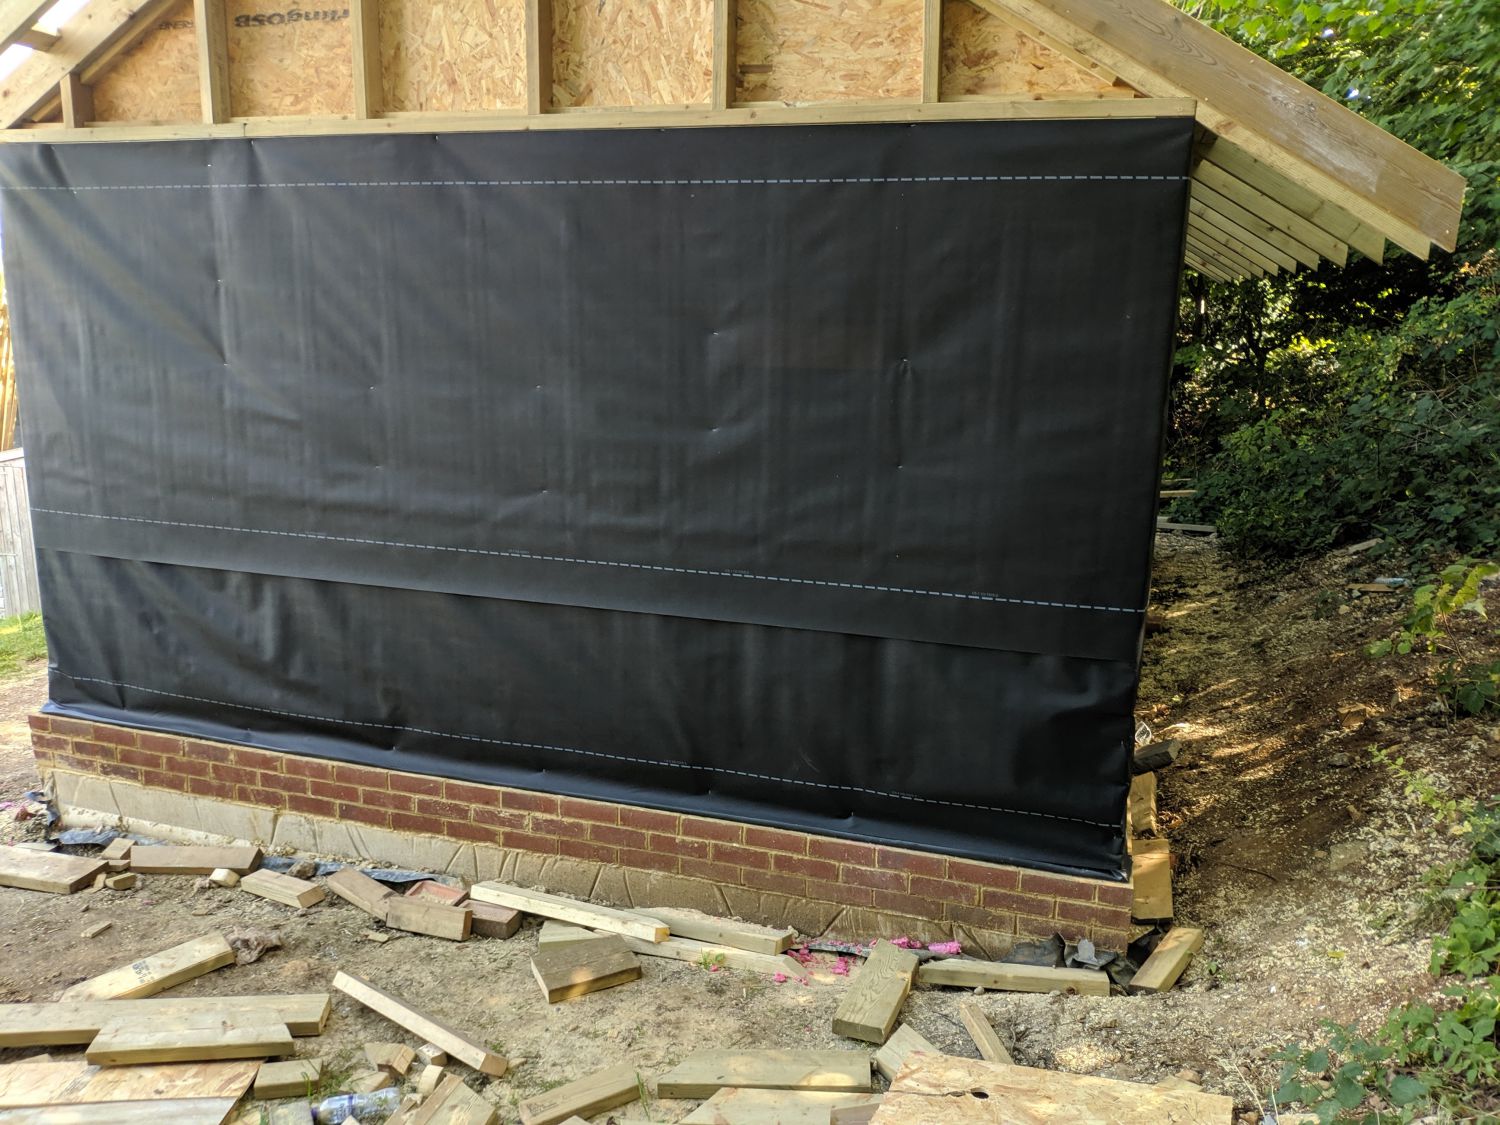
The breathable membrane, which sits on top of the insulation in the walls and roof, allows movement of water vapour across it but is water-resistant. In the long term this allows the escape of water vapour from the wall structure and acts as a second line of defence against water penetrating the cladding. It can also temporarily weatherproof the building (usually for around 1 year) before the cladding goes on.
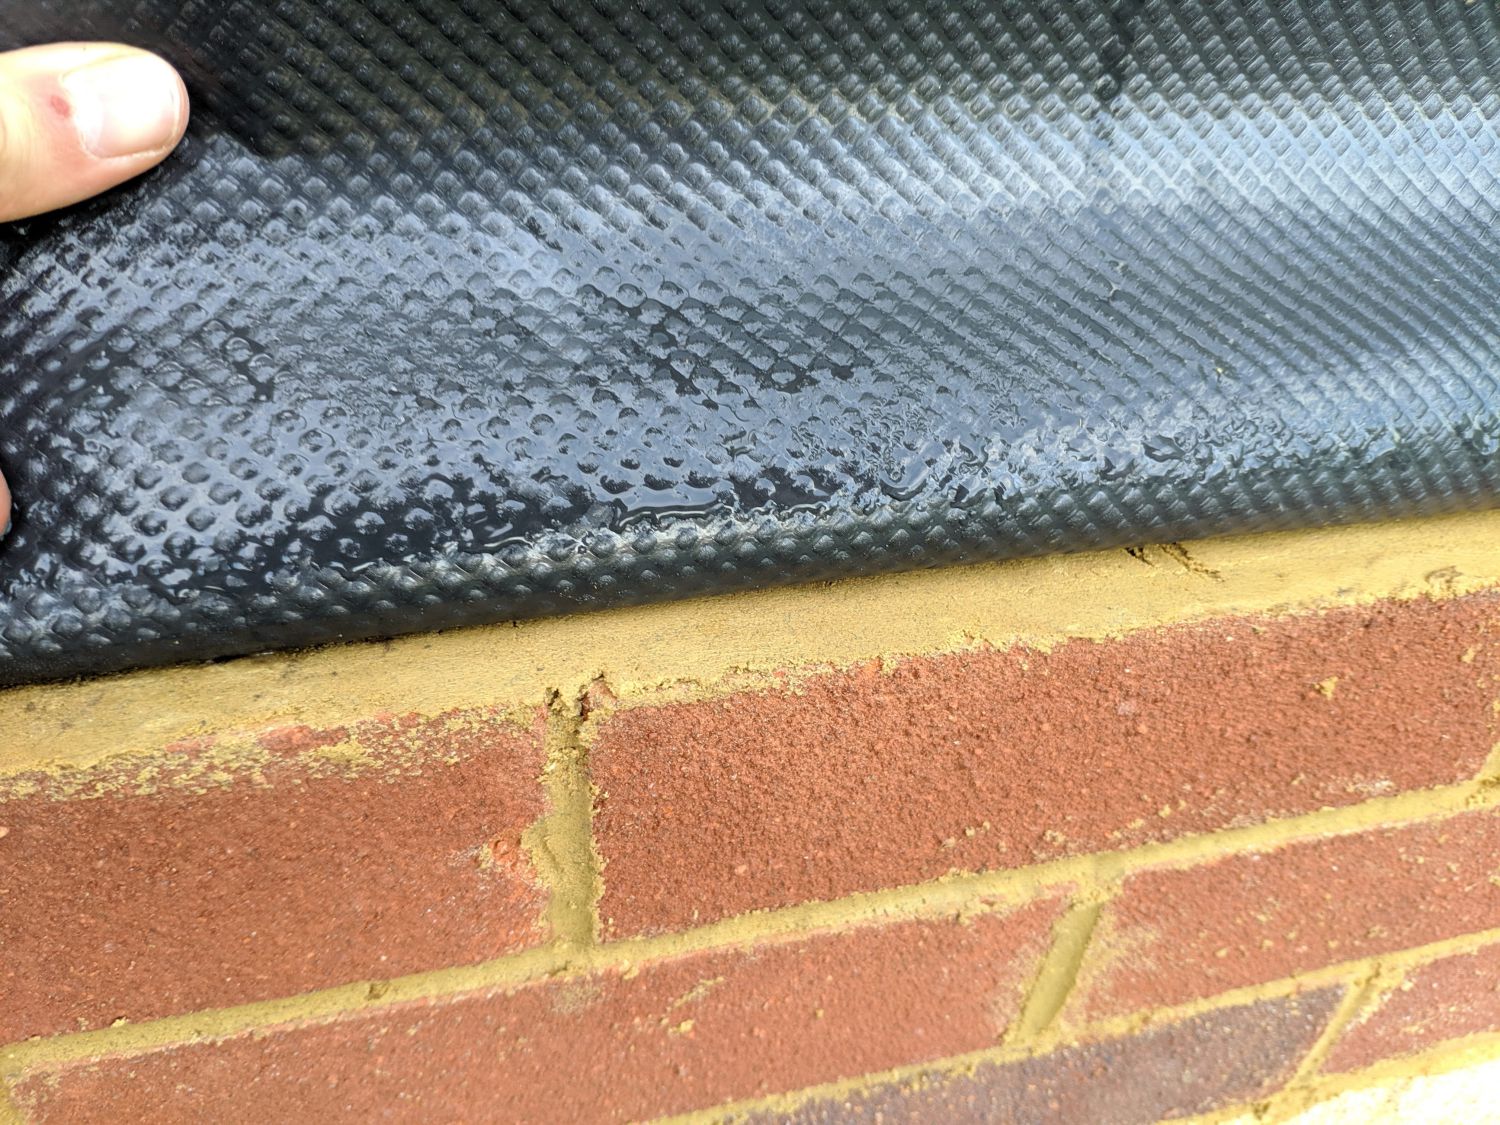
Before starting I cut an arris timber and placed it in front of the timber frame all around the building. I then wrapped the DPC up and over this timber, forming a drip edge so water running down the breathable membrane would run out onto the brickwork. At corners I used silicone to prevent water ingress.
Insulation
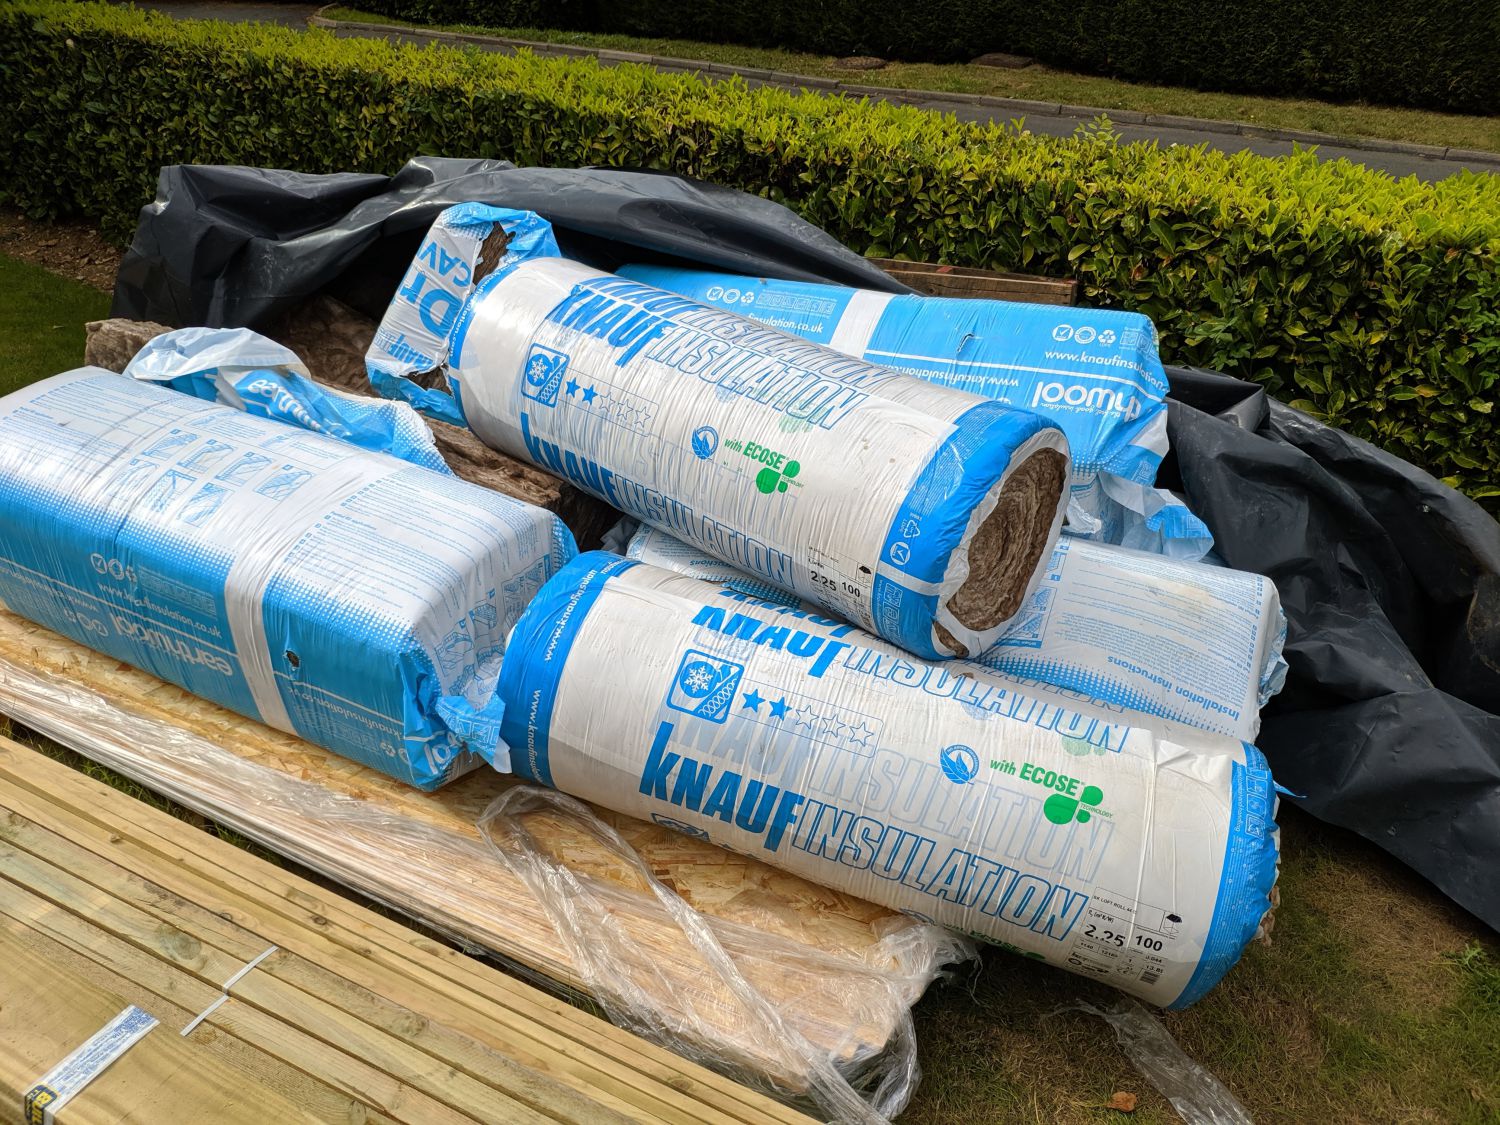
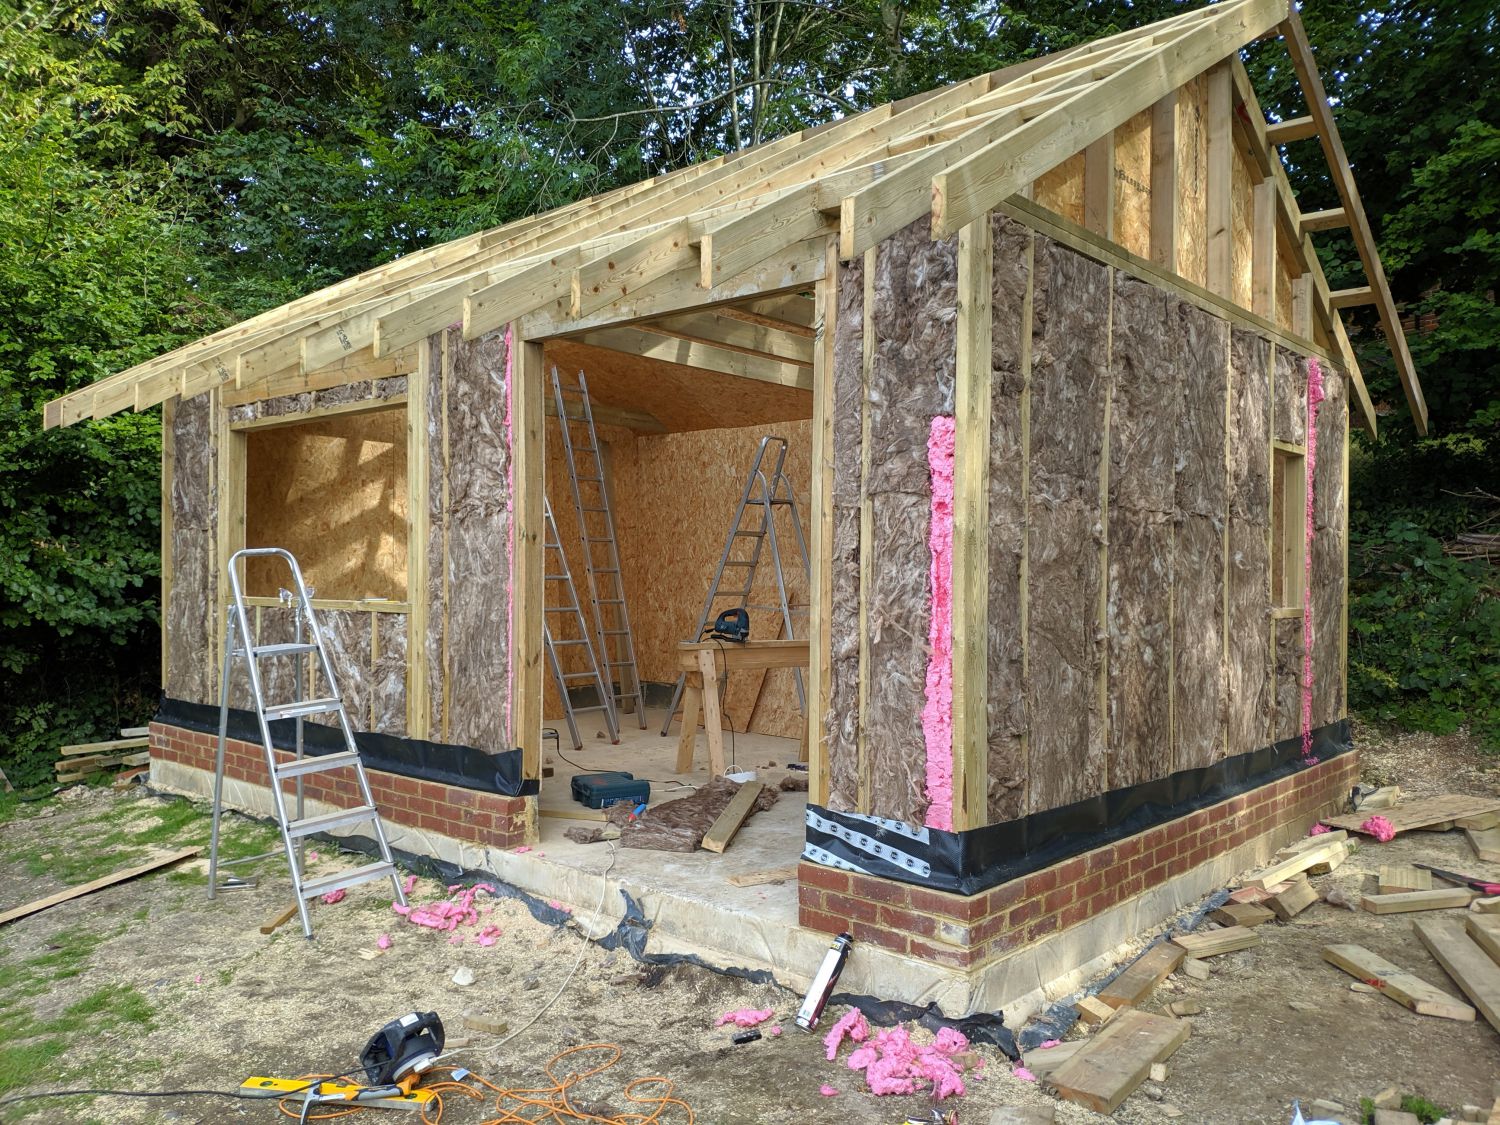
I chose to insulate the walls with 100mm cavity batts (which keep shape so are suitable for use vertically) and the roof with 100mm loft roll. I would have liked to use thicker insulation for the roof, but the breathable membrane requires some sag between the rafters so with 150mm rafters, 100mm was the most insulation I could put in. This 50mm sag forms channels down which water can run under the battens and into the gutters. For smaller gaps the Earthwool couldn’t fill I used expanding foam.
Walls
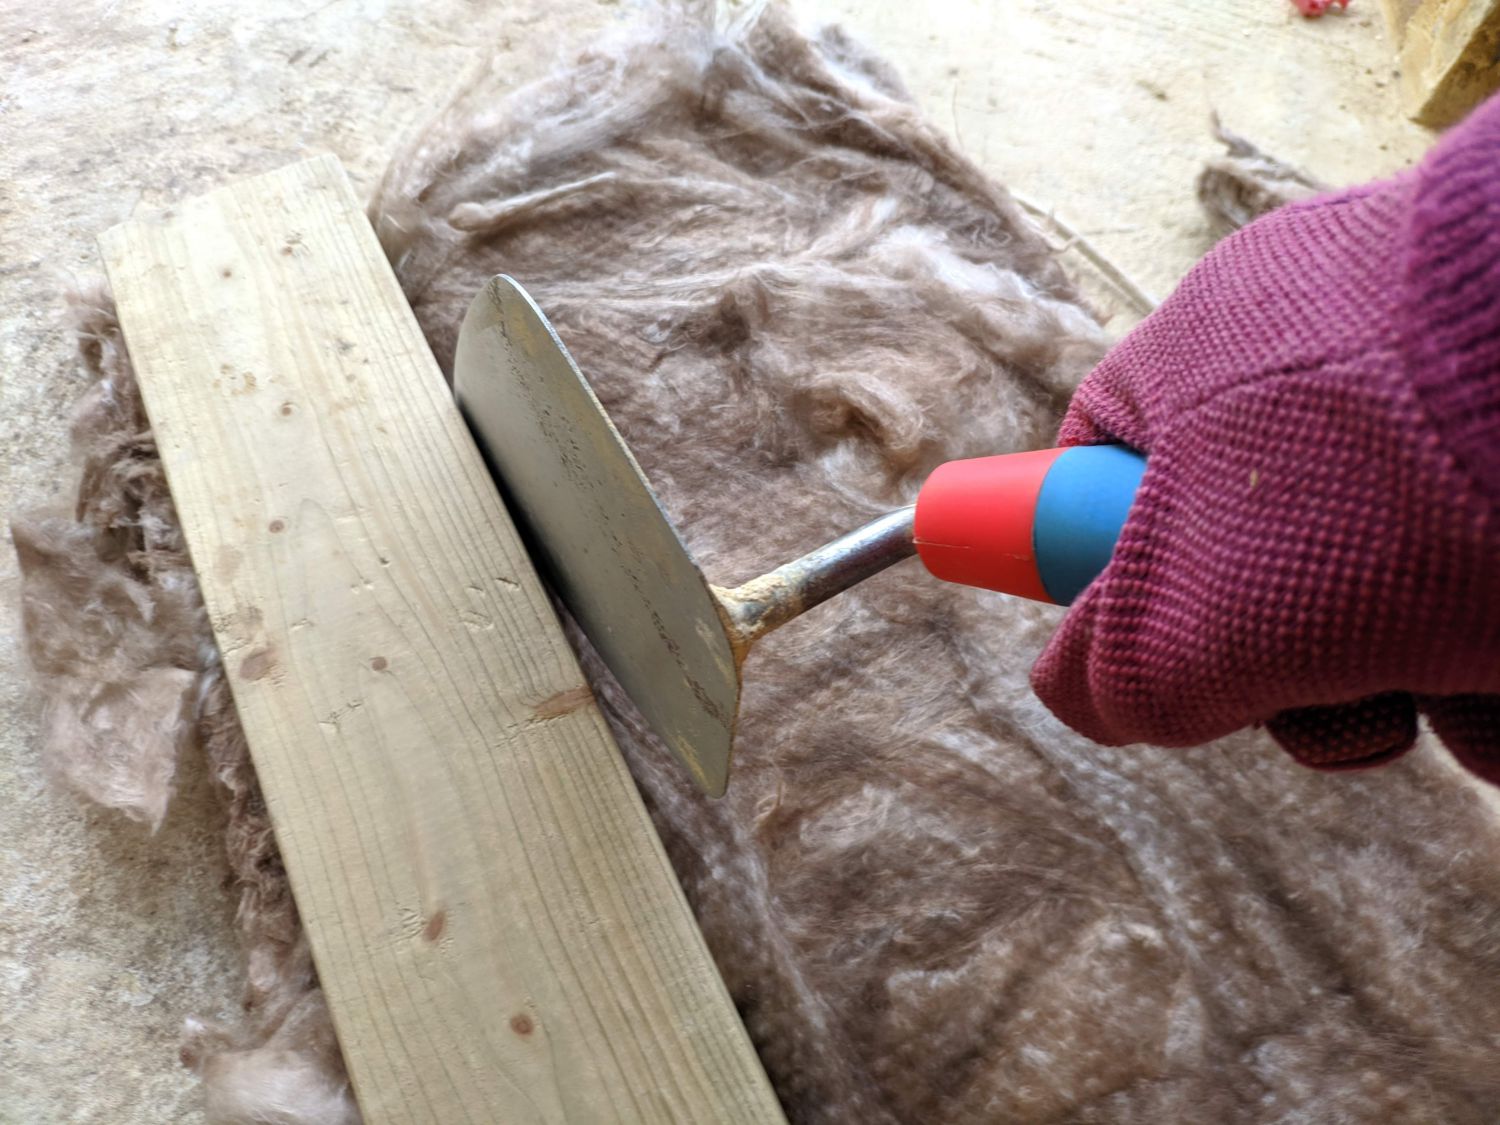
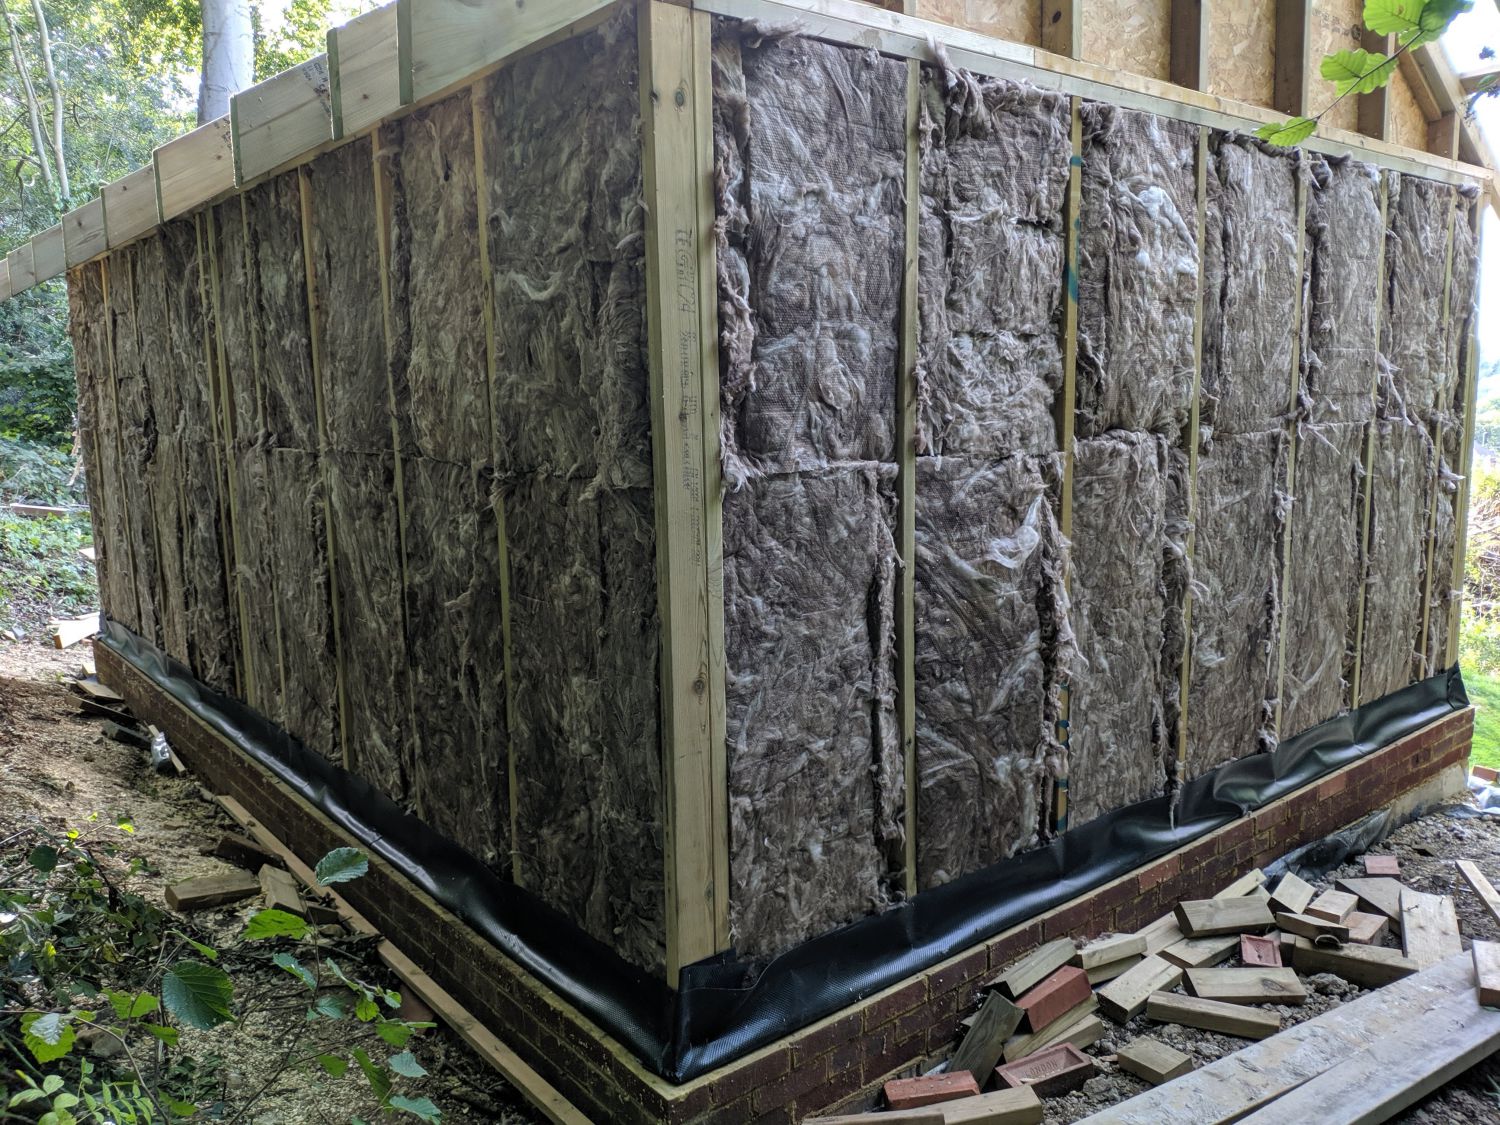
Insulation battens are available in a selection of widths but unfortunately I was unable to source push-fit battens for my stud spacing. Instead I used standard width insulation with additional strips to fill the gaps:
Roof
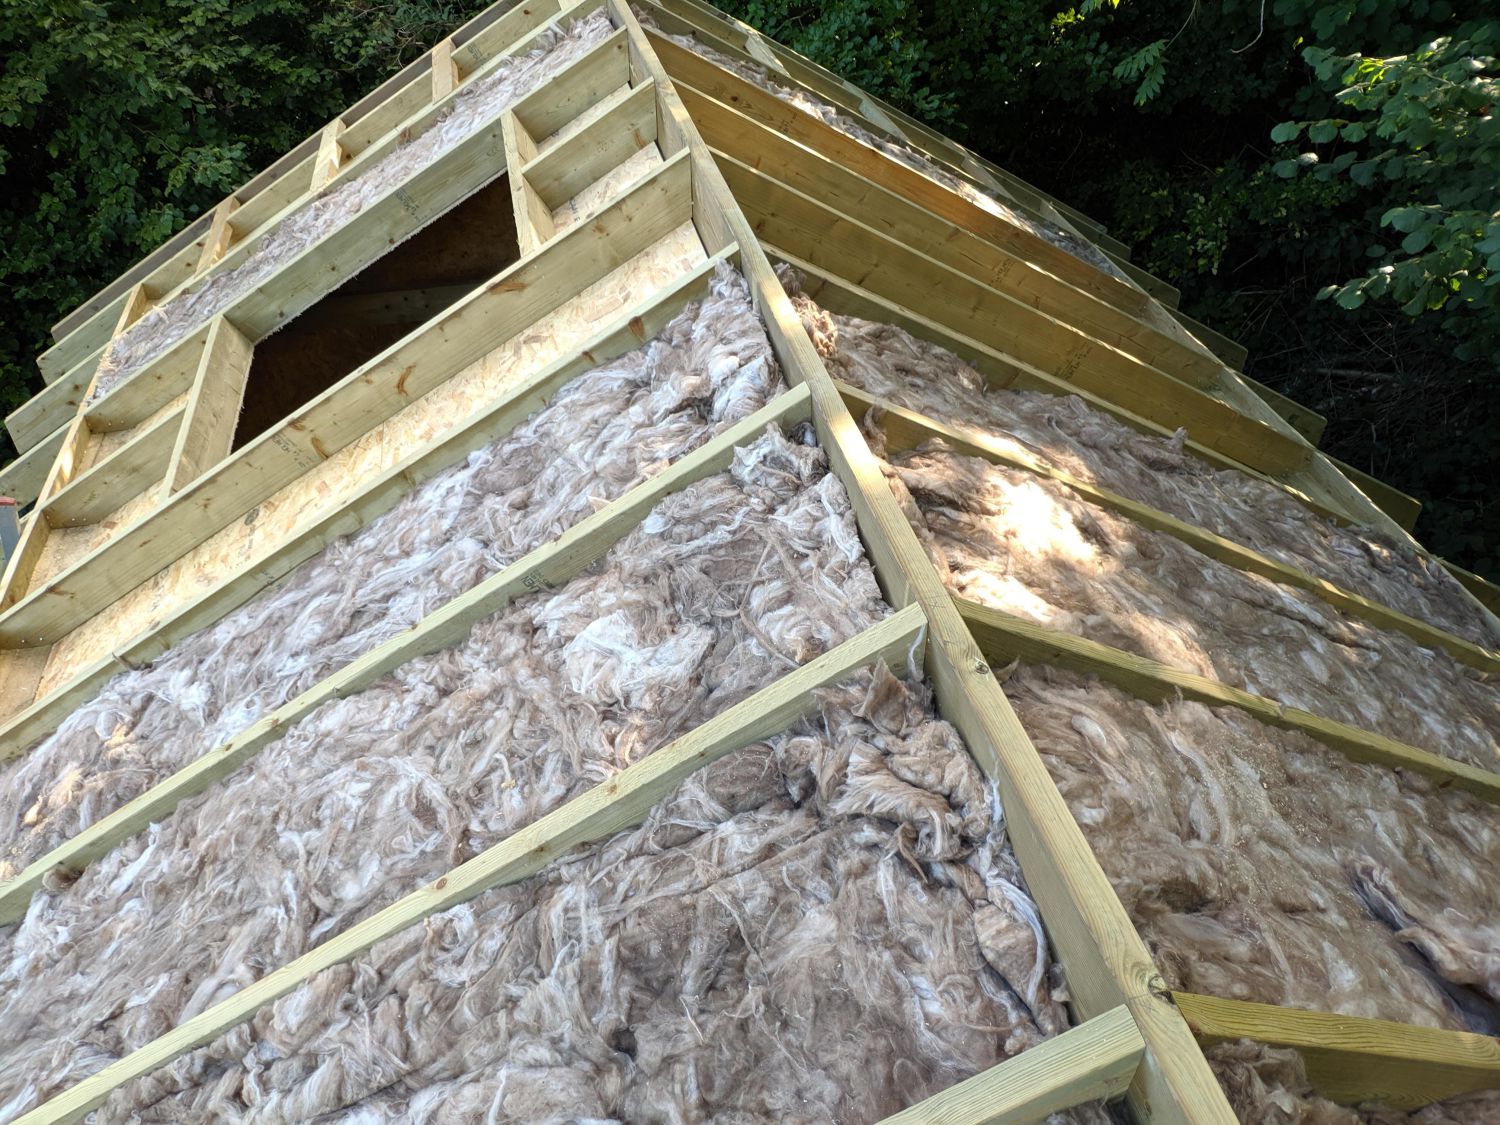
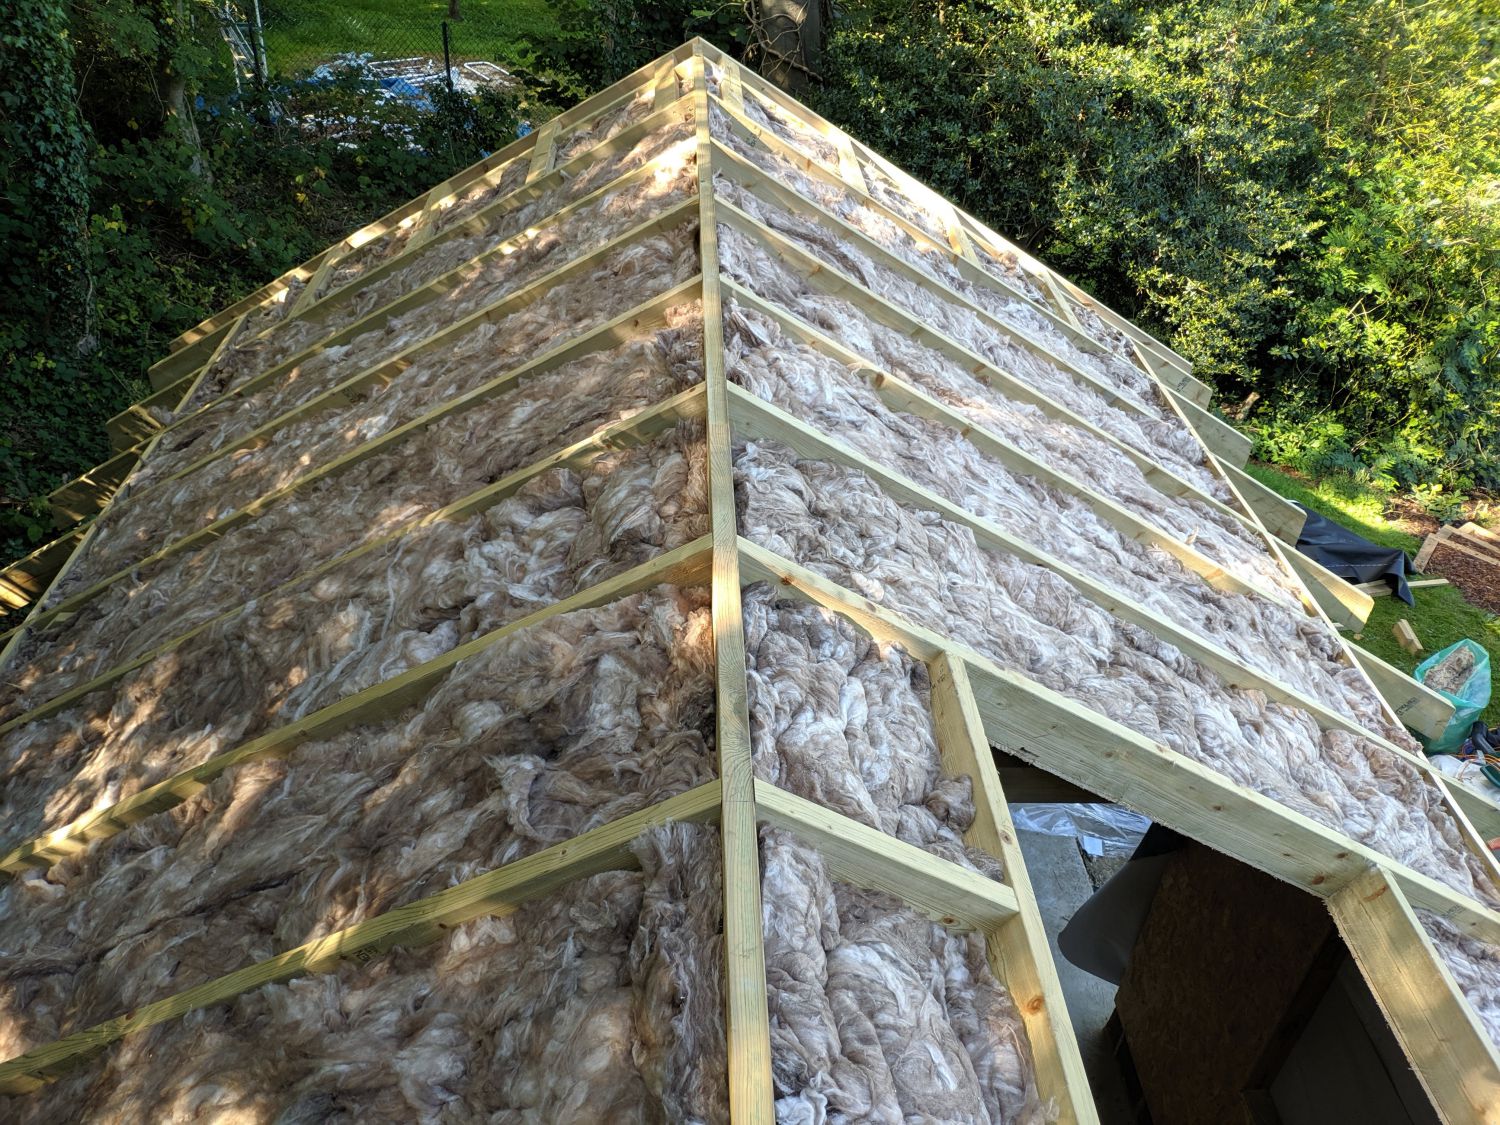
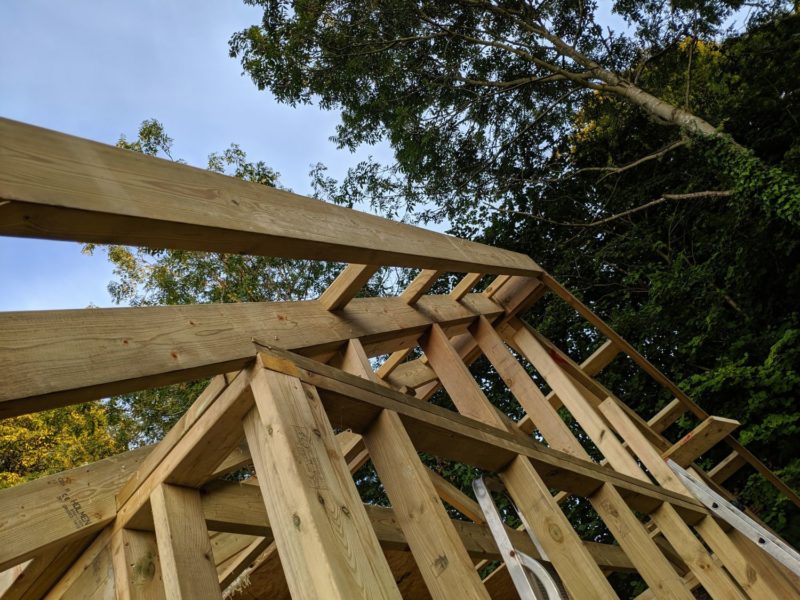
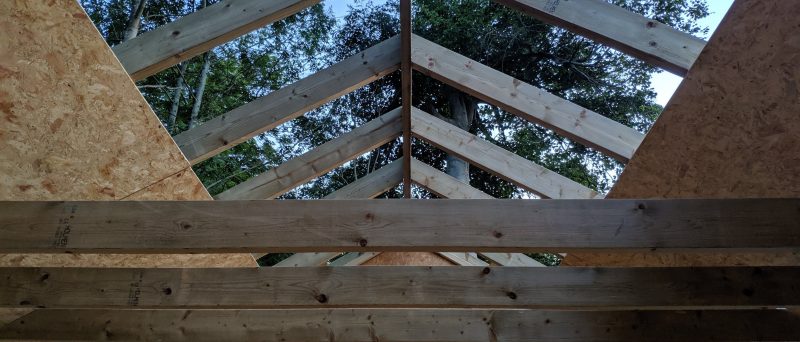
I made sure to push the rockwool below the roof line to allow for the sag mentioned above. In retrospect I think a better system for the roof would have been 150mm insulation and then counter-battens and battens: this way the membrane could have been laid flat over the rafters while still allowing water to run off.
Breathable membrane
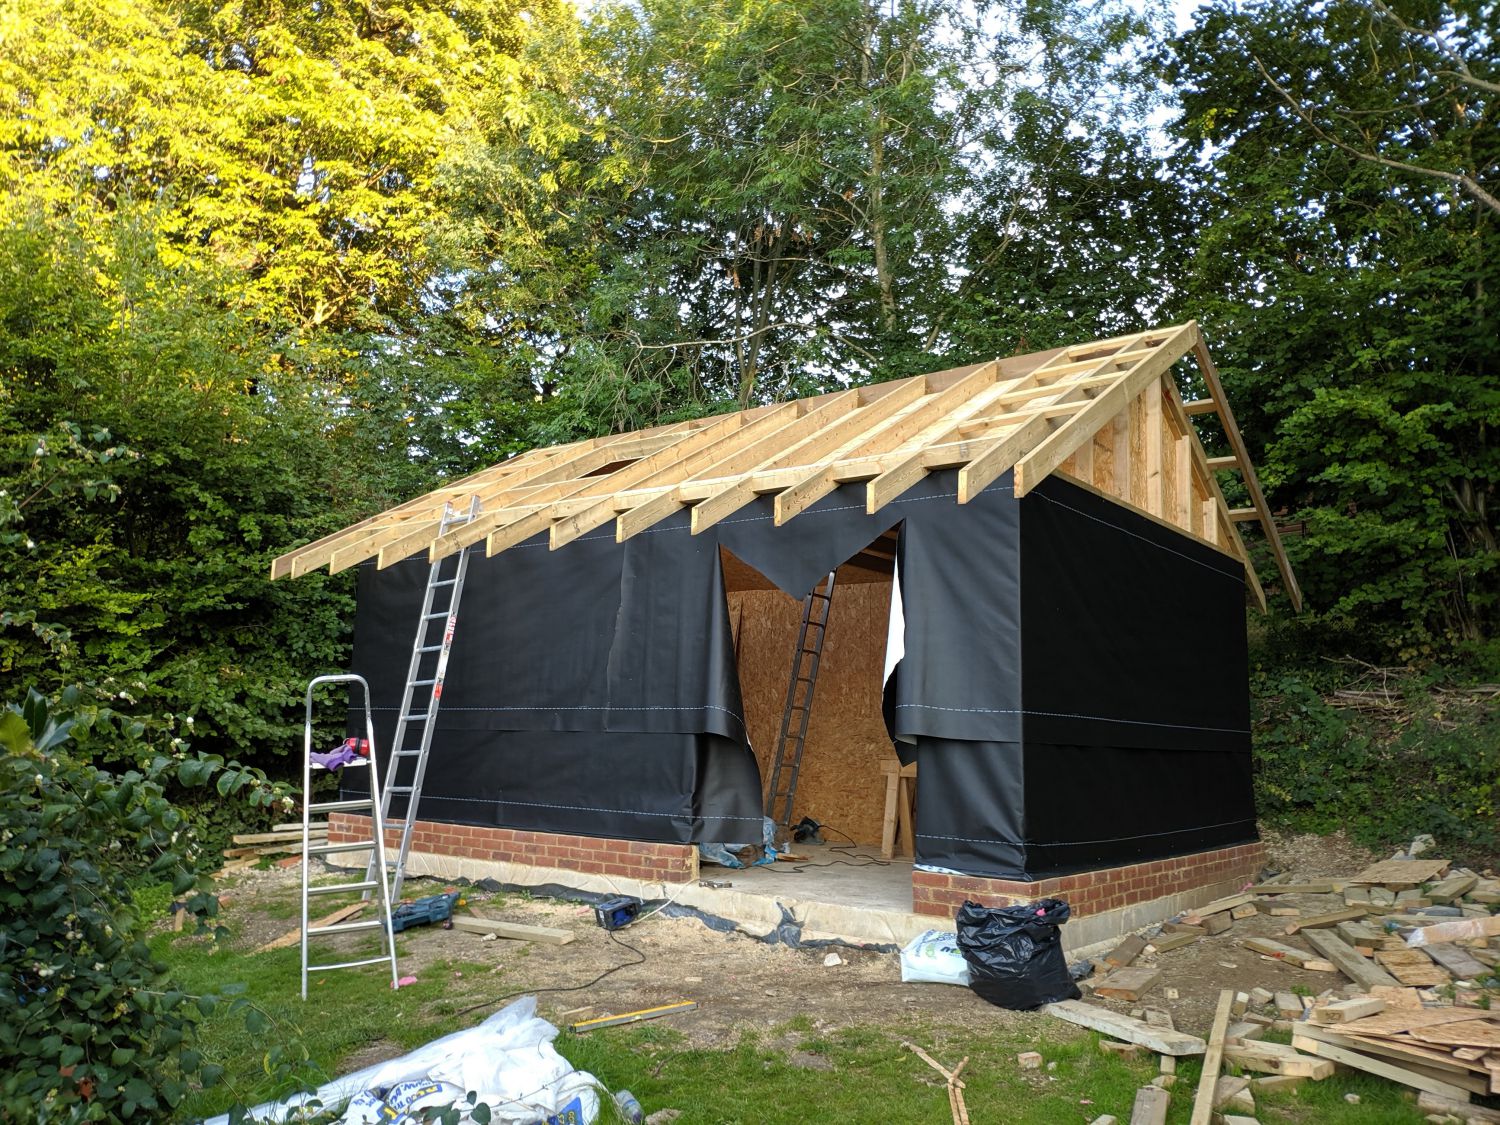
The breathable membrane comes on a roll which I stapled to the front of the building and unravelled all the way round, careful to keep it level. As I went, I secured with regular staples. I then repeated this step to cover the top half of the walls. I then cut triangular sections of the membrane roll to cover the gable-ends. I covered all openings – these were later cut out.
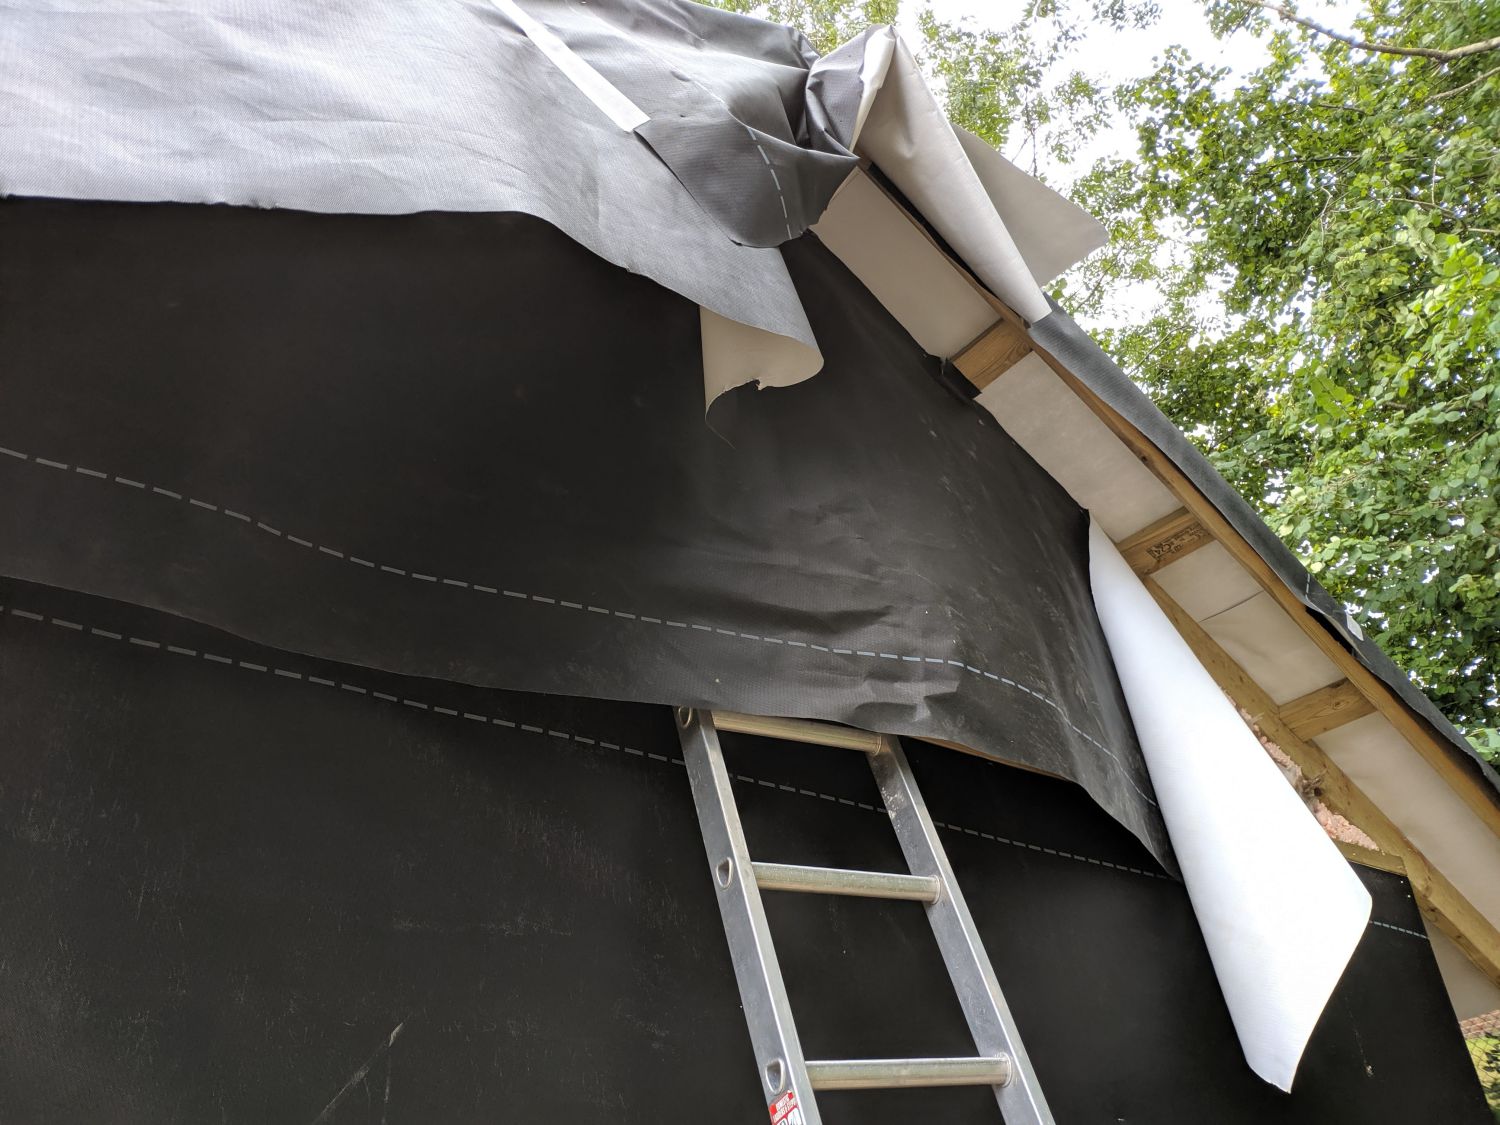
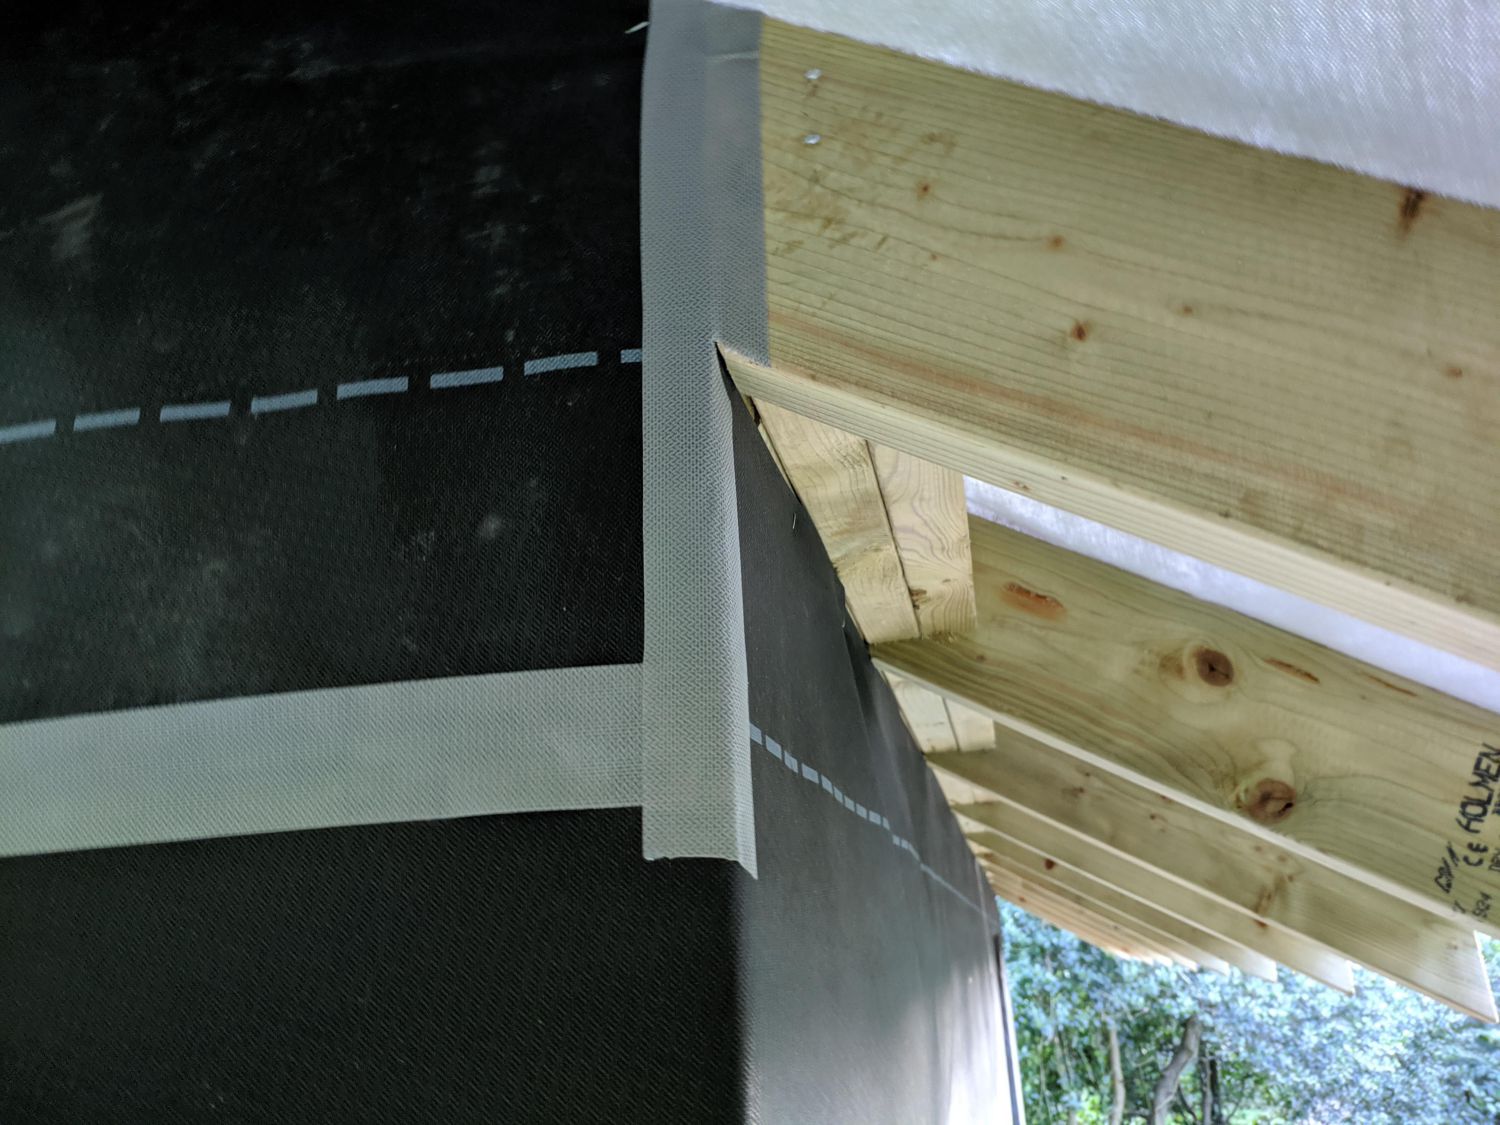
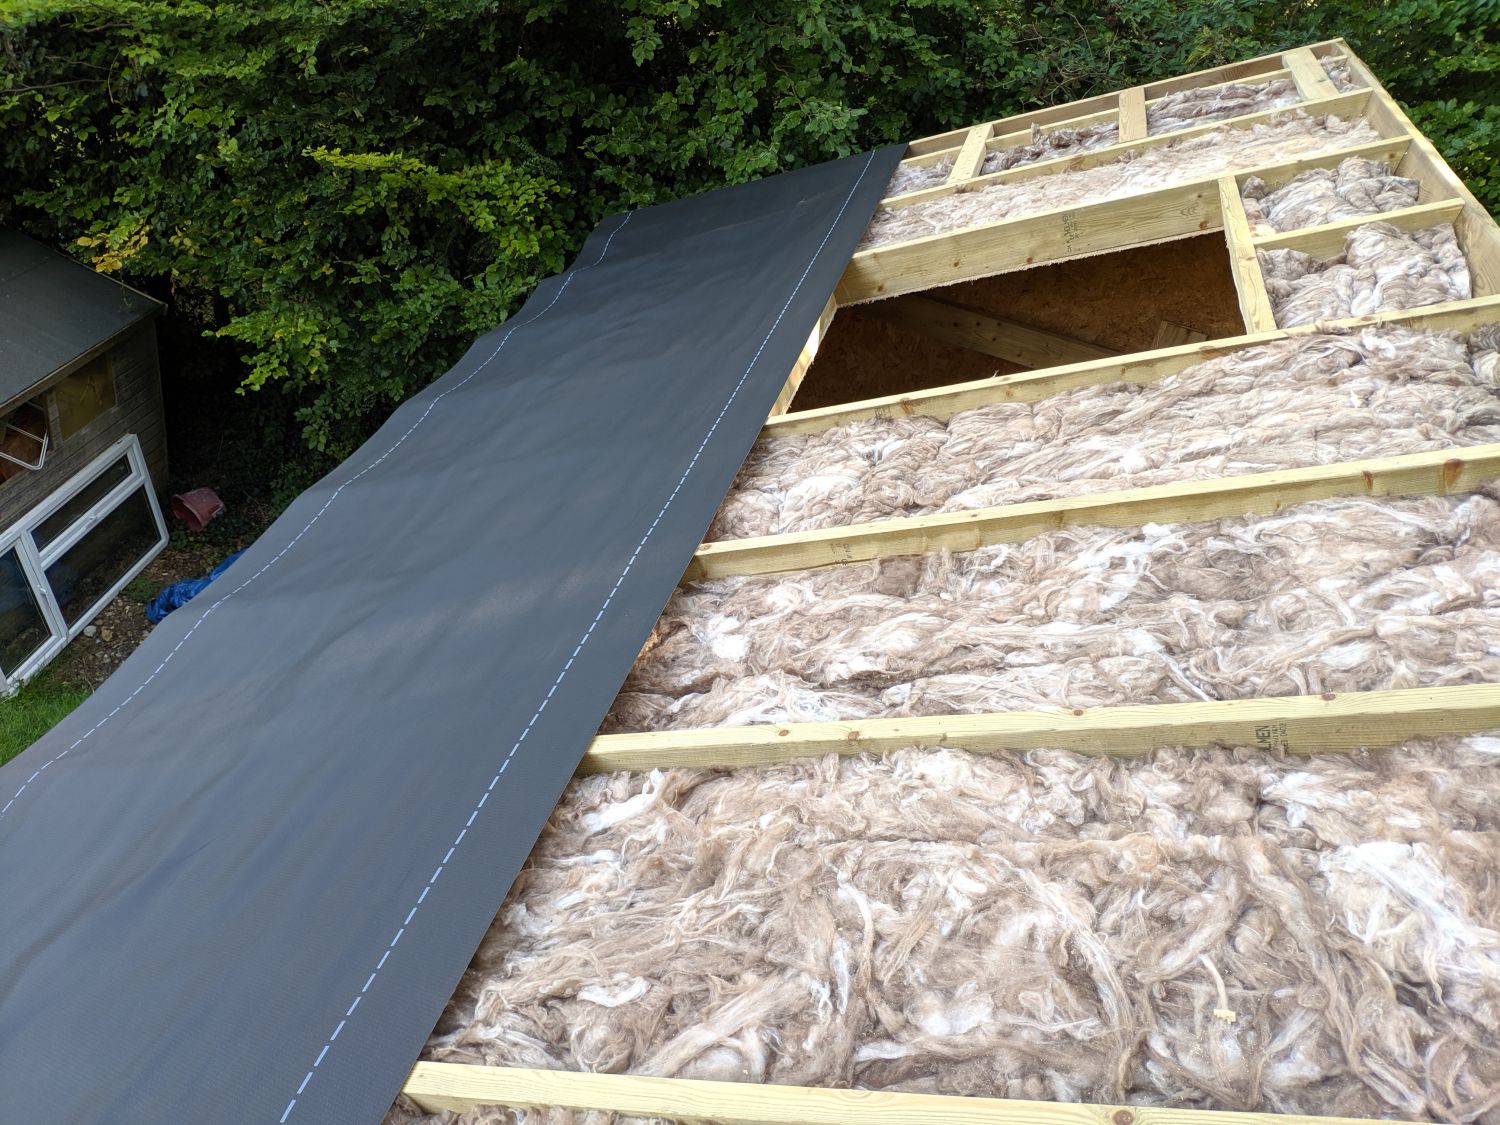
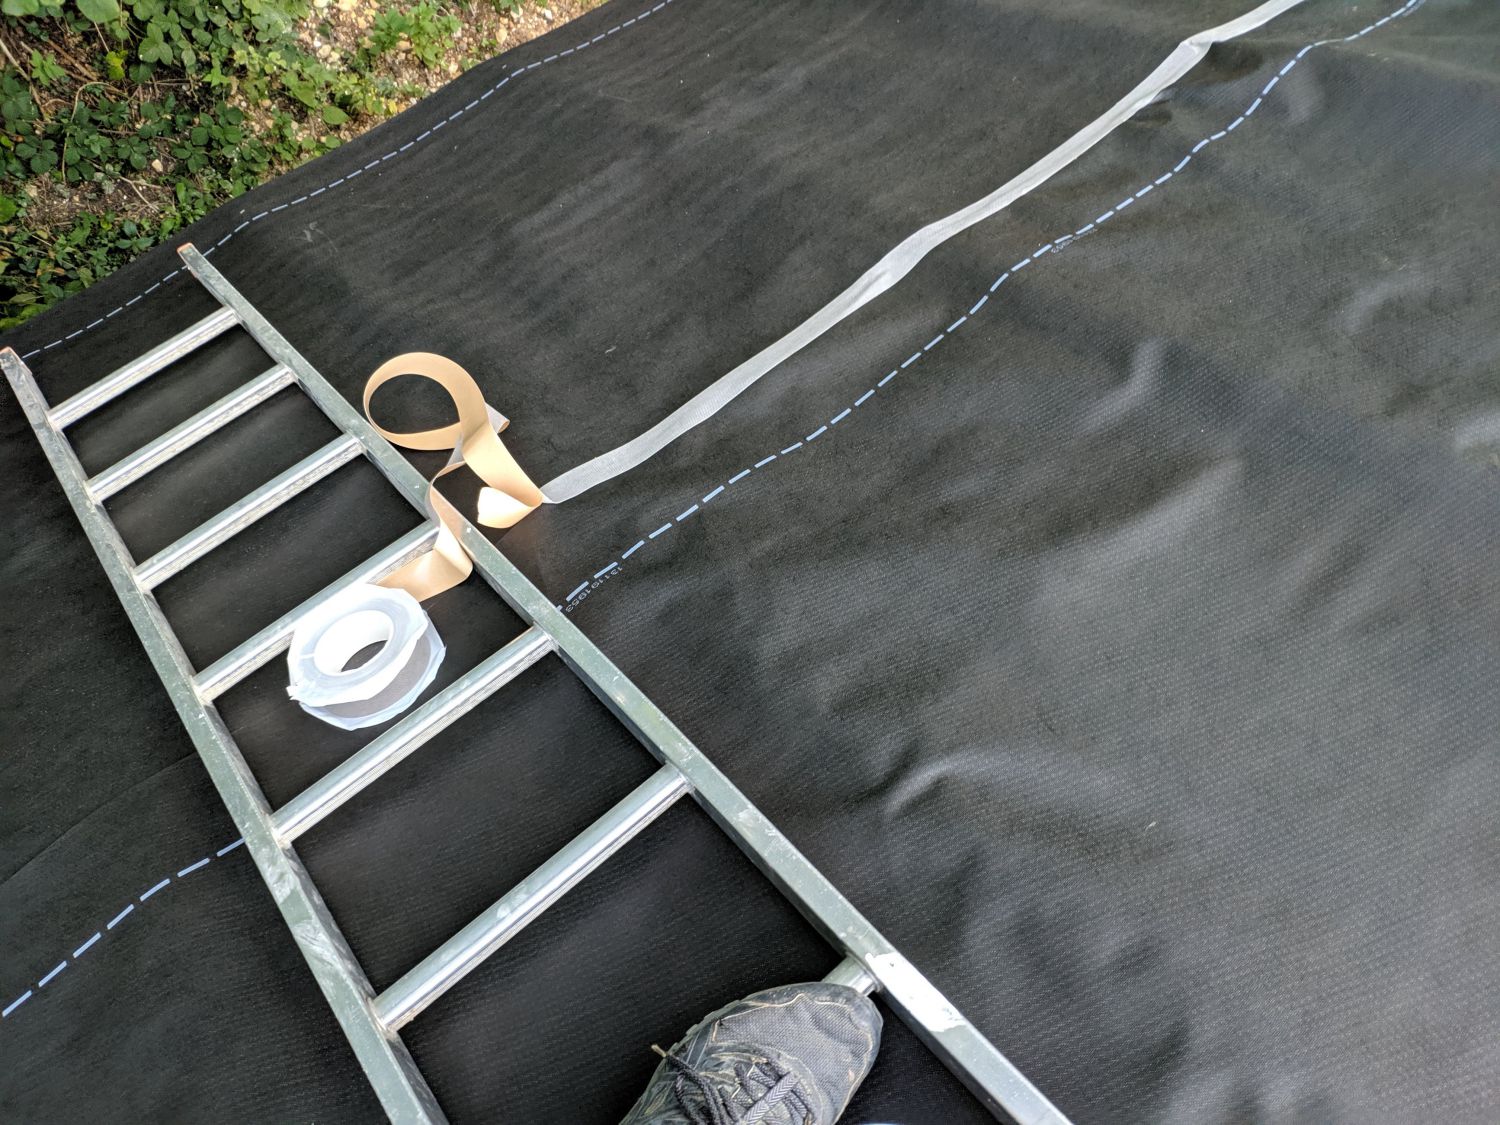
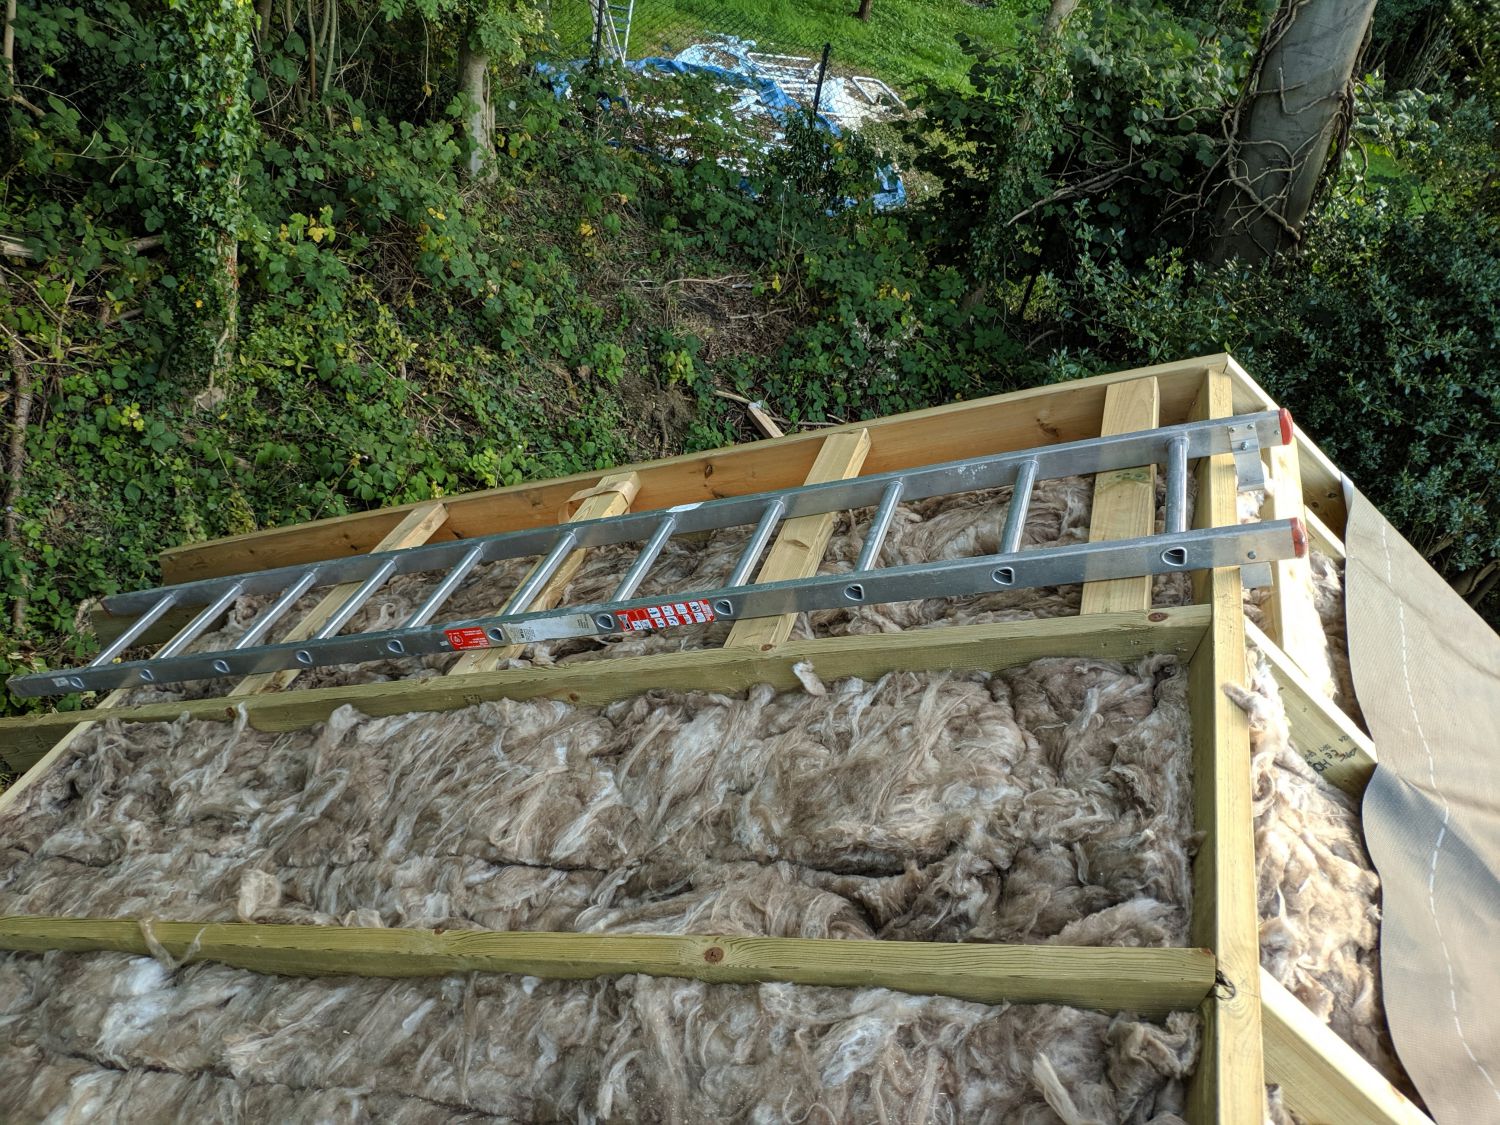
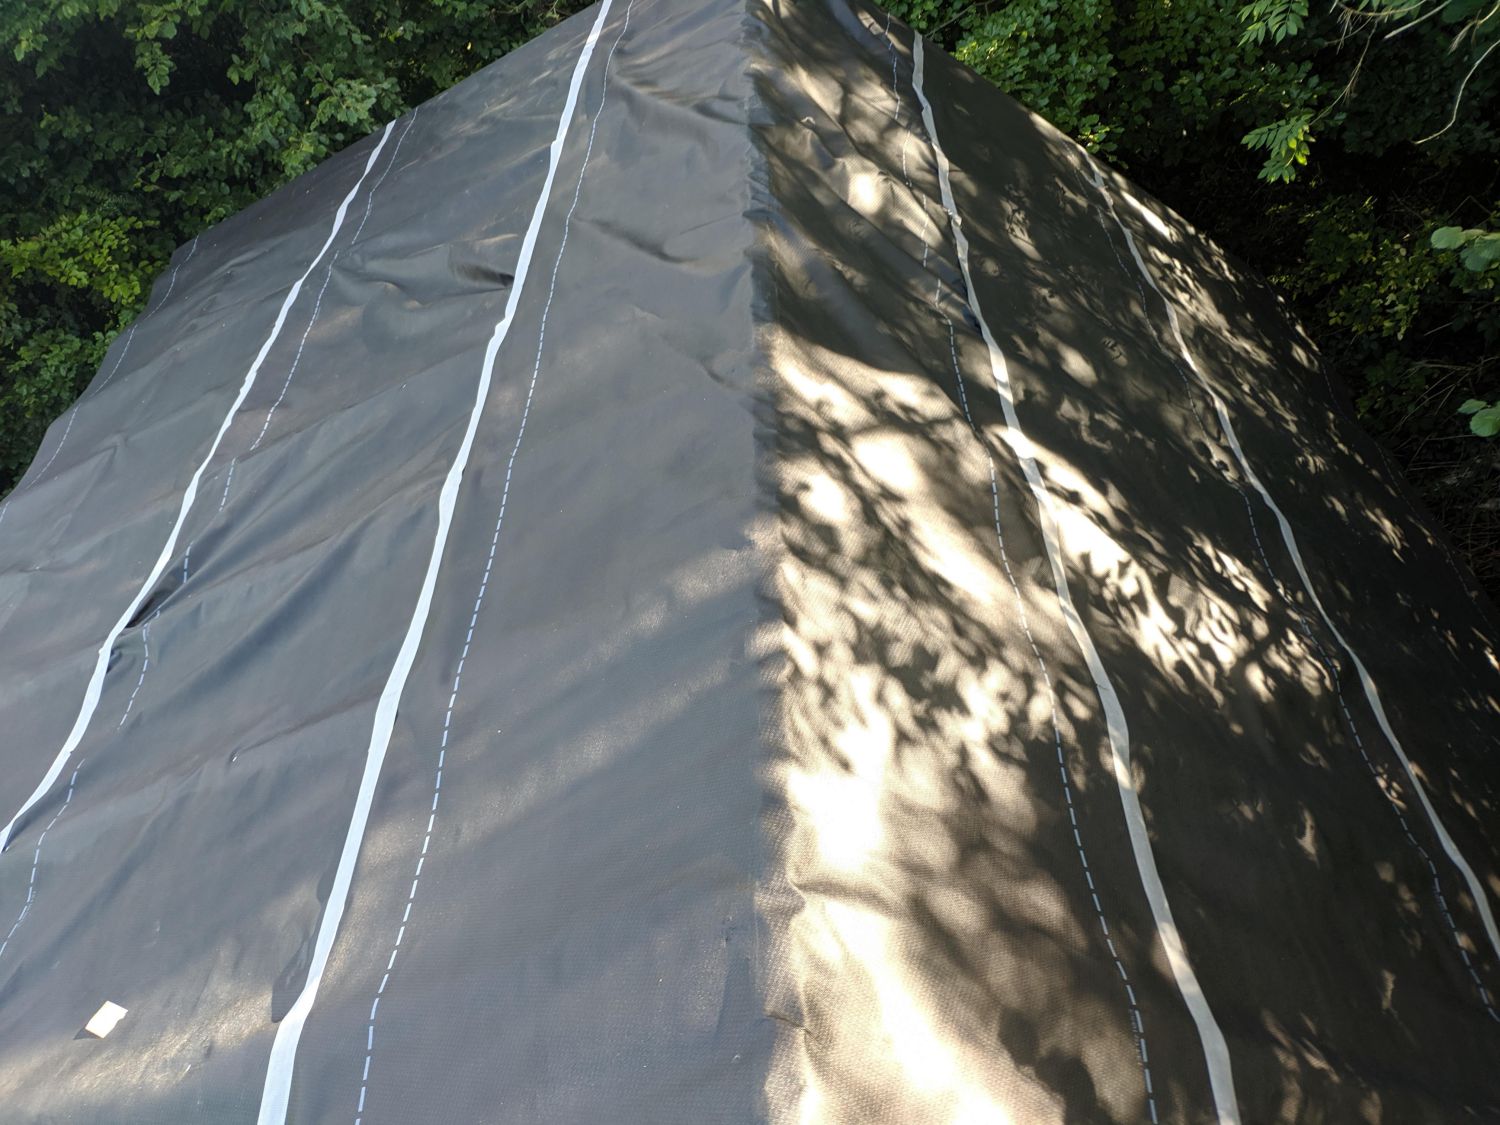
I covered the roof similarly – though the wind and height made this quite a challenge. The roof requires taped laps with tape sold by the manufacturer of the breathable membrane. I used my ladder as a roofing ladder by hooking it over the ridge to allow safe passage on the roof.
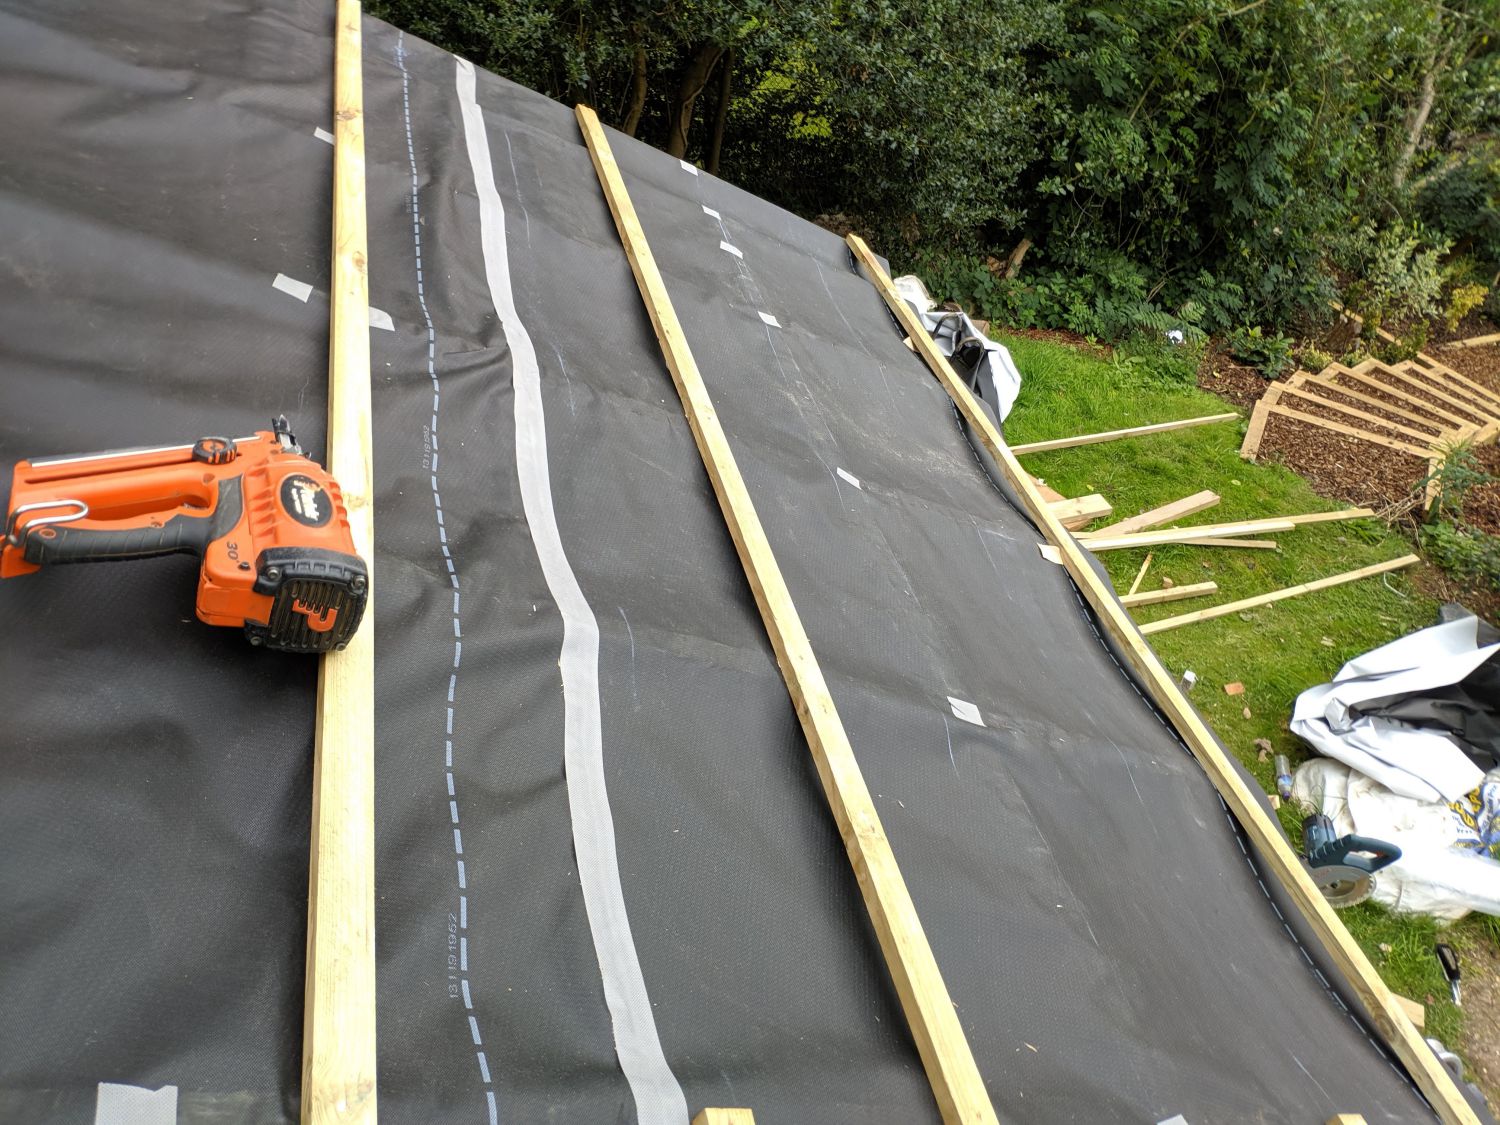
I didn’t realise until later that the correct method for covering the roof is working up as battens are nailed in! This way there is no extra holes in the membrane from staples (the battens hold the membrane in place) and the battens can be used to stand on. I went back the next day and fixed some battens to properly hold the membrane in place.
And that marked the waterproofing of the shed! With the membrane on I could move on from the outside of the building to the interior so long as the cladding and roofing were on within a year.