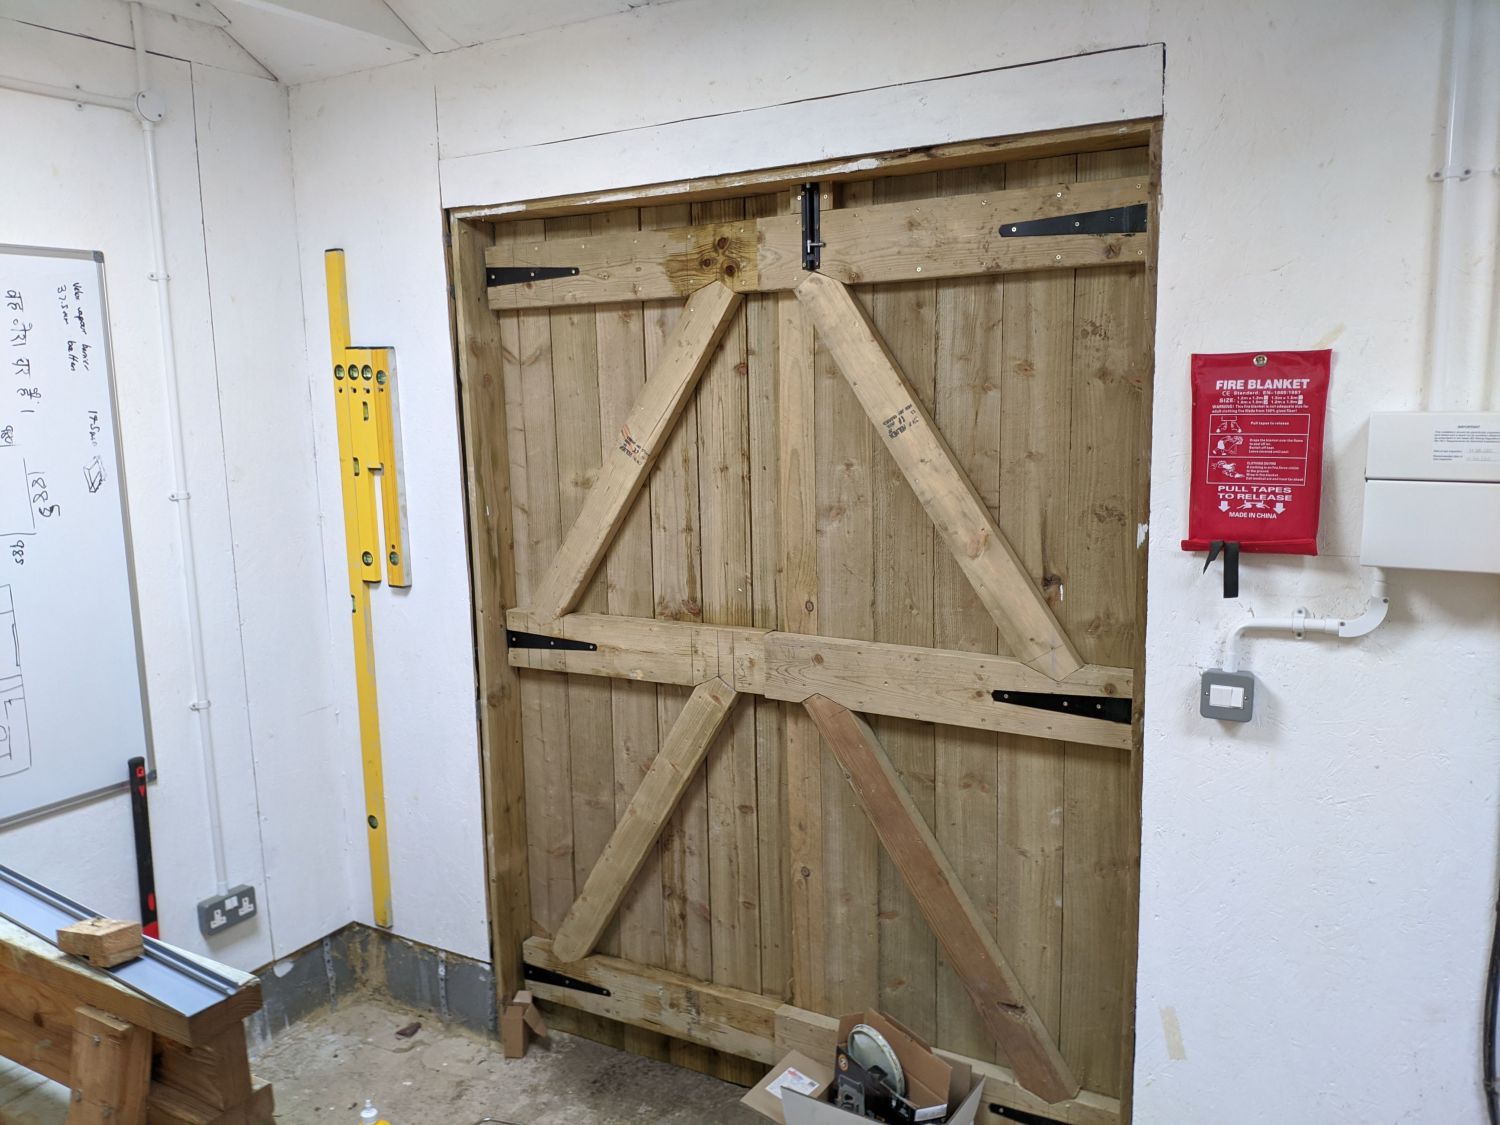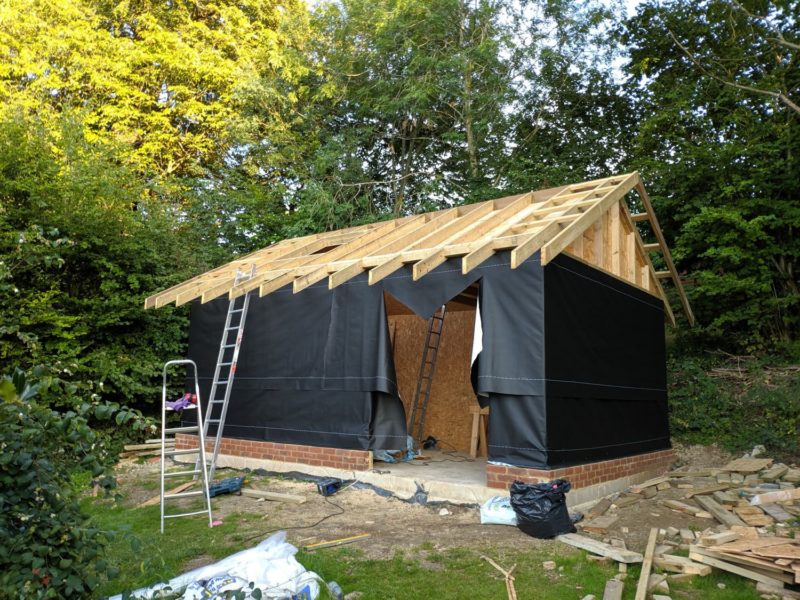
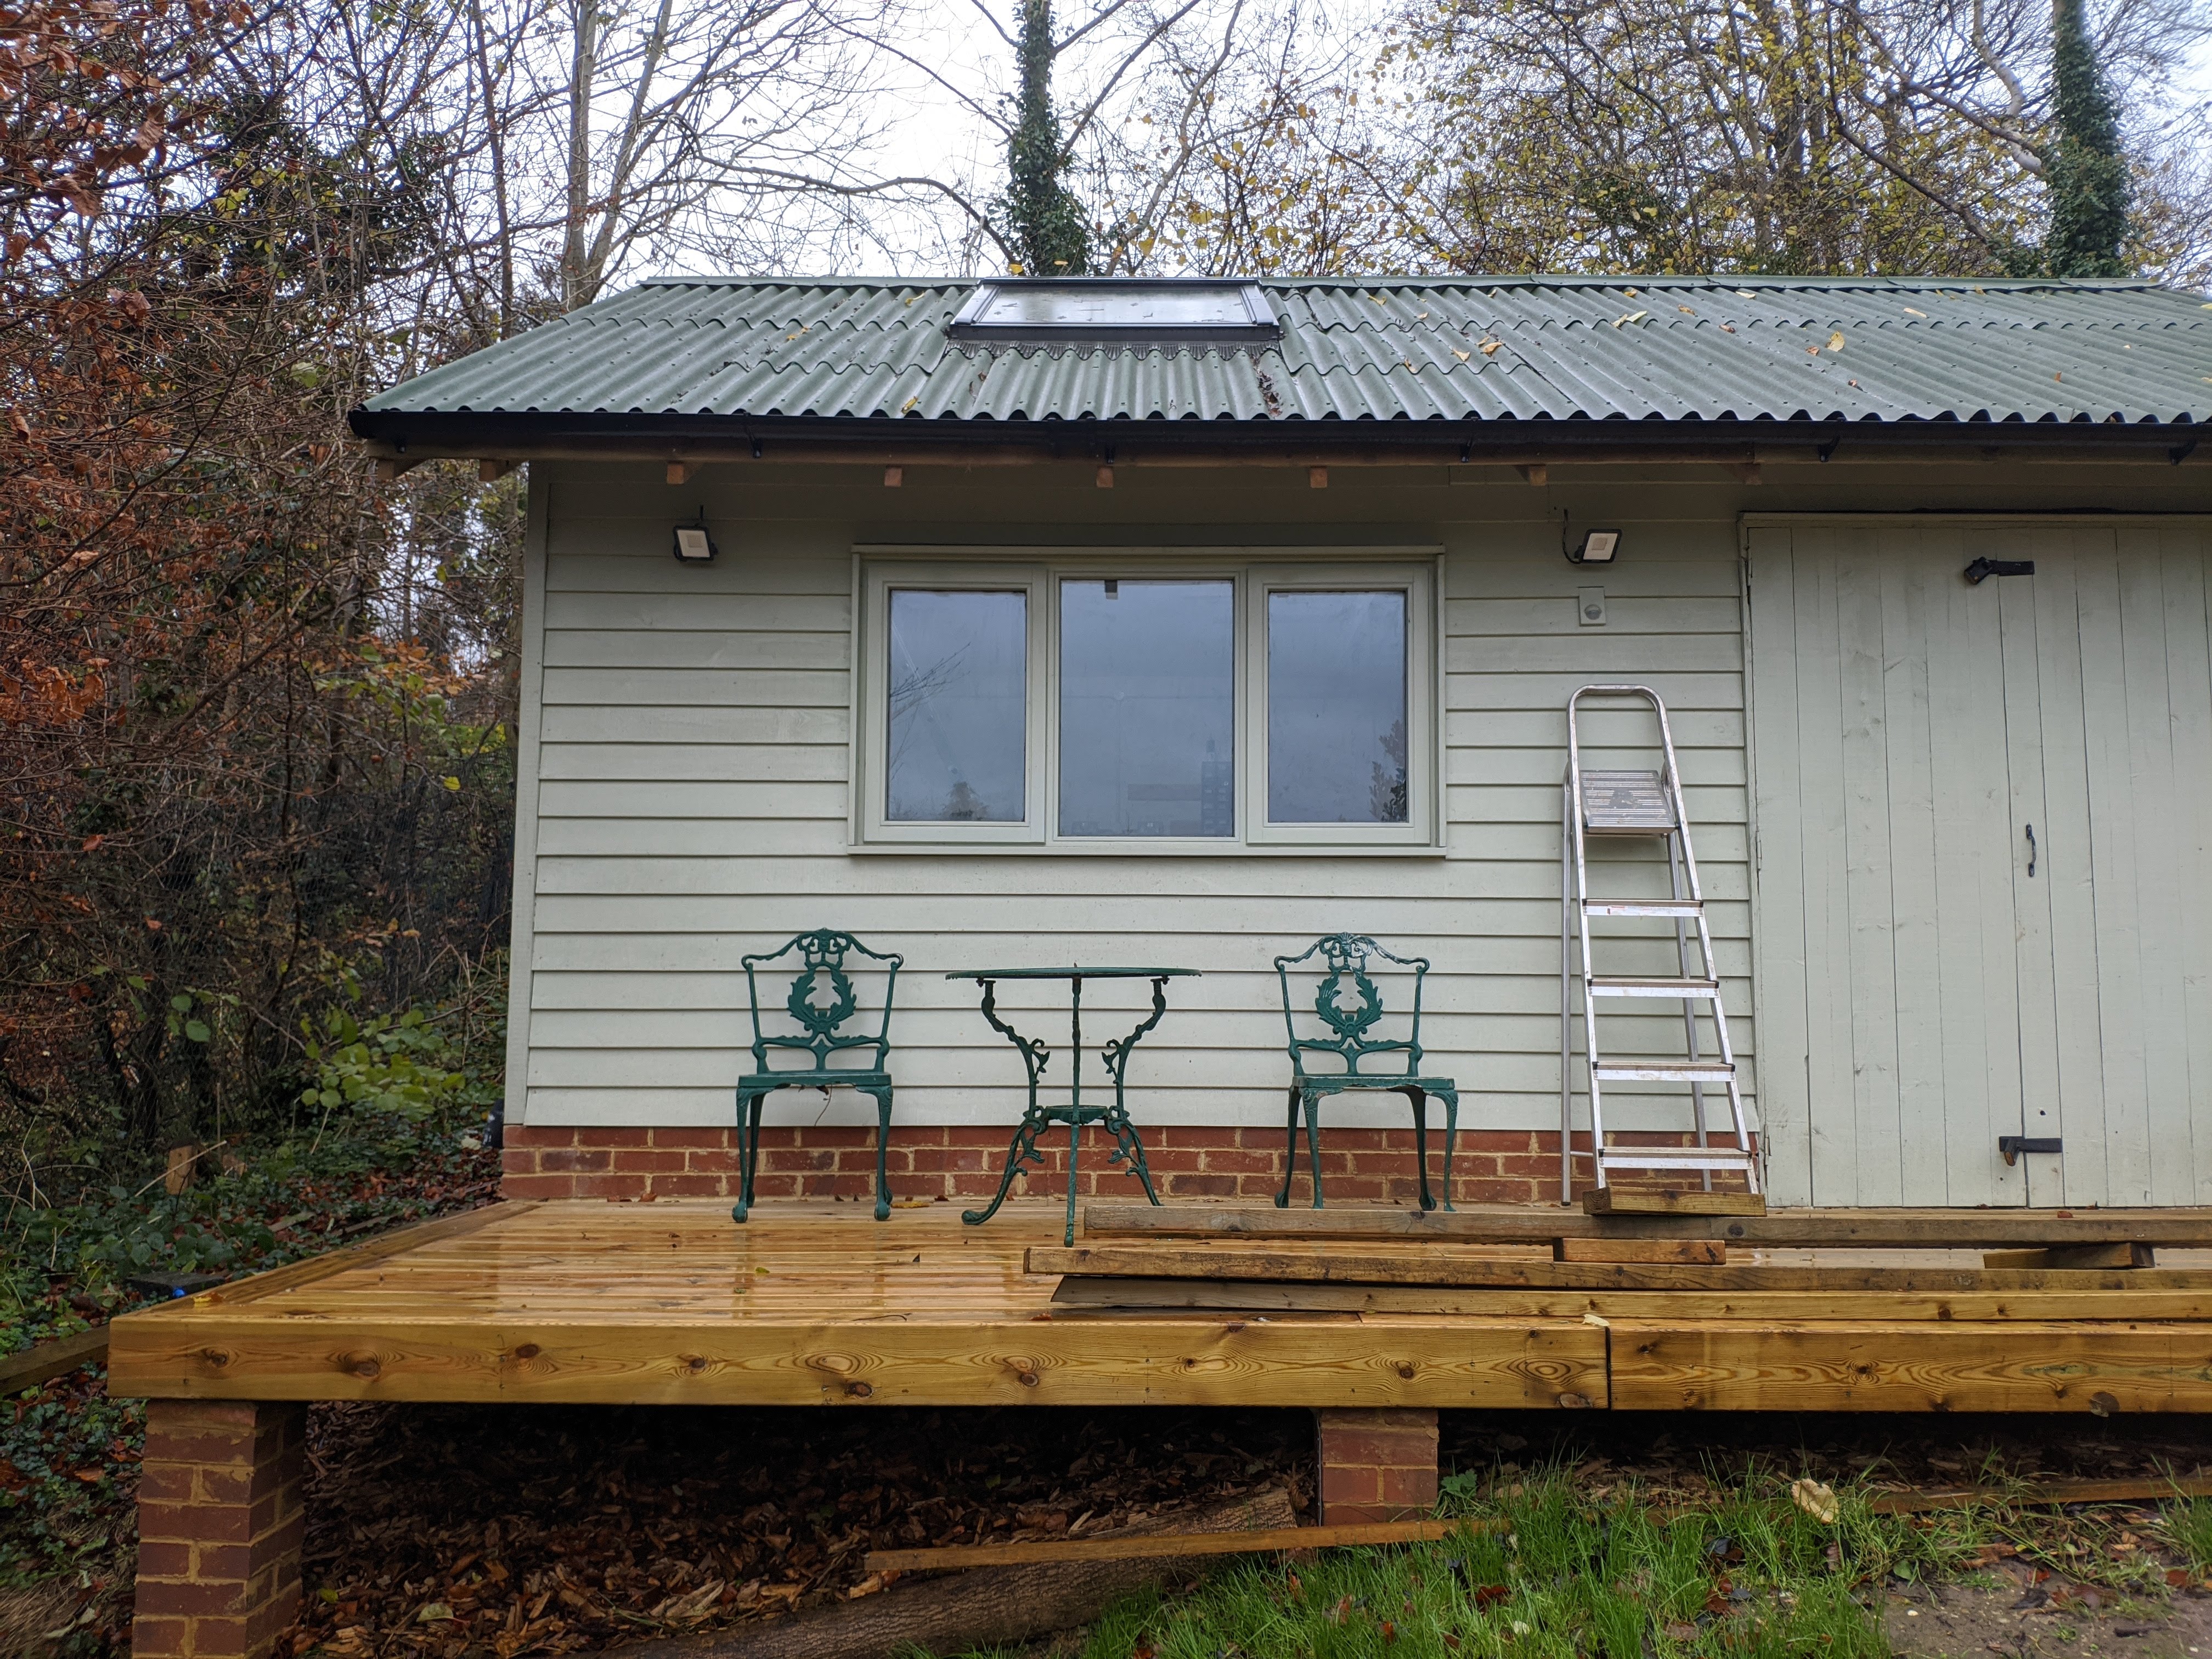
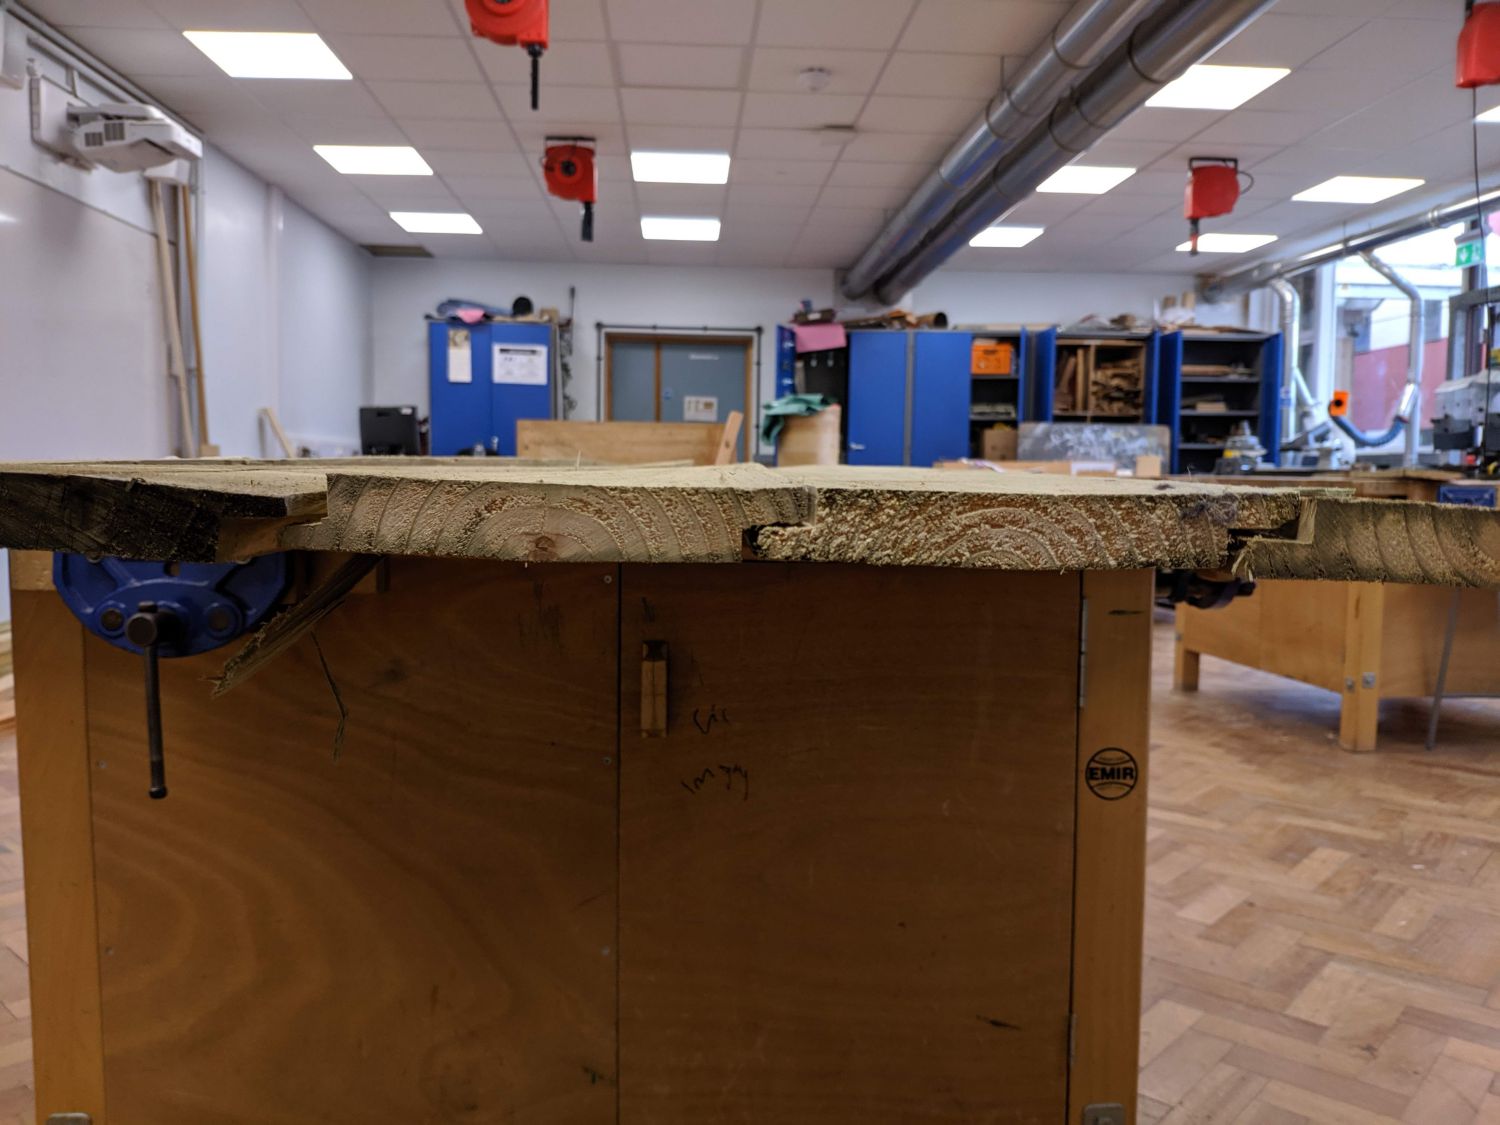
During framing I created a rough opening for double doors at the front of the building, and to close this opening I decided to build some doors using some spare treated timbers. I later regretted using such rough warped wood, but the treatment will give it extra protection against rot.
Background
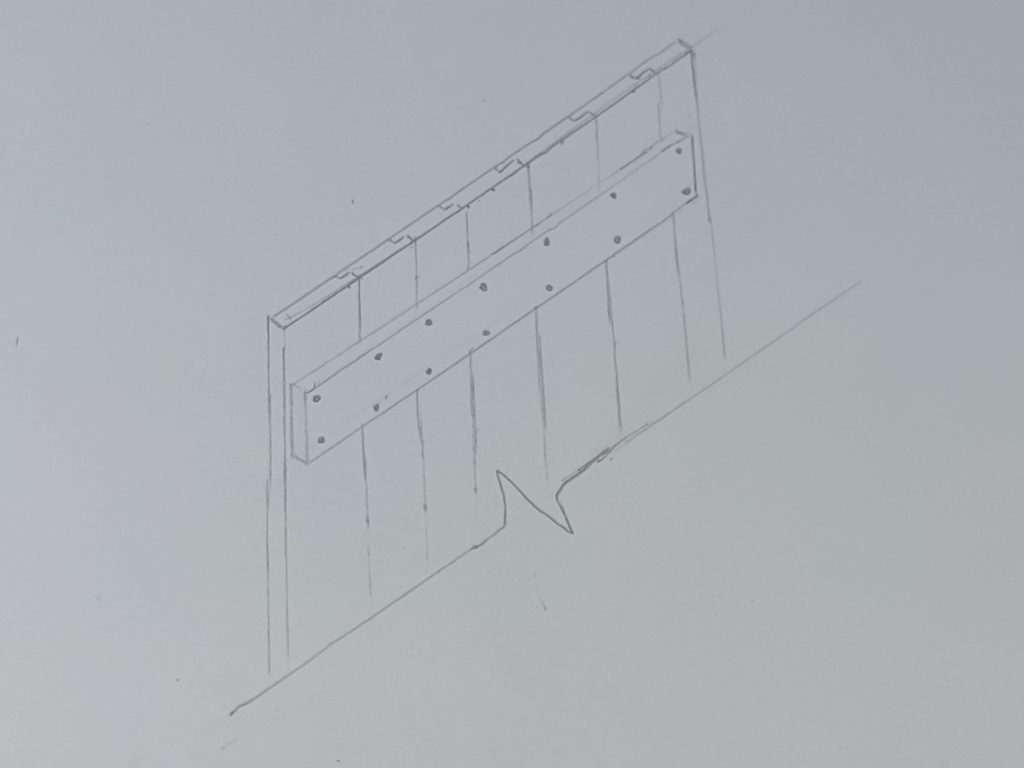
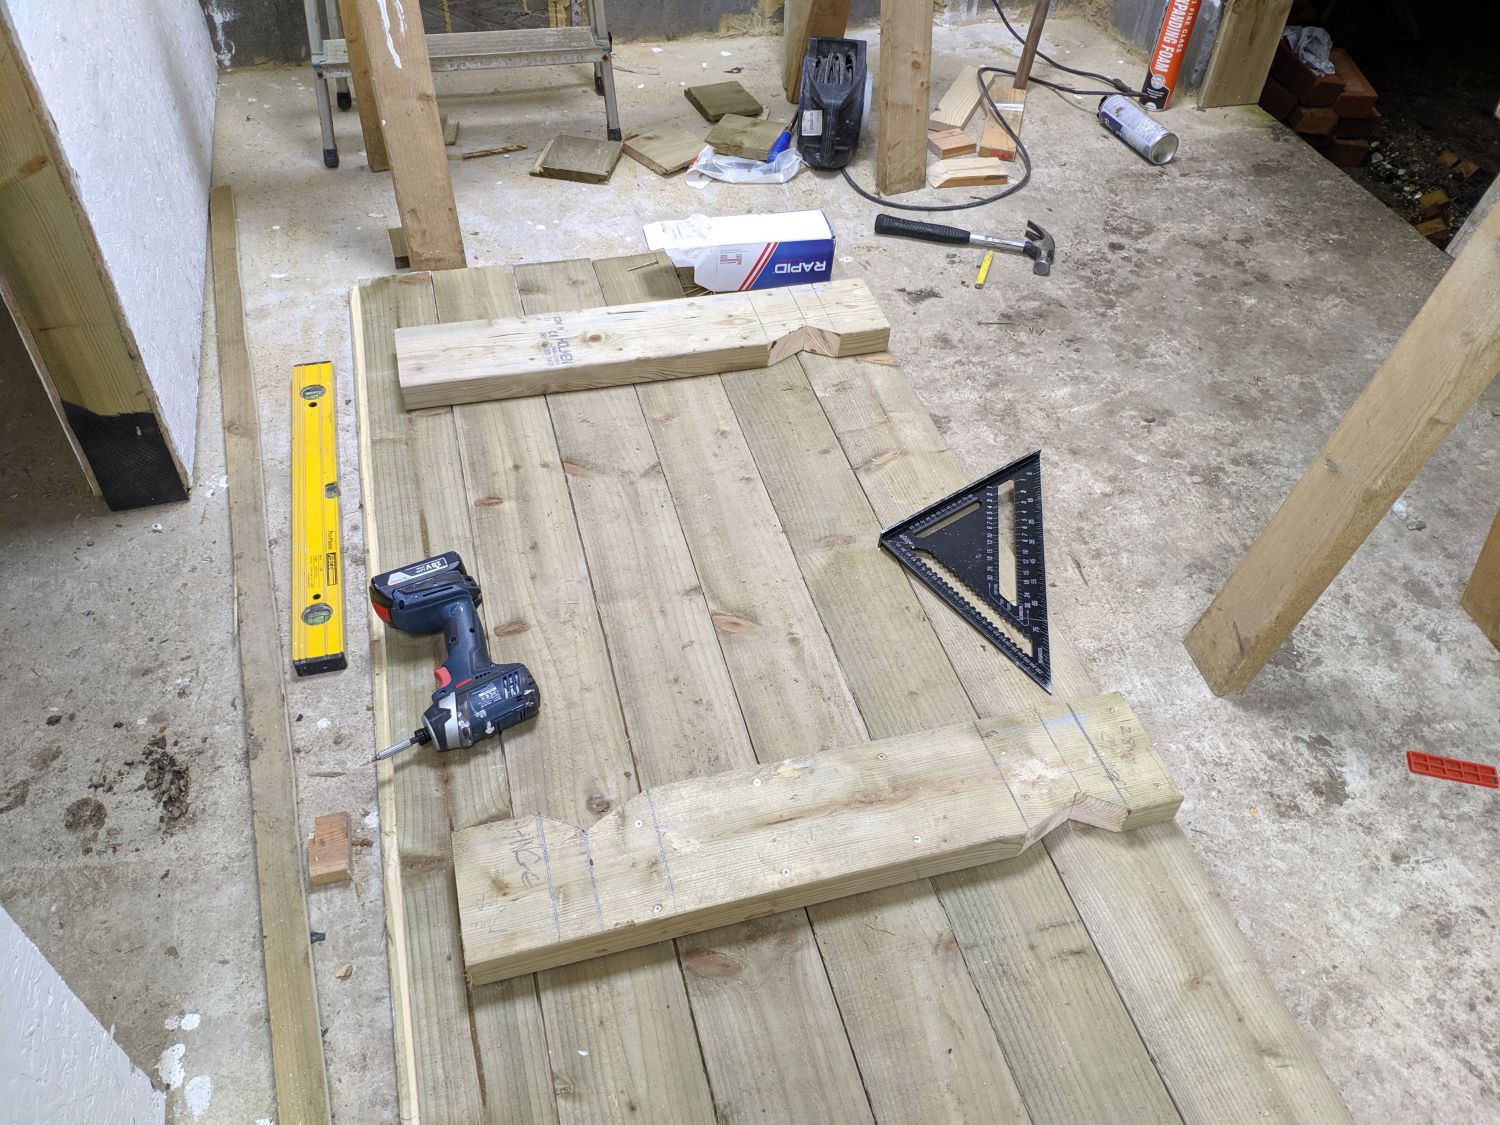
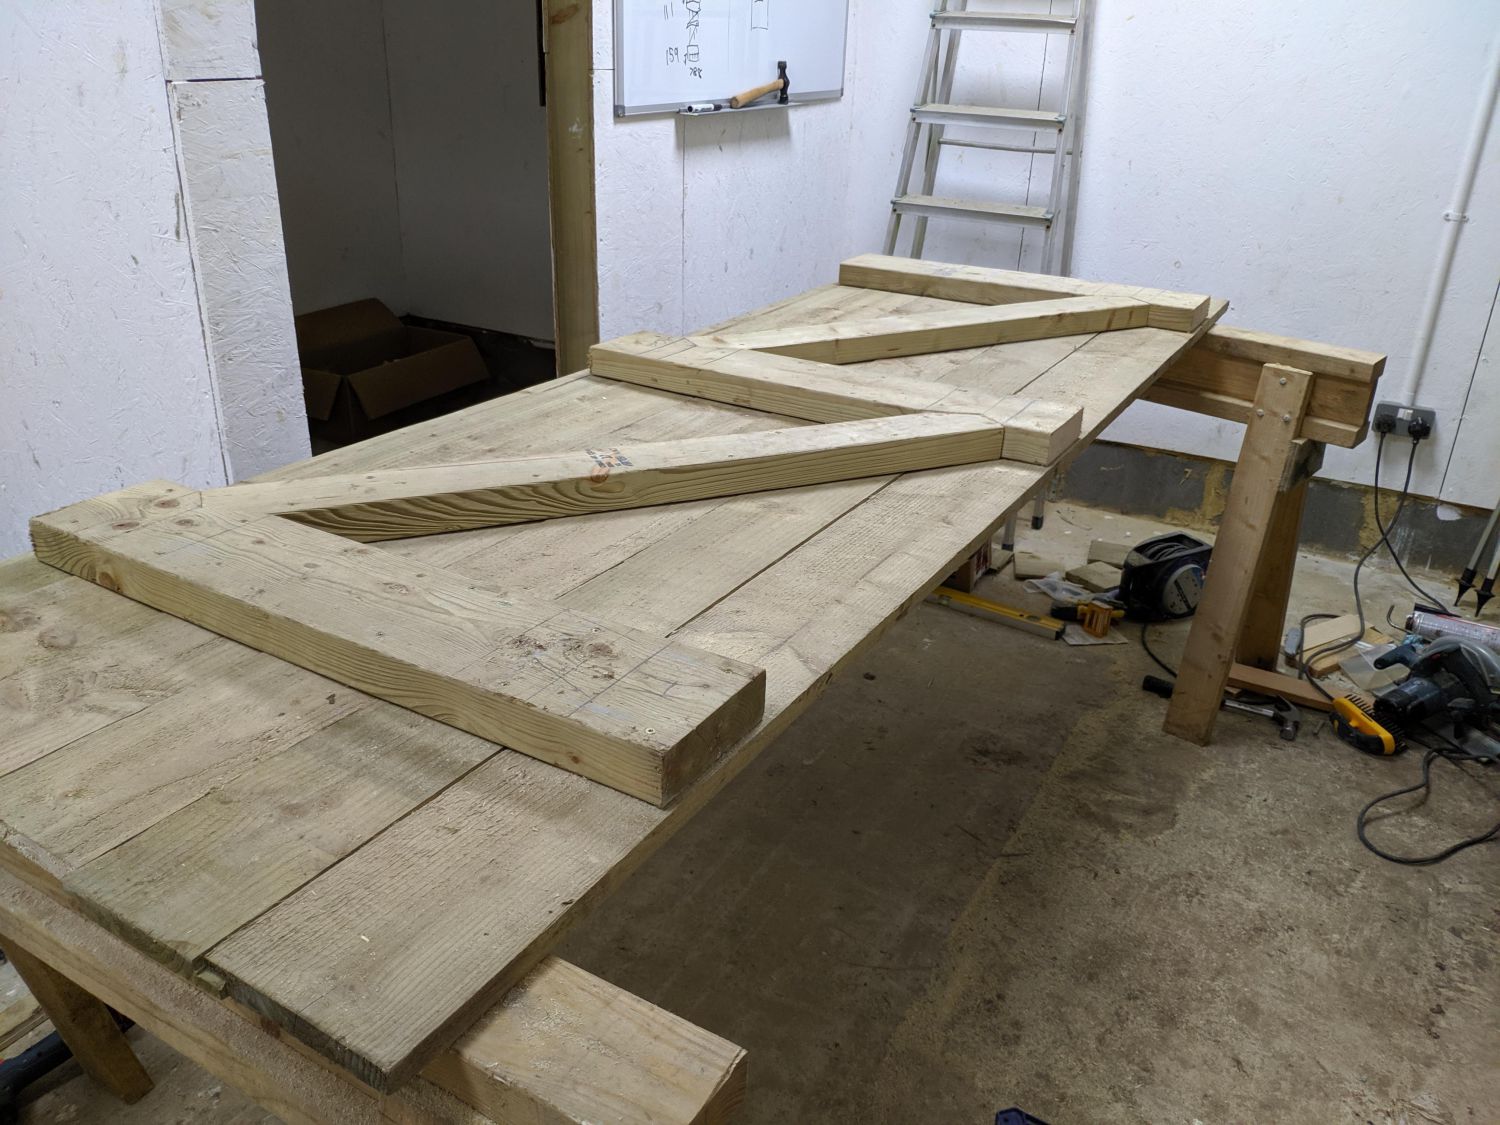
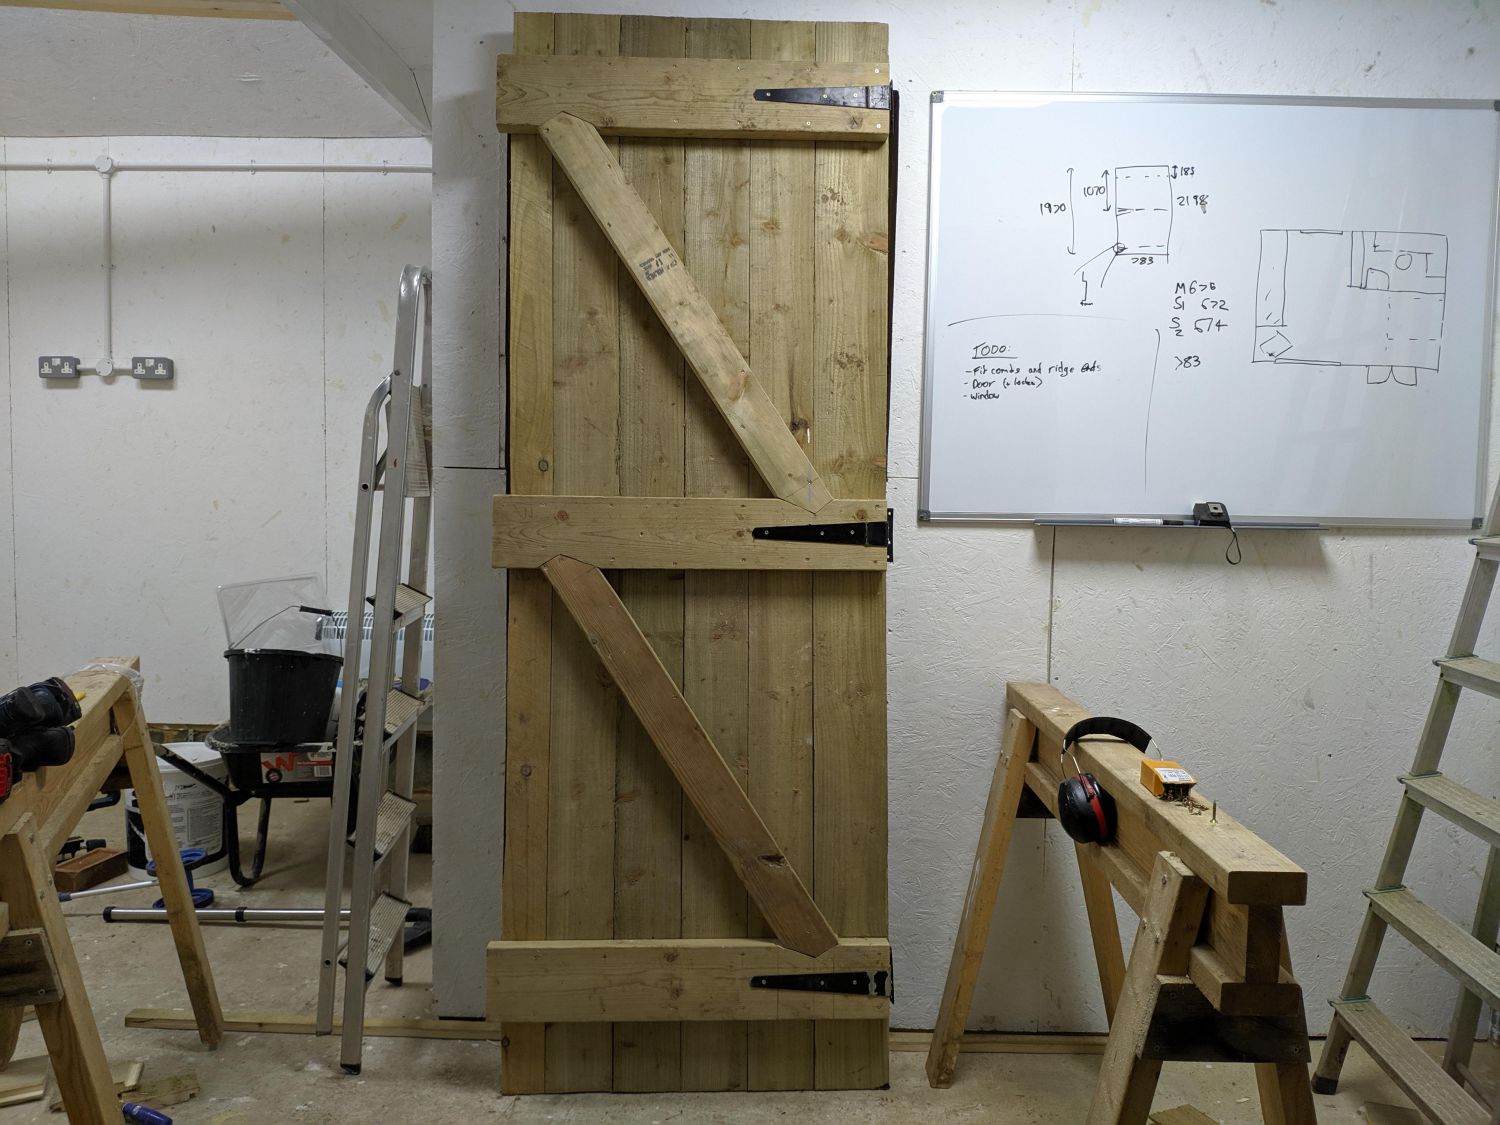
I considered making insulated doors, and tested this, but decided they would be too heavy. Traditional doors are constructed from battens which form the outer ‘cladding’, ledges which are horizontals that join the battens and diagonal braces that prevent sag. Some are also ‘framed’ with additions vertical timbers on each side.
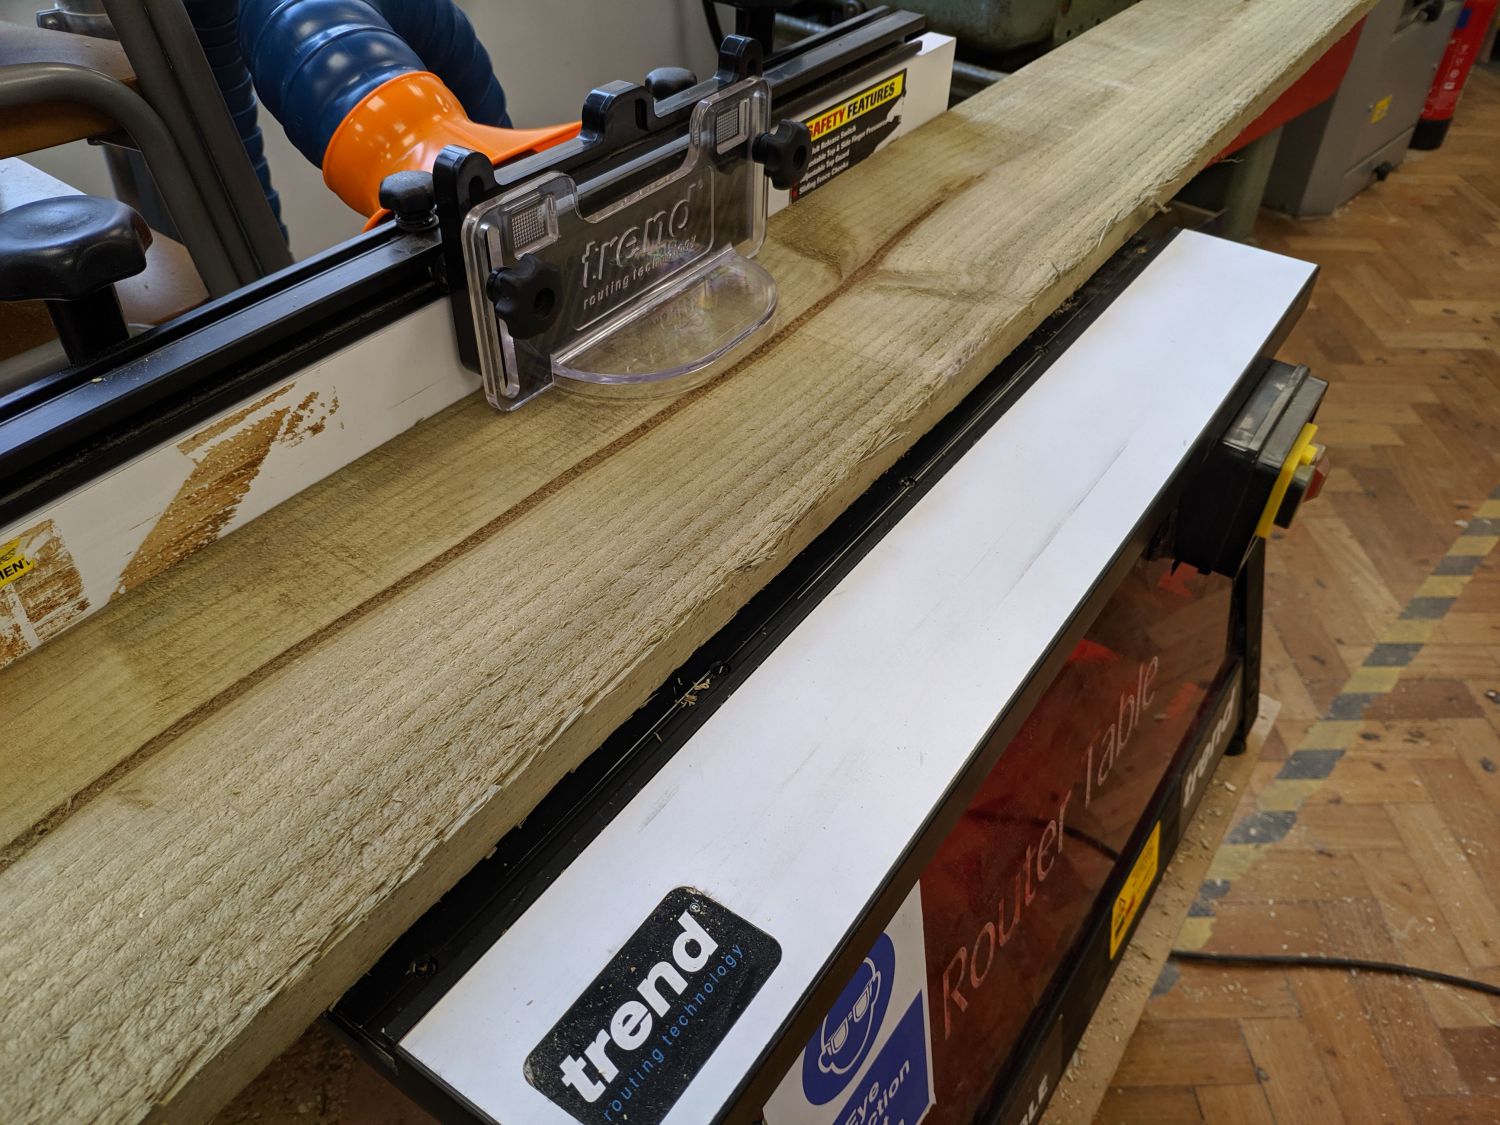
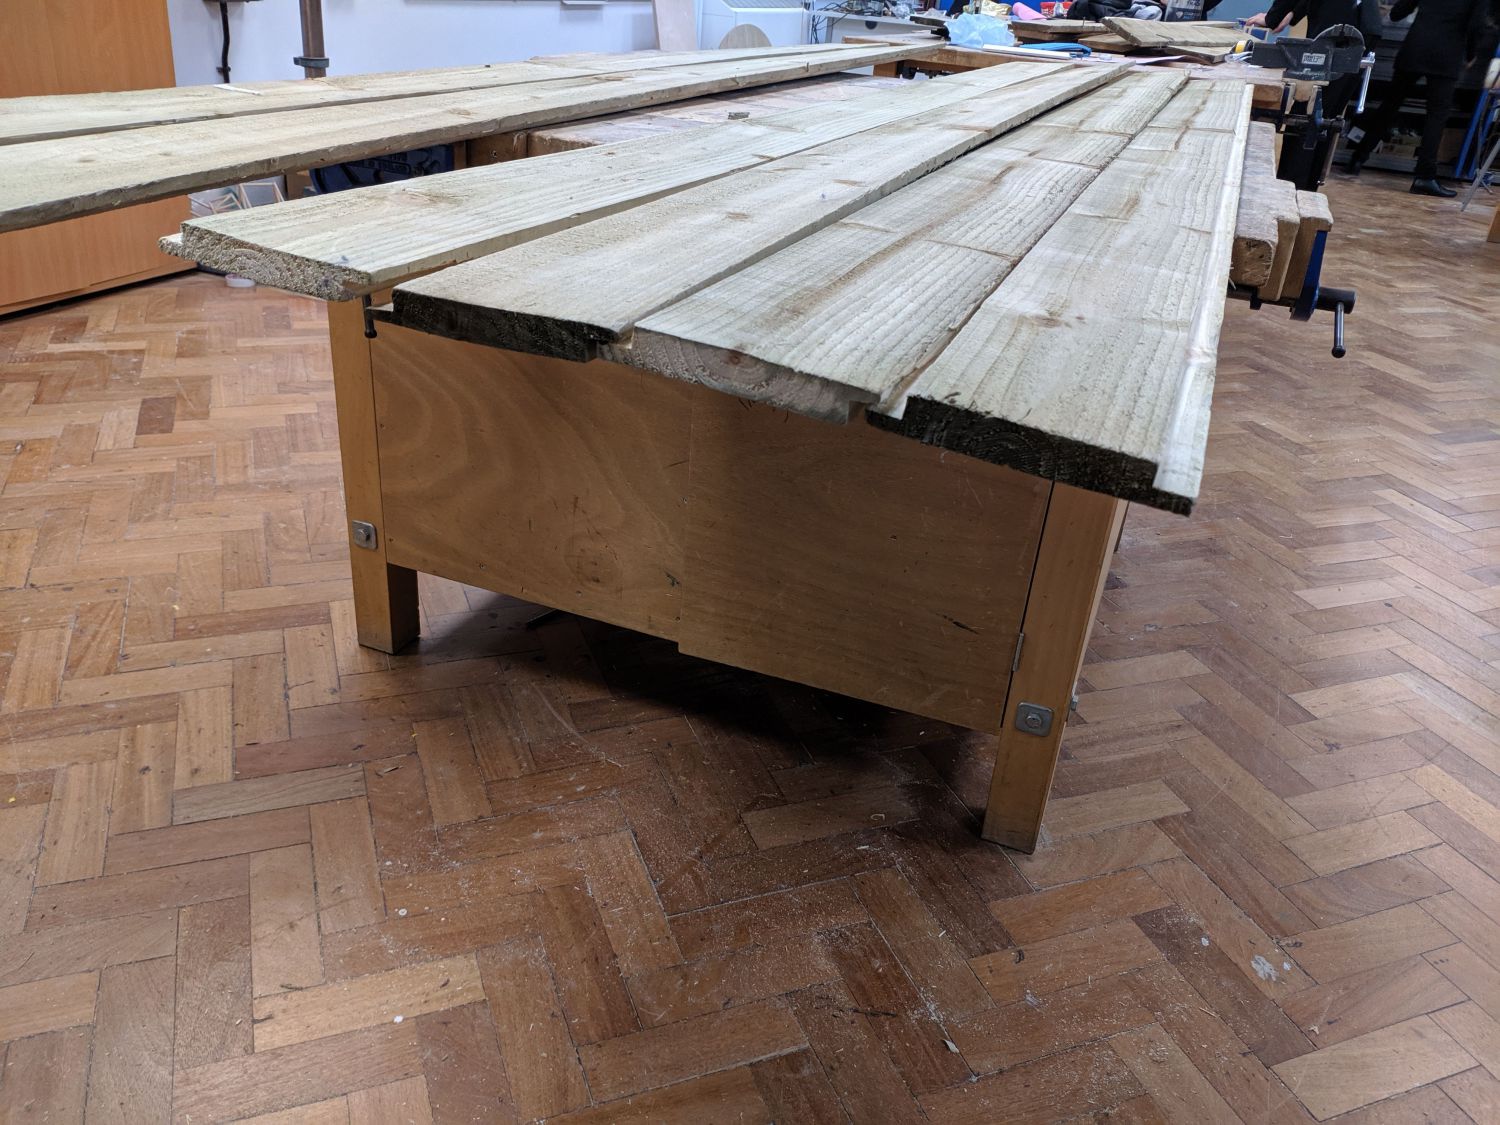
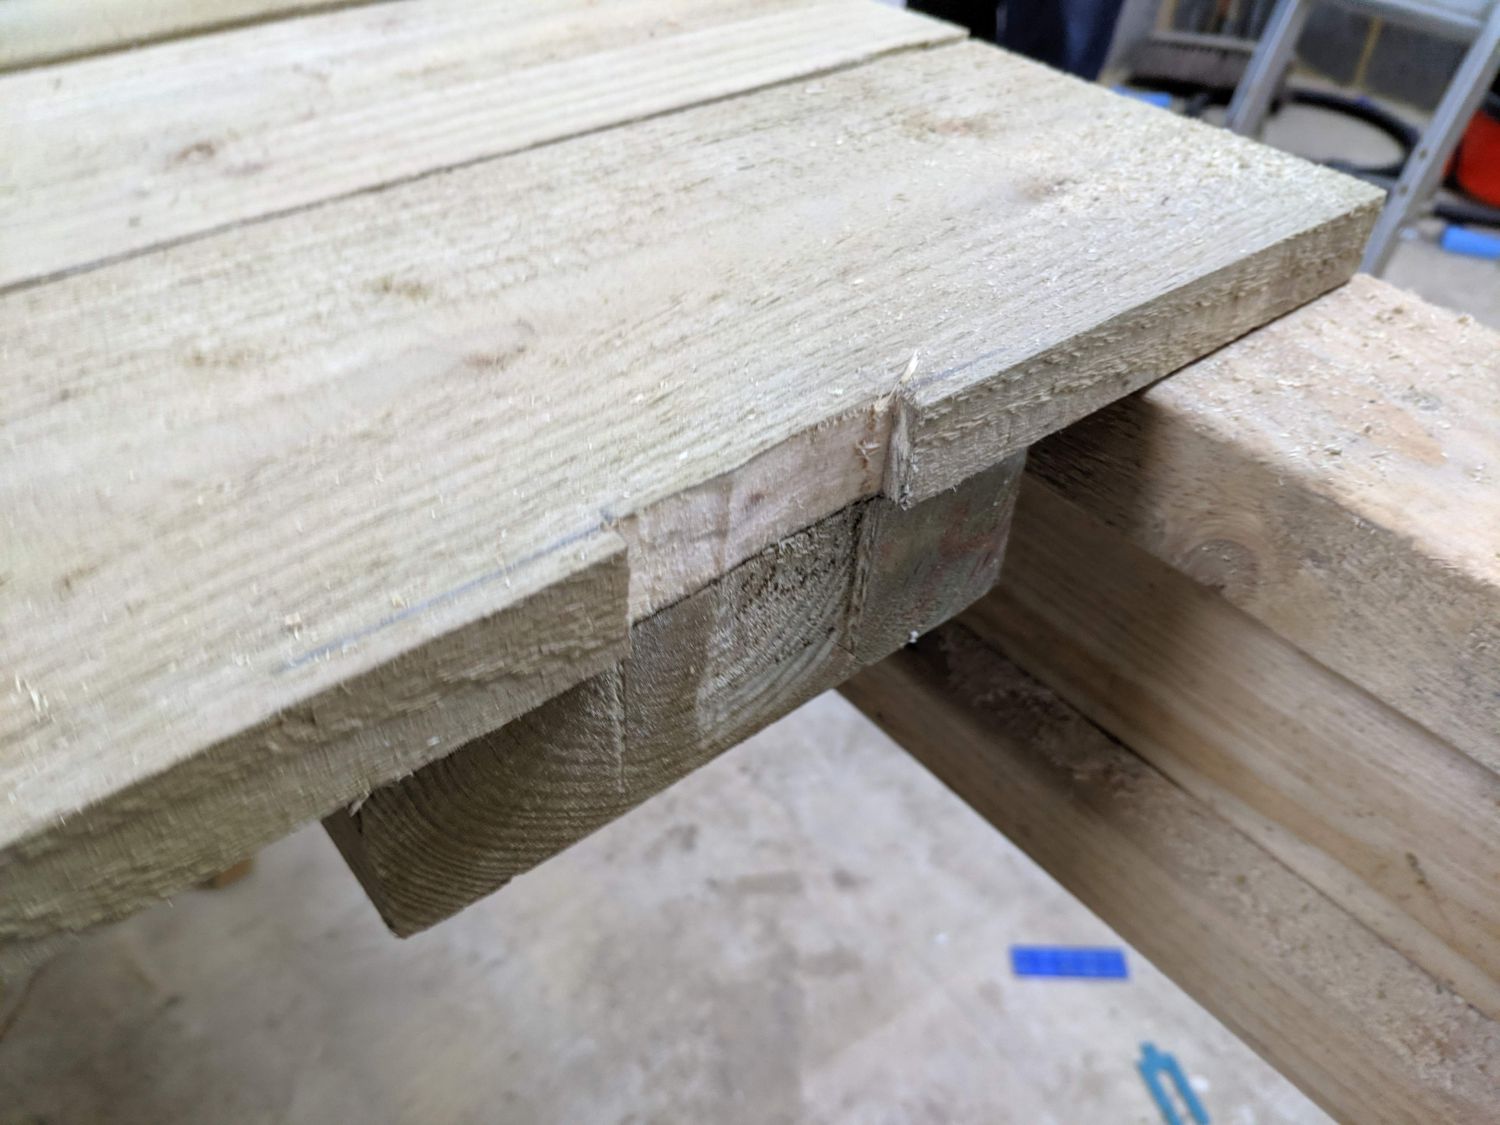
Wood expands and contracts across its grain which can cause splitting if the battens are fixed to the ledges with more than one fixing. To avoid this, I decided to route a shiplap profile in each batten. This way a single screw through the ledges near the overlapping side will also pull the underlapping batten into place at that side. The timber will expand and contract remaining fixed at its screw point. The overlap will also prevent water entry when the timber shrinks.
Routing and assembly
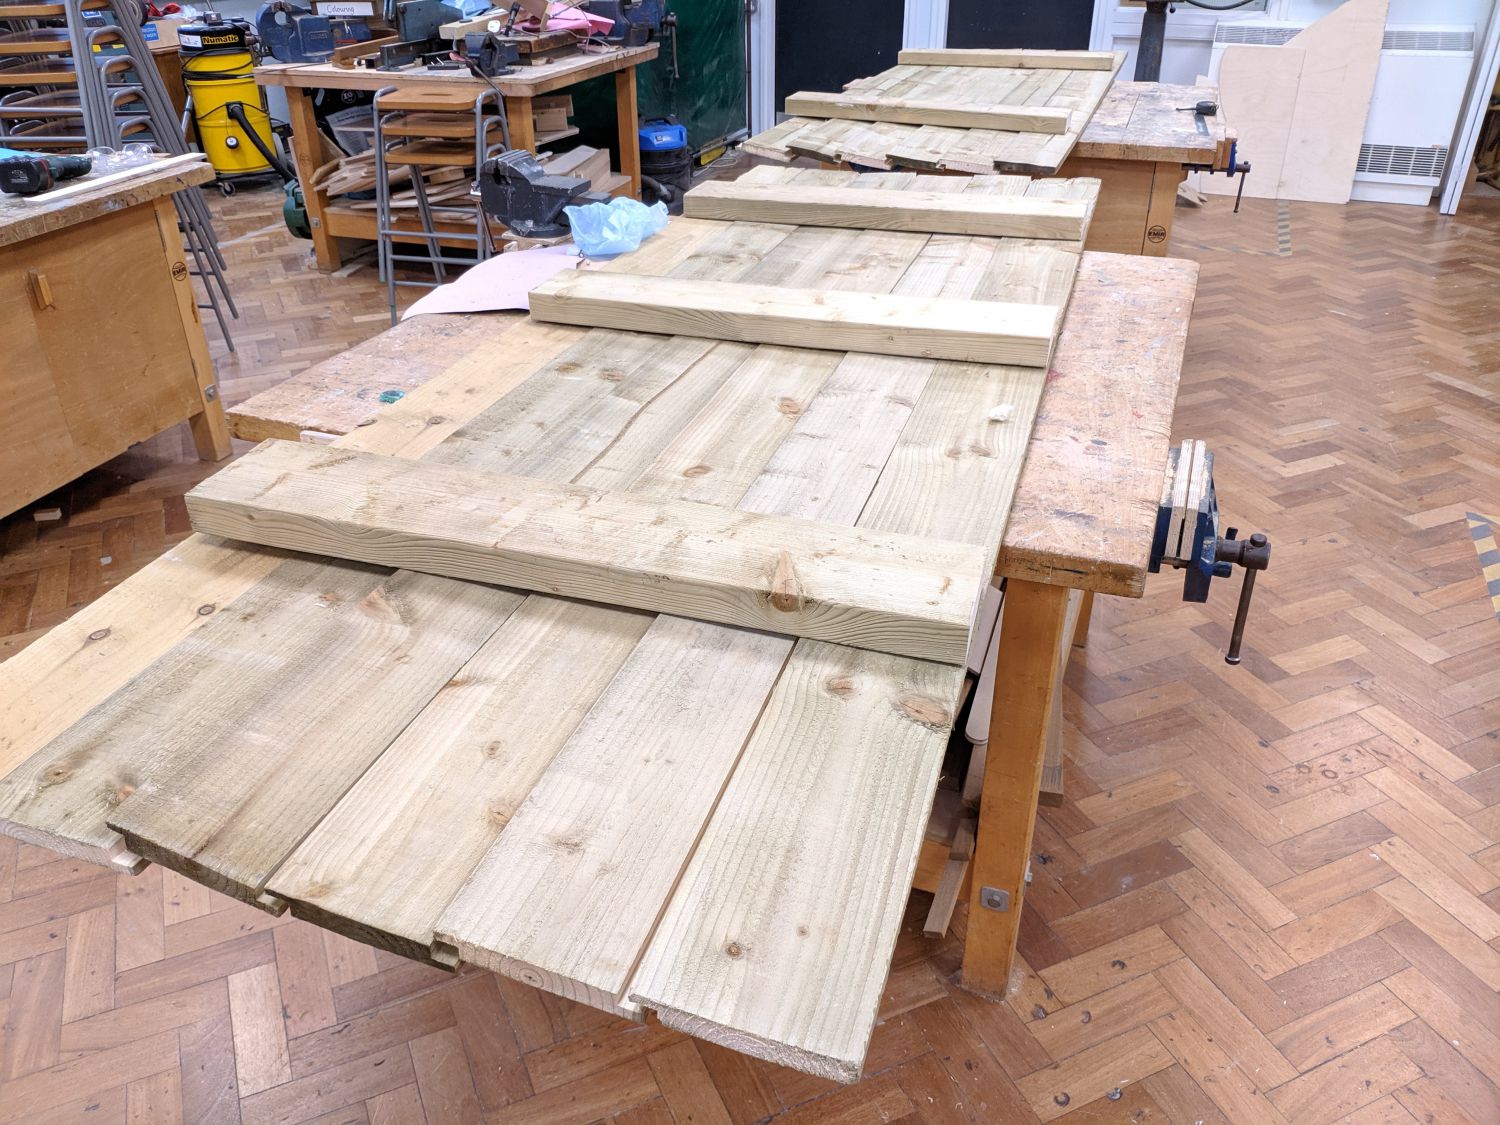
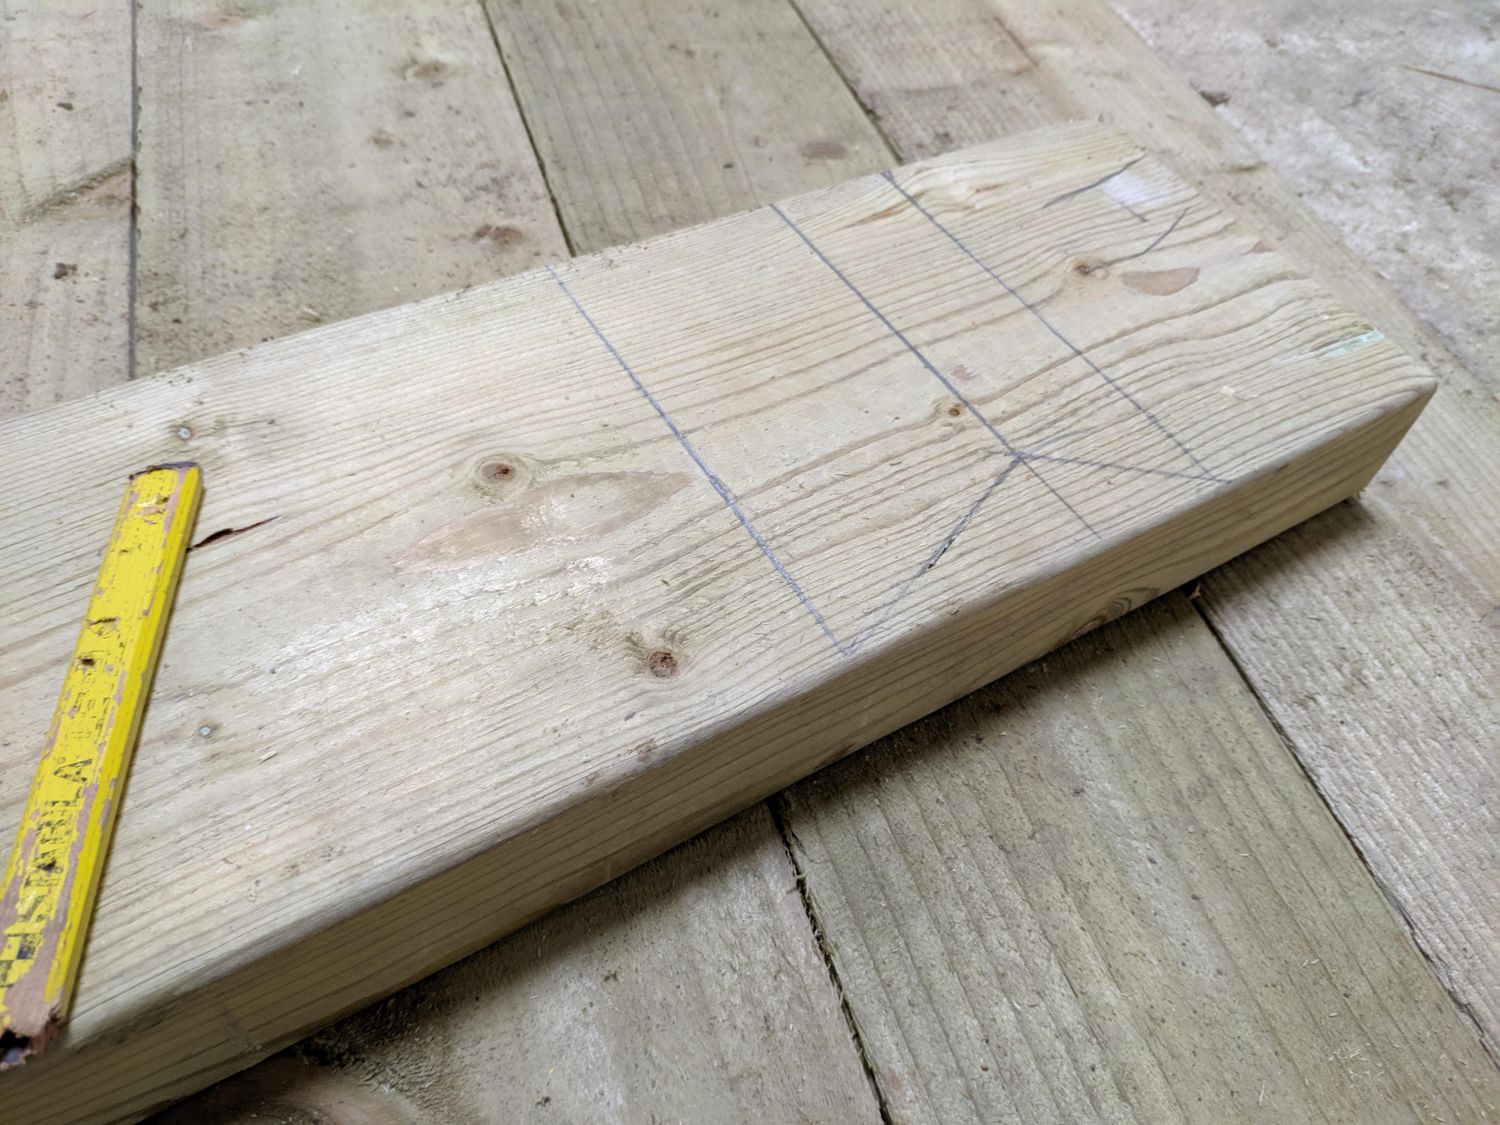
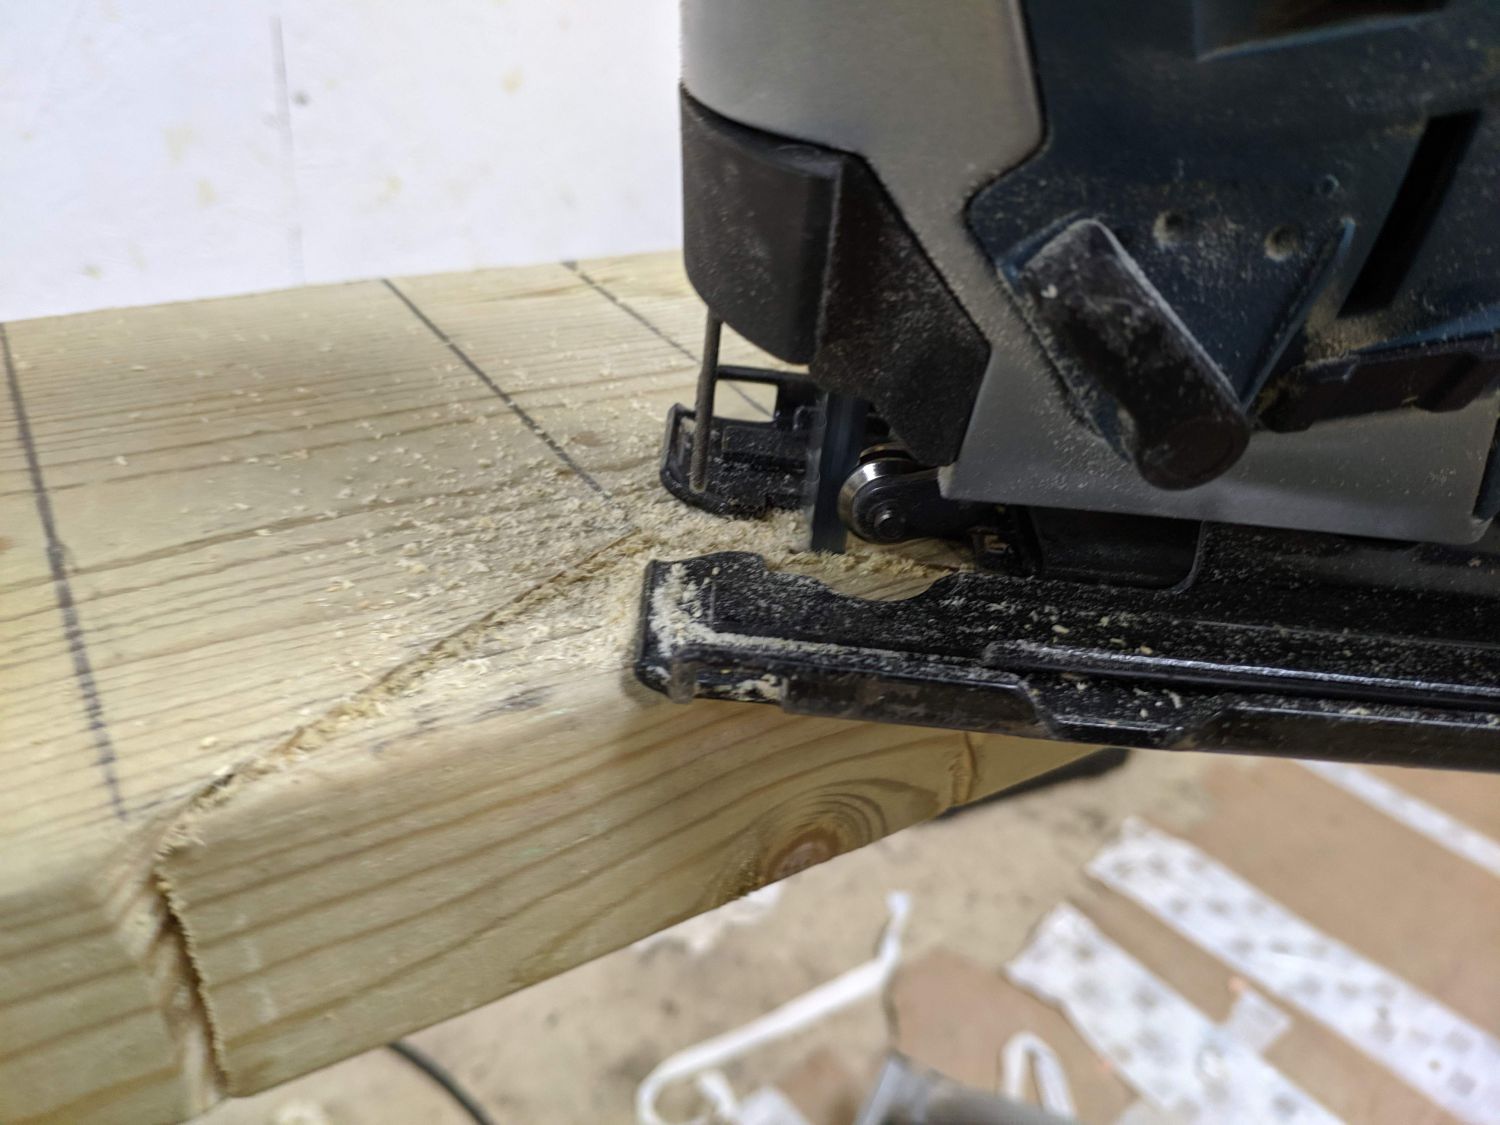
I decided to use compression braces, meaning load is transferred down from the opening edge of the door to the hinges. The brace-ledger connection is important as is what will ensure the braces remain in a fixed position along the ledge and that the braces remain in compression. I cut notches in each ledge with my jigsaw so that ~⅓ of the braces’ width were parallel to the seat. I hammered the braces in place and then screwed them into each batten on the near-ledge side.
Furniture and hanging
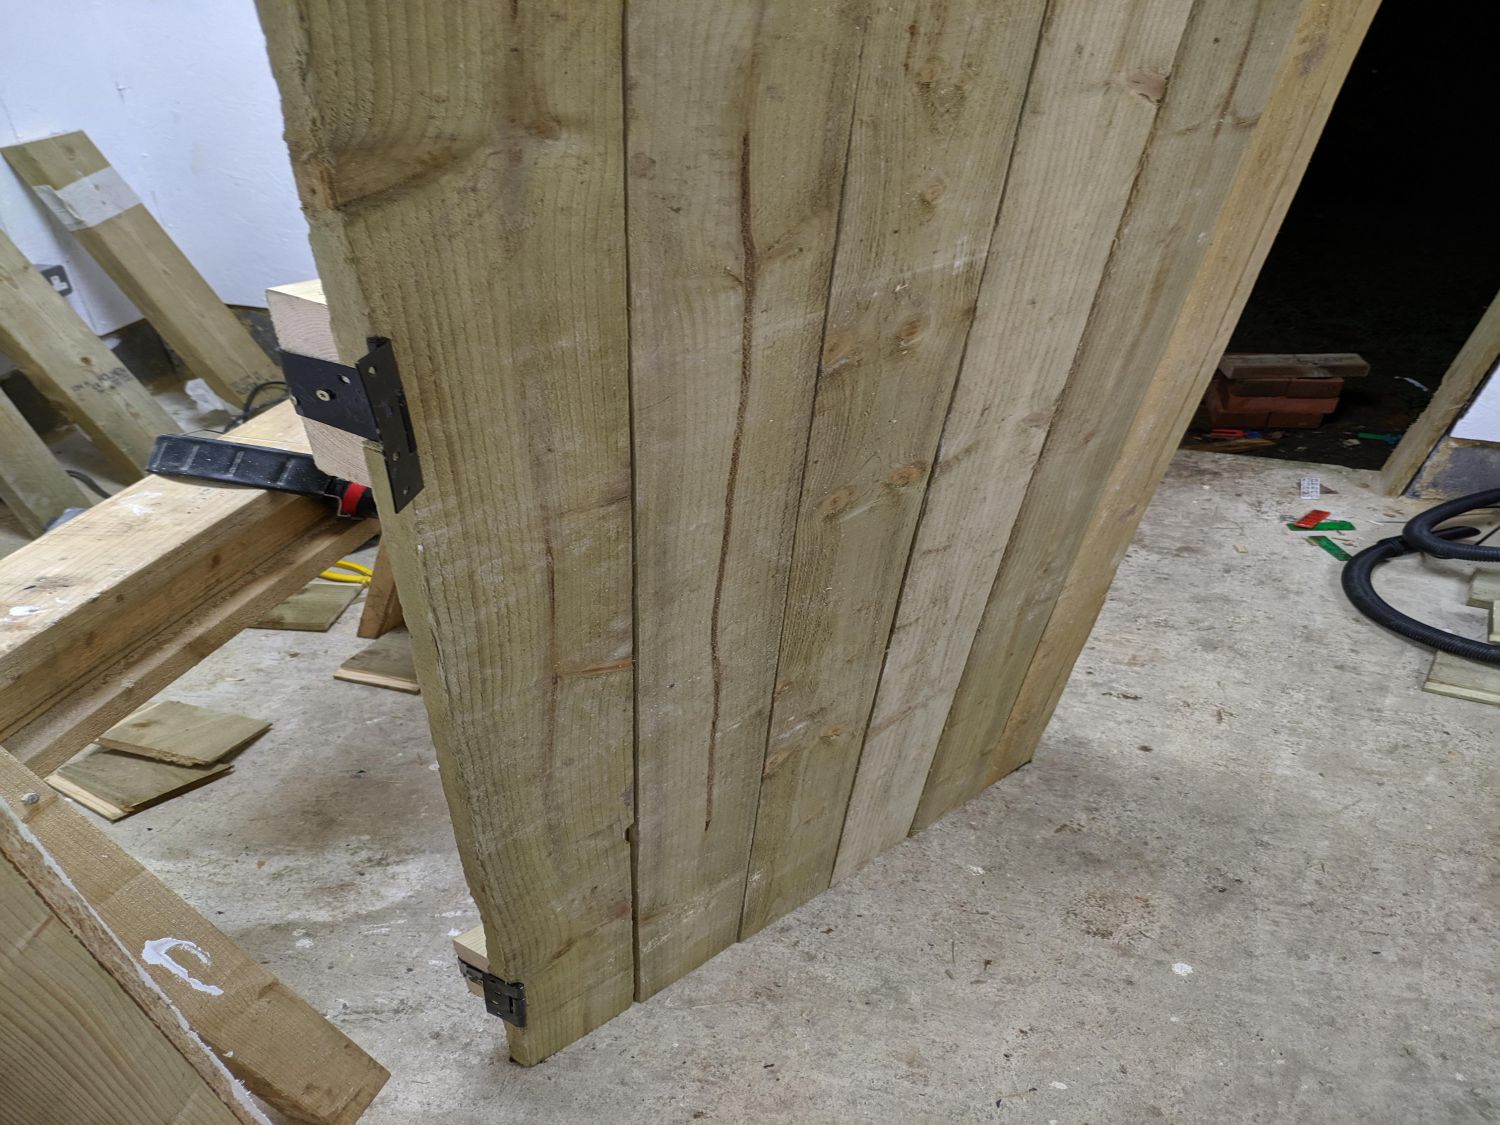
Once the main door frames was assembled, I chiselled out three notches on each hinge side. I then bent each tee hinge at a right angle: this allows the pin of the hinge to be on the outside of the door while the long leaf folds in and is screwed into the inside ledge. Not only does this detail make the door more secure, as there are no accessible hinge fixings on the outside, it also means no ugly hinges visible from outside. The notches let the hinge pass through while remaining flush to the side of the door.
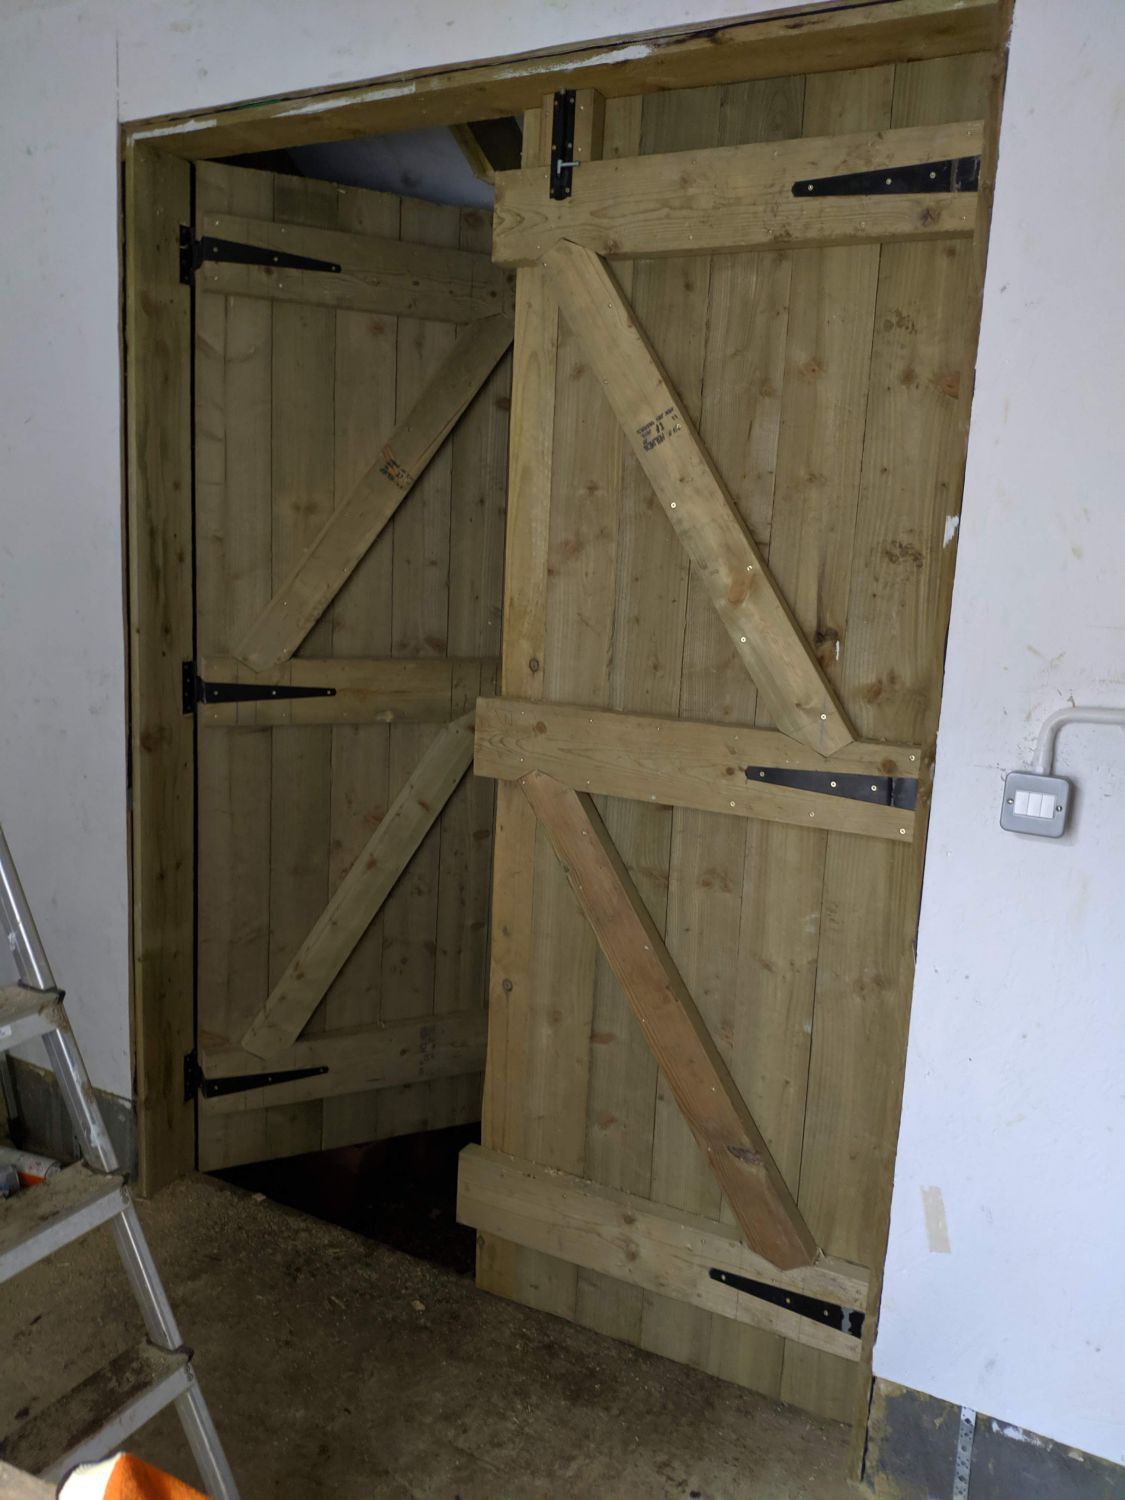
Next, I had to hang to door. I used my router to cut notches into the door lining for the hinges: this proved messy due to the extremely rough wood. I used scrap wood to get the door in place and, with help, screwed the hinges into the lining.
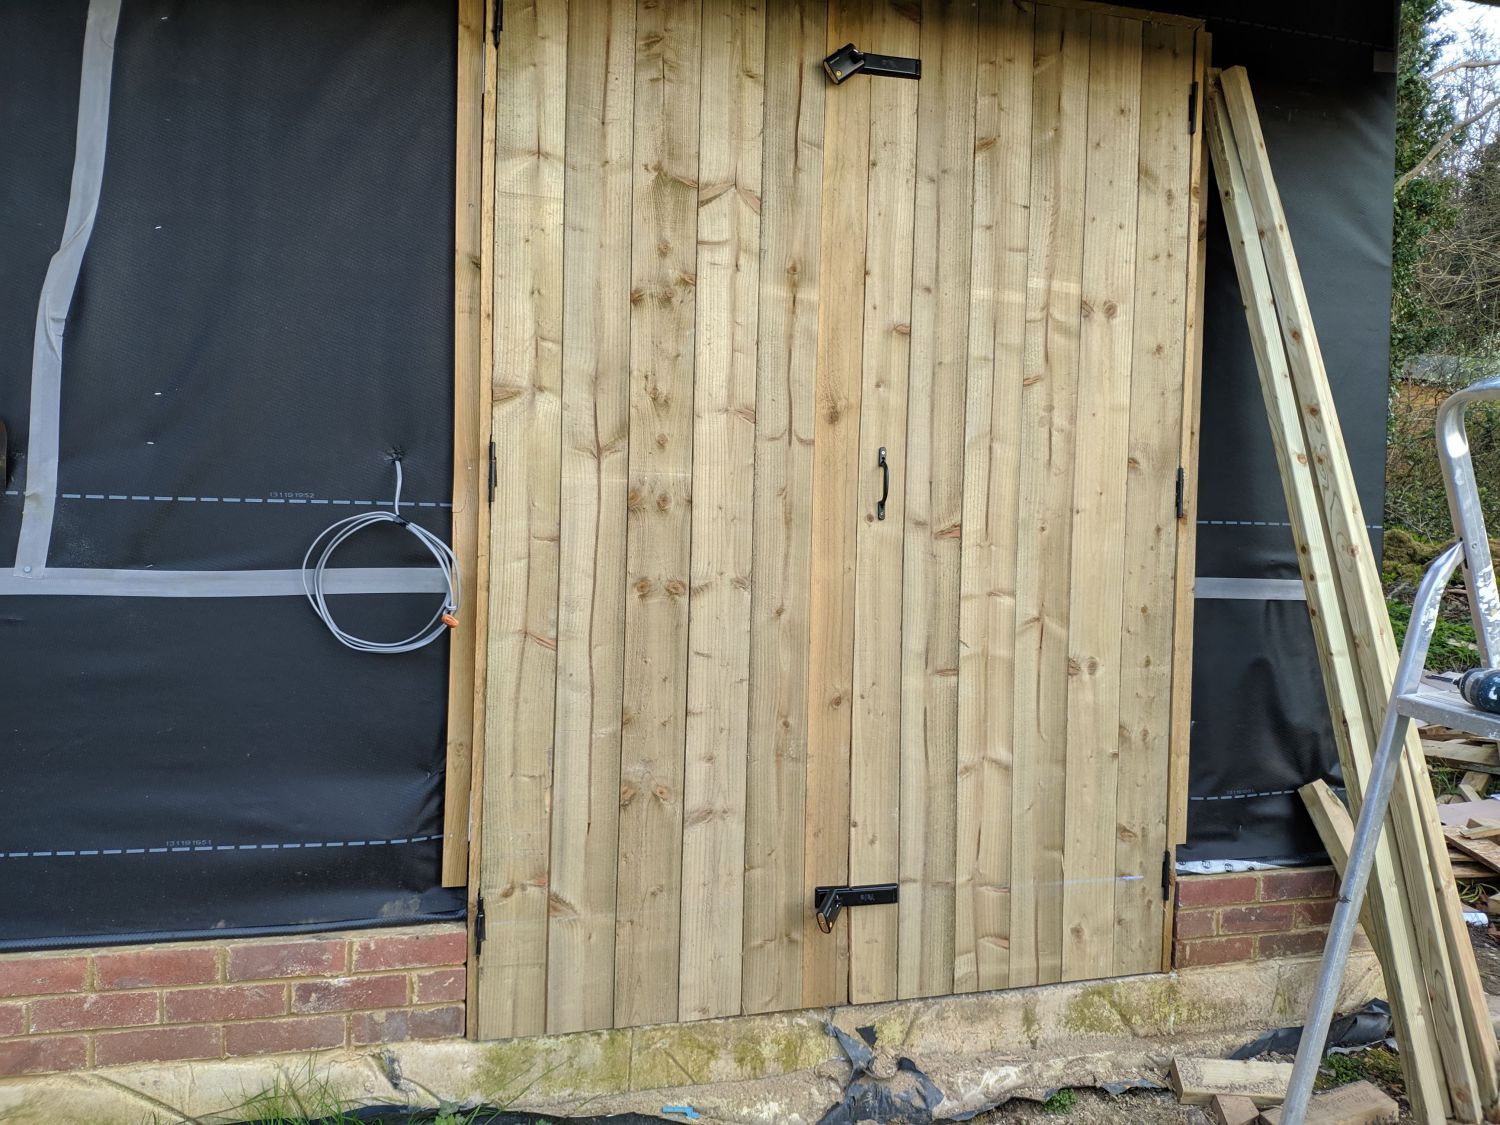
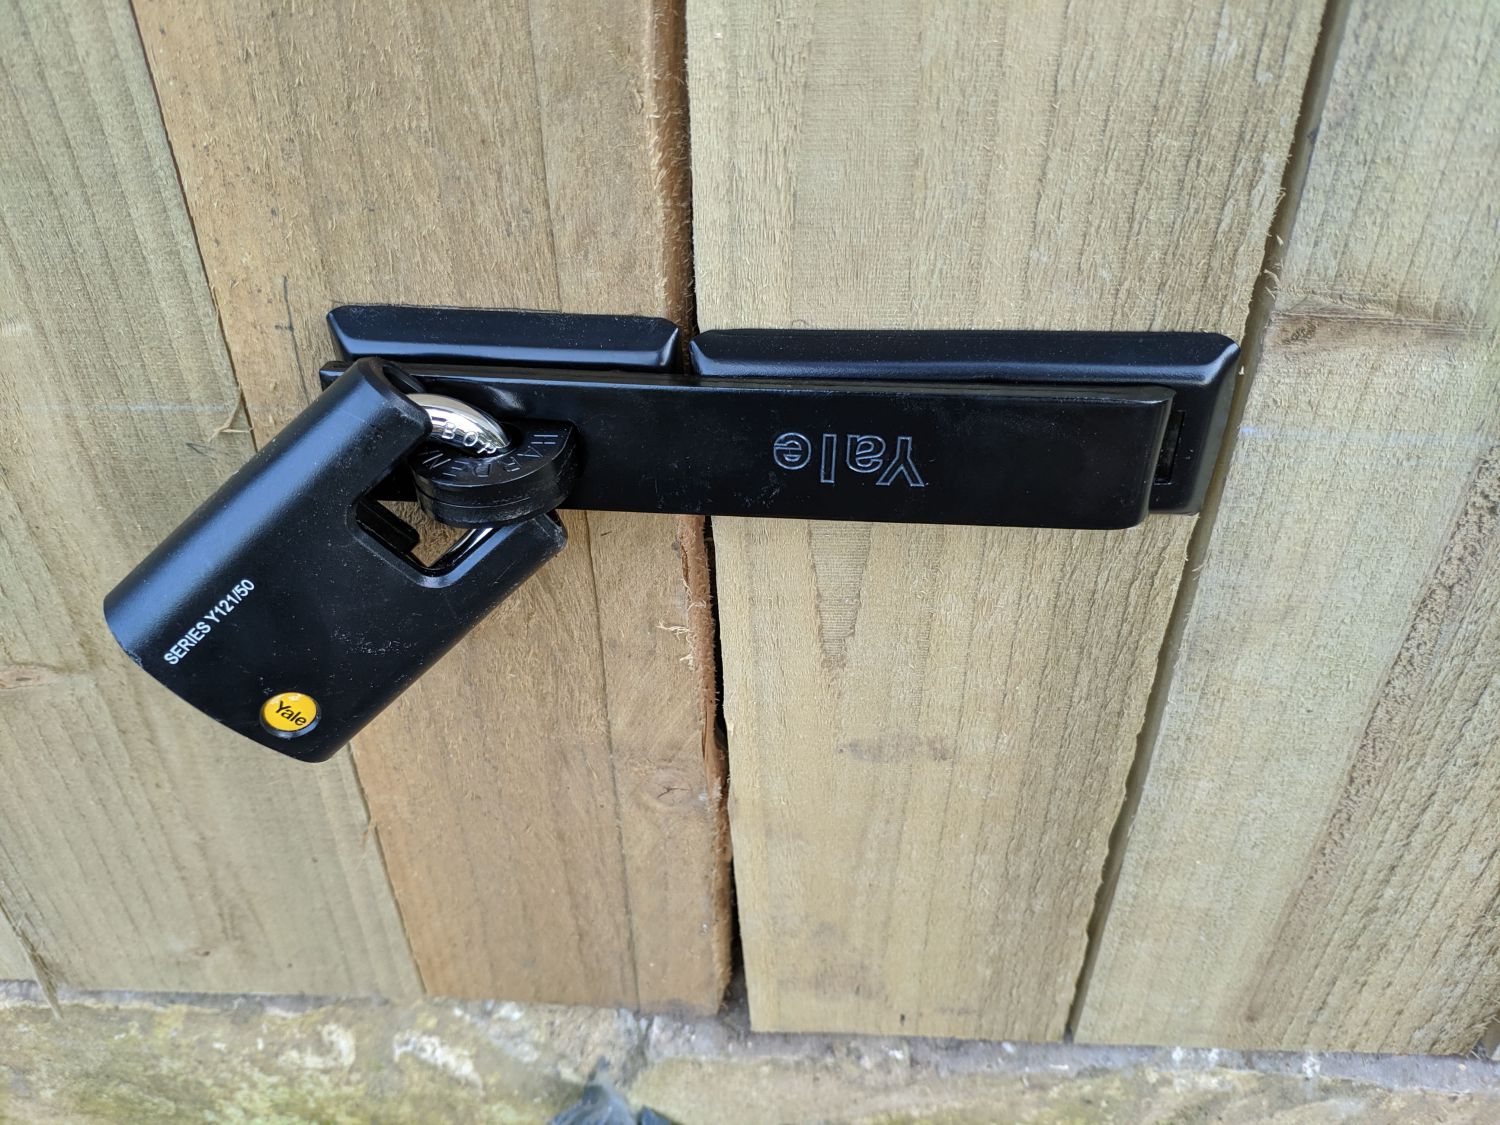

To secure the building I had initially hoped to use a night-latch, but once the doors were in place decided two hasp and staples would be more suitable. I screwed them into the top and bottom braces: these fixings are covered when the padlocks are in place. I also added a bolt to keep the left door in place during everyday use.